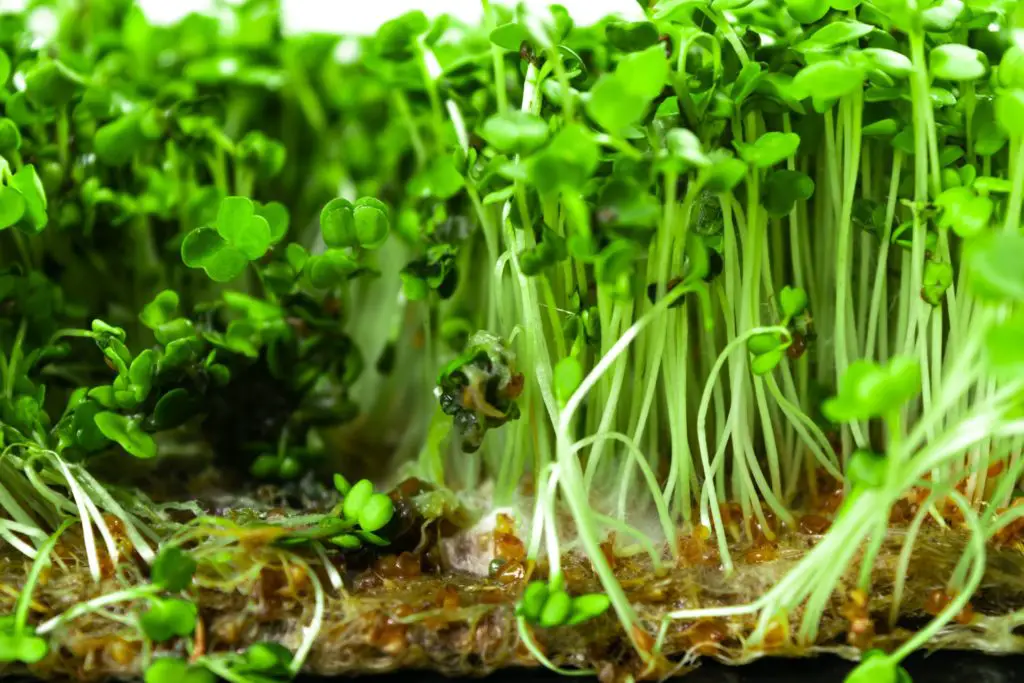
Mold is a common problem for microgreen growers, especially beginners. It’s nasty and can cause severe damage to the plants. But how sure are you that it’s mold?
Mold on microgreens can be discerned by directly spritzing water on them. If they don’t disappear, it’s definitely a fungal growth caused by an overly wet, dim, and stagnant environment. The entire batch becomes inedible and must be discarded completely, regardless of how small the affected area is.
Below, I elaborate more on this, along with the causes, solutions, and preventive measures to keep your microgreens mold-free:
(As an Amazon Associate, I earn from qualifying purchases.)
Table of contents
Is There Mold Growing on my Microgreens?
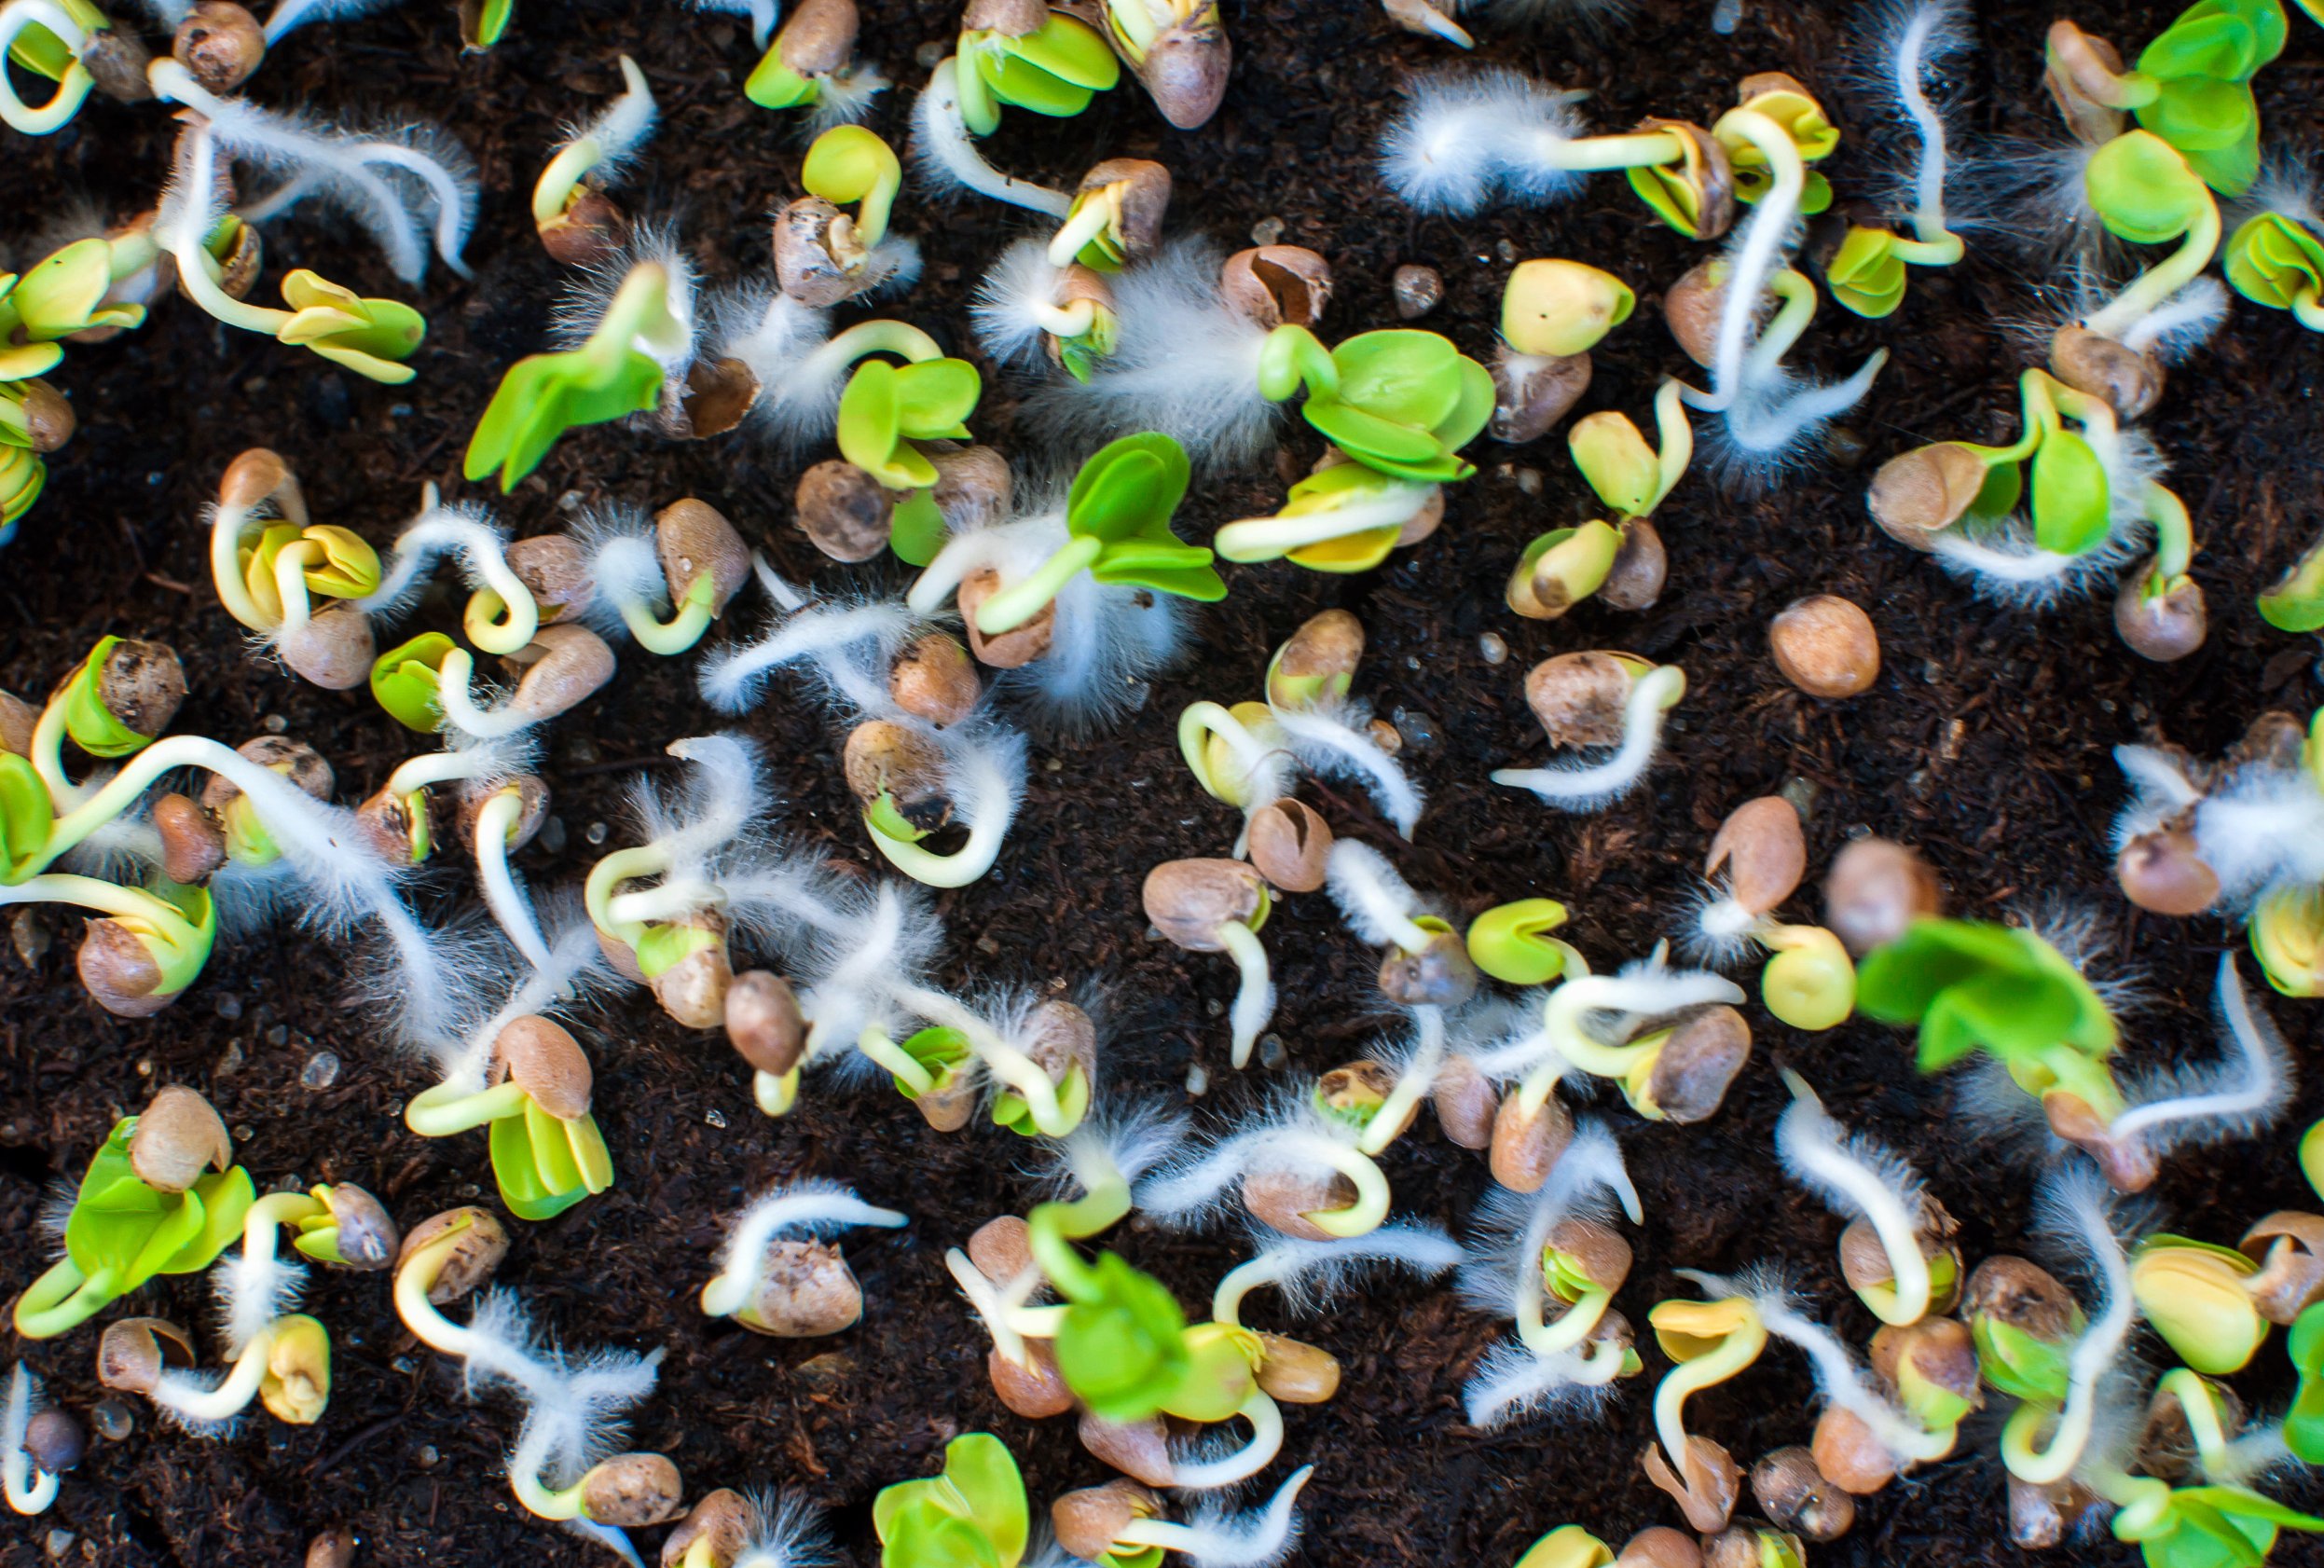
For beginner gardeners, seeing fuzzy white stuff on your microgreens may make you give up on ever growing anything again. But the thing is – it may not be mold on your edible greens. So before panicking, take a deep breath, and a closer look:
- Look:
- If the white patch is growing all over the stems and leaves, it’s mold.
- If it’s seen only on the roots at the soil level and the stems look healthy, it’s root hair.
- Smell:
- If the microgreens smell musty and rotten, it’s mold.
- If they smell earthy, it’s root hair.
- Touch:
- If the microgreens feel slimy, it’s mold.
- If they feel smooth to the touch, it’s root hair.
- Test (mist or spray water on the ‘mold’):
- If it doesn’t disappear, it’s mold.
- If it does and comes back after a few hours, it’s root hair.
It’s very common to confuse mold and root hair on microgreens because, at a glance, they look very similar. They’re both white, fluffy, and often cause a microgardener to clutch their chest in fear. Luckily, that’s where the similarities end.
Mold on microgreens is often slimy and stinky, growing from the stem to the leaves. They won’t disappear when sprayed with water, unlike root hair. Severe cases may cause stem rot, blue-black spots on the leaves, and damping-off with no chance of recovery. With that said, it’s usually best to discard the whole tray once you discover mold growing, no matter how small it is. The spores are invisible and can spread very fast without you noticing. So it’s better to be extra careful, cut your losses, and get rid of the entire thing.
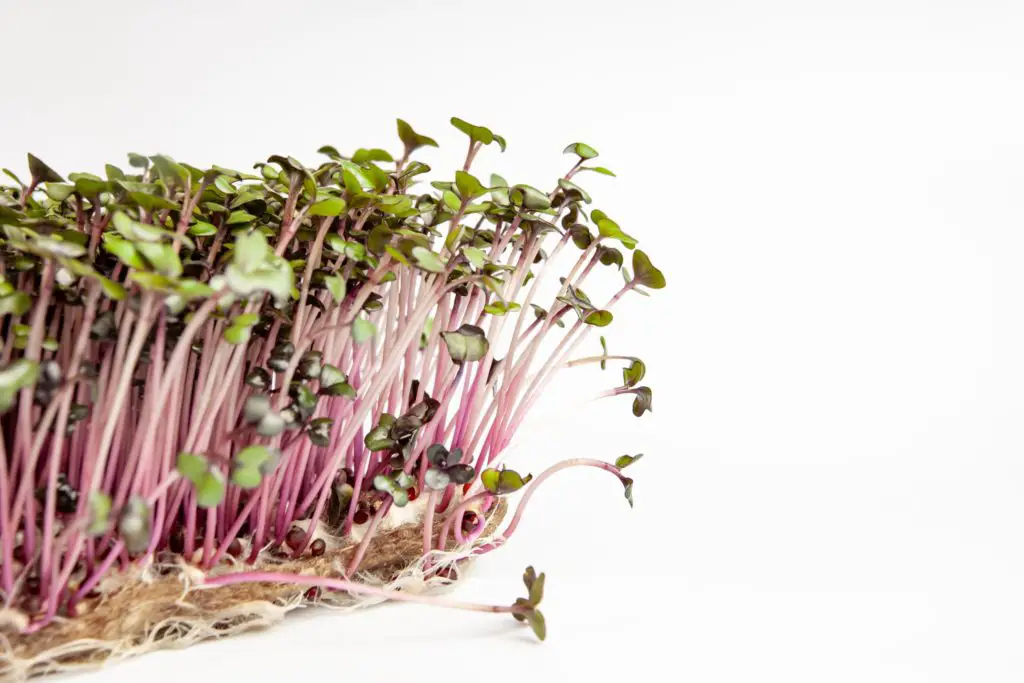
Why do my microgreens look white and moldy?
Microgreens in waterlogged soil and no air circulation can cause mold to develop. However, a quick water test can reveal if it is genuinely mold. If it disappears, it’s just root hair. If it doesn’t, there is mold growing in the plant.
You can also touch and smell it, to be sure. If it feels slimy and stinks like rotten vegetables, then it’s definitely mold. Ensure to wash your hands before and after to avoid contaminating your plants and spreading the spores.
Why are my microgreens stinky?
Musty microgreens indicate rotting in which mold is likely present. This usually means the fungal spores have done extensive damage to the plant. It’s generally better to throw out the entire tray than to salvage it, even if only a tiny section is affected. You don’t want to risk causing health problems, particularly those with sensitive allergies.
Why Is There Mold Growing on My Microgreens?
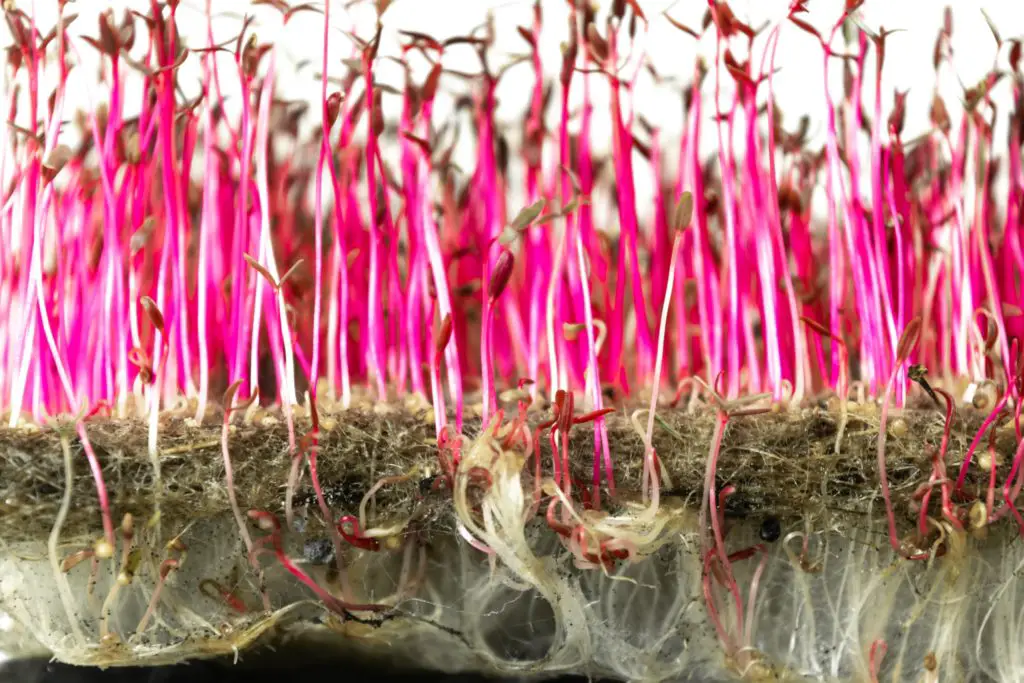
Mold usually needs 3 things to grow:
- Food
- Cool temperatures
- Moisture
And all of these can be found in your microgreens, especially the latter, due to improper care. But it’s worth noting that contaminated equipment and items can also contribute to the problem. Here are some of the following common causes:
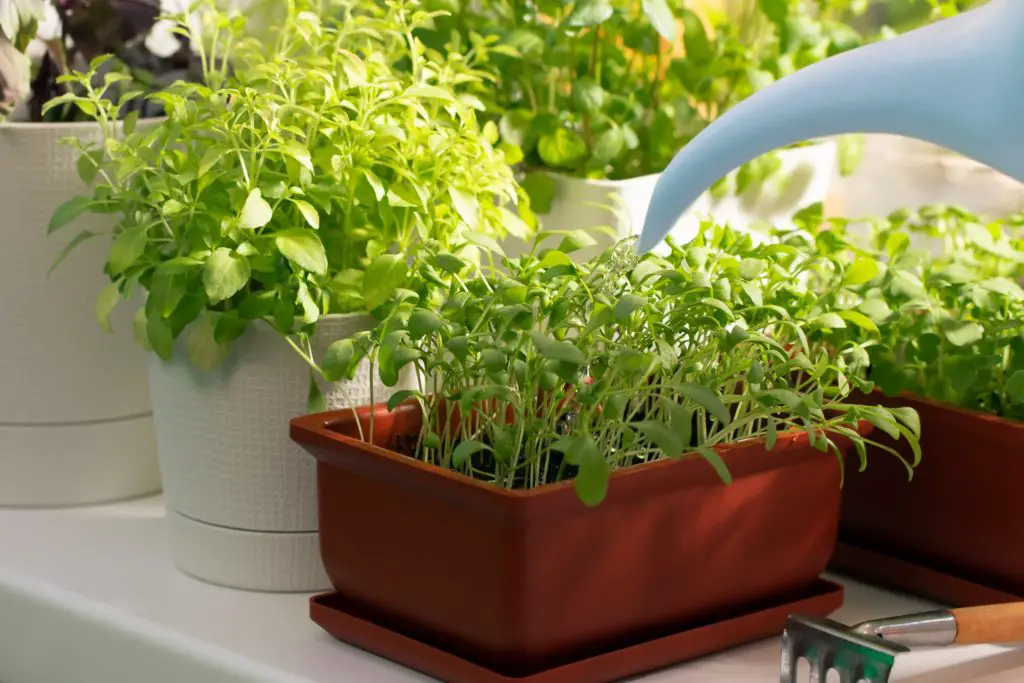
- Overwatering
Ah yes, my old foe, we meet yet again. It’s a curse at this point when you keep coming across too much water as the primary cause of your plants’ death. It’s not even an exaggeration; it’s just a fact. Loving your plants too much will literally drown them.
With microgreens, it’s tempting to water them often because they use up water relatively fast. But you should only top up their water needs once the top 1 inch of the soil dries out. Otherwise, your microgreens will be swimming with moldy spores.
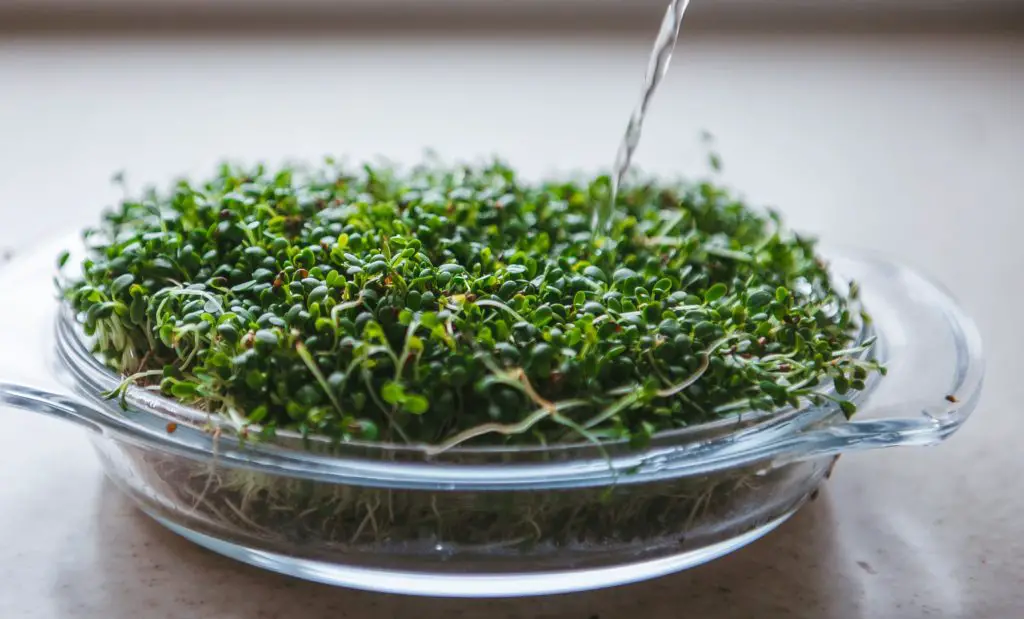
- Poor drainage in the potting mix and/or no holes at the bottom of trays
Poor drainage can and will exacerbate the problem whether or not you’re overwatering your microgreens. This is because the excess water has nowhere to go and accumulates at the bottom of the tray, where pathogens can thrive. So ensure your trays have drain holes to make it easy to remove any stagnant water. It’s also valuable for bottom watering your greens.
You also need to use the correct type of potting soil. Peat and coir-based mix are often good in retaining moisture, but they can also be too good. This is where aerating materials like perlite, vermiculite, or coarse sand, come in. They allow water to flow freely through the soil, while some are held back by the potting soil. You can use a standard potting mix, but a seeds starter mix is also viable.
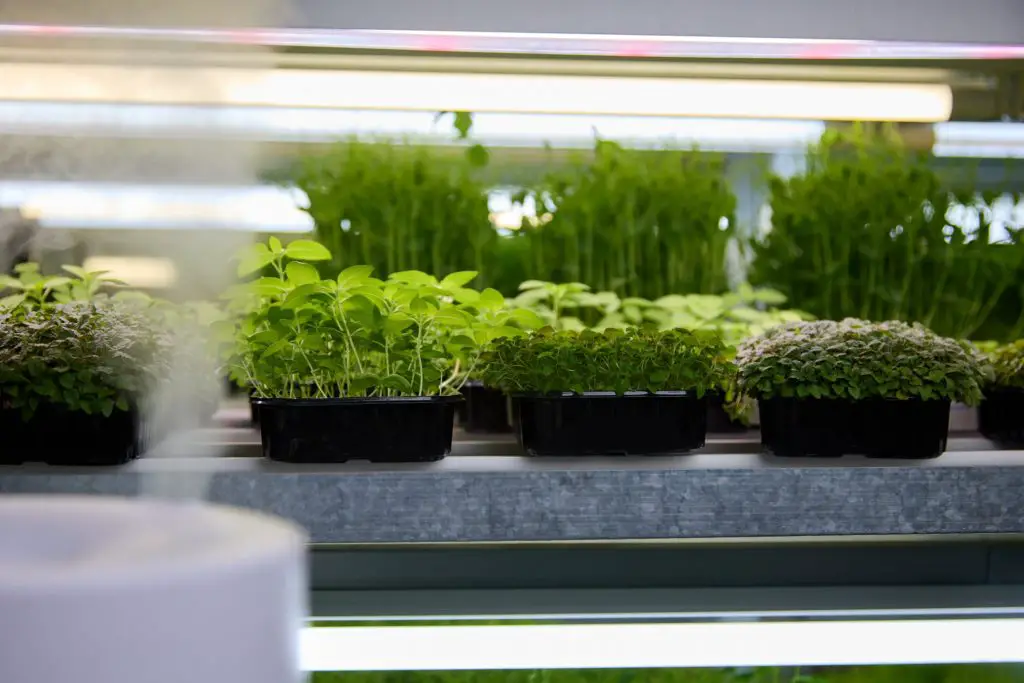
- High humidity with no air circulation, i.e., ventilation system
Microgreens don’t need high humidity to grow. But if you have excess moisture in the air, there’s every chance it can condense on the leaves, allowing pathogens to thrive. It’s best to keep the humidity levels below 50% to prevent that from happening.
This becomes a bigger problem if no consistent airflow keeps the surrounding area dry. Floating mold spores will easily land on the microgreens and multiply in the humid environment. Even if there is low humidity but no fans around, you’ll still have a high chance of fungal growth developing on the plants.
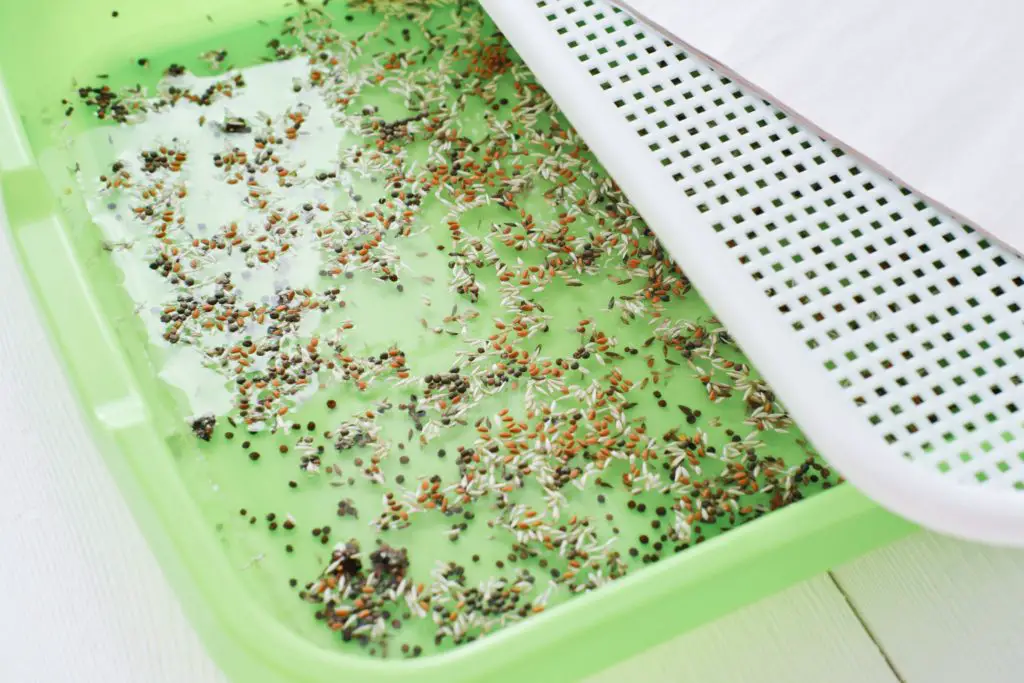
- Overcrowded seeds packed together densely
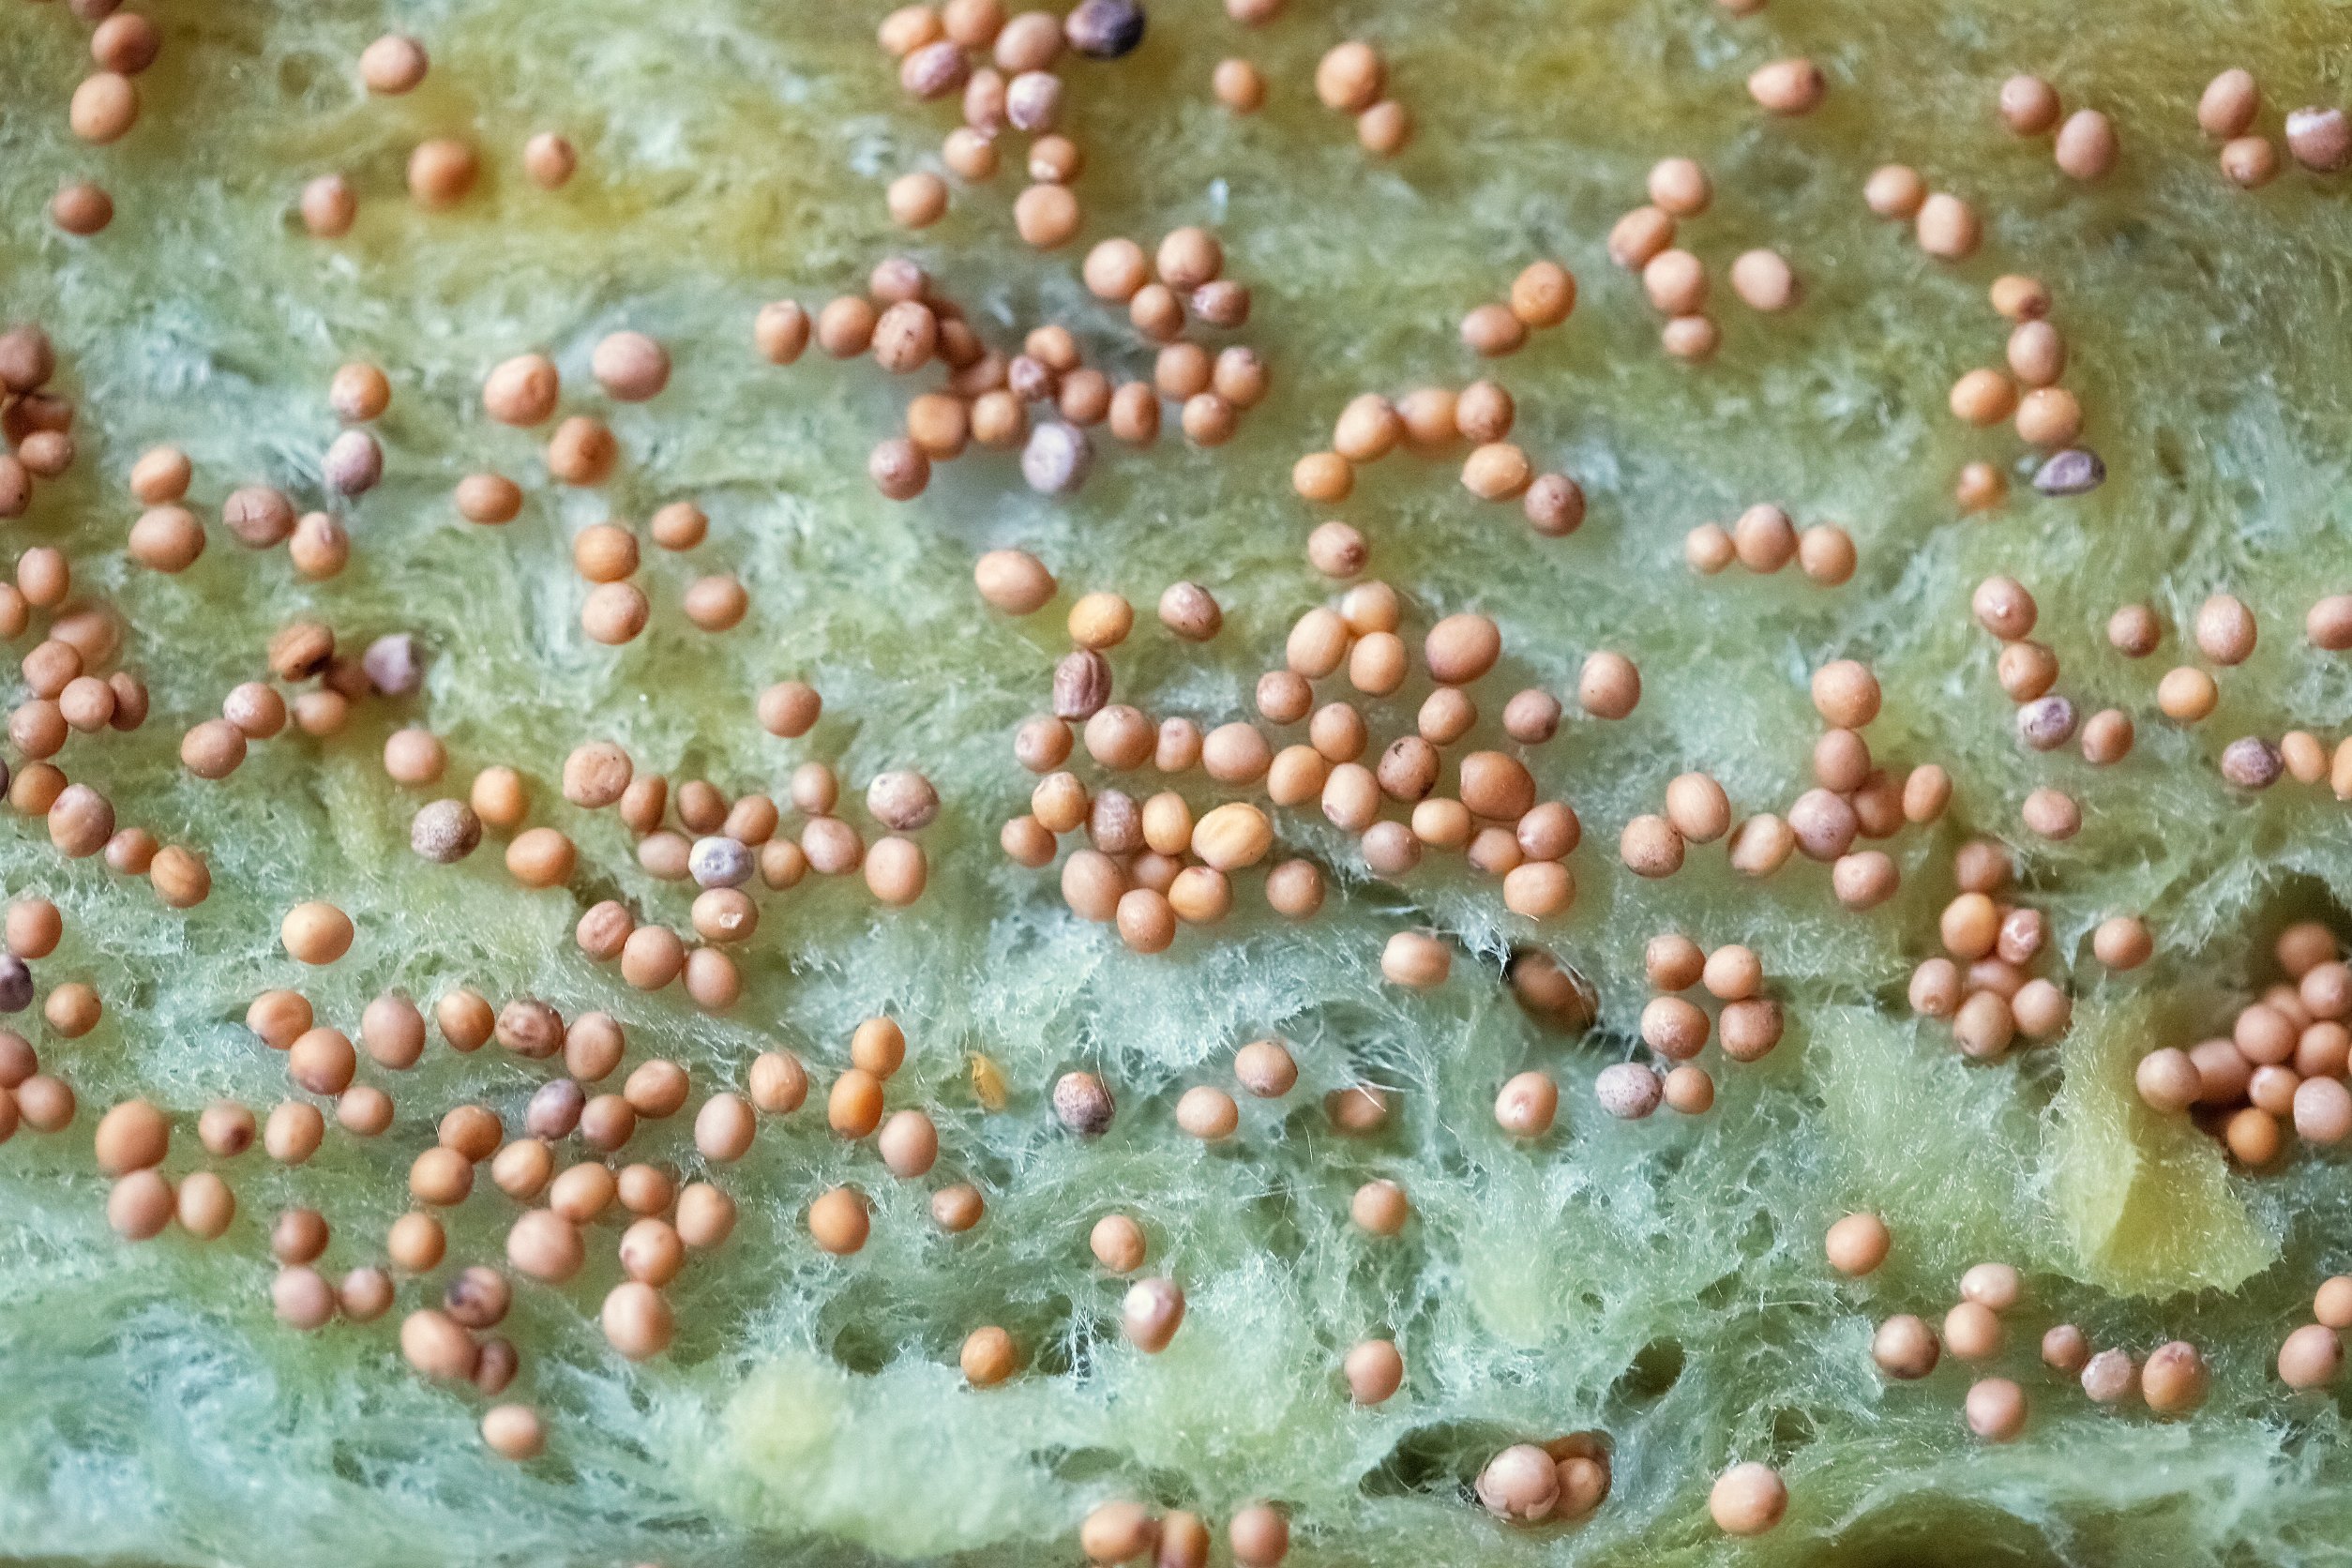
This mostly has to do with improper seed spreading on the soil. There’s a general rule where the seed density weight and tray size factor into how much you should plant in a given space. But even without that, the gist is you shouldn’t stack the seeds too close or on top of each other. Otherwise, you restrict good airflow as they sprout, which may lead to potentially cramped areas for pathogens to grow.
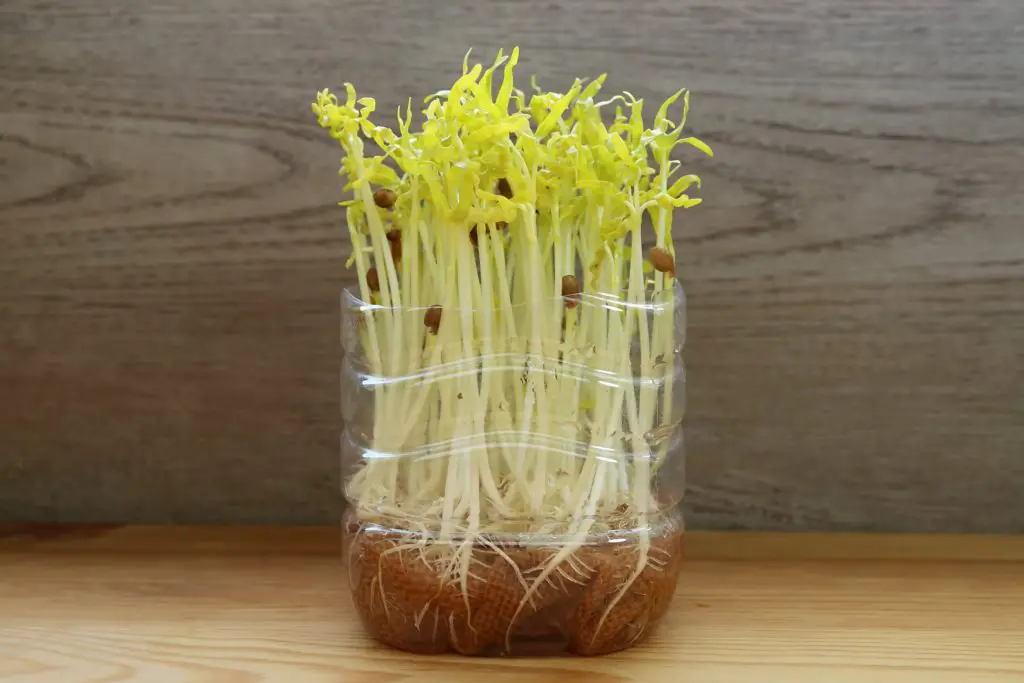
- Inadequate lighting
When the microgreens don’t get enough light, not only does this affect their growth, but it also makes them susceptible to mold or fungal growth. Remember, pathogens like it when it’s cool, damp, and dark. If you’re growing them under the sun, this keeps them from claiming real estate on your plants. Artificial light may not be as effective but will still do the job.
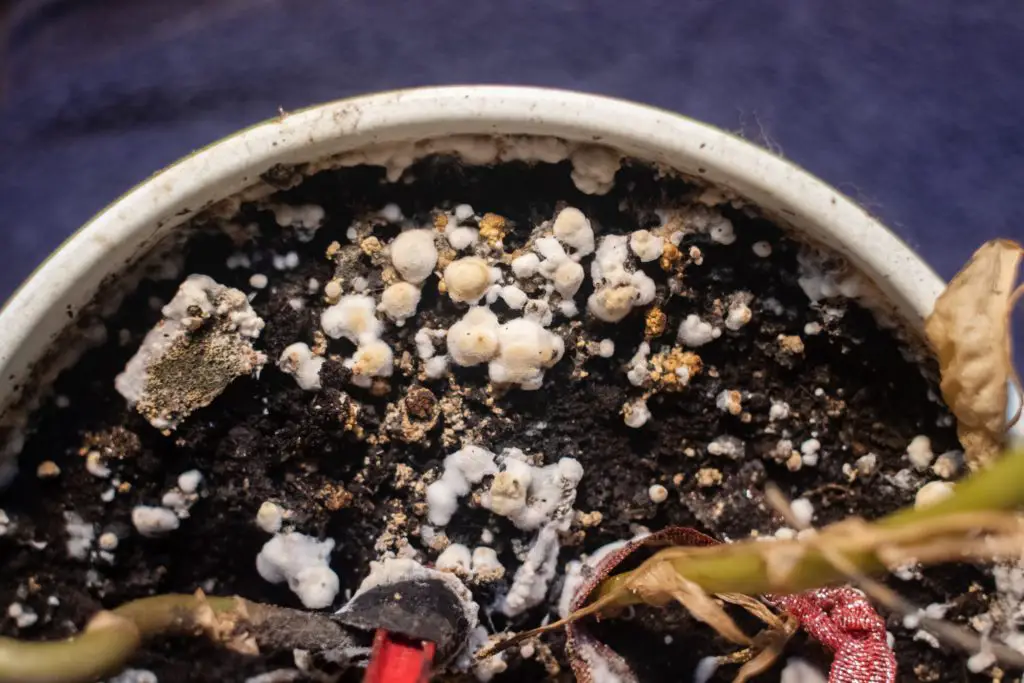
- Contaminated potting mix
Usually, white mold in a potting mix isn’t harmful and won’t damage plants. You can read this article on mold growing in potting bags if you want to know more. But for seeds, this is dangerous because they will compete with the pathogens for nutrients. This is typically caused by poor storage, or you just had the misfortune of receiving a compromised batch of soil. You should only use fresh and sterilized potting mix to plant your microgreens.
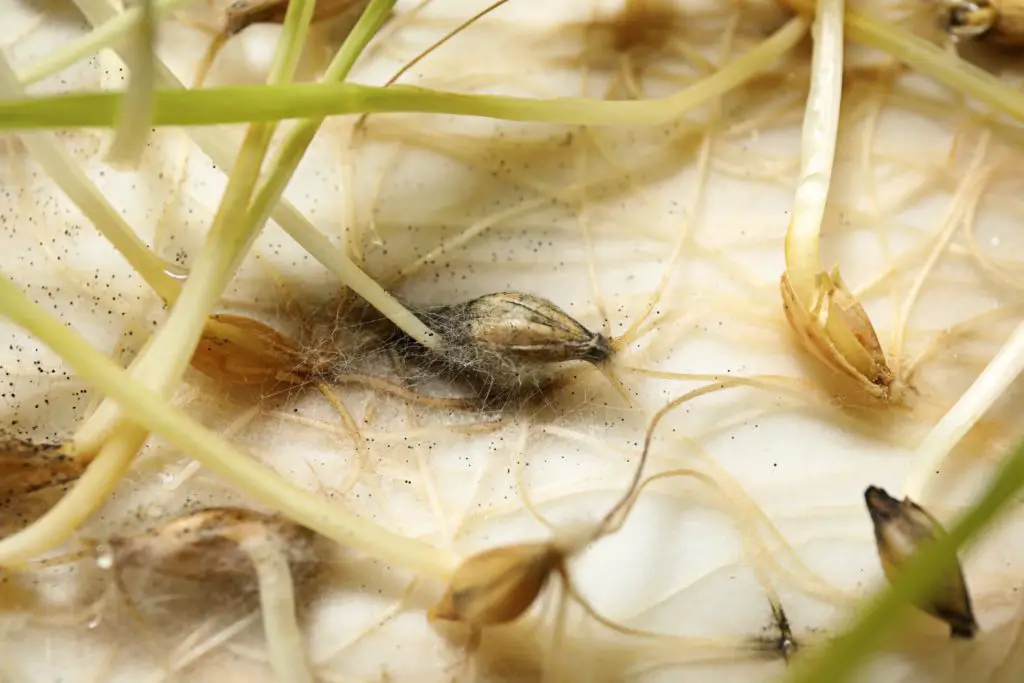
- Low-quality or compromised seeds
This is a rare occurrence and mainly stems from using old, stored seeds that have been compromised. I wouldn’t really recommend disinfecting them in diluted hydrogen peroxide or vinegar mixture. Because there’s no guarantee that they will germinate anyway, you’d just be wasting your time.
Where possible, source quality seeds if you’re unsure about the ones you stored or bought at non-microgreen-specific stores. I recommend checking out True Leaf Market and Johnny’s Seeds.
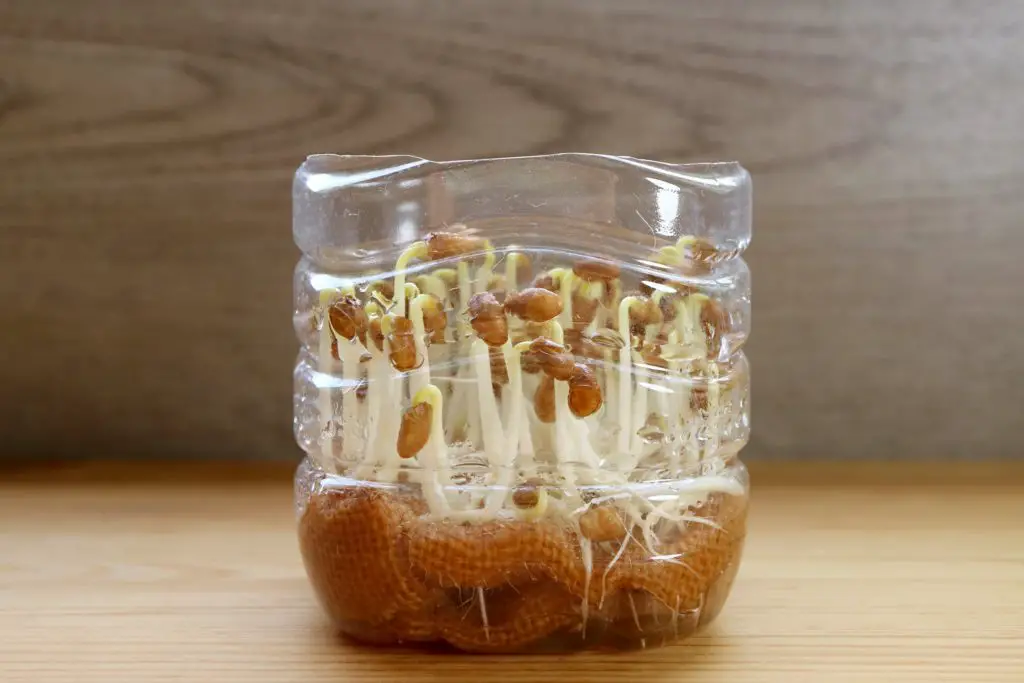
If you’ve confirmed that mold is growing in your microgreens, your only solution is to chuck it out into the compost pile. Some growers out there will say otherwise, but I don’t think it’s worth risking your or anyone else’s health. It’s best to wash and sanitize everything and start over again with preventive measures so that mold will never grow again.
How to tell if my microgreen seeds have gone bad?
Germinate a small amount separately before planting to check if your microgreen seeds are still viable. If all have germinated successfully, it’s safe to say they are still usable. However, if less than 3-5 seeds didn’t sprout, it’s best to cut your losses and buy new ones.
How Do I Prevent Fungus from Growing on My Microgreens?
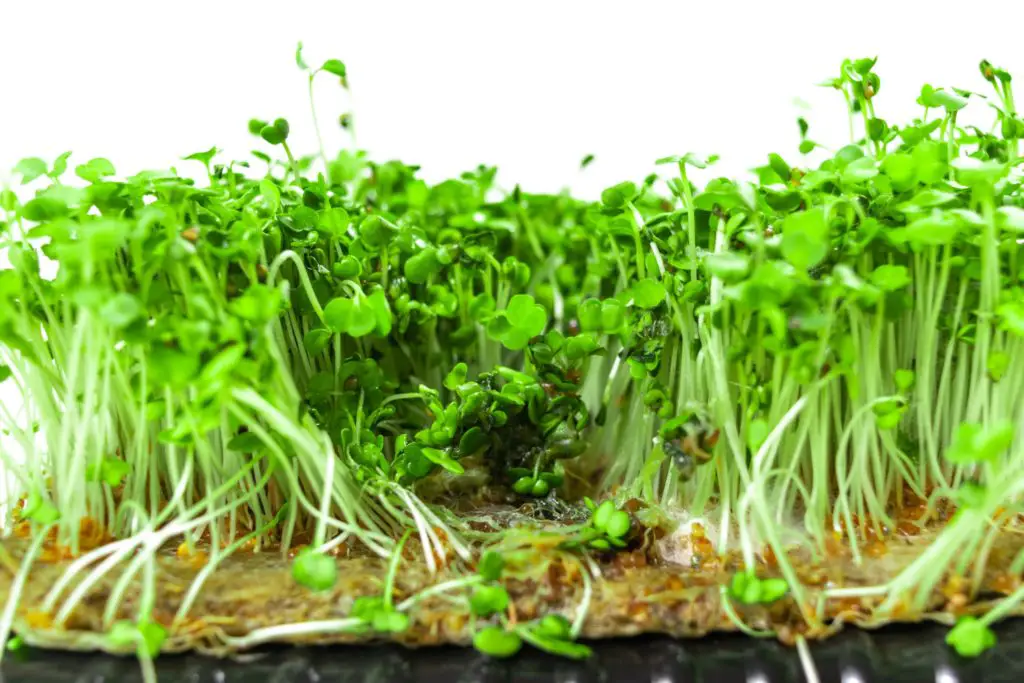
Here are a few helpful tips to prevent fungal pathogens, especially mold from growing in your microgreens:
- Always use good-quality seeds from certified vendors. If you want to try using regular or old seeds you’ve stored away, give them a germination test to see if they are viable. The last thing you want is to see barely sprouted microgreens and most of them decomposing in the soil. These can actually allow more mold to grow because that’s basically free food for them to munch and grow on.
- Do not pack too many seeds into one tray. Every microgreen seed packet will receive instructions on proper planting and spacing. You may be a rebel and don’t like following the rules, but for the sake of your plants, just this one won’t hurt. It’ll help prevent your seeds from suffocating due to overcrowding. As I said, tight spaces harbor too much moisture, allowing mold to grow.
- Always use trays with drain holes at the bottom. As mentioned in the previous section, this will significantly help you bottom water and prevent excess water from collecting at the bottom and killing off roots. This goes for all your plants, not just your microgreens.
- Bottom-water your microgreens. This is the standard way of watering your microgreens. The plants don’t need the extra water sitting at the top of their leaves where mold may grow. Directing water right at the roots is more important and ensures even soil saturation. Just be sure to discard any leftover water at the end and to water only when the soil’s surface has dried. You can read this top and bottom watering plants article to understand more about how it works.
- Only mist your microgreens while they’re germinating. Like the previous point, you want to avoid wetting the tender leaves to prevent pathogens from developing. Misting helps in the beginning because you’re dampening the soil surface lightly. But once the seeds have sprouted, the roots will take up the water it needs from the bottom, so misting or water at the top is unnecessary.
- Never use compost or garden soil to grow your microgreens unless thoroughly sterilized. The seeds will only struggle for nutrients as the live microbes, no matter how beneficial, will take it all for themselves. You need to give them a fresh, neutral ground to start on before letting them try things out in a more competitive arena.
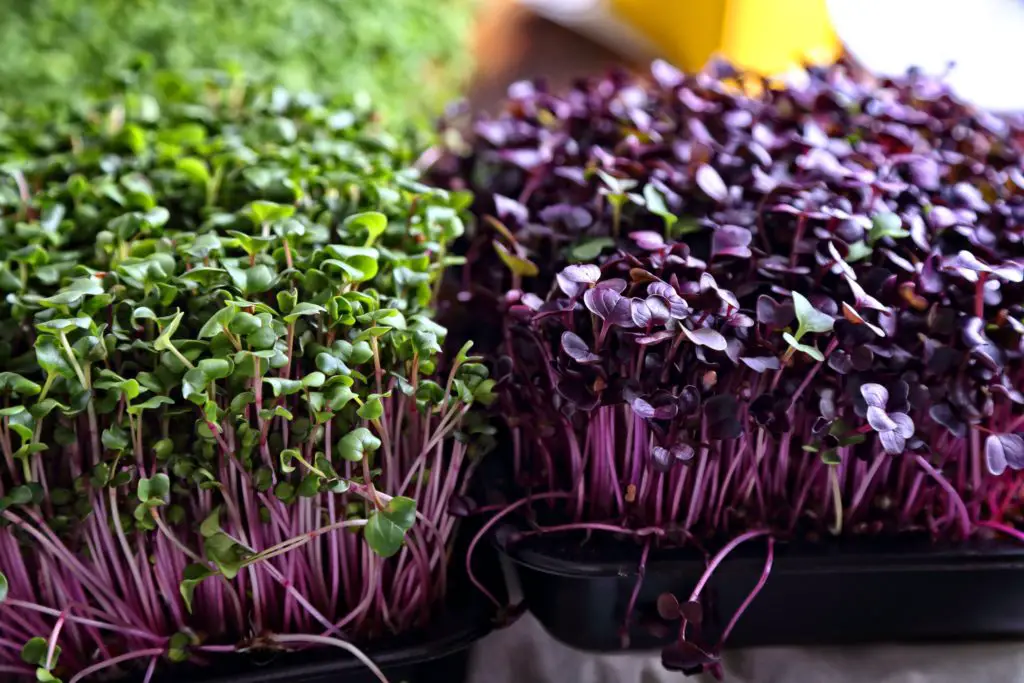
- Use a digital hygrometer and dehumidifier to control the humidity levels in your microgreen’s growth space. This is only recommended if it’s too humid in your growing area. But if you are growing your microgreens outdoors, then this is unnecessary.
- Set up a ventilation system with fans around your microgreens for air circulation. This ensures the air isn’t stagnant for your microgreen’s development. Think of it as mold spores never being able to land on the leaves, forever floating in the endless space like Bruce McCandless II. Just keep the air going, and whoosh, bye-bye mold spores.
- Provide sufficient lighting for your microgreens to keep mold spores from growing. Think of mold as vampires – if there’s enough light going around, they’re unlikely to appear, provided you don’t overwater your microgreens. A good 5-8 hours of indirect sunlight under shade is advisable. But you can also use an LED grow light for 12-18 hours daily. You can read this comprehensive Microgreen’s Light Needs article to learn more.
- Only use clean, sterilized tools when handling your microgreens. After every harvest, it’s essential to thoroughly clean and sanitize your equipment before storage and/or use. This includes washing your hands as well. The idea is you want to limit cross-contamination as much as possible, especially when you find a batch is infected with mold. Using diluted hydrogen peroxide with water to disinfect the trays is useful. But only use food-grade safe 3% hydrogen peroxide and follow the bottle’s instructions. Afterward, ensure everything dries out completely before putting it away for storage or immediate use.
- Never reuse a harvested microgreens’ potting mix. There’s an increased risk of pathogens growing in the new batch, even if it wasn’t previously infected. So just toss the old one in your compost bin, where it can be upcycled into something good for your garden.
- Store the microgreens properly after harvest without washing. Microgreens have a short shelf life. Because their delicate plant tissue is already damaged from harvesting, you risk opening those tissues further wide open. Mold will grow on it in storage simply because you washed it beforehand. Remember, they like moisture. This is why it’s better to keep them unwashed until they are ready to be used or eaten.
FAQs
Unwashed microgreens can cause potential illnesses such as food poisoning. Because of their short shelf-life, they are often packed without washing to preserve their freshness. This is because they are typically consumed raw, so there’s a high risk of contamination. But make sure to smell and check them for moldy growth just in case. When in doubt, thoroughly clean them under running water several times before eating as is or cooking them out further.
It’s unwise to spray diluted hydrogen peroxide on microgreens to eliminate mold because it’s not 100% effective and may damage the delicate leaves. Consuming them afterward is even riskier. When in doubt, toss the infected batch out instead.
It’s unnecessary to soak microgreens after harvest unless they are consumed immediately. This is because the microgreens may grow mold due to retained moisture from soaking once placed in storage. Packing them in a dry container without washing to preserve their freshness is far better.
Moldy microgreens should never be eaten but promptly discarded on a compost pile. This is to prevent any health problems regardless if the mold patch was small and taken out. The fungal spores are invisible to the naked eye and may have already spread throughout the entire batch. It’s not worth risking your health, especially if the ones consuming have severe allergies and respiratory problems.
Final Words
All in all, microgreen molds may be the bane of the edible plant’s growth. But with some care and a little investigation into the fuzzy white’s appearance, it may just be regular ol’ root hair. If not, well, now you’ll know what to do. Happy planting!
References:
- Berba, K., & Uchanski, M. (2012). Post-harvest physiology of microgreens. Journal of Young Investigators, 24. https://static1.squarespace.com/static/5443d7c7e4b06e8b47de9a55/t/59b7f1e403596e7daebfe48b/1505227238283/JYI-Volume-24-Issue-1-Berba-Kenneth-_Post-harvest-physiology-of-microgreens-2.pdf
- Damping Off. (n.d.). Penn State Extension. https://extension.psu.edu/damping-off
- Fairey, P., Chandra, S., & Moyer, N. (2019). Mold Growth – FSEC Energy Research Center. FSEC Energy Research Center. https://energyresearch.ucf.edu/consumer/buildings/building-science-basics/mold-growth/
- Growing Microgreens. (n.d.). Penn State Extension. https://extension.psu.edu/growing-microgreens
- Grow Microgreens at Home. (n.d.). Purdue University – Extension. Retrieved August 4, 2022, from https://extension.purdue.edu/news/county/allen/2022/02/grow-microgreens-at-home.html
- How to prevent seedling damping off. (n.d.). Extension.umn.edu. https://extension.umn.edu/solve-problem/how-prevent-seedling-damping
- Microgreens Mountain View Garden Club. (2019). https://extension.arizona.edu/sites/extension.arizona.edu/files/attachment/Microgreens.pdf
- Microgreens and Produce Safety. (n.d.). Extension | University of Nevada, Reno. Retrieved August 4, 2022, from https://extension.unr.edu/publication.aspx?PubID=3468
- Mold. (n.d.). Cornell Cooperative Extension. https://cortland.cce.cornell.edu/energy/mold
- Paradiso VM , Castellino M , Renna M , Gattullo CE , Calasso M , Terzano R , Allegretta I , Leoni B , Caponio F , Santamaria P . Nutritional characterization and shelf-life of packaged microgreens. Food Funct. 2018 Nov 14;9(11):5629-5640. doi: 10.1039/c8fo01182f. PMID: 30298894.
- Riggio GM, Wang Q, Kniel KE, Gibson KE. Microgreens-A review of food safety considerations along the farm to fork continuum. Int J Food Microbiol. 2019 Feb 2;290:76-85. doi: 10.1016/j.ijfoodmicro.2018.09.027. Epub 2018 Oct 5. PMID: 30308448.


