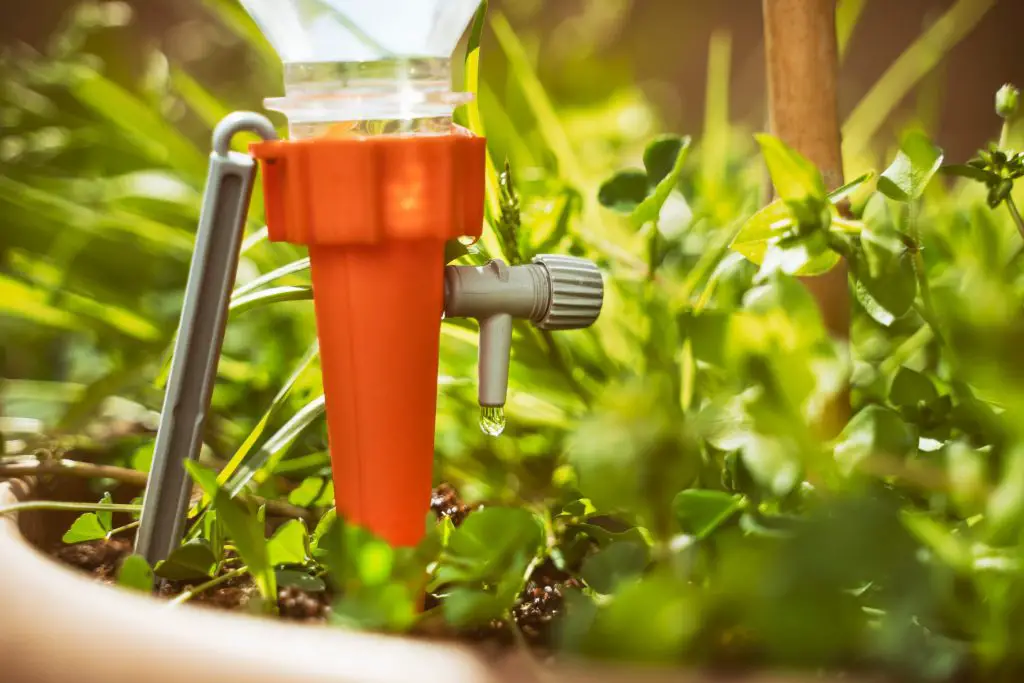
Imagine a world where your potted plants receive just the right amount of water, at the right time, every time. Welcome to the world of drip irrigation, where every drop counts and your potted plants flourish like never before.
Drip irrigation for potted plants is a water-efficient system that delivers water directly to plant roots. It reduces water waste, promotes healthier plants, and is ideal for both indoor and outdoor use.
But what makes a drip irrigation system tick? Let’s uncover the essential components of this watering technique, how to set it up and whether you should DIY it or just buy a kit:
(As an Amazon Associate, I earn from qualifying purchases.)
Parts of a Drip Irrigation System
There are three main parts to a drip irrigation system: the head, the distribution system, and the emitters.
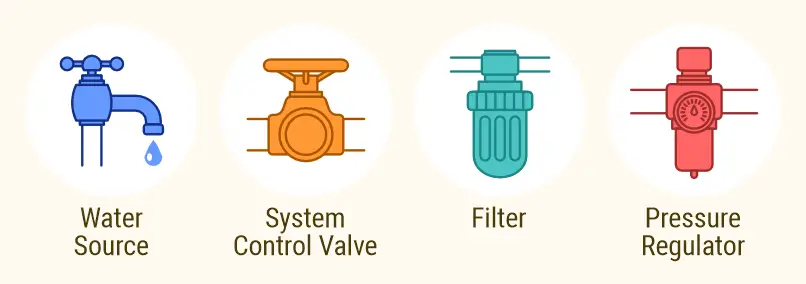
- The Head: There are 4 items involved to make this work:
- The water source – a faucet, a garden hose or a water pump.
- System control valve – a hose bib, manually operated valve, or an electronic valve connected to a time clock connected to the water source. This may sometimes have the backflow preventer included with it, which stops water from flowing back into your clean water supply.
- Filter – removes fine particles from the water stream to prevent the small openings on drip emitters from plugging.
- Pressure regulator – reduces the pressure down to the operating pressure needed by the emitters. City water systems normally have water pressure in the 25 to 60 psi range, while drip systems usually operate on pressures under 25 psi.
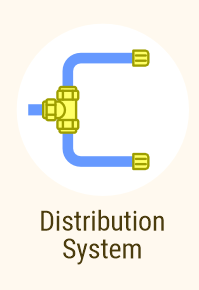
2. Distribution System: This consists of pipes that form main and lateral supply lines that carry the water to the target area. The most common pipe used for home gardens and landscapes is made from white PVC or black polyethylene materials. Various connectors are used to adapt the pipe to the emitters.
3. Emitters: This is the most important component of the drip system, ensuring that plants receive the desired amount of water. There are many different emitter designs, but they can be placed in three general categories: point source, linear, and micro sprays.
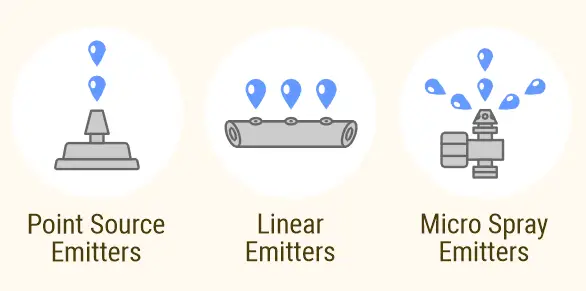
- Point Source Emitters: These are exactly placed and include a simple opening that delivers the desired amount of water. They are the least expensive.
- Linear Emitters: These are placed by the manufacturer in tubing at pre-set spacings and are difficult to change. This type of tubing is generally used where rows of plants are established.
- Micro Spray Emitters: These spray a fine stream of water and can be installed on tubing or placed on stands above the ground to spray an area.
However, this is not an exhaustive list of parts for a drip irrigation system. As such, the arrangement of these components can vary along with some additions. But a typical layout includes the main line, valve, sub-main/lateral line, backflow preventer, pressure regulator, filter, tubing adapters and fittings, drip tubing, emitters, and end caps.

How to Set Up Drip Irrigation for Potted Plants
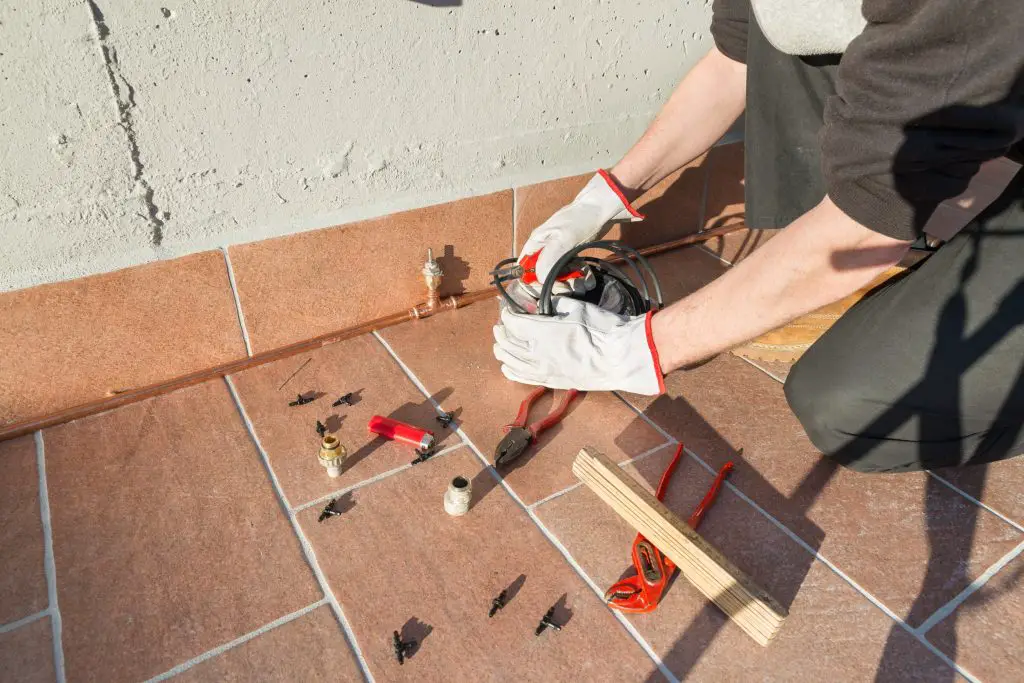
Here’s a step-by-step guide on how to set up drip irrigation for your potted plants:
1. Gather Necessary Materials:
As mentioned in the previous section, you will need a drip irrigation kit. If you’re new to this, it’s ideal to get a ready-made one which you can find at most garden supply stores or online. Once you get the hang of it, then you can experiment around and source out different components to fit your plant needs.
2. Fit the Main Valve with Backflow Preventer, Filter, and Pressure Regulator Together:
These components are crucial for the proper functioning of your drip irrigation system. Don’t tighten these parts too much, as it will cause cracks, allowing water to leak out. Test it out with water streaming too to ensure there’s no leakage before moving on to the next step.
3. Lay Out the Tubing:
Run the tubing from your water source to your potted plants. Make sure the tubing reaches each pot. Use stakes or wire anchors to keep the tubing in place if necessary.
4. Install the Emitters:
Emitters are the parts of the drip system that deliver water to the plants. Punch holes in the tubing at locations corresponding to each pot and attach the emitters. Make sure to choose emitters with the correct flow rate for your specific plants’ needs.
5. Connect the Main Valve to the Water Source:
Once everything is set up, connect the system to your water source.
6. Test the System:
Turn on the water to test the system. Check for leaks and make sure each emitter is working correctly. Adjust as necessary.
7. Set a Watering Schedule:
Depending on the specific needs of your plants, set a watering schedule. You can do this manually, or use a timer for more convenience and precision.
Outdoor Considerations
When setting up a drip irrigation system for potted plants outdoors, it’s crucial to consider the effects of weather and sunlight exposure on the equipment. These factors can significantly impact the efficiency and longevity of your irrigation system.
Sun-proofing Your Drip Irrigation System
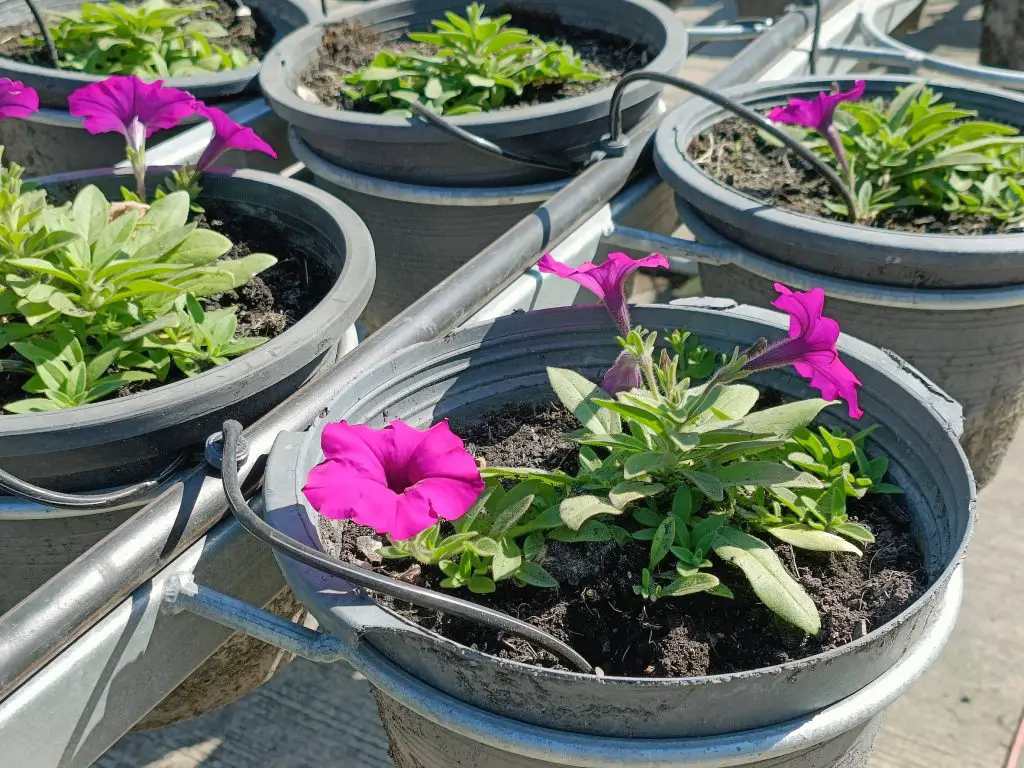
Exposure to direct sunlight can degrade the components of your drip irrigation system over time. UV radiation can cause the plastic parts to become brittle and crack, leading to leaks and system failure. To mitigate this, consider the following:
- Use UV-resistant drip irrigation components. Fortunately, most kits are made with UV-resistant materials, designed to withstand the damaging effects of sunlight, prolonging the lifespan of your system. If you’re DIY-ing it, consider checking the material of the components first before purchasing.
- Cover exposed parts of your system with mulch or soil to protect them from UV damage. This not only shields the components from sunlight but also helps to maintain a cooler temperature.
Weather-proofing Your Drip Irrigation System
Weather conditions can also affect the performance and durability of your drip irrigation system. Here are some strategies to weather-proof your system:
- Drain the system before the temperature drops to protect against freezing. In cold climates, water in the irrigation lines can freeze, causing damage. You can also use insulation to protect the system, but it’s ideal to just shut it off completely.
- Install a rain sensor to automatically pause your irrigation system and prevent overwatering. Once the sensor dries out, the system will resume its normal watering schedule.
- Consider windbreaks to prevent drip emitters from getting displaced by strong wind. Wind can increase evaporation rates, which may necessitate more frequent watering.
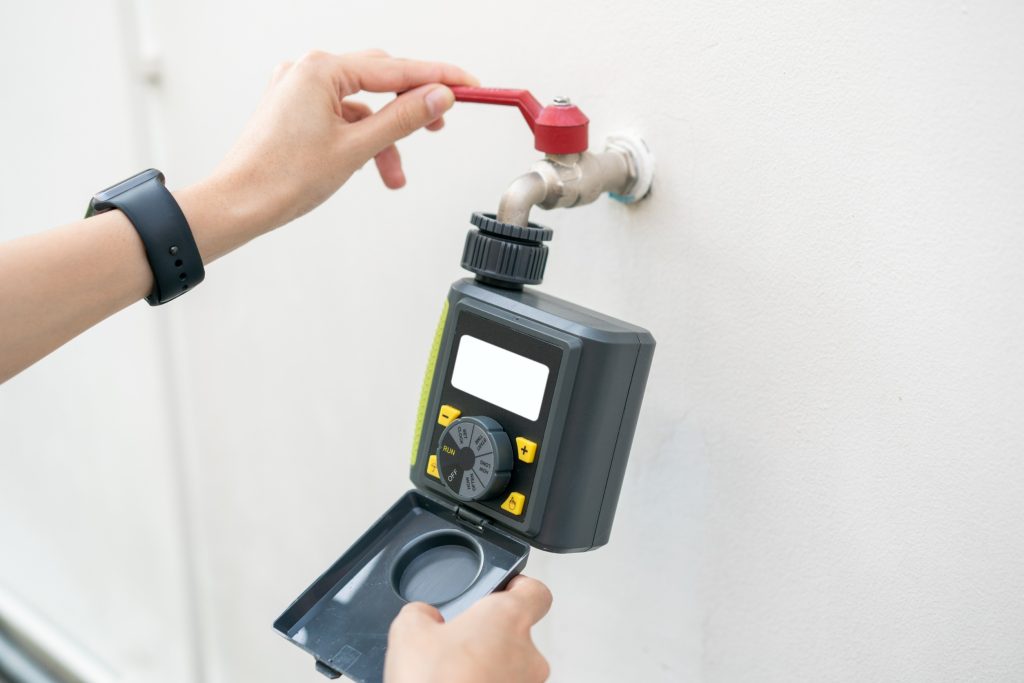
- Use an electronic or smart timer to easily adjust the watering schedule according to sudden weather changes and local water restrictions. This is helpful for the more tech-savvy folks who prefer to automate their gardening tasks while staying inside the comforts of their homes.
Remember, the key to a successful drip irrigation system is regular maintenance. Check your system monthly for leaks or damage, and adjust your watering schedule as needed to ensure your plants receive the right amount of water.
DIY vs Store Bought Drip Irrigation System
| Criteria | DIY Drip Irrigation System | Store Bought Drip Irrigation System |
| Cost | Typically less expensive as it involves using readily available materials. | More expensive due to the cost of the pre-made system. |
| Customization | Highly customizable. You can design the system based on the specific needs of your plants and the layout of your pots. | Less customizable. The system comes pre-made and may not perfectly fit the layout of your pots. |
| Installation | Requires more time and effort to install as you have to design and build the system yourself. | Easier and quicker to install as the system comes pre-made. |
| Maintenance | Requires more maintenance as the system is not professionally made. | Requires less maintenance as the system is professionally made and often comes with a warranty. |
| Efficiency | Efficiency depends on how well you design and install the system. | Typically more efficient as the system is professionally designed and made. |
DIY Drip Irrigation System
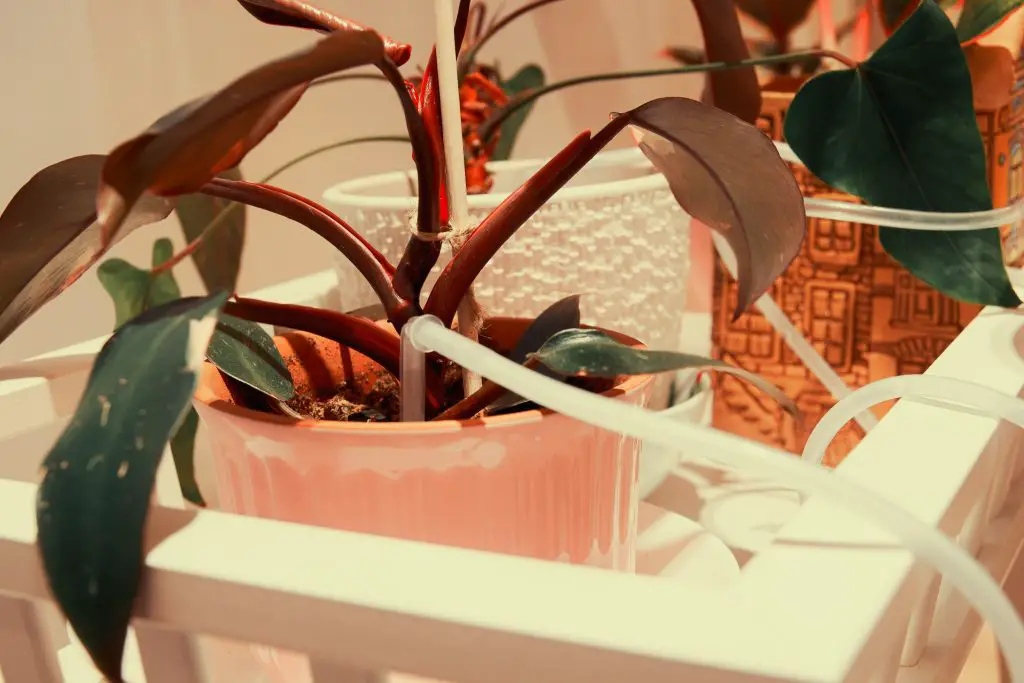
Before going ahead and using the same concepts and principles we talked about in the previous sections, here’s what you need to do first:
- Design the System: Draw the layout of your container garden and outline where the tubings will be placed from the water source to each pot. Group the plants by their similar water needs – for instance, a large potted plant will require weekly to biweekly watering while a small one will need watering every 3-4 days.
- Gather the Materials:
- PVC pipes (½, ¾, or 1 inch).
- PVC fittings and manual valves
- Drip emitters
- A filter
- A pressure reducer
- Wire anchors
These are just the basic ones you’ll need for a simple DIY drip irrigation system. But you’re welcome to add more parts as you go along.
- Prepare the Materials: Cut the PVC pipes to the desired length based on your design. Other than that, everything else should be within scale of your average drip irrigation system.
Once you’ve done those 3 crucial steps, then you can continue constructing your drip irrigation system for your houseplants as I’ve elaborated in the previous sections.
Store Bought Drip Irrigation System
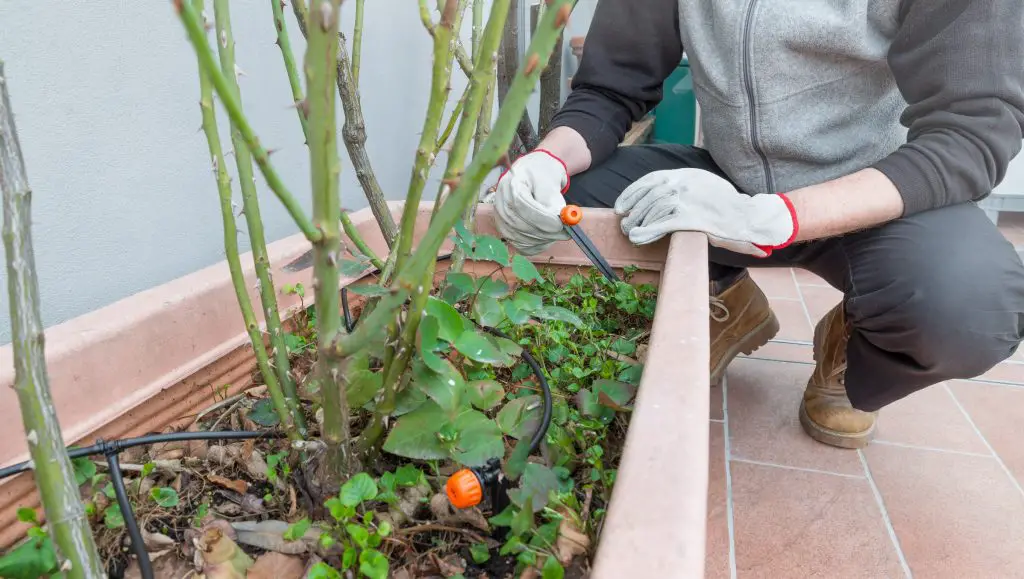
Compared to DIY drip irrigation systems, store-bought ones are readily available and can easily be installed on your own or by a professional. Common beginner setup mistakes include not installing a filter or pressure reducer, use of overly long lengths of mainline, and adding too many drip emitters. However, these systems can be easily modified over time as plants grow and needs change.
Another added bonus is that there are usually two types of emitters in these systems: pressure-sensitive and pressure-compensating. Pressure-sensitive emitters deliver a higher flow at higher water pressures, while pressure-compensating emitters provide the same flow over a wide pressure range. But the latter is more commonly used in the kits available these days.
Frequently Asked Questions About Drip Irrigation for Potted Plants
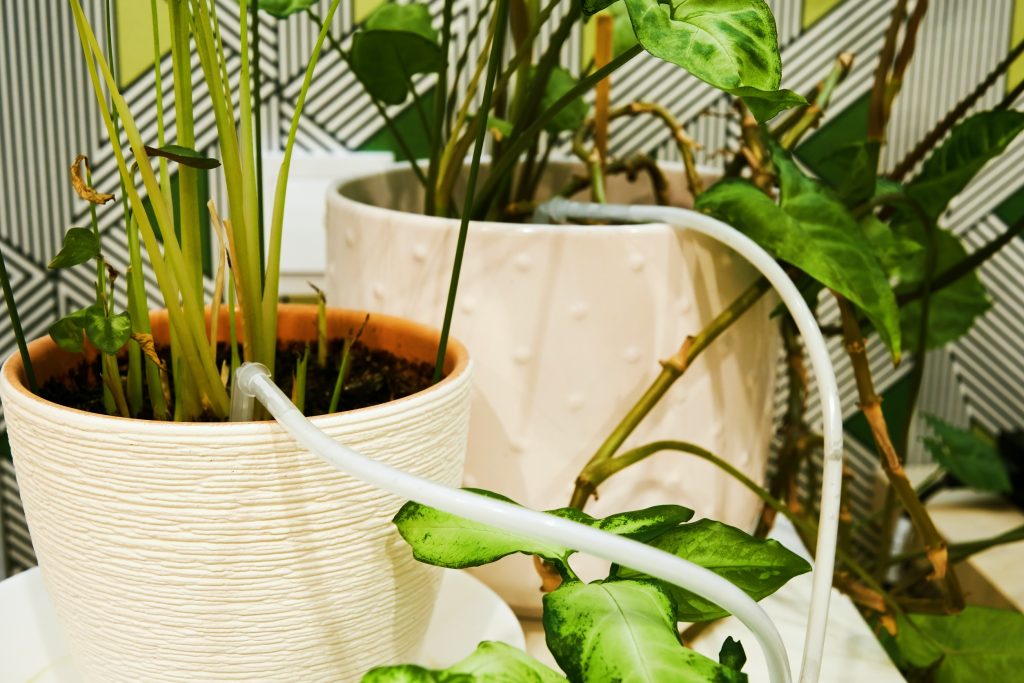
Is drip watering good for plants?
Drip watering is beneficial and good for plants. It delivers water directly to the root zone, reducing evaporation and water waste. It also minimizes the risk of disease by keeping foliage dry. This method is efficient and promotes healthy plant growth.
How to water pots with drip irrigation?
Set up a drip irrigation system to water container plants like in pots or barrels as follows:
- Connect each pot to a main water line to the water source using a drip tube.
- Insert a drip emitter into the tube for each pot.
- Adjust the water’s flow rate via using the main valve to suit the plant’s needs.
- Ensure the system is on a timer for regular watering.
What’s the best irrigation system for potted plants?
A drip irrigation system is the best irrigation system for potted plants. It provides slow, steady watering directly to the plant roots, reducing water waste and ensuring optimal moisture levels. It’s efficient, conserves water, and can be automated for convenience.
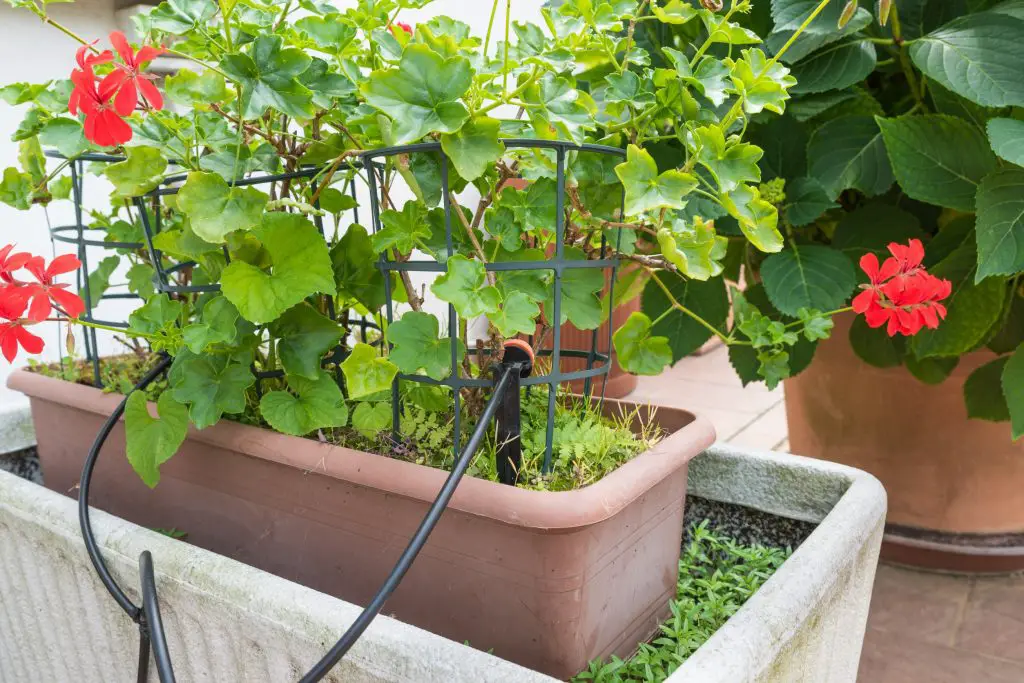
How often do you drip irrigate potted plants?
Drip irrigate weekly when the potted plant’s top 1-2 inches of soil are dry. If the weather is too hot, it’s ideal to water every 2-3 days. However, this may also vary depending on the plant type, pot size, and climate.
How long to run drip irrigation for containers?
A 10-30 minutes interval every few days is suitable for running drip irrigation on containers. However, the exact duration will be dependent on the size of the container, the type of plants, and the current weather conditions. Always check the soil moisture to adjust watering as needed.
References:
- Banks, J. E. (2012). Designing a Basic PVC Home Garden Drip Irrigation System. Utah State University Extension. Retrieved July 4, 2023, from https://extension.usu.edu/yardandgarden/research/designing-a-basic-pvc-home-garden-drip-irrigation-system
- Cochise County Master Gardeners. (n.d.). Basics of Drip Irrigation. University of Arizona Cooperative Extension. Retrieved July 4, 2023, from https://cals.arizona.edu/cochise/mg/basics-drip-irrigation
- Crum, J., & Kuhns, M. (2016). Drip Irrigation for Home Gardens. University of Arizona Cooperative Extension. Retrieved July 4, 2023, from https://extension.arizona.edu/sites/extension.arizona.edu/files/pubs/az1392-2016_0.pdf
- Drip Irrigation for Home Gardens. (n.d.). Colorado State University Extension. Retrieved July 4, 2023, from https://extension.colostate.edu/topic-areas/yard-garden/drip-irrigation-home-gardens-4-702/
- Drip Irrigation Systems. (n.d.). Oklahoma State University Extension. Retrieved July 4, 2023, from https://extension.okstate.edu/fact-sheets/drip-irrigation-systems.html
- How (and How Much) to Water. (n.d.). University of California Cooperative Extension. Retrieved July 4, 2023, from https://marinmg.ucanr.edu/BASICS/IRRIGATION_911/HowTo/
- Rain barrels in the home landscape. (2020). University of Minnesota Extension. Retrieved July 4, 2023, from https://extension.umn.edu/water-wisely-start-your-own-backyard/rain-barrels
- Saving Water Drip by Drip: A Guide To Installation and Maintenance of Drip Irrigation. (n.d.). University of California Agriculture and Natural Resources. Retrieved July 4, 2023, from https://ucanr.edu/sites/FCManual/files/286145.pdf
- Sustainable Landscaping: Drip Irrigation. (n.d.). University of Rhode Island. Retrieved July 4, 2023, from https://web.uri.edu/safewater/protecting-water-quality-at-home/sustainable-landscaping/drip-irrigation/

