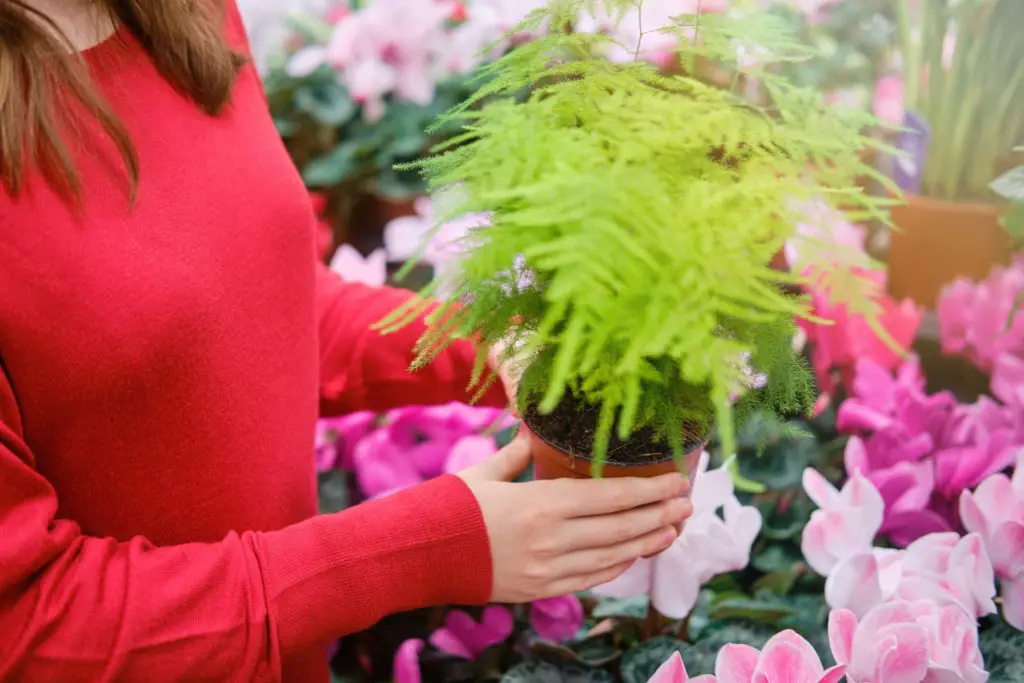
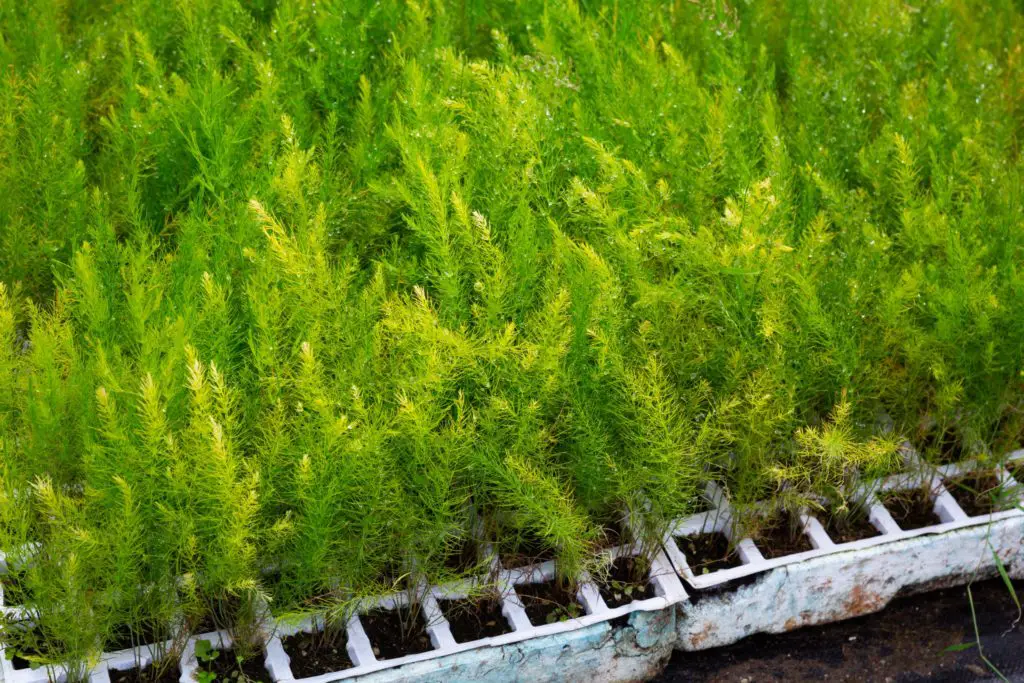
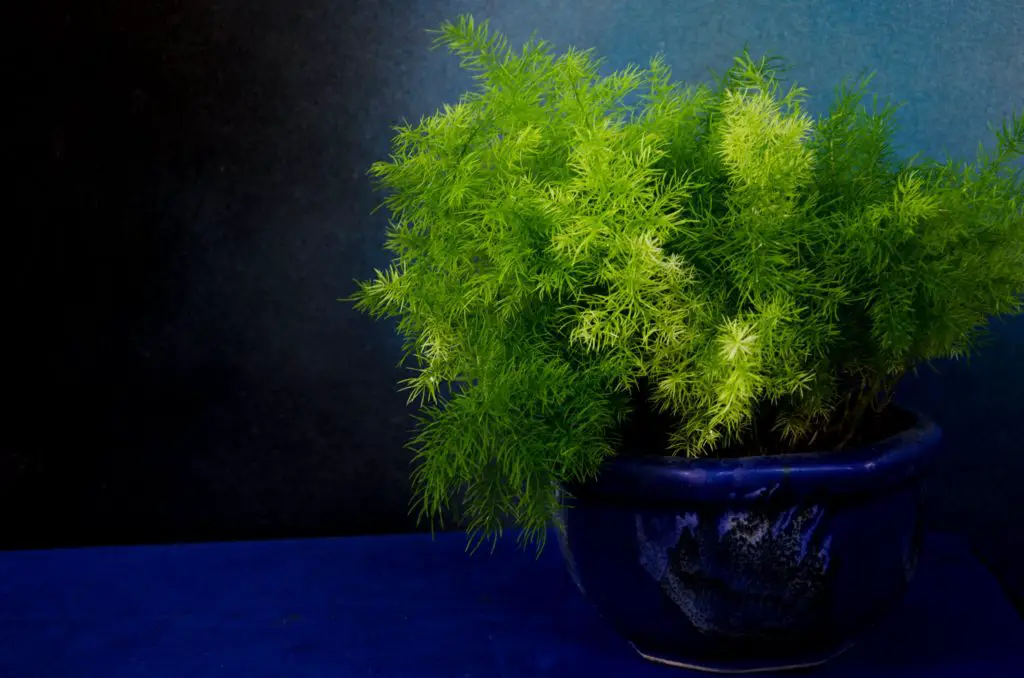
Emerald fern, commonly known as Asparagus fern, is not that hard to take care of indoors once you get the basics down. Many people just aren’t sure of what the basics are for this fern but, don’t worry; I’m here to help!
Here’s how you can get started:
(As an Amazon Associate, I earn from qualifying purchases.)
Table of contents
- 1. Provide Plenty of Bright, Indirect Sunlight
- 2. Plant in a Well-Draining Potting Mix
- 3. Water Twice a Week After the Top 1-2 Inches of Soil Dries Out
- 4. Fertilize Monthly with an All-Purpose Liquid Fertilizer In Spring to Fall
- 5. Keep in a Warm Room with 60 to 70°F (15 to 21°C) & 40 to 60% Humidity Levels
- 6. Repot Once a Year in Spring to Encourage Root Growth
- 7. Prune Yellowing Stems & Foliage Once a Year in Spring
- 8. Propagate by Dividing the Rhizomes in Spring During Repotting
- 9. Do a Weekly Pests & Diseases Check
- Frequently Asked Questions about Emerald Fern
- Final Words
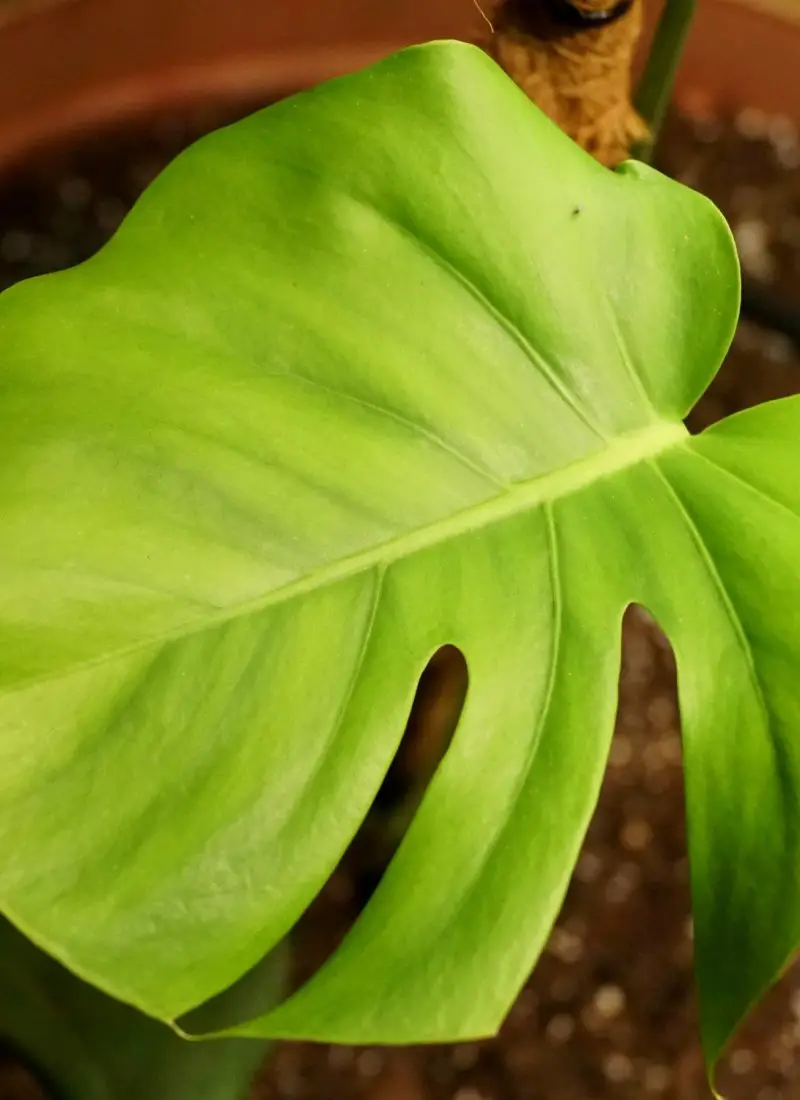
1. Provide Plenty of Bright, Indirect Sunlight
Emerald ferns grow faster when you give them a lot of light to thrive on, which can lead to a pretty & bushier plant. They can tolerate some shade, but this will usually cause the foliage to turn light green. This isn’t really a problem, but if you want a more vibrant color, it’s best to move the plant somewhere more sunny.
There are two signs you can look for to ensure your Emerald fern is getting adequate light:
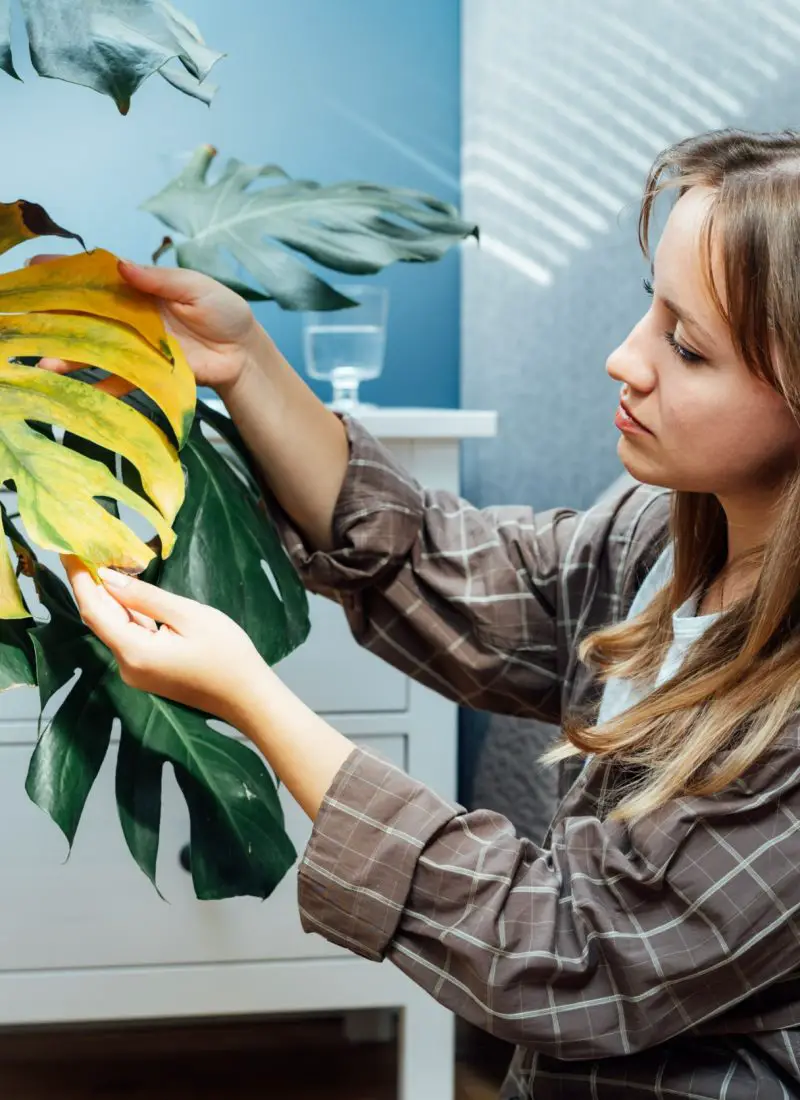
- If the leaves turn yellow and drop, the plant is not receiving enough light. Gradually move your fern somewhere brighter one day at a time to let it get used to its new sunny surroundings.
- If the leaves are yellow and scorched, the plant is receiving too much sun. It could be due to the harsh afternoon glare since it’s hotter than the morning sunlight. Immediately move the plant away to somewhere more shaded to let it recover.
If you live in an apartment or there’s not much natural light streaming into your home for your plants, you can always supplement your Emerald fern with grow lights. The artificial light will fulfill your plant’s needs without the risk of scorching its leaves. This particular product from Amazon is a lifesaver for my more fussy tropical plants and seedlings. It’s got a decent 4.5 stars with 3,553 ratings.
Just be sure to keep the grow lights 12-14 inches away from the plant. You can run it for about 12-14 hours to encourage the best growth but make sure to switch it off after to let it get its nightly rest.
Do indoor ferns need a lot of light?
As a whole, indoor ferns require plenty of indirect sunlight to grow into denser and compact plants. If the foliage turns yellow and looks burnt, this means the fern is receiving too much sunlight. Moving it to a shaded area will usually help the plant heal, but the damaged leaves are unsalvageable. Trimming them off will be better for the plant overall. Despite not being a ‘true’ fern, Emerald ferns also have similar light needs as most ferns.
2. Plant in a Well-Draining Potting Mix
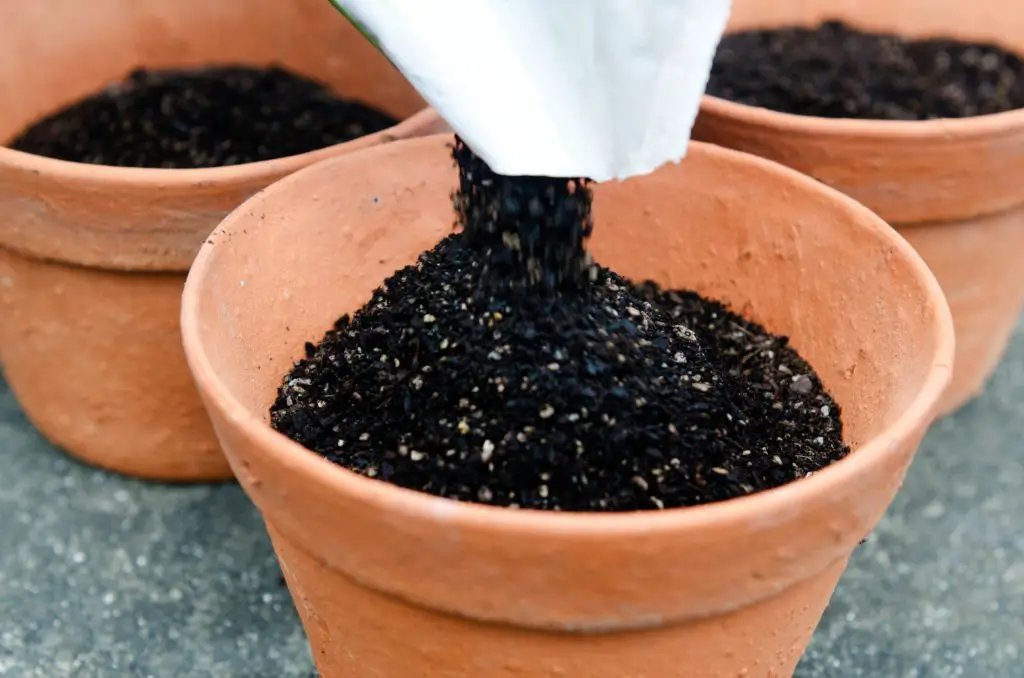
Emerald ferns prefer growing in nutrient-rich soil that holds on to moisture not for too long but enough to keep the plant well-saturated. You still want to ensure excess water drains out easily so the roots aren’t drowning 24/7. But the plant is generally adaptive and can grow in any potting mix.
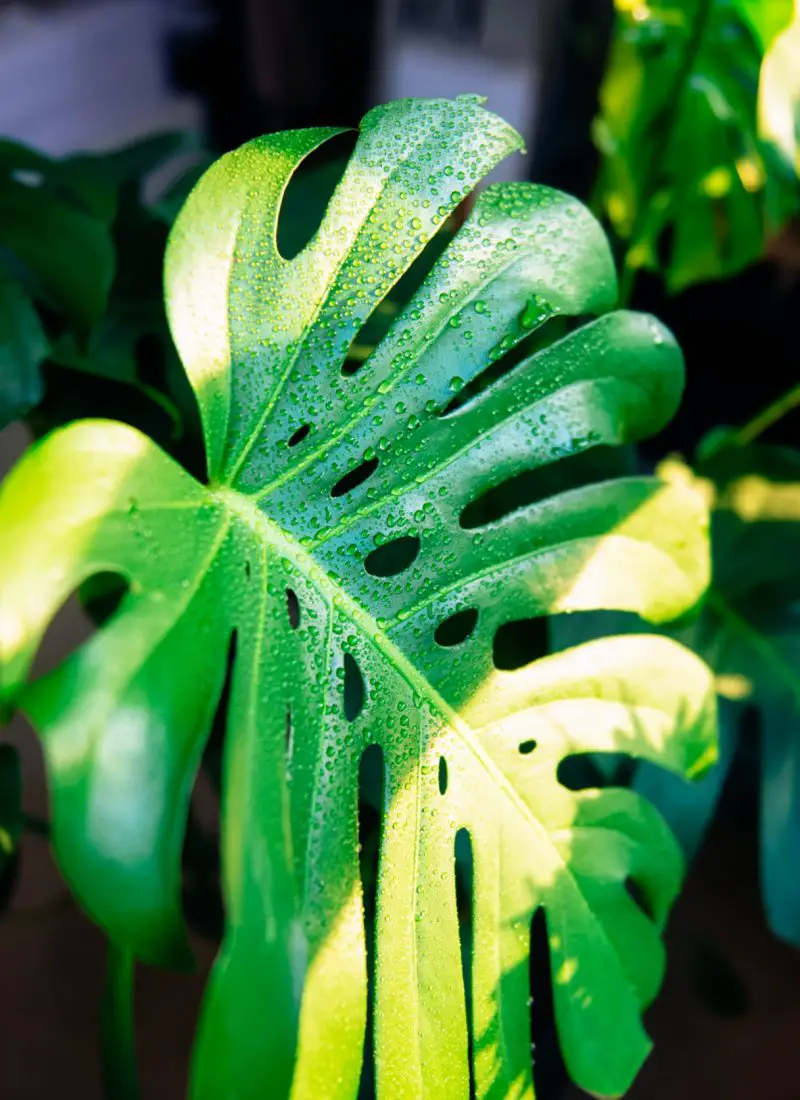
3. Water Twice a Week After the Top 1-2 Inches of Soil Dries Out
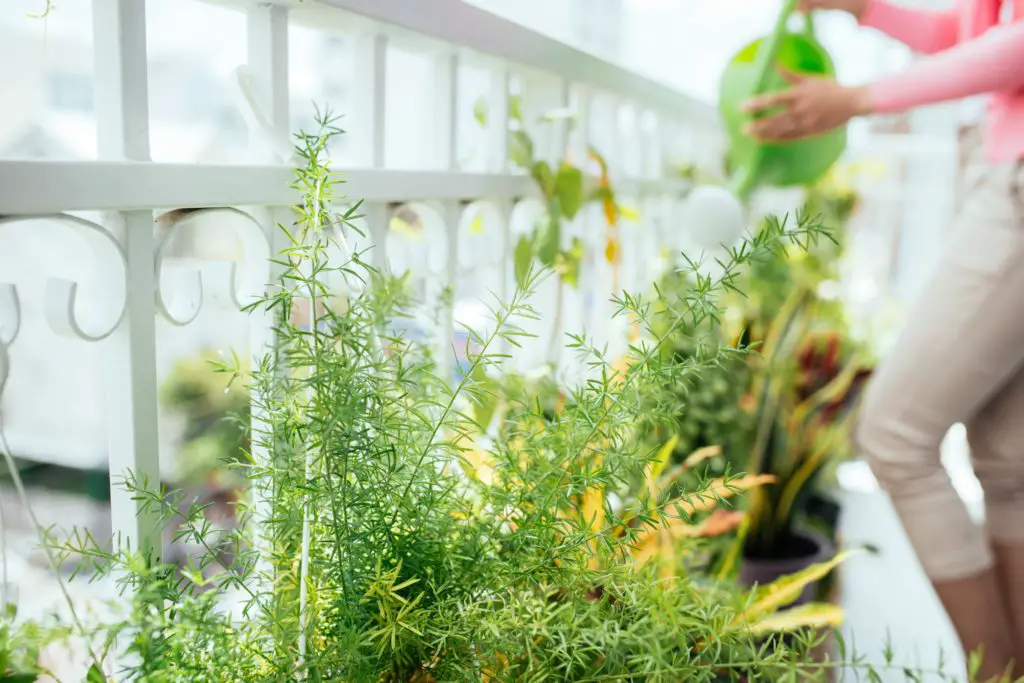
Like other ferns, Emerald ferns may be challenging to keep hydrated indoors, especially if they’re still young. The good news is that once the plant has matured, it is quite drought tolerant because it can store water in its tuberous roots. But if you notice the foliage is drooping and turning yellow/brown, the plant may be underwatered.
This watering schedule may vary depending on how dry and warm your area is and the current season. For example, you may need to water more in summer but definitely far less in winter. Doing the knuckle test before watering each time is useful to keep track of the moisture level.
You can also use a moisture meter instead. You can stick it in a few inches deep, and the probe at the end will detect whether the plant’s soil is dry, wet, or just right. This not only lets you get on top of the underwatering problem, but it can also help you prevent overwatering and root rot problems. I personally use this tool from Amazon, and I’ve never been better at keeping my plants properly watered. It has a solid 4.4 stars with 27,923 ratings.
4. Fertilize Monthly with an All-Purpose Liquid Fertilizer In Spring to Fall

Emerald ferns are not heavy feeders, so you don’t need to go overboard with the fertilizing. But it’s beneficial to top off the nutrient levels in the soil every so often to nourish the plant. Ensure to dilute the fertilizer to half the recommended strength and apply it monthly from spring through fall. Just be sure not to overdo it; too much fertilizer can burn the fern’s tuberous roots. In winter, avoid fertilizing the plant altogether.
5. Keep in a Warm Room with 60 to 70°F (15 to 21°C) & 40 to 60% Humidity Levels

Emerald fern likes medium warmth with high humidity. It’s often manageable to keep the plant flourishing with typical indoor temperatures. As long as it doesn’t go below 55°F, the plant will be fine. Ensure you don’t expose the plant to cold drafts or fluctuating temperatures; the leaves will start dropping before eventually going kaput.
As for humidity, Emerald ferns do better in high humidity. This makes it difficult when you switch your indoor heater on during winter because the plant will quickly succumb due to the dry air. For reference, you can even check out the experiment of plants I subjected to an indoor heater in this other article. Spoiler alert: the fern didn’t like the heat. And if you think misting will help, I hate to break it to you, but it does jack squat in terms of humidity. You can read this related article I wrote about misting plants. I know, I’m sad too.
In this case, a humidifier is the better option for the plant’s needs. It’ll greatly benefit your Emerald fern, and you won’t have to worry about it collapsing from low humidity. I highly recommend using this product from Amazon – it’s been nothing but a great tool addition in helping my tropical plants thrive. It has 4.4 stars with an impressive 67,417 ratings! If you want to know more about the importance of humidity for plants, you can read this article.
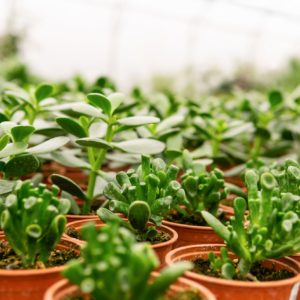
6. Repot Once a Year in Spring to Encourage Root Growth
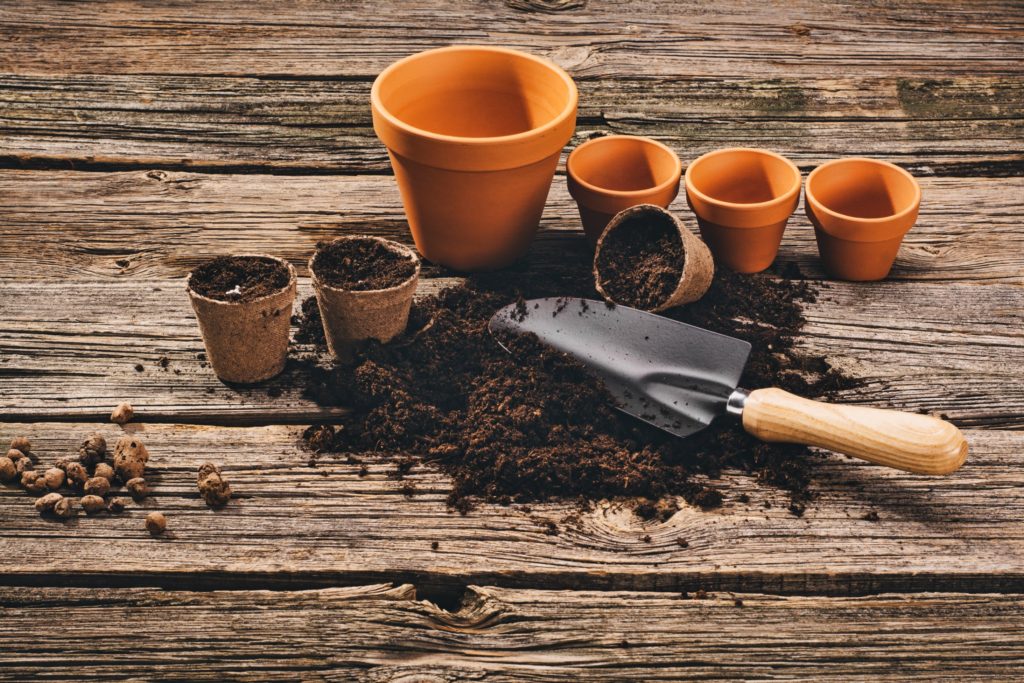
Emerald fern is fast-growing, so you’ll have to accommodate its increasing size by repotting annually. It’s best to do this in early spring before new growth starts. It’s worth noting that the roots can expand significantly, so it’s advisable to use a thicker and slightly larger container than the previous one to prevent breaking the pot. Use fresh potting soil for the plant and water lightly after everything is done.
7. Prune Yellowing Stems & Foliage Once a Year in Spring
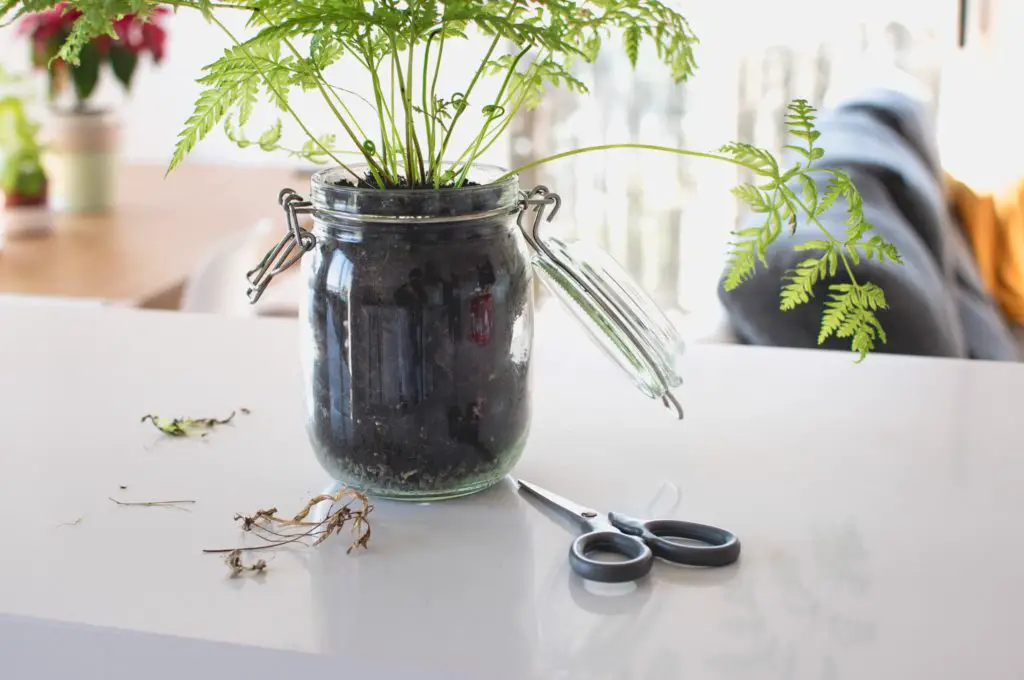
Generally, pruning is optional for Emerald fern, but you can do it to spruce up your plant. Removing old, yellow, and damaged stems will give it a fresher look. You can also pinch the stem tips to encourage more compact growth. Alternatively, you can take some sharp scissors to trim parts of the plant to shape it. But don’t go overboard – just cut 1/3 of the plant’s overall foliage and use a sterilized cutting tool. You can check out the instructions on sterilizing your scissors or pruners in this other article I wrote.
8. Propagate by Dividing the Rhizomes in Spring During Repotting
If you want to propagate your Emerald fern, the best time to do so is in spring when you’re repotting it. Usually, you can do it any time of the year, but spring guarantees new and faster growth. You can divide the rhizomes (the thick, fleshy roots) into sections and pot each separately. With proper care, they should quickly take root and start growing. If you have trouble getting them to take root, you can try misting the soil with a bit of water or using a rooting hormone. Keep an eye on them; they’ll need extra moisture and attention until they’re established. You can find out more on how to do this type of propagation in the article here.
You can also try growing the seeds if your Emerald fern manages to bear fruit. But you’ll need to scarify or make cuts on them first. You can achieve this by rubbing the seeds with a bit of sandpaper before soaking them in water for 24 hours. This helps to open up the seed’s hard exterior to allow quicker germination, which may take up to 3-4 weeks. Simply plant them in a moist potting mix, and once the first leaves have developed, they’re ready for transplanting into their own pots.
Important note: Emerald fern berries are toxic upon ingestion. Keep them far away from children and pets.
9. Do a Weekly Pests & Diseases Check
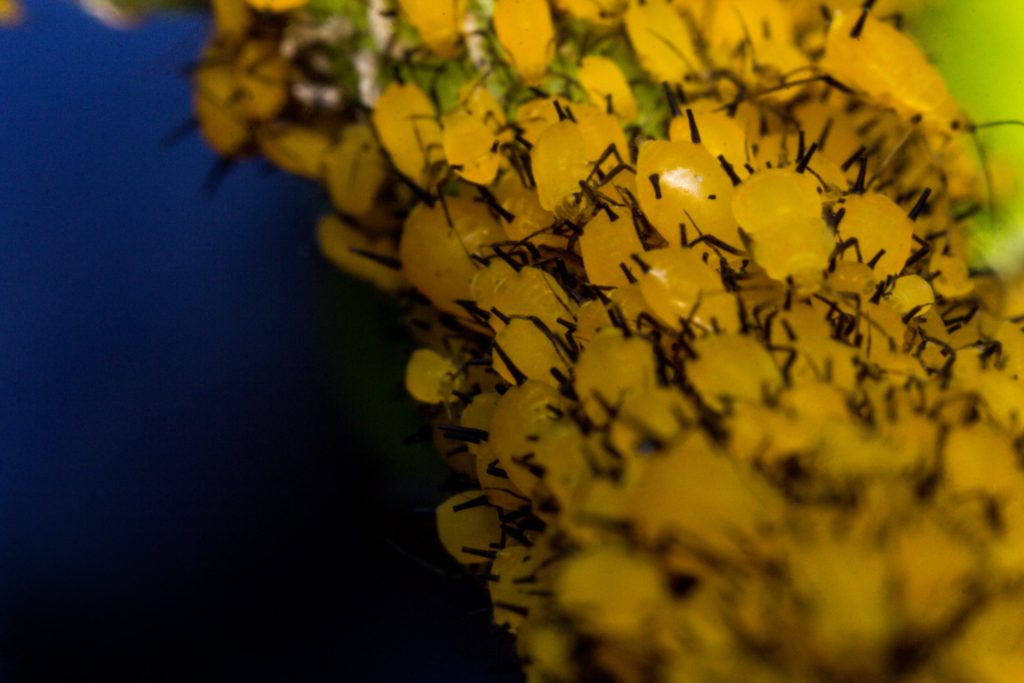
As with all houseplants, it’s advisable to check your Emerald ferns for any pests lurking or symptoms of diseases on the plant. The earlier you can catch it, the higher the chance of your fern’s recovery.
Pests such as aphids, mealybugs, spider mites, and whiteflies tend to plague this plant. But they’re not impossible to eliminate. You can read this article I wrote for a comprehensive guide on getting rid of common houseplant pests.
As for diseases, an Emerald fern is known to suffer from leaf spots due to frequent splashback on the foliage and crown/root rot from overwatering. These can easily be avoided by watering the plant at the soil level with an adequate amount. But otherwise, the plant doesn’t frequently experience disease issues unless placed/planted outdoors.
Frequently Asked Questions about Emerald Fern
Emerald ferns need abundant indirect sunlight, monthly fertilizing, and weekly watering to keep their soil consistently moist. Temperatures should be constant at 60-70°F with a nearby humidifier to keep the surrounding air humid. The challenging bit in taking care of this plant is to keep it well-hydrated and its environment humid enough to thrive indoors. Other than that, everything else comes easy.
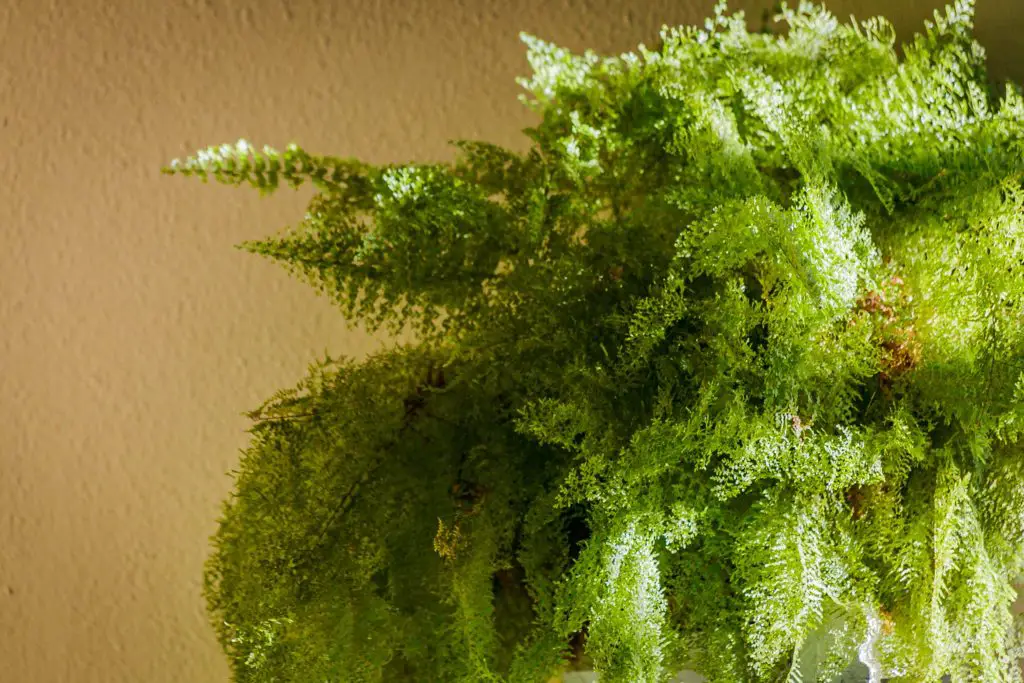
Emerald ferns have long, thin, almost needle-like leaves that are deep green. The leaves of the emerald fern are flattened stems called “cladodes”, which grow in a spiral pattern around the plant’s main stem. The emerald fern can grow quite large, up to six feet tall sometimes! But indoors, it usually develops up to three feet tall only.
An Emerald fern’s red berries are toxic to pets and children and may cause stomach problems. Its foliage may also irritate the skin upon repetitive contact. Where possible, keep the plant far from the reach of curious animals and tiny humans.
As a whole, Emerald ferns should not be planted outdoors as a precaution. It is a rapid grower when grown as a groundcover, and the berries can be eaten and spread by birds. It is known to be invasive in Florida, Hawaii, and Texas in the US. Where possible, restrict the plant to a container and keep it indoors.
Emerald ferns are high maintenance in terms of water and humidity needs. But the rest of its basic care is relatively manageable. However, it’s worth noting that the plant sheds its leaves quite often, so you’ll have to place it in an area where it’s easy to clean up the fallen leaves.
Emerald ferns are part of the Asparagus family (Asparagaceae). They are not ‘true’ ferns and are more closely related to the edible asparagus vegetable, hence why it is also referred to as an Asparagus fern. But some have said they belong to the Lily family (Liliaceae). This confusion possibly stems from the fact that some of the species now under the Asparagus family used to fall under a catch-all group in the Lily family.
Final Words
All in all, Emerald ferns are not that tricky to take care of indoors. If you can get their watering and humidity needs right, you’re already halfway there to success. I wish you the best of luck, and as always, happy planting!
References:
https://hort.extension.wisc.edu/articles/asparagus-fern-asparagus-densiflorus/
https://plants-archive.ifas.ufl.edu/plant-directory/asparagus-aethiopicus/
https://florida.plantatlas.usf.edu/plant.aspx?id=332
https://plants.ces.ncsu.edu/plants/asparagus-densiflorus-sprengeri-group/
https://www.aspca.org/pet-care/animal-poison-control/toxic-and-non-toxic-plants/emerald-feather
https://extension.umn.edu/planting-and-growing-guides/lighting-indoor-plants