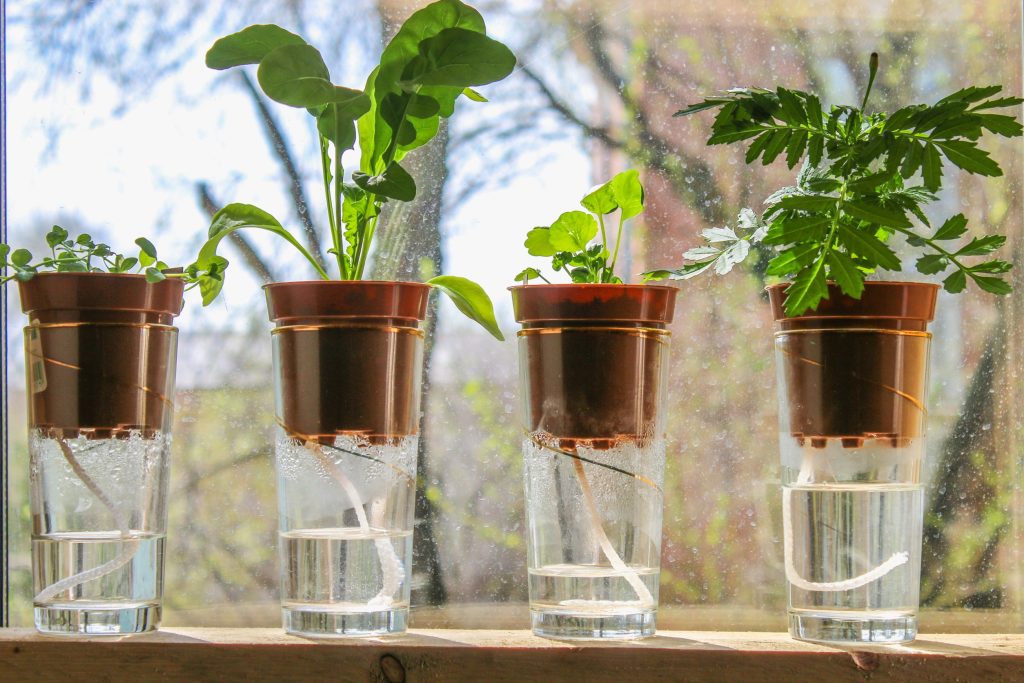
Say goodbye to overwatering and underwatering with a new watering system to keep your green babies thriving – wick watering! It’s simple, sustainable, and the most low-maintenance way to water your plants.
A wick watering system for potted plants uses capillary action to draw water from a reservoir into the plant’s soil via a wick material. It ensures consistent moisture levels, reducing the risk of over or under-watering. It’s an ideal way to water plants while away on vacations.
Below, I discuss more on the components and concepts, as well as the differences between a DIY and readily-made wick system:
(As an Amazon Associate, I earn from qualifying purchases.)
Items for Wicking System
There are 3 main components needed for a wicking system:

- Wick material such as nylon, rope, yarn, or strips of cloth.
The wick is the heart of the system, responsible for drawing water from the reservoir and transporting it to the plant’s roots. The length will vary depending on your plant’s pot size and the distance between the plant and its reservoir.
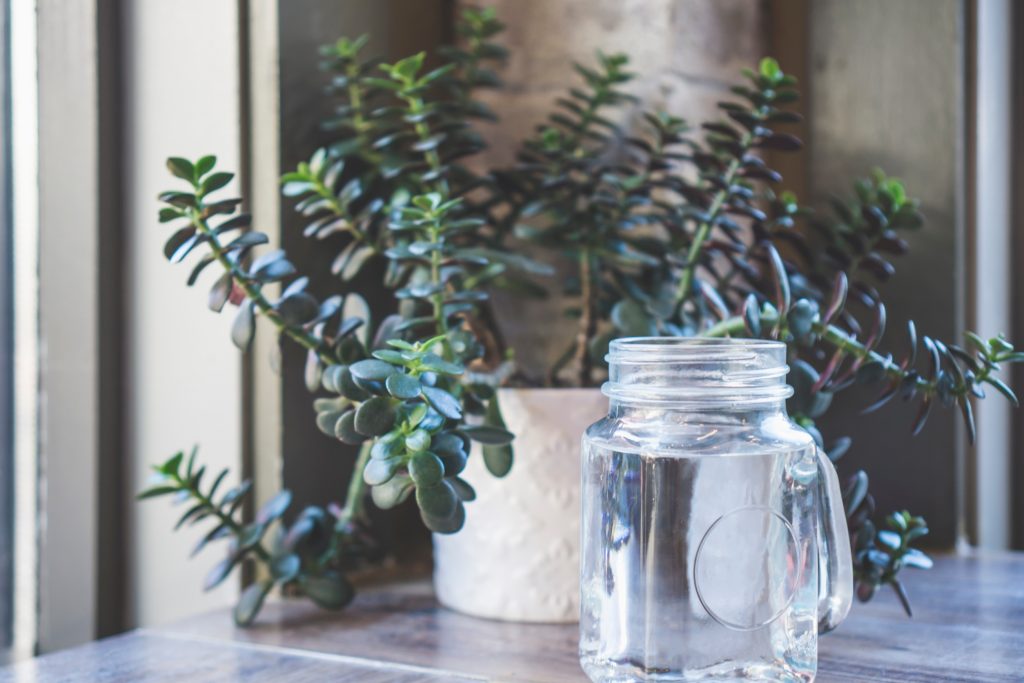
- Reservoir for the plant’s water source.
The reservoir can be a separate container or a built-in part of the plant’s pot. Ideally, you want the former to gauge the amount of water your plant needs. In some cases, people use one large reservoir to wick several plants at the same time. It also makes it easier to change the water regularly and prevent algae growth.
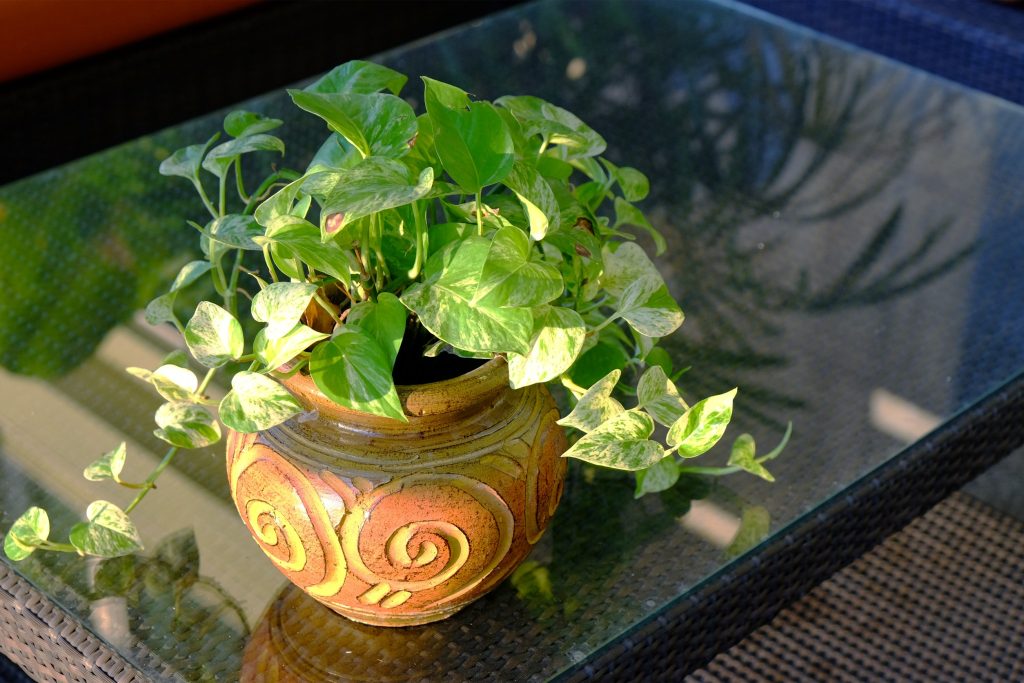
- Plant’s pot filled with potting soil or any porous growing medium,
If your pot doesn’t have a built-in reservoir at the bottom, that’s completely fine! Your regular pot will do – but you’ll need to push the wick through the plant’s soil from the drain hole to the top. Ideally, you should do this before placing the soil in.
Simple, right? You may even already have all these items in your home! But wait, before we get into assembling, let’s learn a little bit more about the concept.
How does a plant wicking system work?
With the components mentioned in the previous section, this is how a simple wicking system is set up:
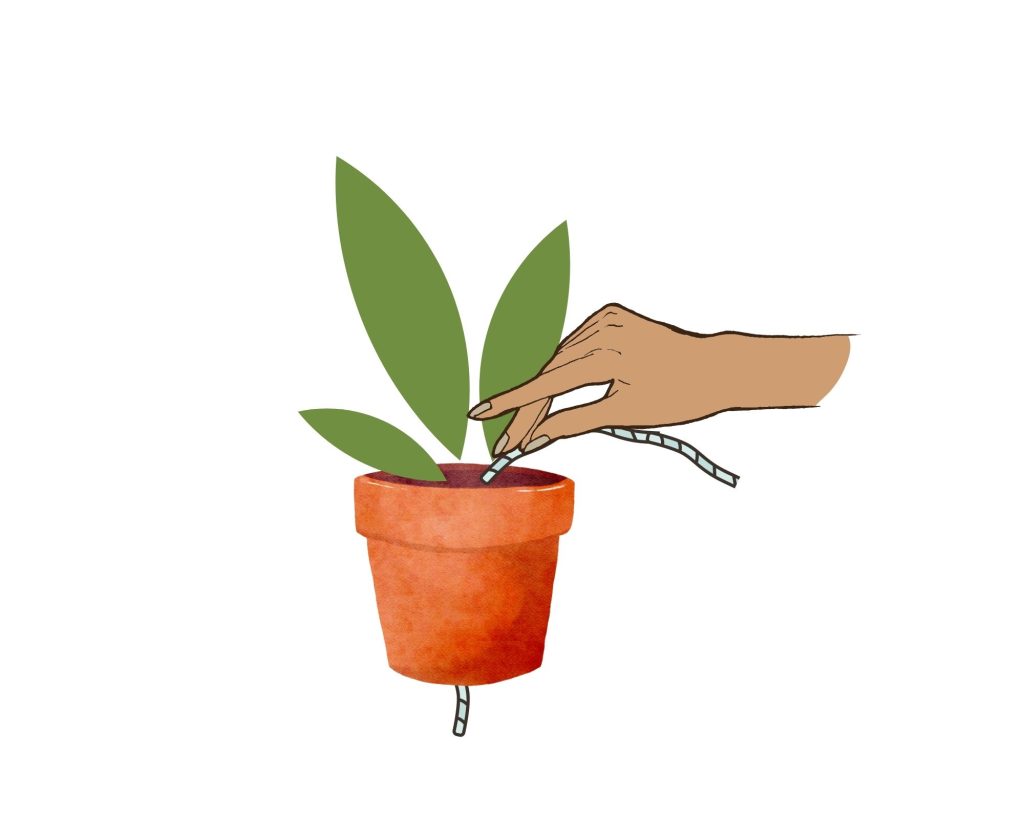
1. Put the wick material through the plant’s pot, from the drainage hole all the way to the top.
2. Put an adequate amount of water in the reservoir.

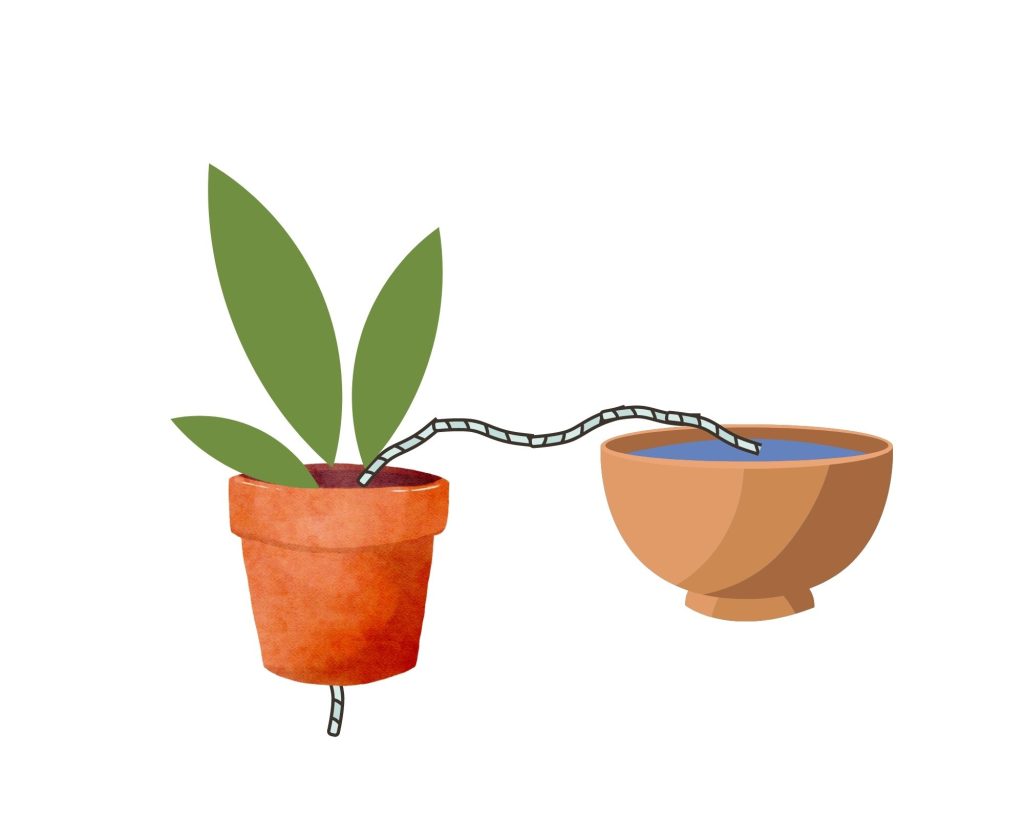
3. Place the end of the wick material in a reservoir.
Now, how exactly is this going to water a plant? Well, think of a tissue soaking up water. This phenomenon is called the capillary action and is the principle based around a wick watering system. In a more science-y language, the liquid rises by filling in the gaps and voids of the wicking material by surface tension. So the smaller the particle, the greater the ability to defy gravity – obviously, not to be confused with the Wicked Witch of the West.
In short, water travels up the wick from the reservoir and through the potting soil, keeping the plant hydrated as needed. The reservoir itself can be placed directly underneath the plant’s pot but above or next to it is also acceptable. Alternatively, the potting soil itself can be the wick material used rather than a string of yarn or rope. The concept is the same but there are slight differences in the parts used to create the set-up – more on that later!
Homemade vs Store Bought Wick Watering System
| Homemade Wick Watering System | Store Bought Wick Watering System | |
| Pros | 1. Can be assembled with readily available materials. 2. Requires less frequent watering due to the adjustable size of the water reservoir. | 1. Comes as is without any need for additional setup. 2. Can cater to specific plant sizes and water needs. |
| Cons | 1. Requires a bit of effort and time to assemble. | 1. Could be more expensive than a homemade system. 2. May need watering more due to limited reservoir sizes within the pot. |
Do take note that the choice between a homemade and store-bought wick watering system often depends on individual preferences, available resources, and the specific needs of the plants.
Homemade Wick Watering System
As discussed in the previous sections regarding the parts and the concept, here’s a simple way you can DIY a wick watering system for your houseplants:
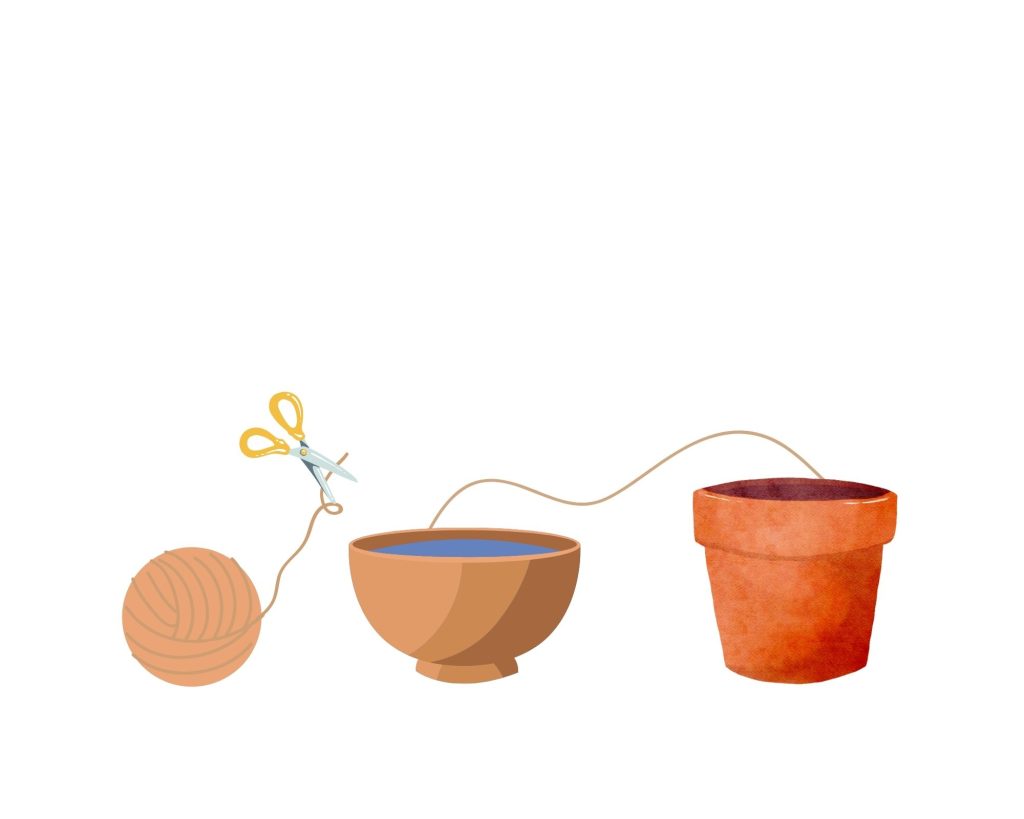
1. Cut the wick’s length according to the distance between the reservoir and your plant’s pot. It should be long enough to reach the bottom of both containers when they are placed above or next to each other.
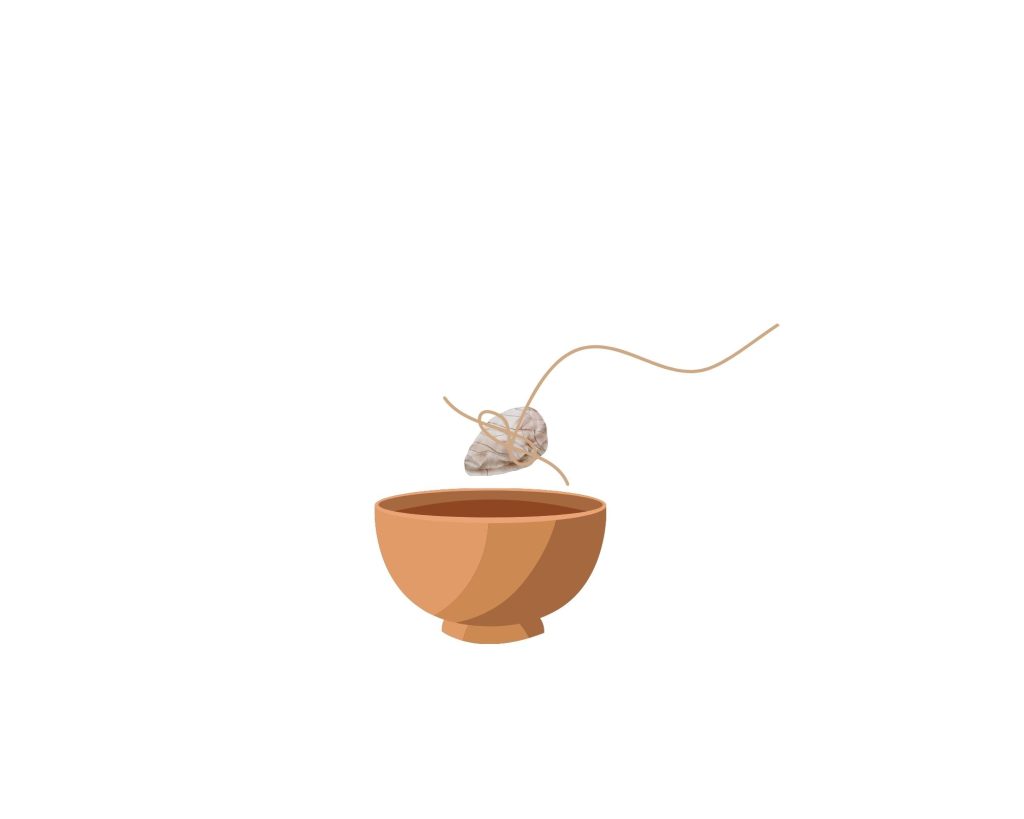
2. Tie a few knots or add some weight to one end of the wick to keep it at the bottom of the reservoir. This way, the wick doesn’t slip out and will transport a constant supply of water even as the water level gets lower before its next refill.
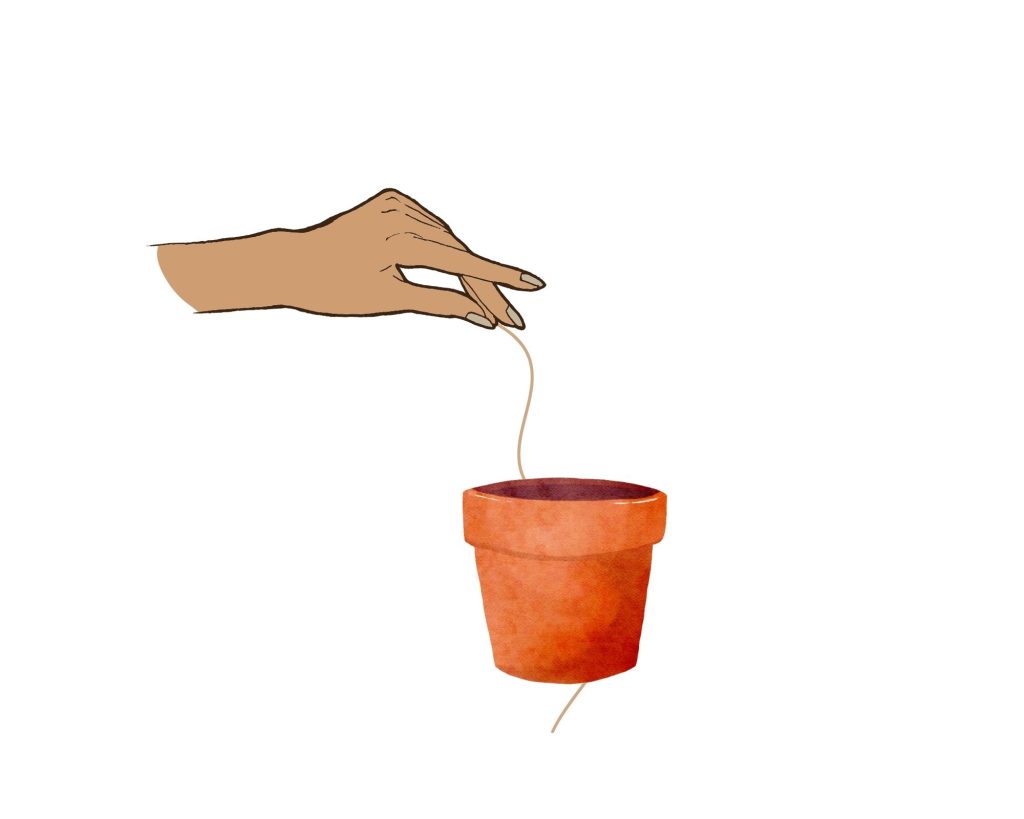
3. Thread the wick through a drain hole at the bottom of your plant’s pot and all the way to the top. If there isn’t a hole, you can create one using a drill or a sharp object but be careful when doing so.
4. Fill the pot with potting soil before placing your plant in, ensuring the wick is buried within the soil. This allows the wick to draw water into the soil as needed. Note on the potting soil: Avoid using sandy or clay soil. It’s better to use loamy soil with some added perlite or vermiculite to create a porous but moisture-retentive medium for the plant.
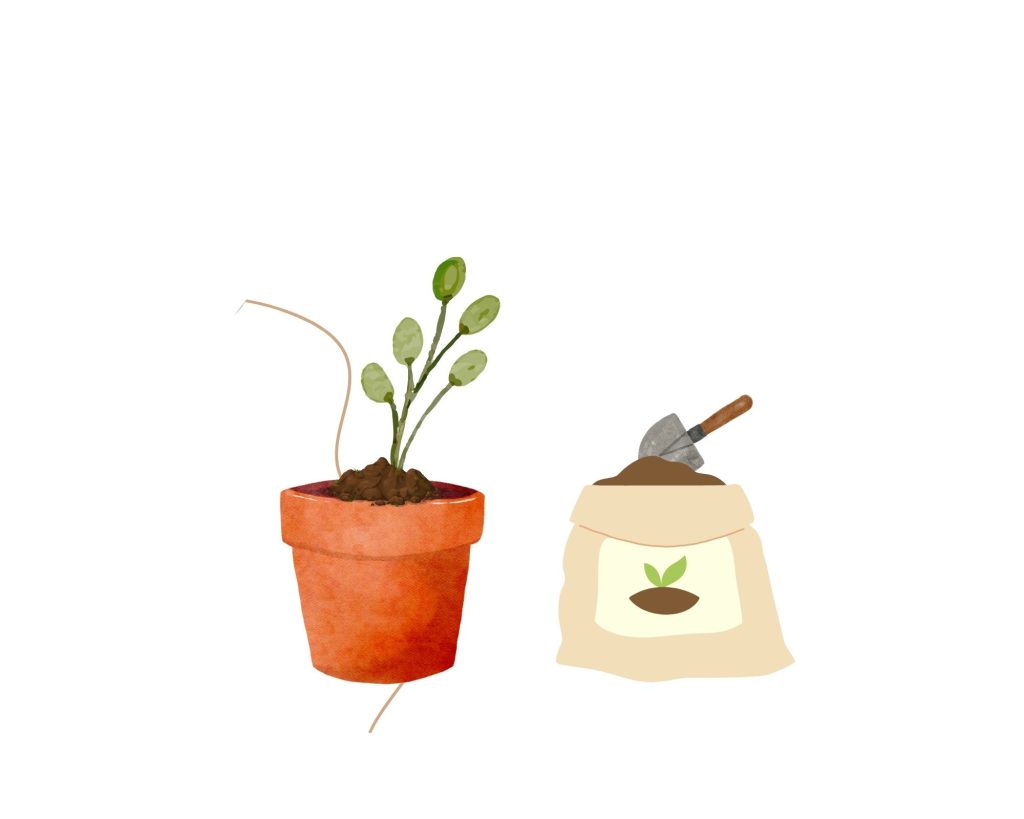
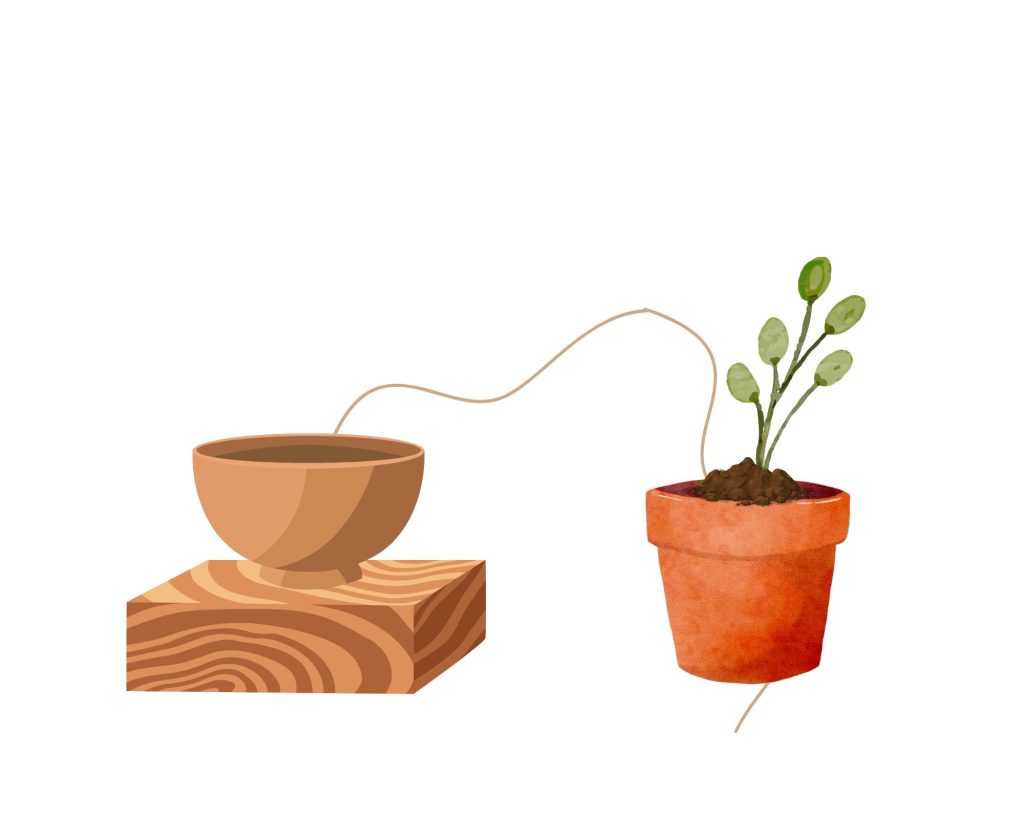
5. Place the reservoir on a higher platform, next to the plant. Alternatively, you can place them next to each other or even the other way around. There isn’t an exact answer for how far the water will wick up from the reservoir to the pot. So just keep both containers close enough together in a safe area where pets and children wouldn’t stumble on them and ensure the wick isn’t impeded in any way.
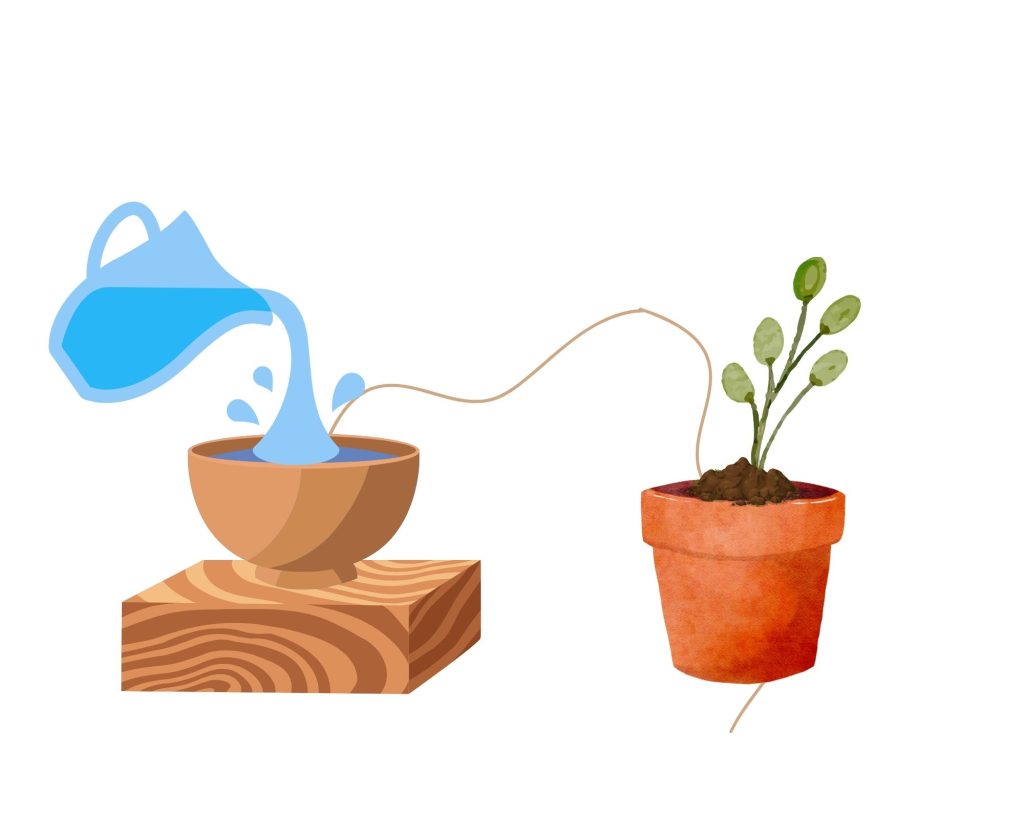
6. Fill the reservoir with water and place the knotted or weighted end of the wick inside. You may need to change the water at some point to prevent algae growth but other than that, you’re all set!
Store Bought Wick Watering System
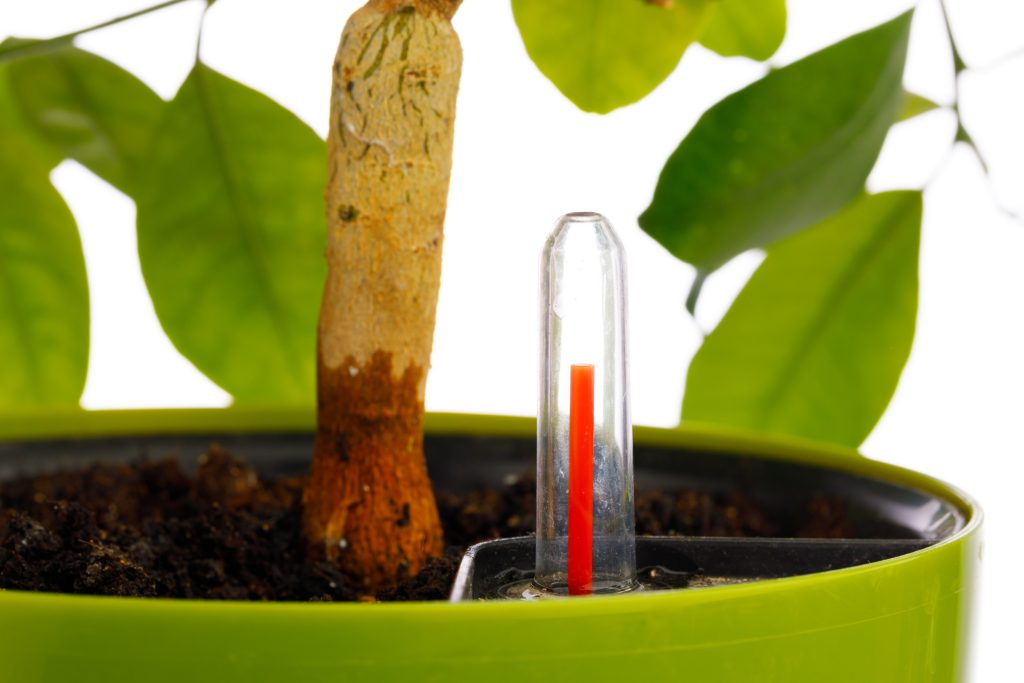
A store-bought wick watering system is essentially a self-watering pot or container. It uses the wicking principle to water your plants and all you need to do is just add water into the reservoir. They are available in various models and sizes, suitable for different types of plants and their watering needs. Some even come with their own water level indicator!
Notably, there’s one type of self-watering container that uses its growing medium as the wick material instead, which I’ve mentioned earlier. They usually come in large containers, about 3-5 gallon-sized. The growing medium sits on a perforated platform inside the container directly above the water reservoir, allowing the plant’s roots to grow through the medium and into the water.
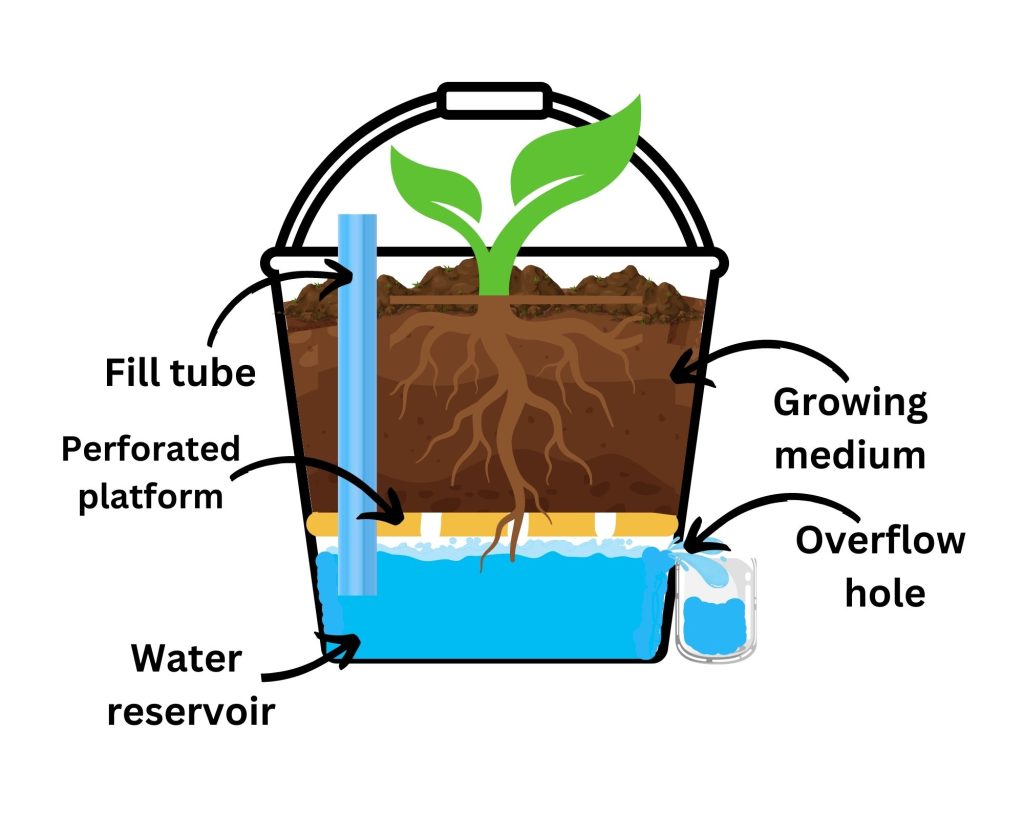
Other parts include a fill tube which is placed inside the container for easy refilling of the reservoir. The bucket also has an overflow hole on one side to collect excess water from the reservoir if it’s too full or it’s raining, which can be reused again. Surprisingly, some people even go through the trouble of DIY-ing this container. But it’s worth noting that it’s often geared towards growing outdoor plants, rather than houseplants.
Frequently Asked Questions About Wick Watering System for Potted Plants
Is bottom watering better/good for plants?
Bottom watering is good for plants, especially if it has compacted soil. It allows even moisture around the potting soil as it travels upwards to the plant’s roots. However, this doesn’t mean you should leave your plant as is. It’s better to repot your plant and change its soil to allow better air circulation and water distribution.
You can read more about the benefits of top and bottom watering plants here!
How to make a wick watering system for tomatoes?
There’s a simple way to wick-water your tomato plants as it grows:
- Obtain a 5 gallon-sized bucket.
- Remove its lid and trim around it to ensure it fits inside the bucket.
- Add 8-10 pencil-sized holes on the trimmed lid.
- Hot-glue 4 pieces of 2 inches-sized PVC pipe inside the bucket at the bottom.
- Drill a hole 2 inches up from the bucket’s bottom on one side.
- Insert a plastic tubing through a hole in the trimmed lid.
- Attach the end of the plastic tubing to an empty water reservoir, like a milk jug with a hole at the bottom.
- Place the water reservoir/milk jug on a higher platform than the bucket.
- Add the trimmed lid inside the bucket, on top of the PVC pipes.
- Add the growing medium, which should be a mix of potting soil, perlite, and compost or worm castings, inside the bucket.
- Add the tomato plant into the bucket with the soil.
- Add water into the water reservoir and stop when excess water flows out of the hole.
Feel free to adjust as needed, but take note that the tomato plant will require more frequent watering as it starts to flower and fruit.
Can you overwater with wick watering?
Overwatering is unlikely to happen with wick watering as the slow uptake of water ensures the potting soil stays damp, not wet. The advantage of wicking your plant is that it pulls up water only as needed without excess. However, if you leave the pots outside when it’s raining, this will cause the growing medium to stay wet for too long while still wicking water from the reservoir.
How to make a self watering system for potted plants?
A self watering system can be created with a few simple items around the house:
- Prepare a large container or bowl as the water reservoir.
- Place the water reservoir next to your plant’s pot, preferably on a lower platform.
- Cut a length of wick material (yarn, nylon, or cotton rope) according to the full size of your plant’s pot from top and bottom and the distance needed to reach the reservoir.
- Push the wick material through the plant’s soil from the bottom until it comes out the top.
- Place the longer end of the wick into the water reservoir, ensuring to weigh it down with a small rock so it stays at the bottom.
You can always modify this as needed, but ensure to change out the water in the reservoir regularly and replace the wick as needed when you repot the plant or when it starts to color.
References:
- Booneatl. (n.d.). Homemade self-watering container. National Gardening Association. Retrieved July 13, 2023, from https://garden.org/ideas/view/booneatl/2265/Homemade-Self-Watering-Container/
- Hylton, T., & Jameson, M. (n.d.). Self-watering bucket instructions. UF/IFAS Extension Leon County and FAMU Cooperative Extension. Retrieved July 13, 2023, from https://sfyl.ifas.ufl.edu/media/sfylifasufledu/leon/UF-IFAS-Leon-County-and-FAMU-Cooperative-Extension-Self-Watering-Bucket-Instructions.pdf
- Reeves, W. (n.d.). Leaving on a holiday trip? Let houseplants water themselves. University of Georgia College of Agricultural and Environmental Sciences. Retrieved July 13, 2023, from https://newswire.caes.uga.edu/story/38/plantsitter.html
- Skalski, S. (2020). Watering African violets. African Violet Society of America. Retrieved July 13, 2023, from https://africanvioletsocietyofamerica.org/learn/violets-101/2146-2/
- University of Maryland Extension. (n.d.). Self-watering containers. Retrieved July 13, 2023, from https://extension.umd.edu/resource/self-watering-containers
- University of Kentucky College of Agriculture, Food and Environment. (n.d.). AEN-157: Design and construction of a self-watering planter box. Retrieved July 13, 2023, from http://www2.ca.uky.edu/agc/pubs/AEN/AEN157/AEN157.pdf
- Unknown Author. (n.d.). Wick watering either indefinitely or as a vacation technique. National Gardening Association. Retrieved July 13, 2023, from https://garden.org/thread/view/96422/wick-watering-either-indefinitely-or-as-a-vacation-technique/
- Walden, K. (2021, August 9). Beat the heat by watering from the bottom up. Urban Programs Travis County. Retrieved July 13, 2023, from https://travis-tx.tamu.edu/2021/08/09/beat-the-heat-by-watering-from-the-bottom-up-by-kirk-walden/
- Zolot, A. (n.d.). Design and testing of a low-cost, scalable, versatile, and easily constructed self-watering planter. Massachusetts Institute of Technology. Retrieved July 13, 2023, from http://dspace.mit.edu/bitstream/handle/1721.1/83726/864567080-MIT.pdf;sequence=2


