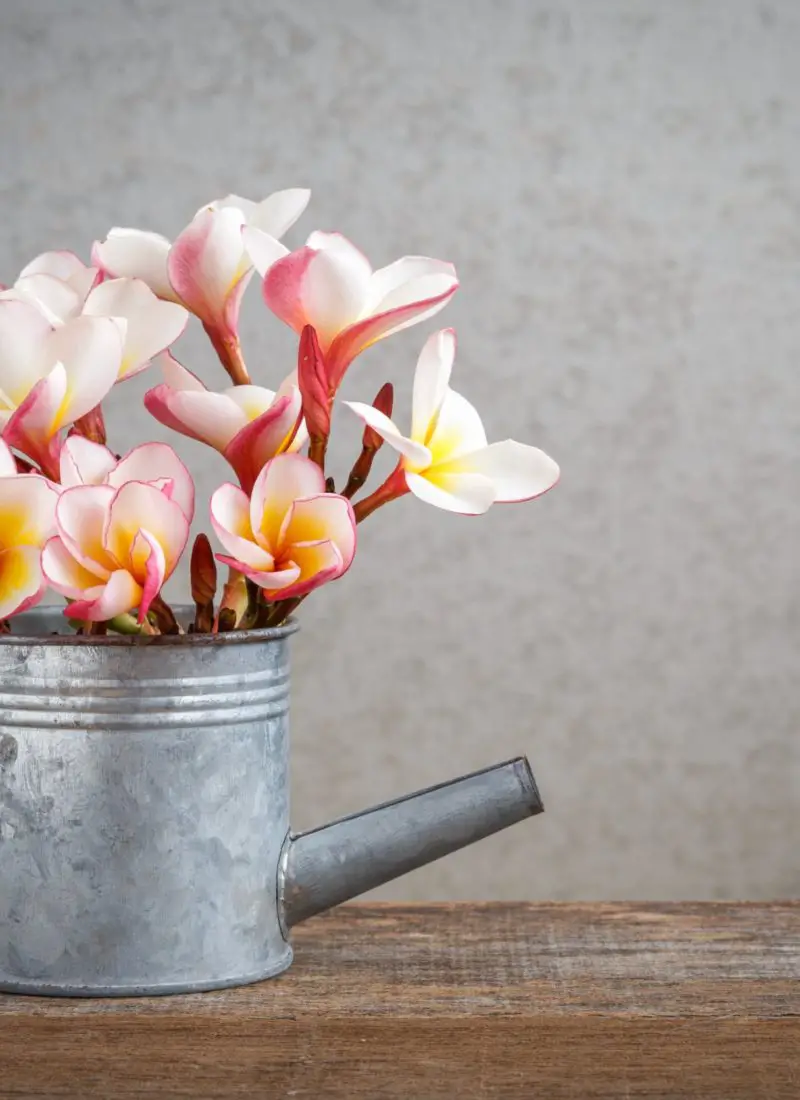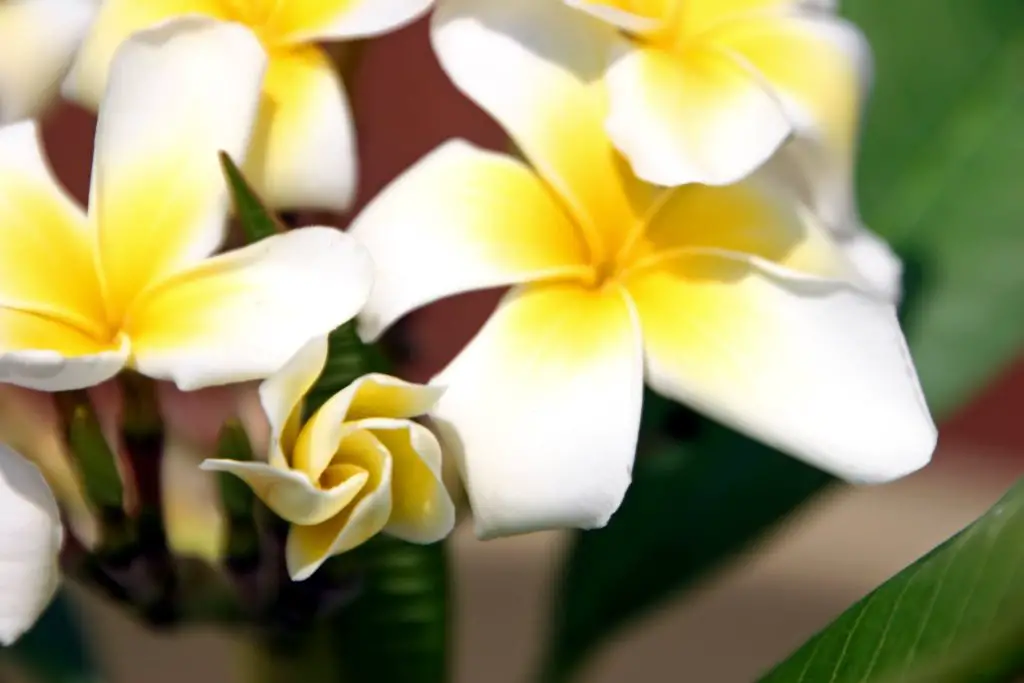
Plumerias, or Frangipani, are trees known for their fragrant and colorful flowers, commonly used to create leis in Hawaii. But if you live somewhere cold, chances are these tropical plants won’t be able to survive in your outdoor garden. But that doesn’t mean you can’t grow them in pots!
Here’s how you can get started:
(As an Amazon Associate, I earn from qualifying purchases.)
Table of contents
- 1. Acquire/Prune A Healthy Plumeria Stem About 12-18 Inches Long
- 2. Plant in a 1-Gallon Sized Pot With Well-Draining Cacti & Succulent Mix and a Stake
- 3. Provide with 6+ Hours of Direct Sunlight
- 4. Water Every 3-10 Days When Half the Soil Has Dried Out
- 5. Feed with a High Phosphorus Fertilizer to Encourage Blooming
- 6. Store Indoors in a Warm & Dry Area Once the Temperatures Drop Below 40°F
- 7. Prune Old & Damaged Branche Once a Year In Spring Before New Leaves Develop
- 8. Repot the Potted Plumeria Once Every 2-3 Years in Late Winter
- 9. Do a Weekly Pest & Disease Check on the Potted Plumeria
- Frequently Asked Questions about Plumerias
- Final Words
1. Acquire/Prune A Healthy Plumeria Stem About 12-18 Inches Long
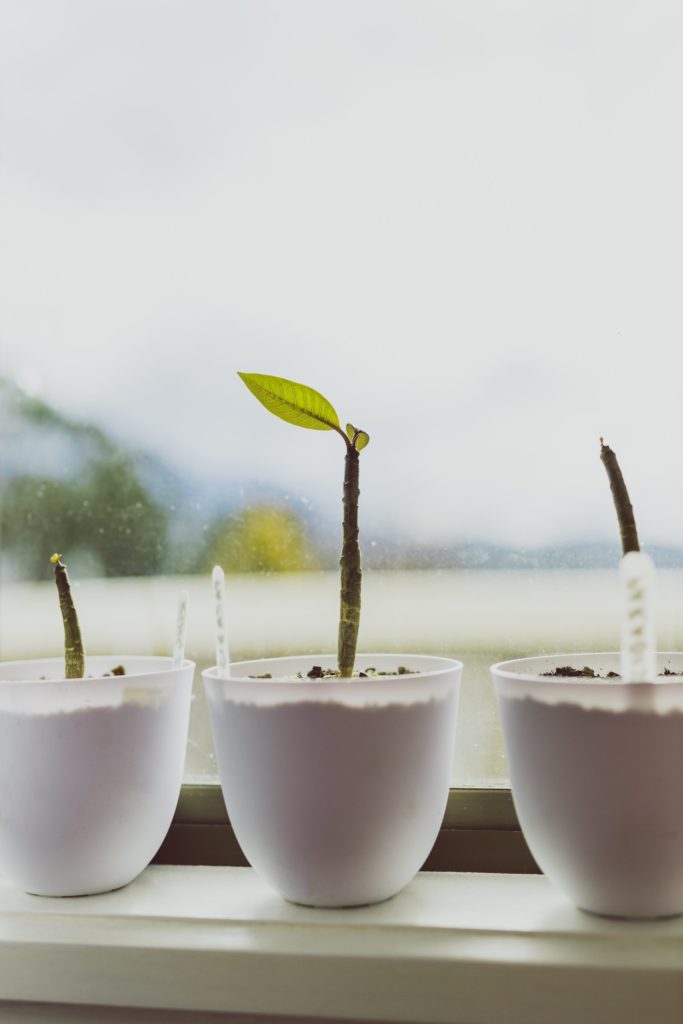
The easiest and fastest way to grow a Plumeria is to obtain a stem cutting. This is the typical propagation method to cultivate a plant with similar traits to the original. You’ll likely see these sold as weird, bumpy branches without leaves stuck in a pot of soil. But I promise you, with the proper care, they’ll develop into a glorious potted tree with blooms in no time.
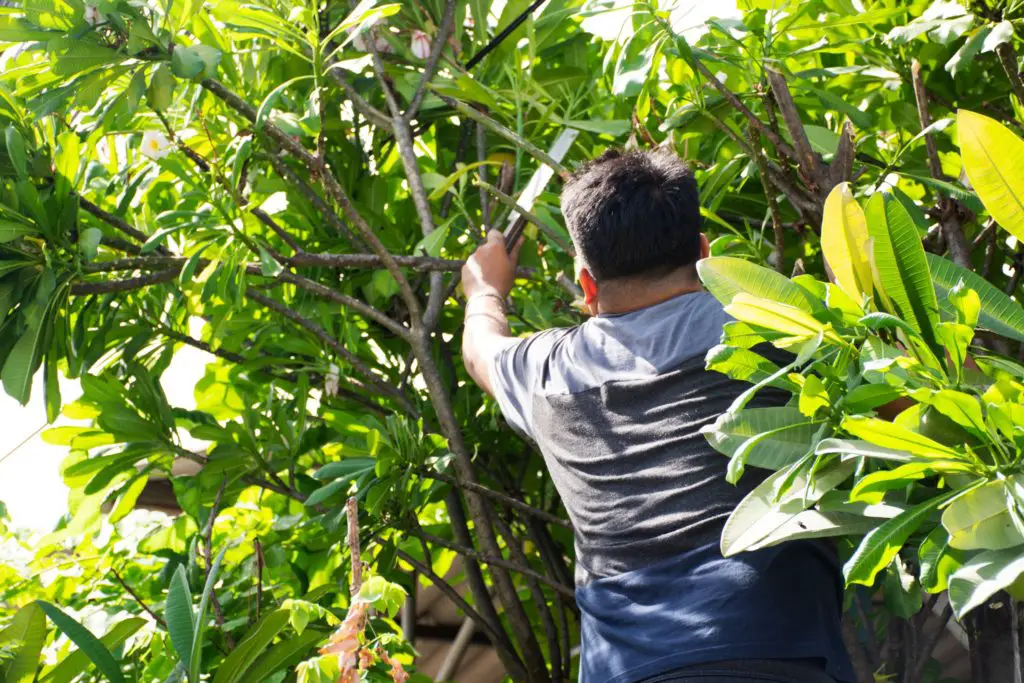
If you have a friend with a Plumeria tree, you can also ask them if you can take any pruned branches off their hands to propagate. But if you are cutting the stem off yourself, here are a few tips to keep in mind:
- Ensure the Plumeria tree is in good health and not suffering from pests & disease problems. The last thing you want is to cultivate a potted plant that’s already infected/infested from the start. This will bring on more grievances than you asked for.
- Use a sterilized and sharp cutting tool for pruning. Alcohol wipes or a quick soak in a bleach solution before, during, and after cutting will prevent pathogens from transferring to the plant, especially on the open wound. Here are brief instructions on how to sterilize your tools for your perusal.
- Prune in spring or summer when the Plumeria tree is actively growing. This will allow the mother plant to bounce back and develop new growth from the cut branch. It also gives your stem cutting a better chance at faster rooting.
- Wear long sleeves and goggles to prevent contact with the plant’s milky sap. It is found to be an irritant, but don’t worry; the plant itself is not toxic.
- Cut 12-18 inches of a healthy Plumeria branch at an inclined angle. This primarily prevents water pooling on a flat, open wound on the mother plant. It also creates more surface area for the cutting to take root. You can also take smaller cuttings, which usually take longer to root and develop.
- Remove all leaves except the ones at the tip of the stem cutting. You want the branch to focus on developing roots once planted. Otherwise, more energy, including stored water and nutrients, will be spent on maintaining the little foliage it has left.
- Dry the stem cutting for a week in a warm and dry environment. This helps the open wound to callous, preventing pests & diseases from entering before planting. Alternatively, you can dip it in rooting hormone powder with fungicide to quicken the process. Otherwise, you can also do it later, just before planting.
Plumerias can also be grown from seeds, but they usually take longer. The waiting time before the plant can bloom is between 3-5 years, so you’ll have to be patient if you start your Plumeria off this way. They also won’t grow into the exact replica of the mother plant where it came from, developing into a new cultivar instead. So it’s better to stick with the stem cuttings for now, especially if you’re a beginner.
2. Plant in a 1-Gallon Sized Pot With Well-Draining Cacti & Succulent Mix and a Stake
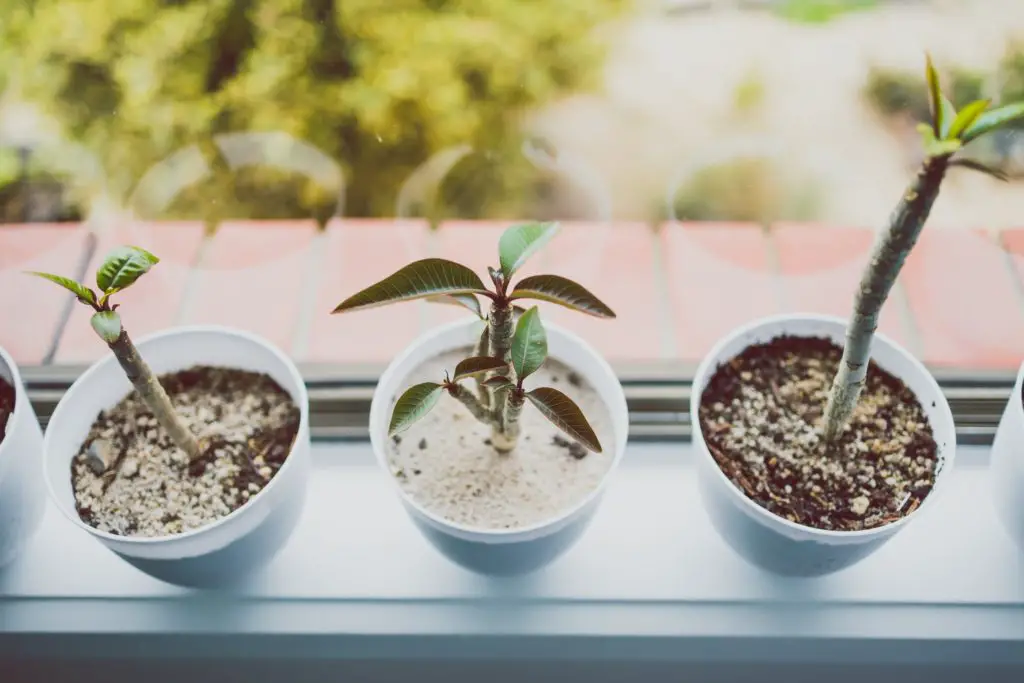
After a week, the branch is ready to be planted into a pot of damp soil. But you’ll need to prepare the suitable container and soil blend first. Here are some helpful tips:
- Use a black plastic nursery pot with plenty of drainage holes for the plant. This is lighter than ceramic and terracotta pots, especially if you’ll be moving your potted Plumeria a lot. The material is also more flexible, allowing you to remove the plant easily for repotting. You can also place it in another container for aesthetic purposes. This double-potting article may help you understand why this practice can be beneficial for some of your plants.
- Place the Plumeria in a 1-gallon pot to accommodate its extensive roots. This is a rough estimate to ensure your plant has ample leg room as it develops. According to the Plumeria Society of America, it’s advisable to use a ‘1-gallon sized pot for every 1 foot Plumeria trunk’. So when your plant has grown quite a bit, say about 3 feet tall, you want to consider repotting it in a 3-gallon pot for better overall growth.
- Grow the plant in nutrient-rich, well-draining soil like cacti & succulent mix with added compost. This potting mix will help excess water drain quickly, preventing the roots from retaining moisture and leading to rot. You can always add more perlite or pumice to improve the drainage quality. Adding organic substances like compost or vermicompost as fertilizers is also useful.
- Place a stake in the pot to support the stem cutting. You can use a short bamboo stake or trellis to prevent it from toppling over as the roots grow. You won’t need this after the plant has been established. But ensure to remove it in the next repotting process to prevent accidental root damage.
3. Provide with 6+ Hours of Direct Sunlight
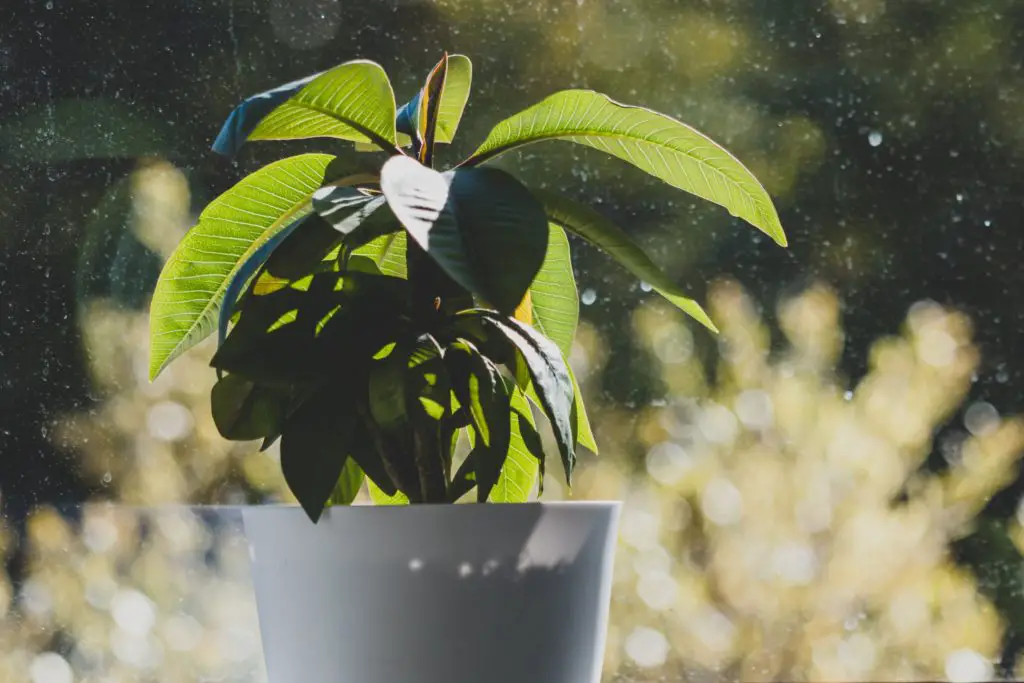
Plumerias are tropical plants that love the sun, so you want to ensure they get enough for their best growth. Set them on your porch/deck/patio/balcony in spring and summer, where they can get direct light exposure. This also applies to propagated stem cuttings still developing their roots, even if they don’t have leaves. In winter, the plants can be stored without sunlight for the entire cold season because they will go dormant. More on that later.
If you notice the plant growing skinny limbs, almost stretching towards a light source, it may not be receiving enough sunlight. Move it slowly to a brighter area one day at a time, so it doesn’t get shocked by the sudden change. The rest of the plant will grow better, but you may need to prune the thin, leggy branch.
I wouldn’t recommend growing potted Plumerias if you don’t get a lot of natural light and depend on grow lights. The chances of them blooming is pretty low, so you’ll just have an evergreen Plumeria instead. But if you don’t mind that, go right ahead! They’ll do best with 12-14 hours of light but ensure they get some rest at night. Even plants have to go to sleep to grow better.
4. Water Every 3-10 Days When Half the Soil Has Dried Out
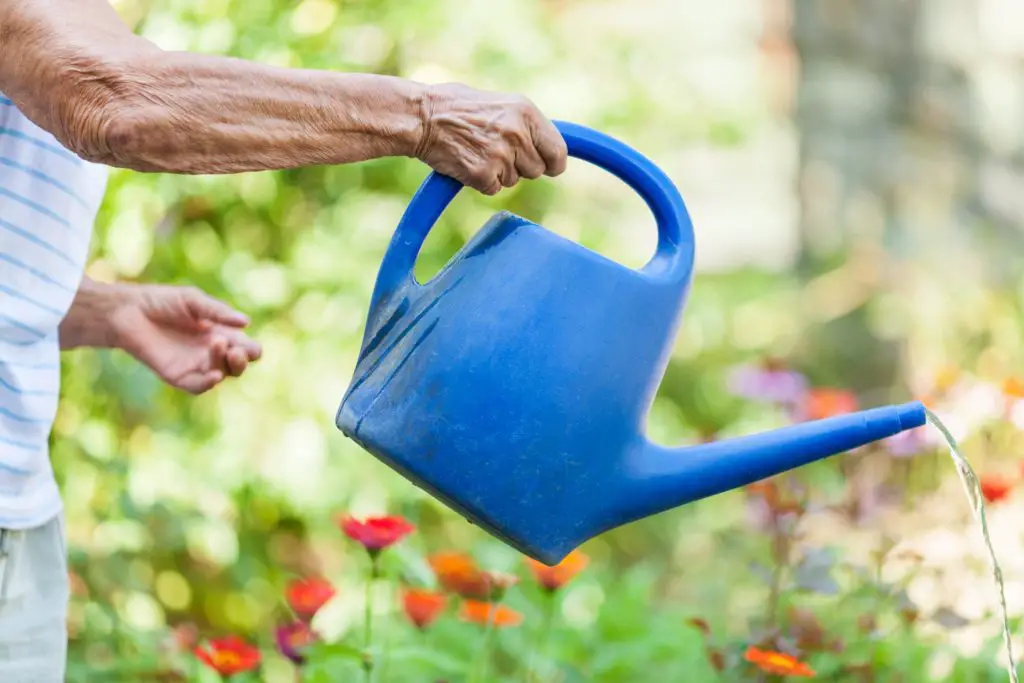
This is a standard watering schedule for potted Plumerias. However, it may vary due to several factors like seasonal changes, pot type, growth stage, local climate, and more. For example, your plant may need watering more often if you live in an arid environment or if it’s in its initial growth stage.
But the critical thing to remember is to check the soil before watering. You can do the knuckle test to feel if the top 1-2 inches of soil is dry. If it is, then it’s time to water the plant. If it’s not, hold off for a few days. It’s far too easy to overwater the plant, especially since it’s potted. You can learn more about adequately watering Plumerias and when to stop in this article.
But suppose your potted Plumeria is planted underground. In that case, you don’t have to water or fertilize much because they’ll get it from the surrounding ground. Instead, apply mulch around the plant to prevent too much water loss, tender roots from the hot sun, and splashback to the tree’s trunk.
5. Feed with a High Phosphorus Fertilizer to Encourage Blooming
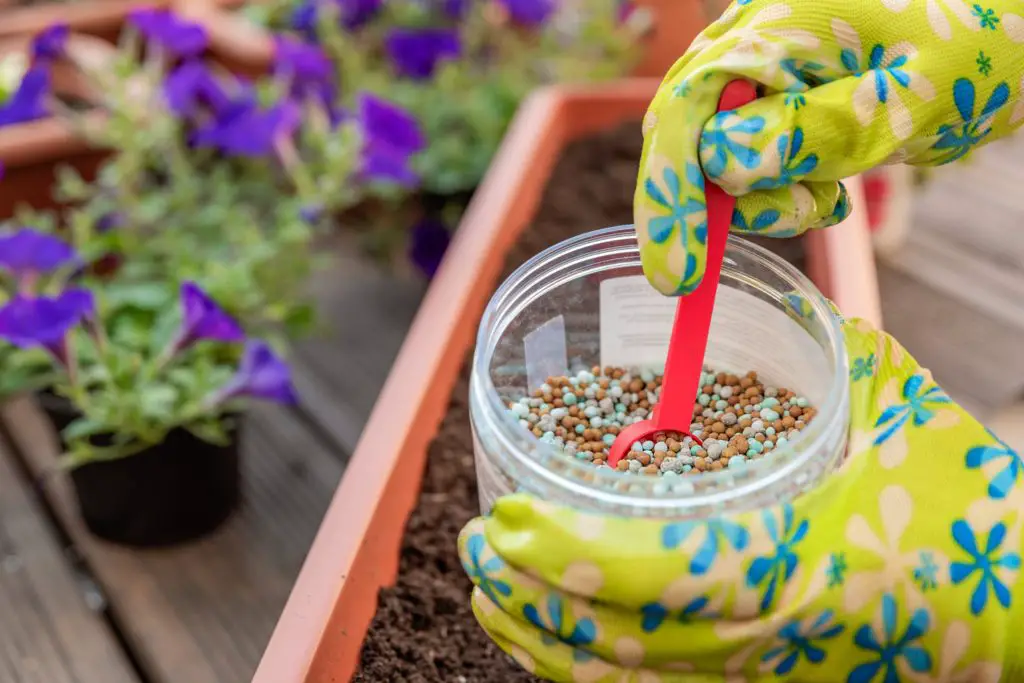
Given that potted Plumerias don’t bloom as prolifically as their in-ground and tropical counterparts, giving them fertilizers during the growing season in summer is helpful. Using high Phosphorus fertilizers ensures the plant produces more bloom, but follow the recommended dose and don’t go overboard. Also, ensure the Nitrogen level is low, so you won’t get more foliage than flowers.
It’s typically unnecessary to fertilize the plant outside of the growing season, much less in its dormancy during winter. This is why adding compost to the soil blend during its first planting is crucial because it acts as a slow-release fertilizer for the plant.
6. Store Indoors in a Warm & Dry Area Once the Temperatures Drop Below 40°F
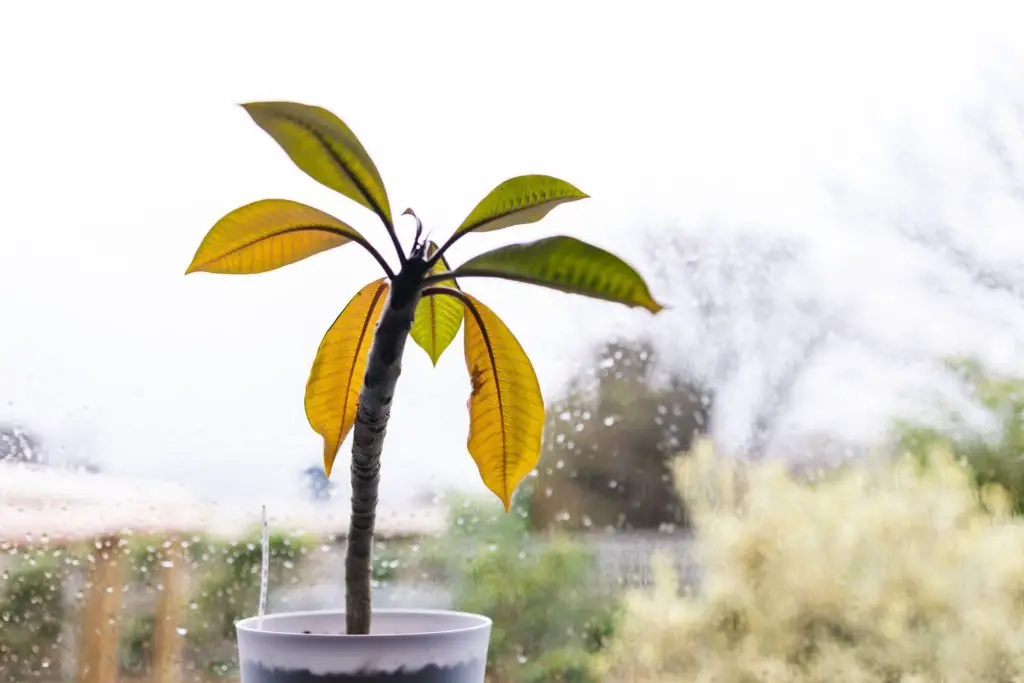
When it comes to growing Plumerias in pots, it’s essential to bring them indoors if you live in cold climate areas, even if it’s only mild winter. Remember, they are tropical plants, so you need to keep them away from frost to prevent them from getting cold-damaged. You can keep them anywhere inside as long as it is above 40°F. It may be helpful to wrap the pot with a frost blanket to retain as much heat as possible for the plant.
It’s normal to see the Plumeria leaves turn yellow and drop as they go dormant. You can speed this process up by snipping the leaves off yourself before bringing them indoors. They can survive without sunlight during this time with very little to no watering, if not at all. But younger Plumerias may need a bit of water added once a month to ensure they get through the cold season. Ensure to check whether the soil is dry before watering to prevent overwatering.
For Plumerias planted underground in pots, you can also bring them inside. But be careful when you dig up the bare rootball to prevent damage. Dust off any excess soil and store it in a box, away from bare cold ground, to prevent the roots from freezing.
7. Prune Old & Damaged Branche Once a Year In Spring Before New Leaves Develop
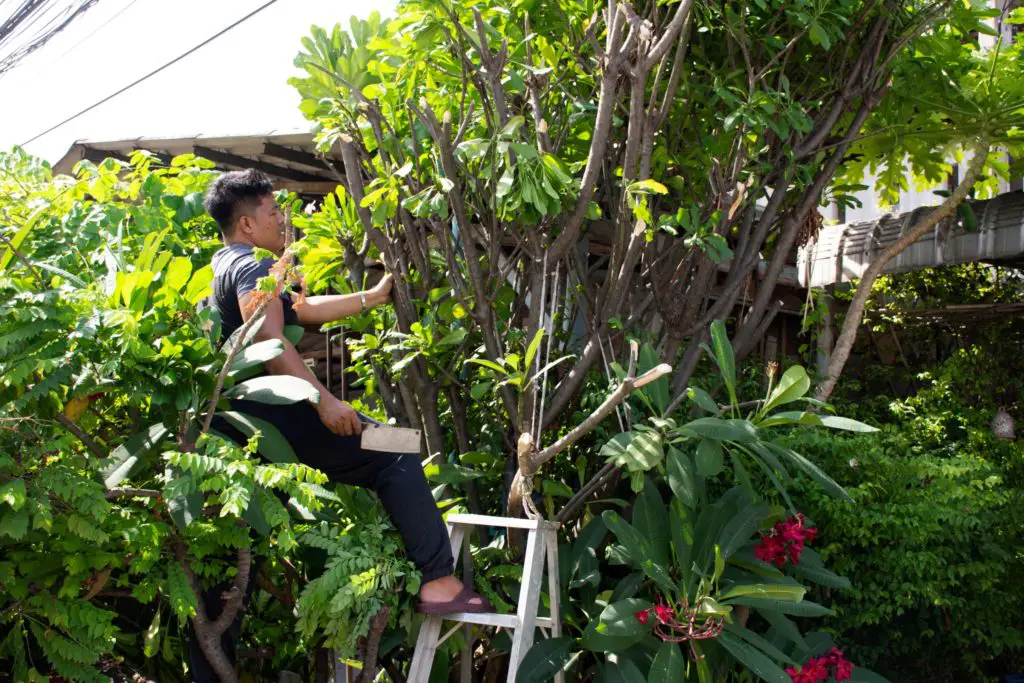
It’s typically unnecessary to prune Plumerias when they’re an in-ground plant. But for potted ones, this becomes necessary to keep their growth under control. You don’t exactly want an 8 feet tall tree scraping your home’s ceiling, especially if you live in an apartment.
The general rule is to cut back 1/3 of existing branches and foliage. But always start by removing the old and damaged ones first. Usually, this is enough to keep the plant looking its best and compact for indoor growth. Again, be sure to use a sharp cutting tool and sterilize it in between cuts.
8. Repot the Potted Plumeria Once Every 2-3 Years in Late Winter
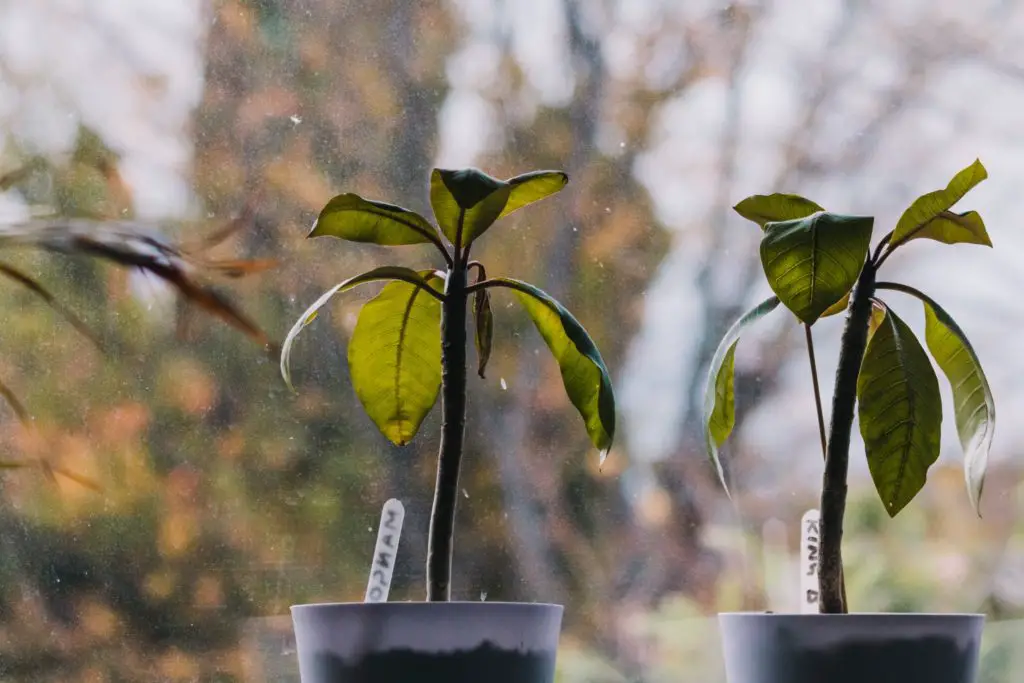
Depending on the space in your home, you can repot your Plumeria in a larger pot or in the same pot. For the former, replanting in a slightly bigger container will allow the roots to develop more. As mentioned before, use the ‘1-gallon pot per foot of trunk length’ to choose the appropriate container. You may need a helping hand when doing this because the plant may be quite heavy by this point. If you’re unsure how to repot a plant, you can refer to this quick and general repotting instruction that applies to most plants.
But if you intend to keep your potted Plumeria small, you can prune some of the roots, so it doesn’t get bunched up in the same pot. However, in doing so, you also need to trim off some of the branches and foliage. Otherwise, the limited roots won’t be able to deliver enough nutrients to sustain the whole plant.
9. Do a Weekly Pest & Disease Check on the Potted Plumeria
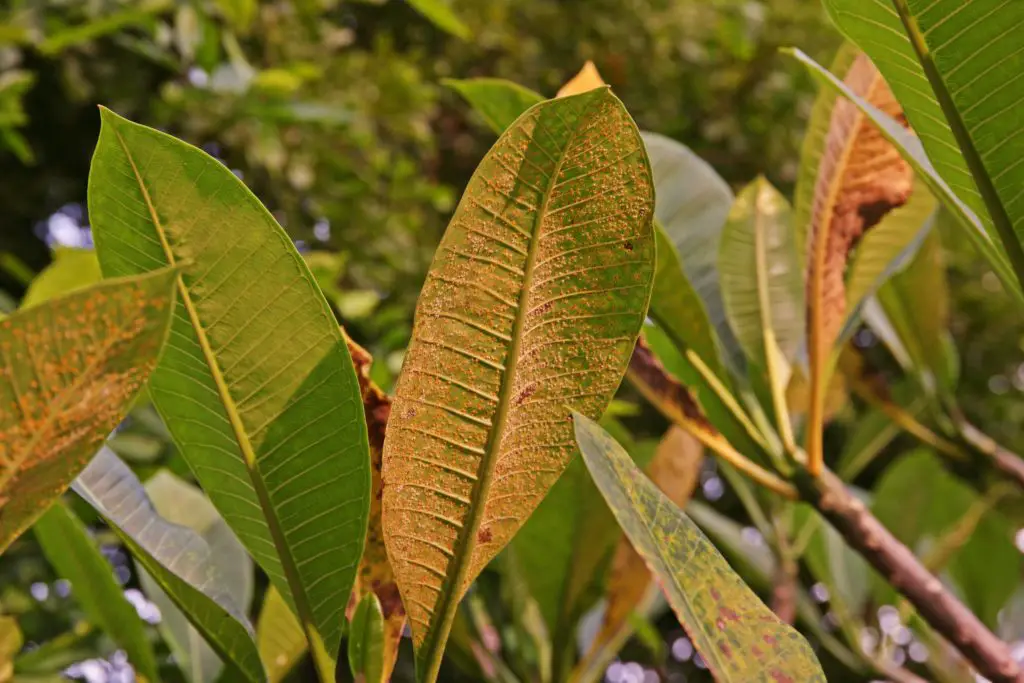
When it comes to pest & disease problems, Plumerias don’t really suffer much from them. But that doesn’t mean they are invincible. As potted indoor plants, they have a higher risk of an infestation/infection, which may mainly stem from improper care and no bug competition. Some of the issues that potted Plumerias may suffer from include powdery mildew, black sooty mold, mealybugs, spider mites, scales, and more. You can find out more about how to deal with these common houseplant pests & diseases in this article.
Frequently Asked Questions about Plumerias
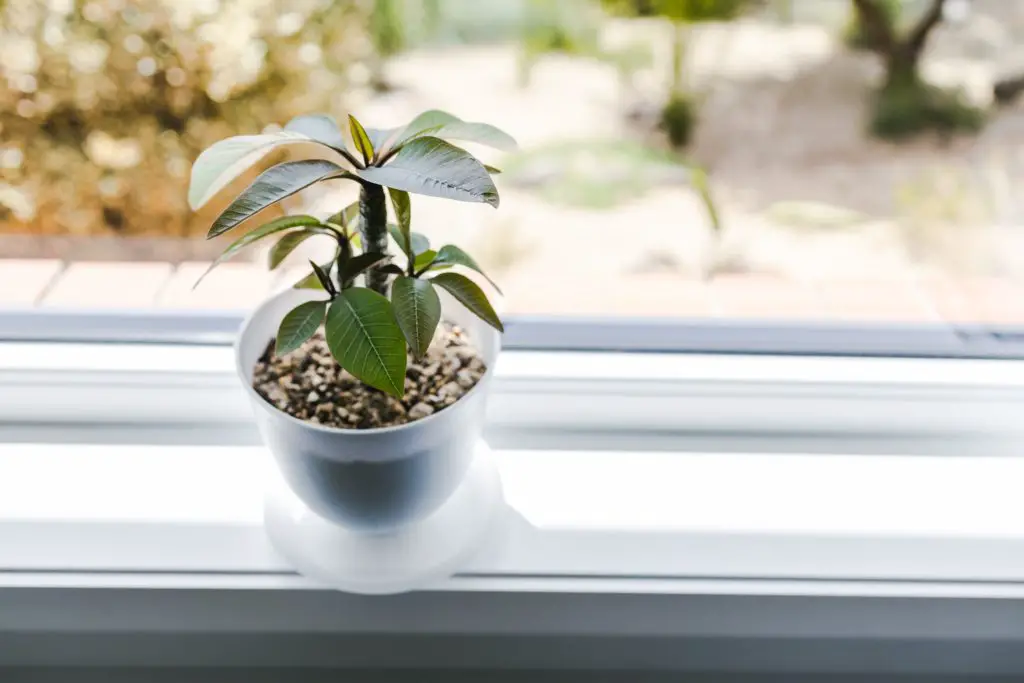
Plumerias can thrive as potted plants, provided they’re grown in adequately-sized containers with well-draining soil. They also need 6+ hours of sunlight, weekly watering, and monthly summer fertilization to promote more blooms. As long as the plants are brought indoors when temperatures drop below 40°F, potted Plumerias are relatively easy to care for.
Black plastic nursery pots with plenty of drainage holes are the recommended containers to encourage a Plumeria’s best growth. You can always double-pot them if you don’t like the plain container’s look. This also makes it easier to move the plant around, as opposed to planting them in heavy, decorative pots.
As a whole, large pots are ideal for Plumerias as they can accommodate their extensive roots. However, it’s vital to ensure it’s not too big. Otherwise, you risk creating a dead zone of soggy soil where pathogens can thrive. Stick to using the 1:1 rule of gallon pot size and trunk length. For example, if your Plumeria’s main trunk is 2 feet long, ensure it’s planted in a 2-gallon container.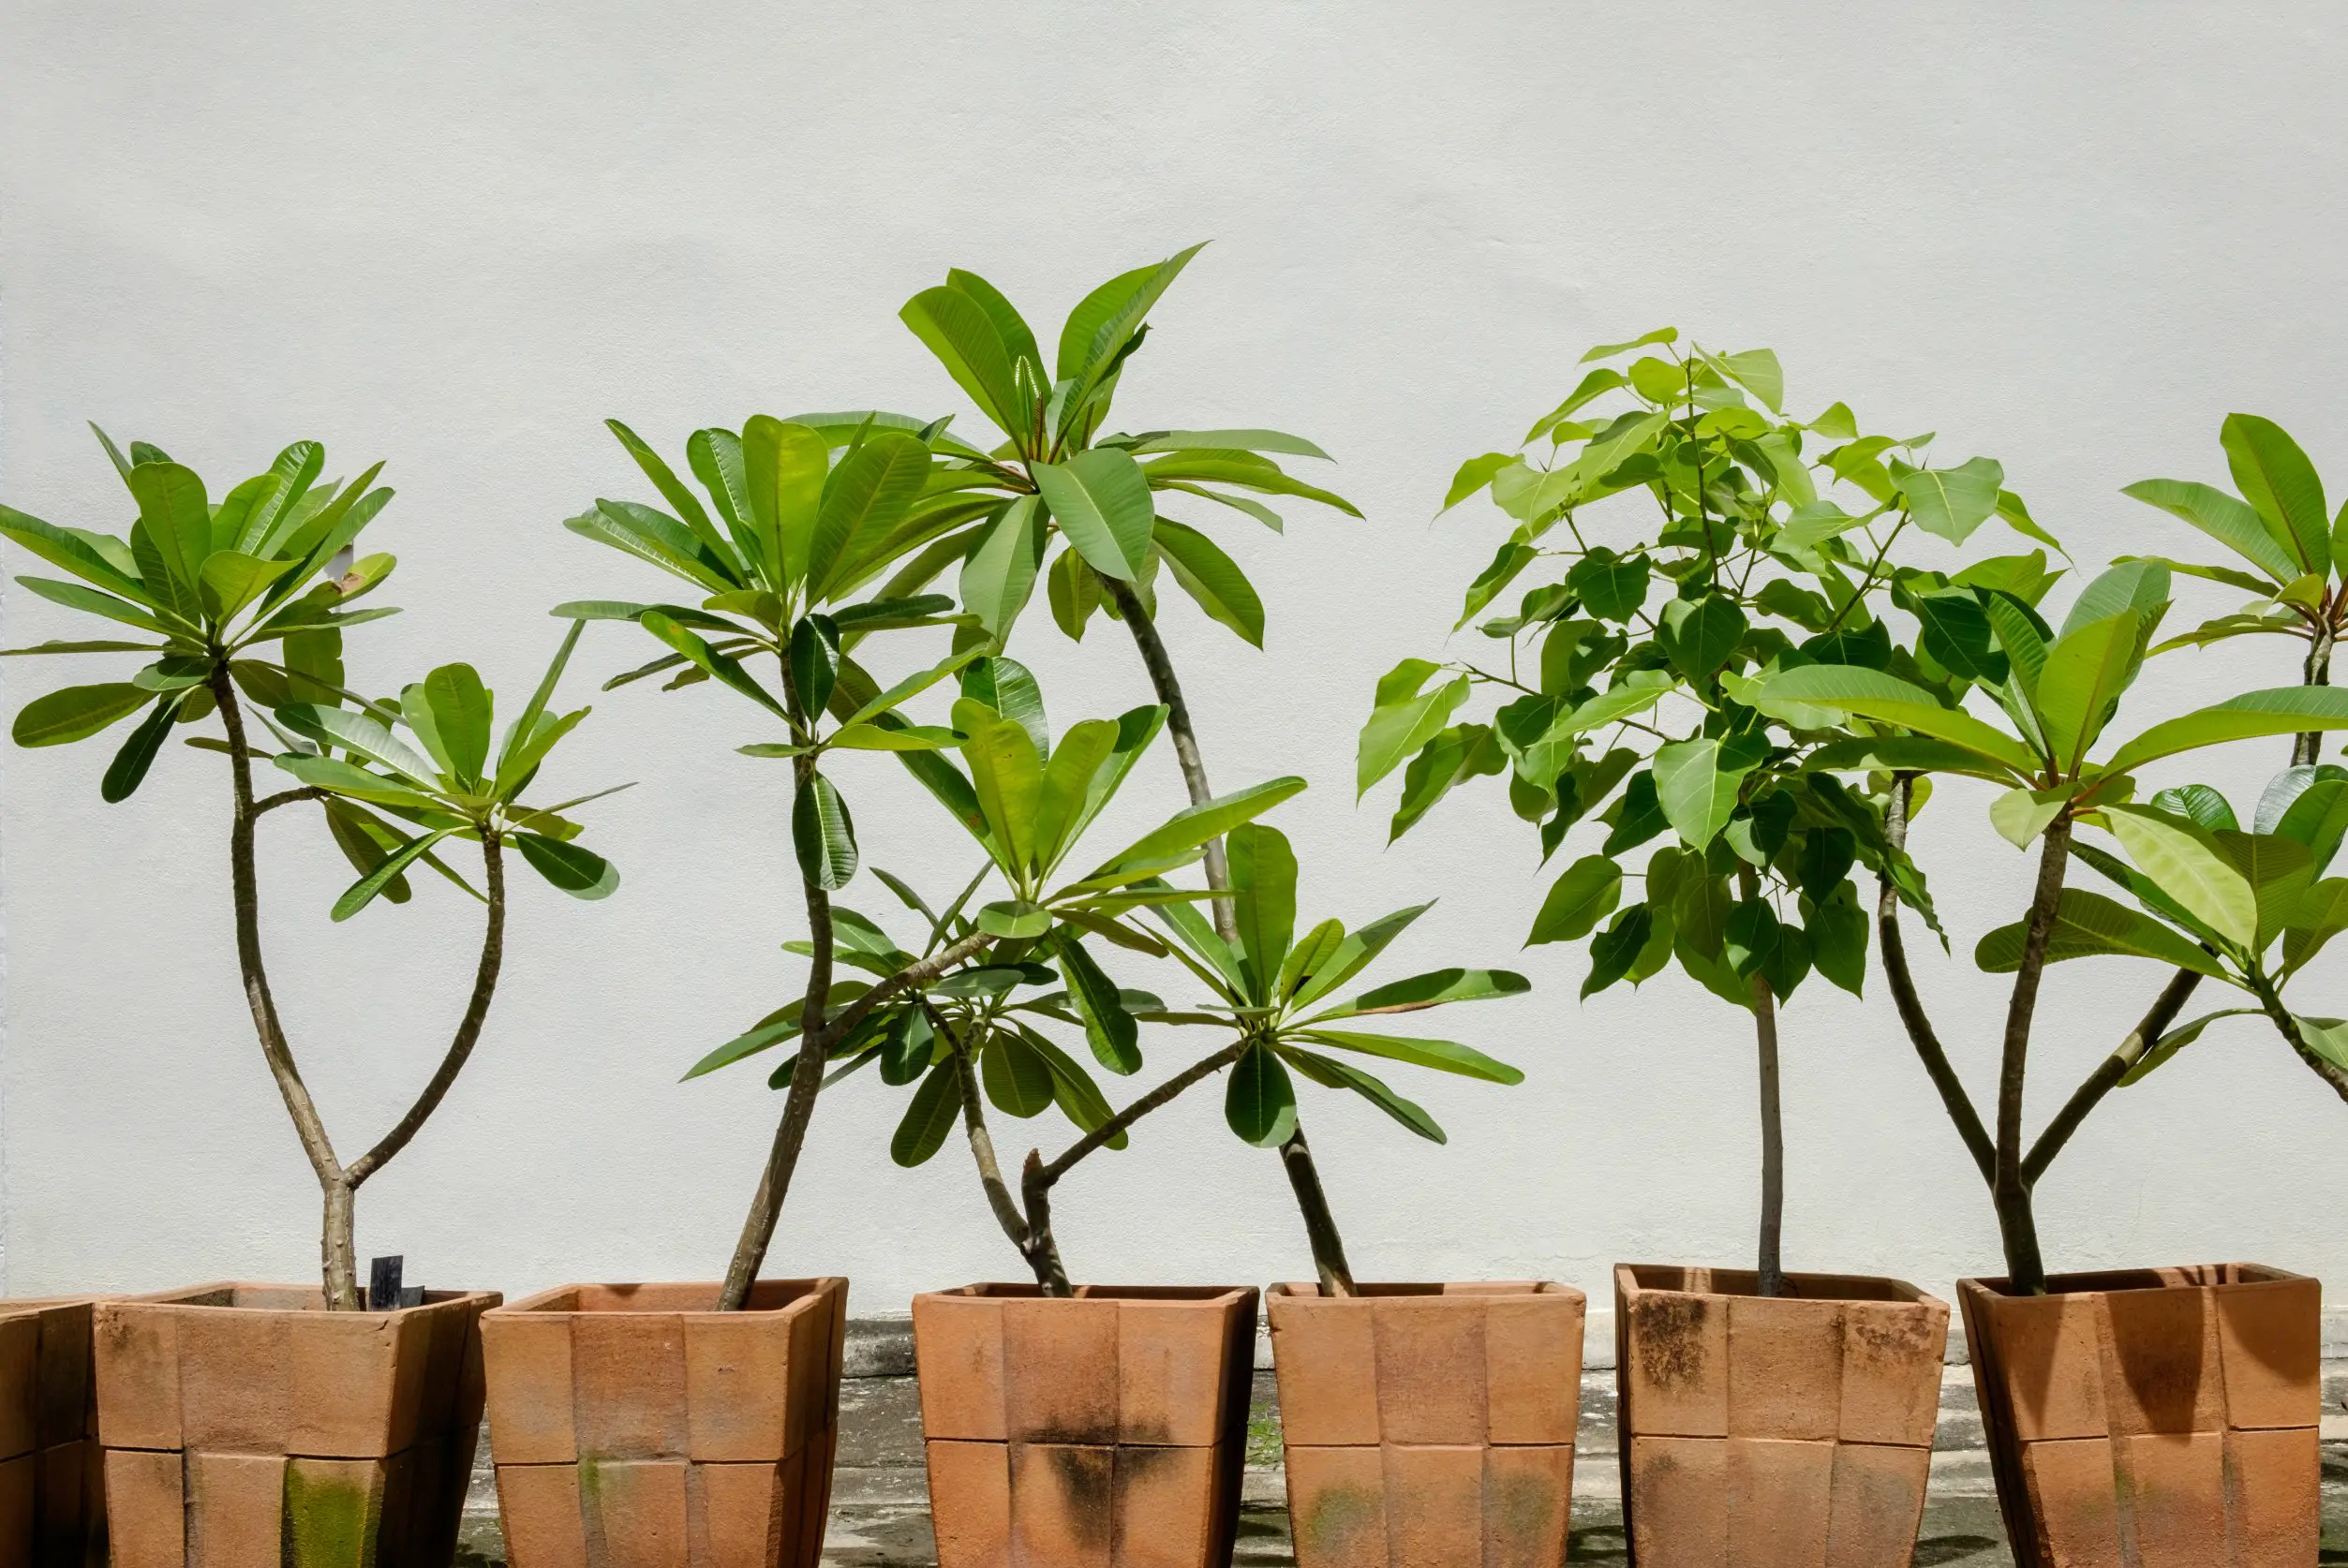
Plumerias need repotting every 2-3 years in late winter. A bigger container means more room for the plant’s roots to develop, contributing to larger growth. But this may not be ideal for those with limited spaces in their homes.
Plumerias can be kept small, provided their roots, foliage, and branches are regularly pruned to maintain compact growth. There are also dwarf varieties that stay small. However, these don’t tend to flower as much. At the end of the day, it really comes down to your preference.
Plumerias prefer growing in rich and well-draining soil like cacti & succulent mix. As long as the potting mix is light and airy with good drainage, the plant will develop well. Adding compost to the soil blend is also useful to give your Plumeria a nutrient boost.
Final Words
All in all, growing Plumerias in pots is not as daunting as it sounds. If anything, it sounds as manageable as growing a less fussy and more fragrant Fiddle Leaf Fig indoors. As long as you give it the best care, you’re on your way to success. Happy planting!
References:
- Plumeria Care – The Plumeria Society of America, Inc. (n.d.). https://theplumeriasociety.org/plumeria-care/
- susan.mahr. (n.d.). Plumeria. Wisconsin Horticulture. https://hort.extension.wisc.edu/articles/plumeria/
- Criley, R. (n.d.). Plumeria in Hawai’i. https://www.ctahr.hawaii.edu/oc/freepubs/pdf/OF-31.pdf
- Plumeria – University of Florida, Institute of Food and Agricultural Sciences. (n.d.). Gardeningsolutions.ifas.ufl.edu. https://gardeningsolutions.ifas.ufl.edu/plants/ornamentals/plumeria.html
- ENH649/ST490: Plumeria alba: White Frangipani. (n.d.). Edis.ifas.ufl.edu. https://edis.ifas.ufl.edu/publication/ST490
- ENH650/ST491: Plumeria rubra: Frangipani. (n.d.). Edis.ifas.ufl.edu. Retrieved August 29, 2022, from https://edis.ifas.ufl.edu/publication/st491

