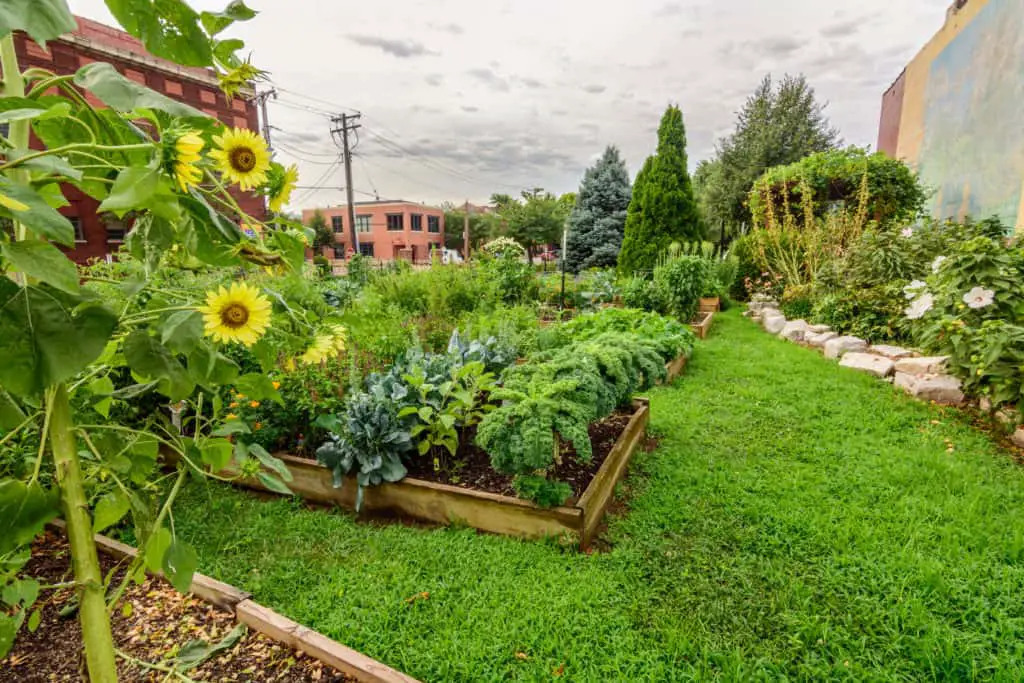
A food garden is one of those projects on a lot of people’s bucket lists. The idea of becoming self-reliant with fresh produce harvested in your very own garden is such a satisfying dream.
But oh dear, oh dear, where to start? Well, I’ve got just the answer and detailed steps for you to begin your food garden journey:
(As an Amazon Associate, I earn from qualifying purchases.)
Table of contents
- 1. Draw/print out your property to outline your garden space
- 2. Choose and group compatible edible plants based on their similar needs
- 3. Place your plants in a gardening layout that suits your garden space
- 4. Add supporting structures to your garden like a trellis or fences
- 5. Create an accessible path around the garden to reduce soil compaction
- Final Words
1. Draw/print out your property to outline your garden space
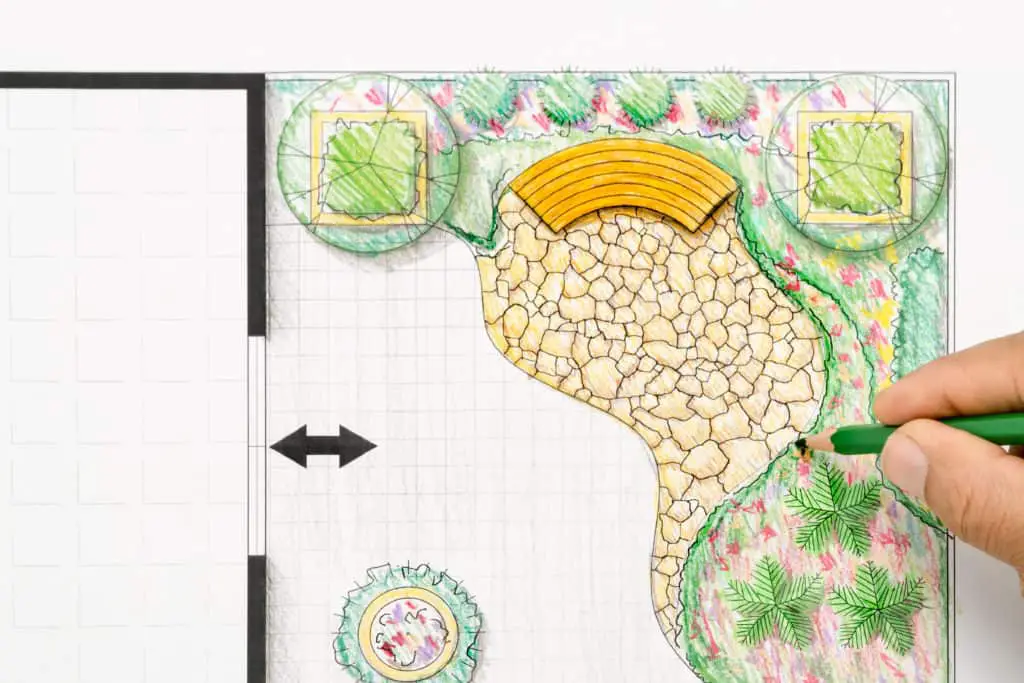
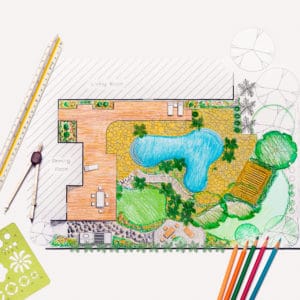
Like every home design project, we got to start with a drawing or printout of your property to make valuable notes on. Prepare the following items:
- A pen/pencil
- A drawing/printout of your property
- A measuring tape
- A gardening journal
Here’s what you need to do:
- Draw a basic outline of your property and any existing features on paper, no matter how minuscule. You can also go to Google Maps, set it on satellite images, zoom in over your property, and print that out or screenshot it instead for reference.
- Go outside and measure your house, existing features, and the available space you have. Note all these measurements down on your drawing/printout.
- Now relax and observe the sun patterns on your property. Write down on your drawing/printout where the shaded areas & sunny areas are and anything that’s causing shade like a tree’s canopy or otherwise. This might take a few days as you need to familiarize yourself with the path of the sunlight/shade in your yard over the course of each day. By deducing this you will be able to identify the best placement of plants for your garden. In addition, it lets you know whether you need to remove any existing features that could pose a problem in giving your garden enough light.
- Check the security around your available area. Do you have frequent wildlife visitors like rabbits, deers, and moles? Smaller critters may be unavoidable, depending on circumstances. But if they are a nuisance, putting up a fence around your garden and other protective measures may be something to add to your gardening to-do list. Write these issues down in your journal.
- Notate where the nearest water source for the garden is on your drawing/printout. Will it be easy to lug around a watering can to water the plants? Is the hose long enough to reach the garden? Is the faucet near enough to set up a drip irrigation system? Think about your watering options and notate them in your journal.
- After you’re familiar with steps 3-5, mark on your drawing/printout where your garden space will be. Ideally, you want it in a protected area with 6-8 hours of full sun and have it near a water source.
Important note: I highly suggest you start with a small garden first, about 8ft x 11ft. BUT do keep an empty area for future garden expansion if you would like. The point of creating a small garden first is to keep things manageable and consistent. Don’t go all out on the first try; be realistic about how much time and effort you are willing to put into this garden. Once you’ve gotten your bearings, slowly add in more as you see fit.
- Examine the soil and note it down in your journal. You can read more about soil checking in this article. Essentially, you’re checking whether the soil is suitable for in-bed gardening. If not, you can opt for raised bed or container gardening instead, where you can start with fresh soil specific for certain plants.
So basically, when we ask the question, what is the best place and size for a food garden? A food garden needs 6-8 hours of full sun with a nearby water source. It also needs to be in a protected, fenced-in area from wildlife. For beginners, a small food garden is best to start with rather than a large one because it is much more manageable and that will keep you from getting overwhelmed.
By the end of this step, you should know the following:
- The ideal location of your garden.
- The size of your garden, barring the available space you may need for expansion later on.
- The type of garden suitable for you, i.e., in-bed garden, raised bed/table garden, or pots & container garden.
2. Choose and group compatible edible plants based on their similar needs
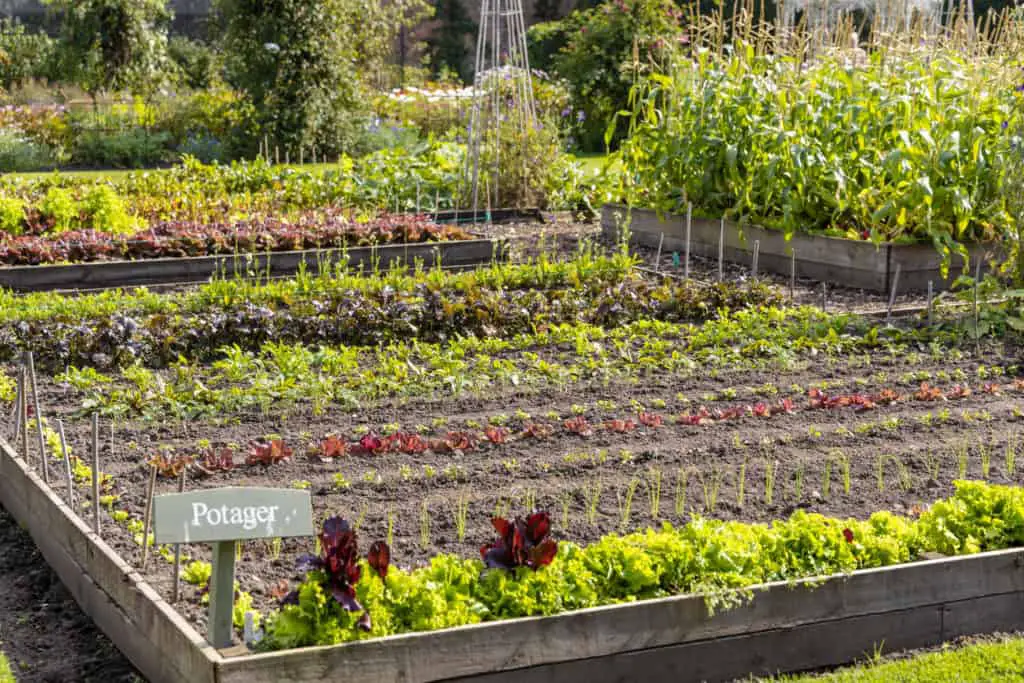
Here are 2 quick things you need to know about choosing the right food to grow in your garden:
- It is what you and your family WANT to eat. Don’t be that person who grows a bunch of brussels sprouts that will go to waste because no one wants to eat it, let them rot in your backyard, stink up the neighborhood and be known locally as the ‘House of Farts’. Brownie points to you if you can find the article where I left this particular anecdote in.
- Your chosen edible plants WILL grow in your region’s hardiness zone. This has to do with how plants can stand up to cold climates in an area, which typically varies across the country. A quick Google with “[insert your area name] hardiness zone” will tell you what you need to know. Check this with your chosen plants’ profile to determine if they will successfully grow in your area.
Now you have a sizable list of plants you want to grow. The next step is to group them down into sections so they will develop well with their neighbor plants and make things easier for you. You can freestyle it and place them wherever you want if that’s more your style, but I guarantee you the following categorizations will be useful in the long run.
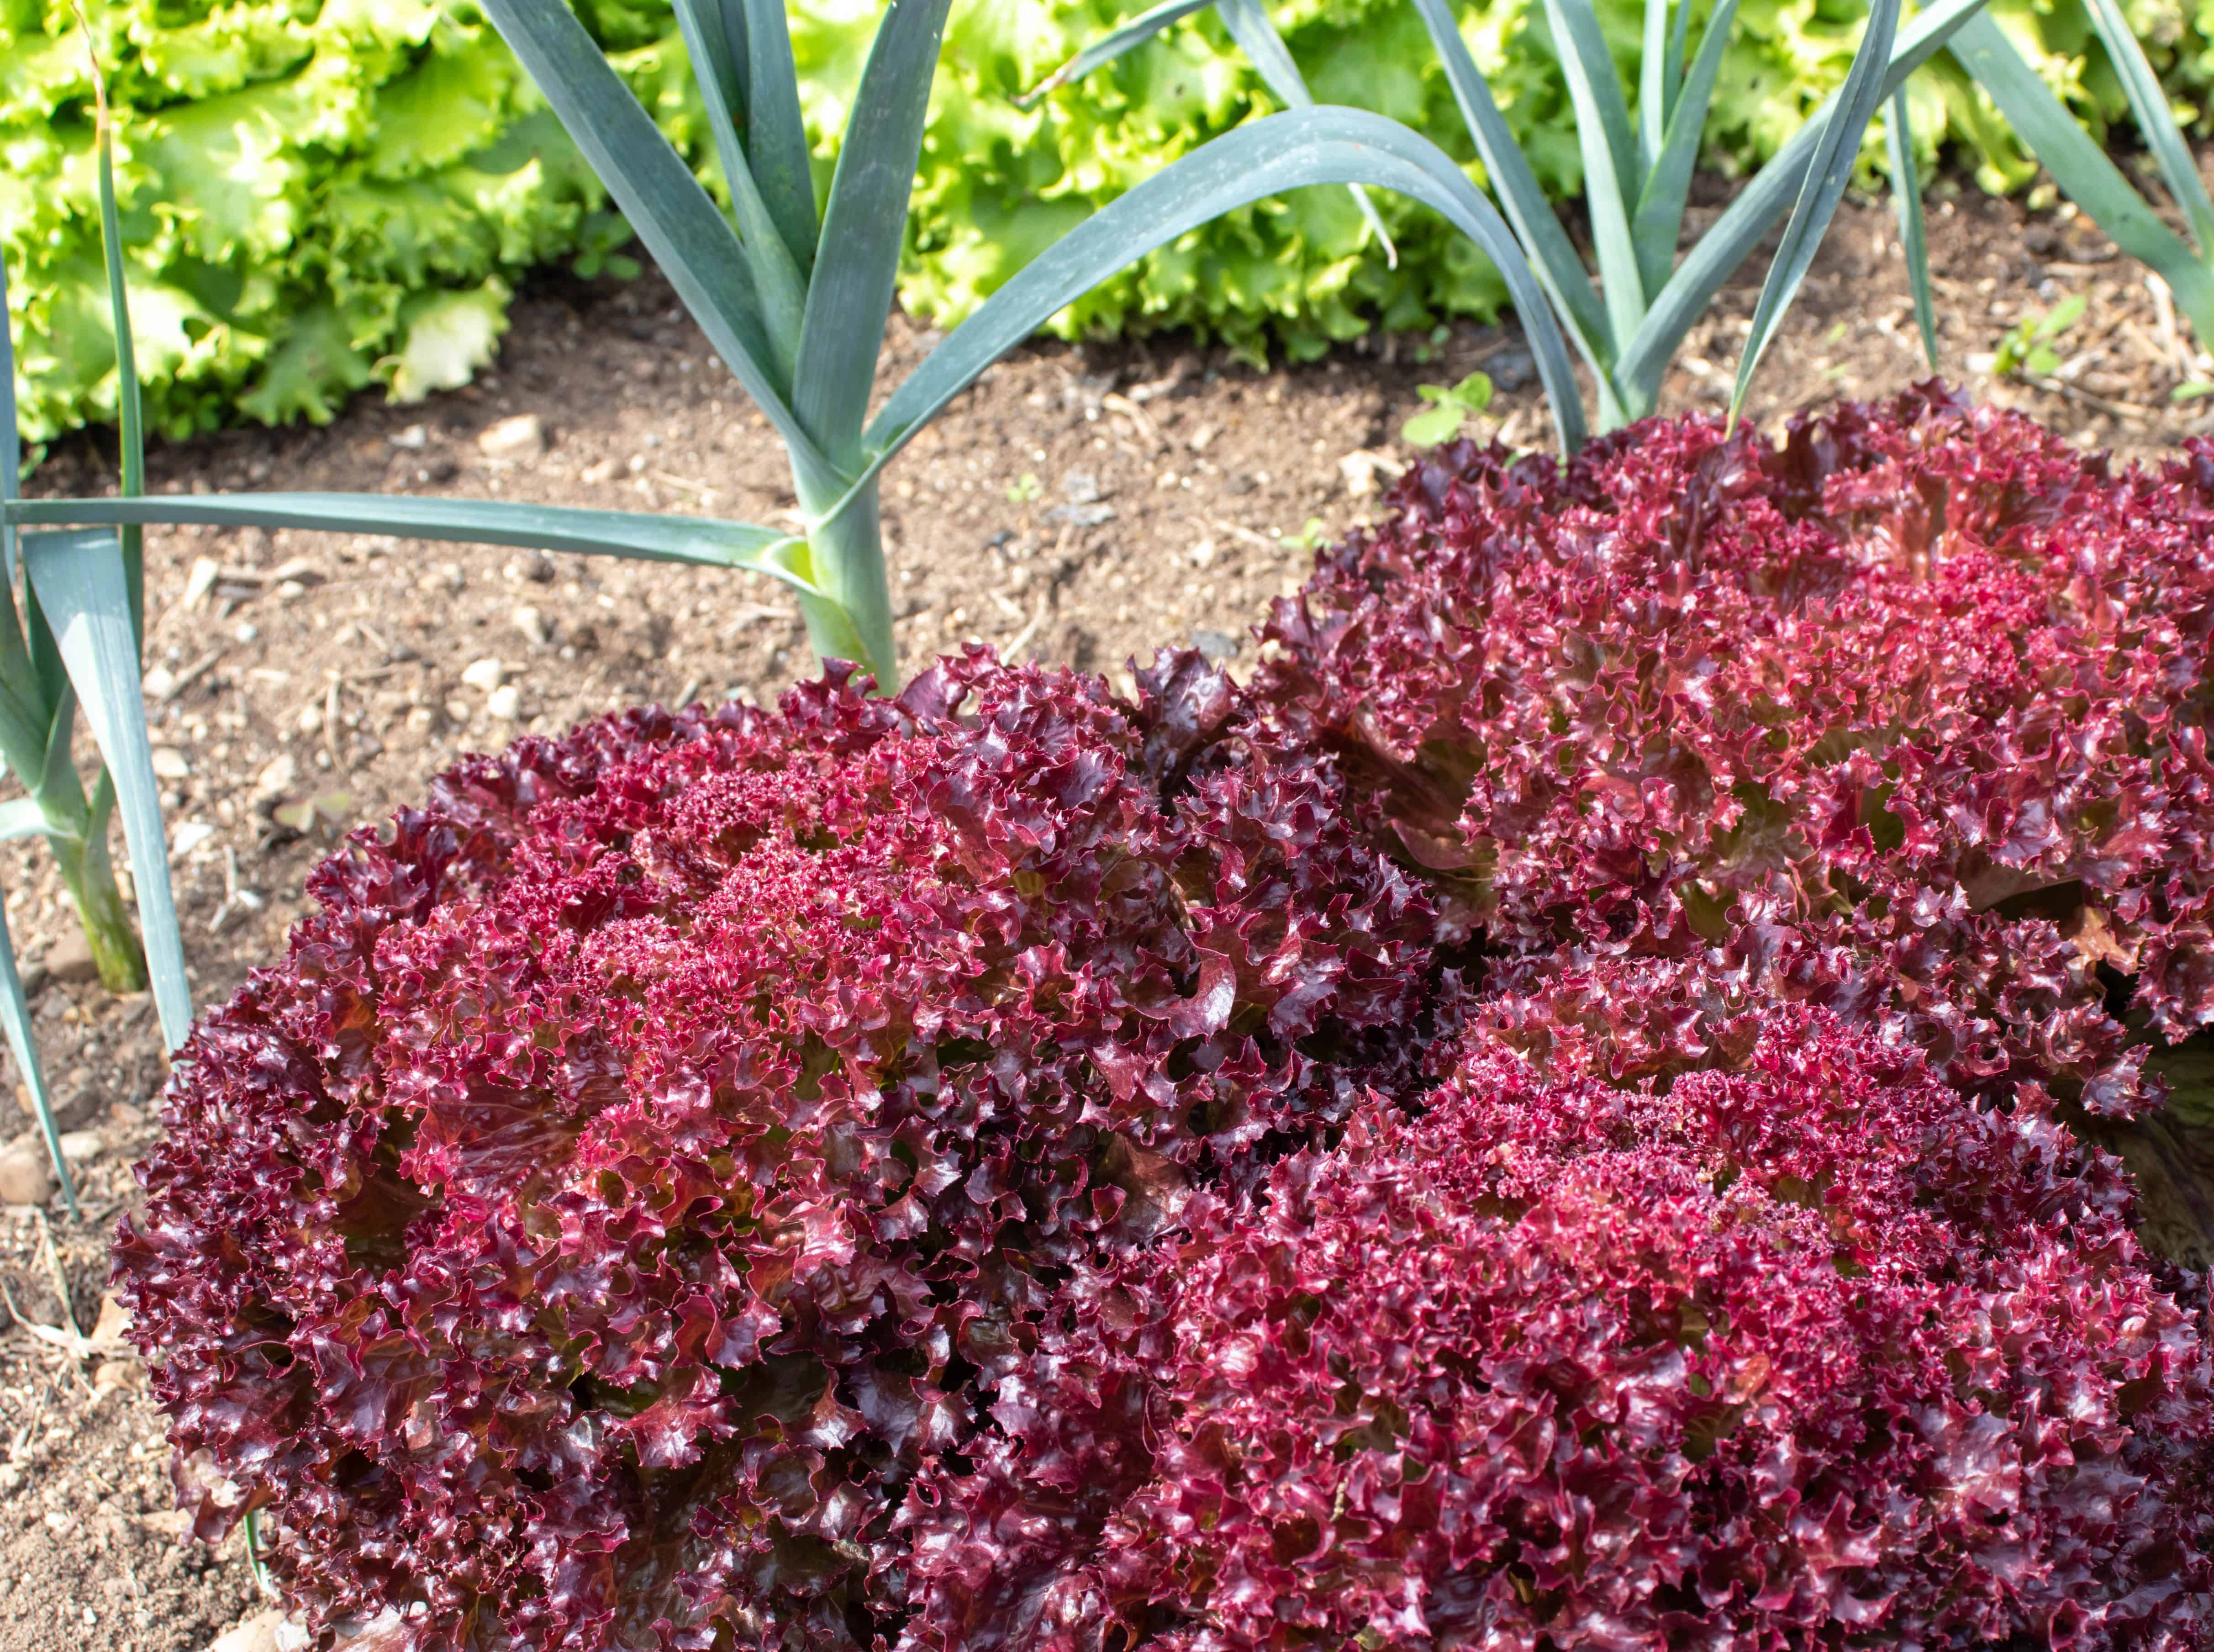
First of all, let’s talk about companion planting. I talk about this extensively in another article if you’re interested in learning more about it. Companion planting is basically placing plants that will be good neighbors together and support each other’s growth. It also means there are certain plants you should never plant together to prevent nutrient competition and other problems.
Here are examples of plants with their corresponding good and bad neighbors:
| Edible Plants | Good Neighbors (Plant them together!) | Bad Neighbors (Never, ever let them occupy the same space) |
| Beans | Broccoli, Carrots, Cabbages, Radishes, Eggplant, Potatoes, Radishes, Tomatoes, Strawberries, Grapes, Blackberries, Gooseberries, Basil, Rosemary, Arugula, Bay leaves, Cilantro/Coriander, Mint | Sorrel |
| Broccoli | Beans, Carrots, Spinach, Radishes, Rosemary, Mint, Basil, Lemon Balm | Potatoes, Lettuce, Strawberries |
| Cabbage | Beans, Spinach, Kale, Arugula, Radishes, Basil, Rosemary, Cilantro/Coriander, Lemon Balm, Mint | Lettuce, Tomatoes, Potatoes, Strawberries, Grapes |
| Carrots | Beans, Broccoli, Lettuce, Tomatoes, Radishes, Rosemary, Arugula | Potatoes |
| Potatoes | Beans, Lettuce, Radishes, Spinach, Arugula, Kale, Basil | Broccoli, Cabbage, Carrots, Eggplants, Tomatoes, Raspberries, Strawberries, Blackberries, Bay leaves, Lemon Balm |
| Tomatoes | Beans, Carrots, Gooseberries, Basil, Mint, Cilantro/Coriander, Lemon Balm | Potatoes, Cabbage, Lettuce, Radishes, Arugula, Kale, Strawberries, Blackberries, Rosemary |
| Eggplants | Basil, Beans | Potatoes, Strawberries, Blackberries, Arugula |
| Strawberries | Lettuce, Spinach, Beans, Blackberries, Sorrel | Cabbage, Eggplants, Potatoes, Tomatoes, Broccoli, Rosemary, Mint, Arugula |
| Grapes | Beans, Blackberries, Basil | Cabbage, Radishes |
| Raspberries | – | Potatoes |
| Blackberries | Grapes, Mint, Lemon Balm, Strawberries, Beans, Lemon Balm | Tomatoes, Eggplants, Potatoes |
| Basil | Beans, Broccoli, Cabbage, Eggplants, Potatoes, Tomatoes, Grapes, Arugula, Lemon Balm | – |
| Rosemary | Cabbage, Beans, Carrots, Broccoli, Arugula, Sorrel, Bay leaves, Lemon Balm | Strawberries, Tomatoes |
| Lettuce | Carrots, Potatoes, Radishes, Strawberries, Cilantro/Coriander | Broccoli, Cabbage, Arugula, Kale, Tomatoes |
| Spinach | Broccoli, Radishes, Strawberries, Potatoes, Cabbage, Arugula, Cilantro/Coriander | – |
| Radishes | Beans, Broccoli, Cabbage, Carrots, Spinach, Lettuce, Kale, Potatoes | Tomatoes, Grapes |
| Arugula | Carrots, Spinach, Beans, Potatoes, Rosemary, Mint, Basil | Strawberries, Eggplants, Tomatoes, Lettuce |
| Kale | Radishes, Potatoes, Cabbage, Lemon Balm | Lettuce, Tomatoes, |
| Sorrel | Strawberries, Rosemary | Beans |
| Gooseberries | Tomatoes, Beans | – |
| Currants | – | – |
| Perilla | – | – |
| Bay leaves | Beans, Rosemary | Potatoes |
| Cilantro/Coriander | Cabbage, Spinach, Lettuce, Tomatoes, Beans | – |
| Lemon Balm | Tomatoes, Cabbage, Broccoli, Kale, Basil, Rosemary, Blackberries | Potatoes |
| Mint | Tomatoes, Beans, Broccoli, Cabbage, Blackberries, Arugula | Strawberries |
Note: This is by no means an exhaustive list of all the companion plants out there. But hopefully, this will be useful to you when you’re grouping your plants together.
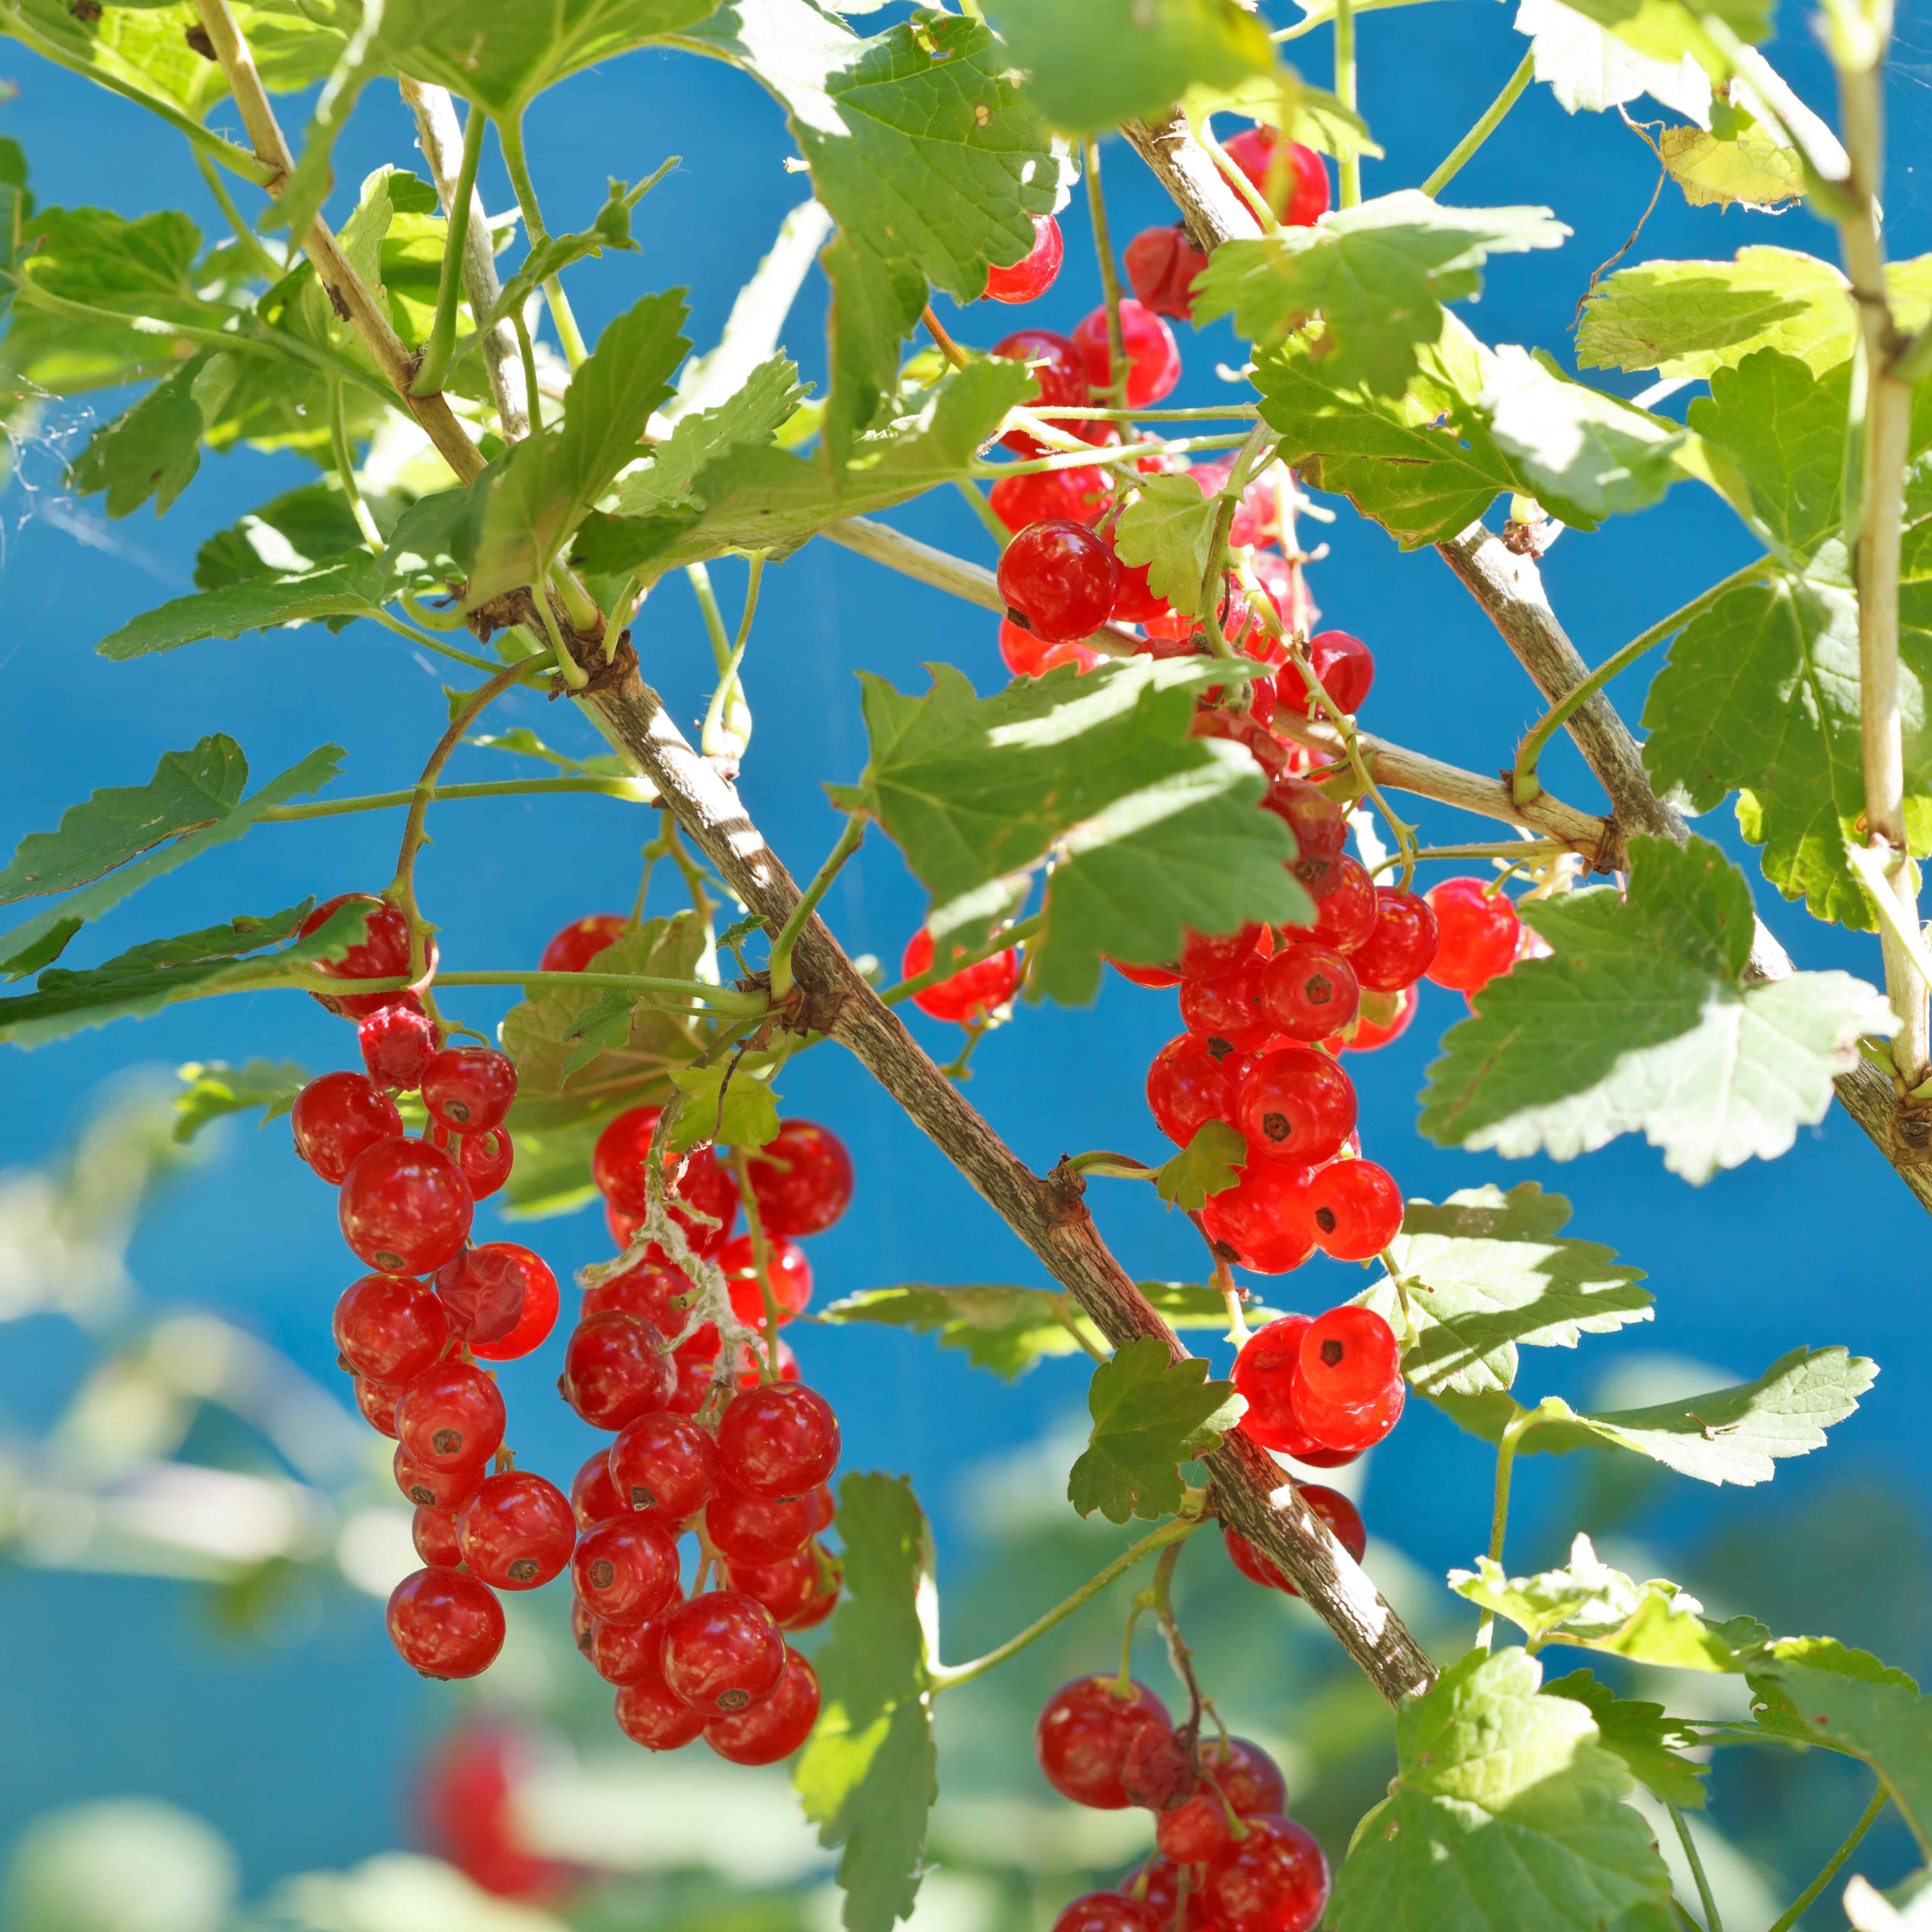
Let’s move on to light needs – this is where knowing the sun’s pattern in your garden area comes in handy. There are plants that need full sun and those that can tolerate some shade. To clarify, by ‘full sun’, I mean 6-8 hours of full sunlight with occasional very little to no shade at all. ‘Shade-tolerant’ plants mean they can handle anywhere from 2-5 hours of full sunlight with frequent shade and indirect sunlight here and there.
Here’s a helpful table with common edible plants and their light needs:
| Sun-loving plants (6-8 hours of full sun) | Shade-tolerant plants (2-5 hours of full sun) |
| Beans | Lettuce |
| Broccoli | Spinach |
| Cabbage | Radish |
| Potatoes | Arugula |
| Carrots | Kale |
| Tomatoes | Sorrel |
| Eggplants | Gooseberries |
| Strawberries | Currants |
| Grapes | Perilla |
| Raspberries | Bay leaves |
| Blackberries | Cilantro/Coriander |
| Basil | Lemon Balm |
| Rosemary | Mint |
Disclaimer: This is a general sunlight need for these plants. It doesn’t guarantee optimal growth as other factors such as climate, hardiness zone, and atmospheric conditions contribute to the successful production of your edible plants.
It’s also worth knowing the mature size of each plant. For example, beans will grow quite tall unless it’s the bush variety. Planting it next to shade-tolerant plants like kale is more helpful than next to sun-loving plants like tomatoes. To summarise, if you decide to group your plants based on their sunlight needs, you need to know:
- Their optimal sunlight needs.
- Their mature sizes.
- The sun patterns in your garden to place them correctly.
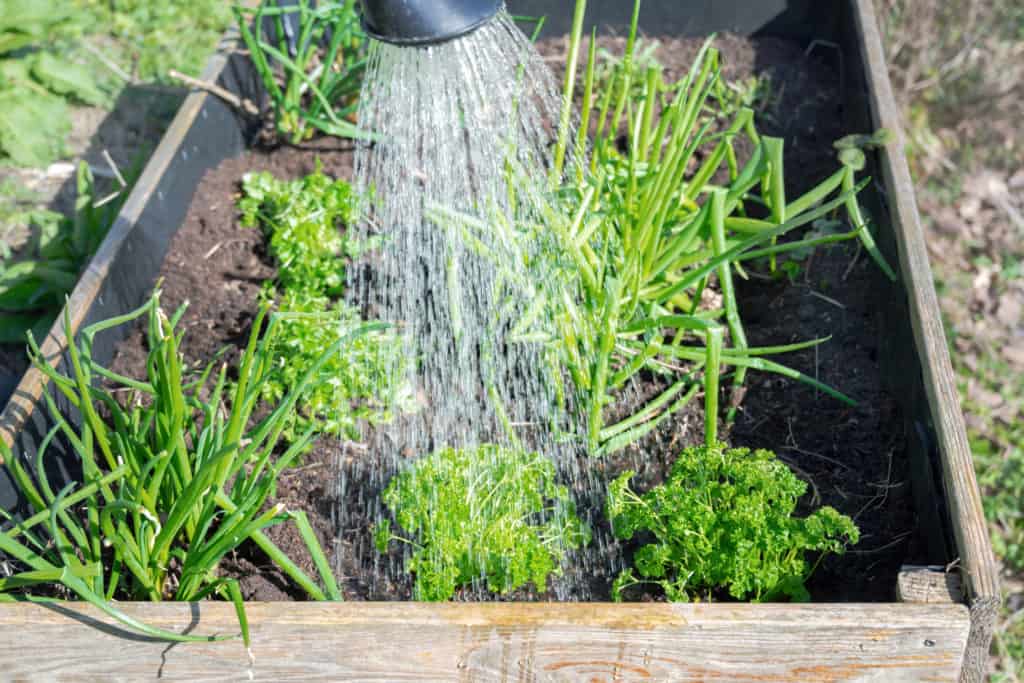
Next, we have plants’ water needs. This is a little bit tricky because it entirely depends on the type of soil you have, i.e., its water retention capability, and your plants’ growth stage. For example:
- Sandy soil is prone to losing water quickly, which means you will be watering your garden frequently.
- Clay soil holds onto water for quite some time. This means less watering for you in general, but some plants don’t like sitting in wet soil for too long.
- Loamy soil is smack dab between the two above. It is balanced in its moisture retention ability. This is the perfect soil to have for any garden.
Next, there are vital plant growth stages when more water is needed to aid in their development. Not going to lie, this is a pain to deal with in a small, diverse food garden. It’s significantly easier to keep track of if you’re planting rows of the same plant for miles but let’s not get into monocropping here. For example:
- Beans only need frequent watering when it is setting down roots. After that, it only needs water every other day.
- Cabbages need regular watering, but you need to increase their water intake during dry spells to prevent them from wilting.
- Herbs all have shallow roots, which require you to water them almost daily. This keeps the top 1-2 inches of soil constantly moist so the roots don’t dry out.
The simplest way to group them based on their water needs is to know whether they are shallow-rooted (frequent watering) or deep-rooted plants (lax watering). The latter, in particular, dig their roots down deeper to search for moisture – they’re resourceful like that. To clarify, I define ‘shallow-rooted plants’ as having 3-20 inches in root depth. In comparison, ‘deep-rooted plants’ have anything more than 20 inches in root depth.
Here’s a valuable table of the same plants as mentioned before and their water needs:
| Deep-rooted plants (Lax watering) | Shallow-rooted plants (Frequent watering) |
| Beans | Lettuce |
| Carrots | Spinach |
| Tomatoes | Radish |
| Eggplants | Arugula |
| Sorrel | Kale |
| Grapes | Broccoli |
| Blackberries | Cabbages |
| – | Potatoes |
| – | Gooseberries |
| – | Currants |
| – | Raspberries |
| – | Strawberries |
| – | Perilla |
| – | Bay leaves |
| – | Cilantro/Coriander |
| – | Lemon Balm |
| – | Mint |
| – | Basil |
| – | Rosemary |
Suppose your garden gets consistent sun throughout the day with no shade. Grouping your plants by their water needs makes it convenient for you to set up your watering schedule. Even more so if you’re using an automated irrigation system! To summarise, if you’re grouping your plants by their water needs, you need to know:
- Their root depth.
- Your garden’s soil type.
- Any specific plant growth stage where they need more watering.
Whew, is your head in a whirl yet? Because mine is. Lucky for you, I’ve simplified all that information into these convenient little boxes of 2-3 plants you can plant together with respect to their sunlight needs, water needs, and compatibility:
| Group 1 (Full sun, high water needs) | Group 2 (Partial sun, high water needs) |
| Beans, Tomatoes, Carrots | Lettuce, Radishes |
| Group 3 (Full sun; #sunnydays) | Group 4 (Partial sun; #shadygreens) |
| Broccoli, Rosemary, Basil | Lemon Balm, Kale |
| Group 5 (High water needs) | Group 6 (Low water needs) |
| Potatoes, Beans | Cabbage, Spinach, Arugula |
Obviously, this is just an example. While this step can be a bit of a headache to deal with, this is where starting small will benefit you immensely. Work your way slowly from there, add in other plants gradually, and pay attention to their compatibility and needs. I should also point out that you can plant just one big block of the same plant if you’d like to simplify things. But unless you are dedicated to torturing your family with a constant flow of lettuce, tomatoes, and god forbid, brussels sprouts … a variety of edible plants will give you more options.
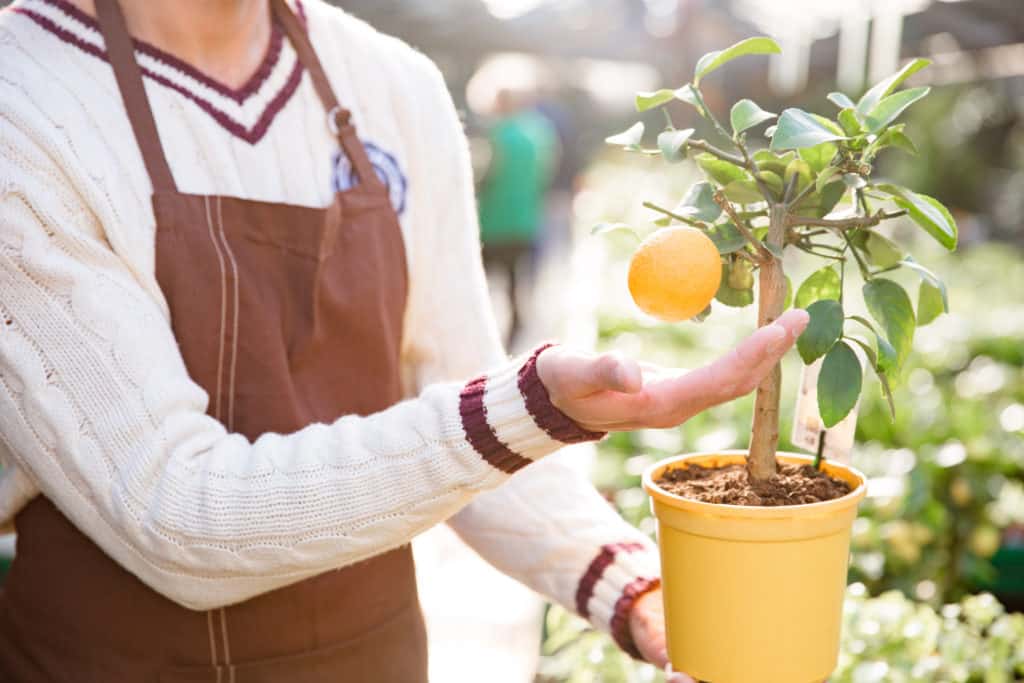
A note on fruit trees: It takes a few years before any fruit trees are established enough to bear fruit. You can plant a dwarf fruit tree instead-but fair warning, it’ll still be a while before you see it producing anything. If you have the space to plant a fruit tree though, place it a good distance away from your garden. Their roots will be extensive once they take root and the last thing you want is your tree siphoning off available nutrients all to itself and none left to your garden. An alternative is to plant your dwarf fruit tree in a pot, but make sure it is large enough to accommodate it. Just a heads up: you will also have to repot it every year as it grows bigger.
By the end of this step, you should have a list of grouped plants that meet the following criteria:
- They are something you and your family want to eat.
- They will grow in your region’s hardiness zone.
- They are paired with their companionable neighbor plants.
- They are grouped together according to their light and/or water needs.
- Whether you intend to plant a dwarf fruit tree or not in your garden area.
3. Place your plants in a gardening layout that suits your garden space
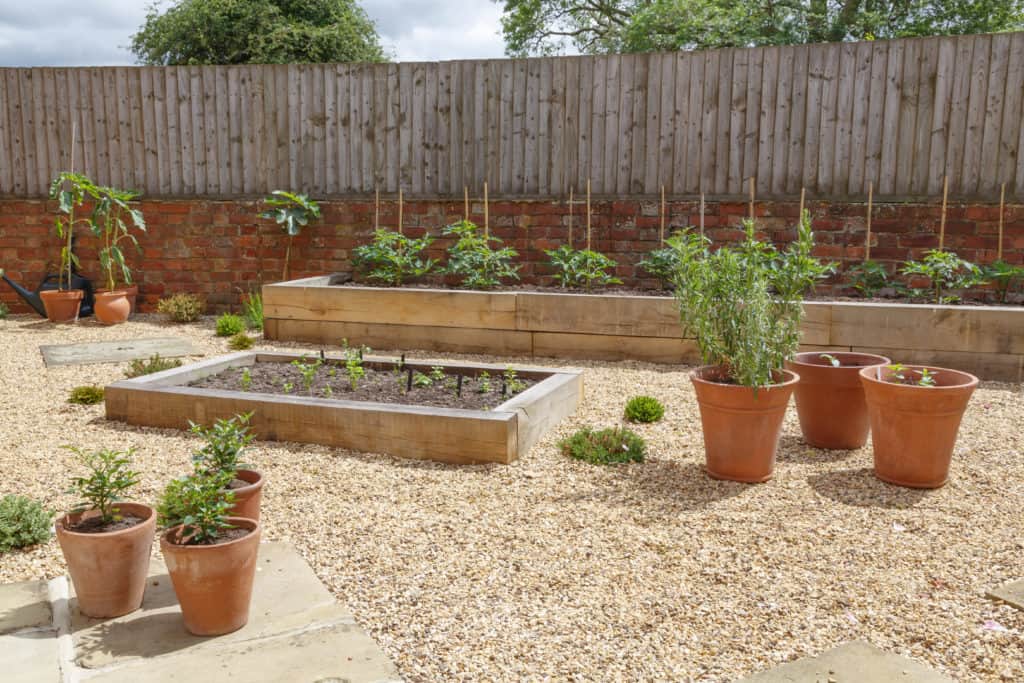
So you have your list of plants now. Perhaps it’s time to start planting freestyle now and see what works and doesn’t? YOLO, anybody? You already know tho, it’s the freekin motto!
Hold on there, big guy. As fun as it might seem to just plant wherever you fancy in your garden, it will be harder to manage the upkeep as they start growing wildly. Instead, have a look at these 4 types of layouts you can plot your garden in. Each of them has its pros and cons, so feel free to choose which one suits you best:
1. Square foot
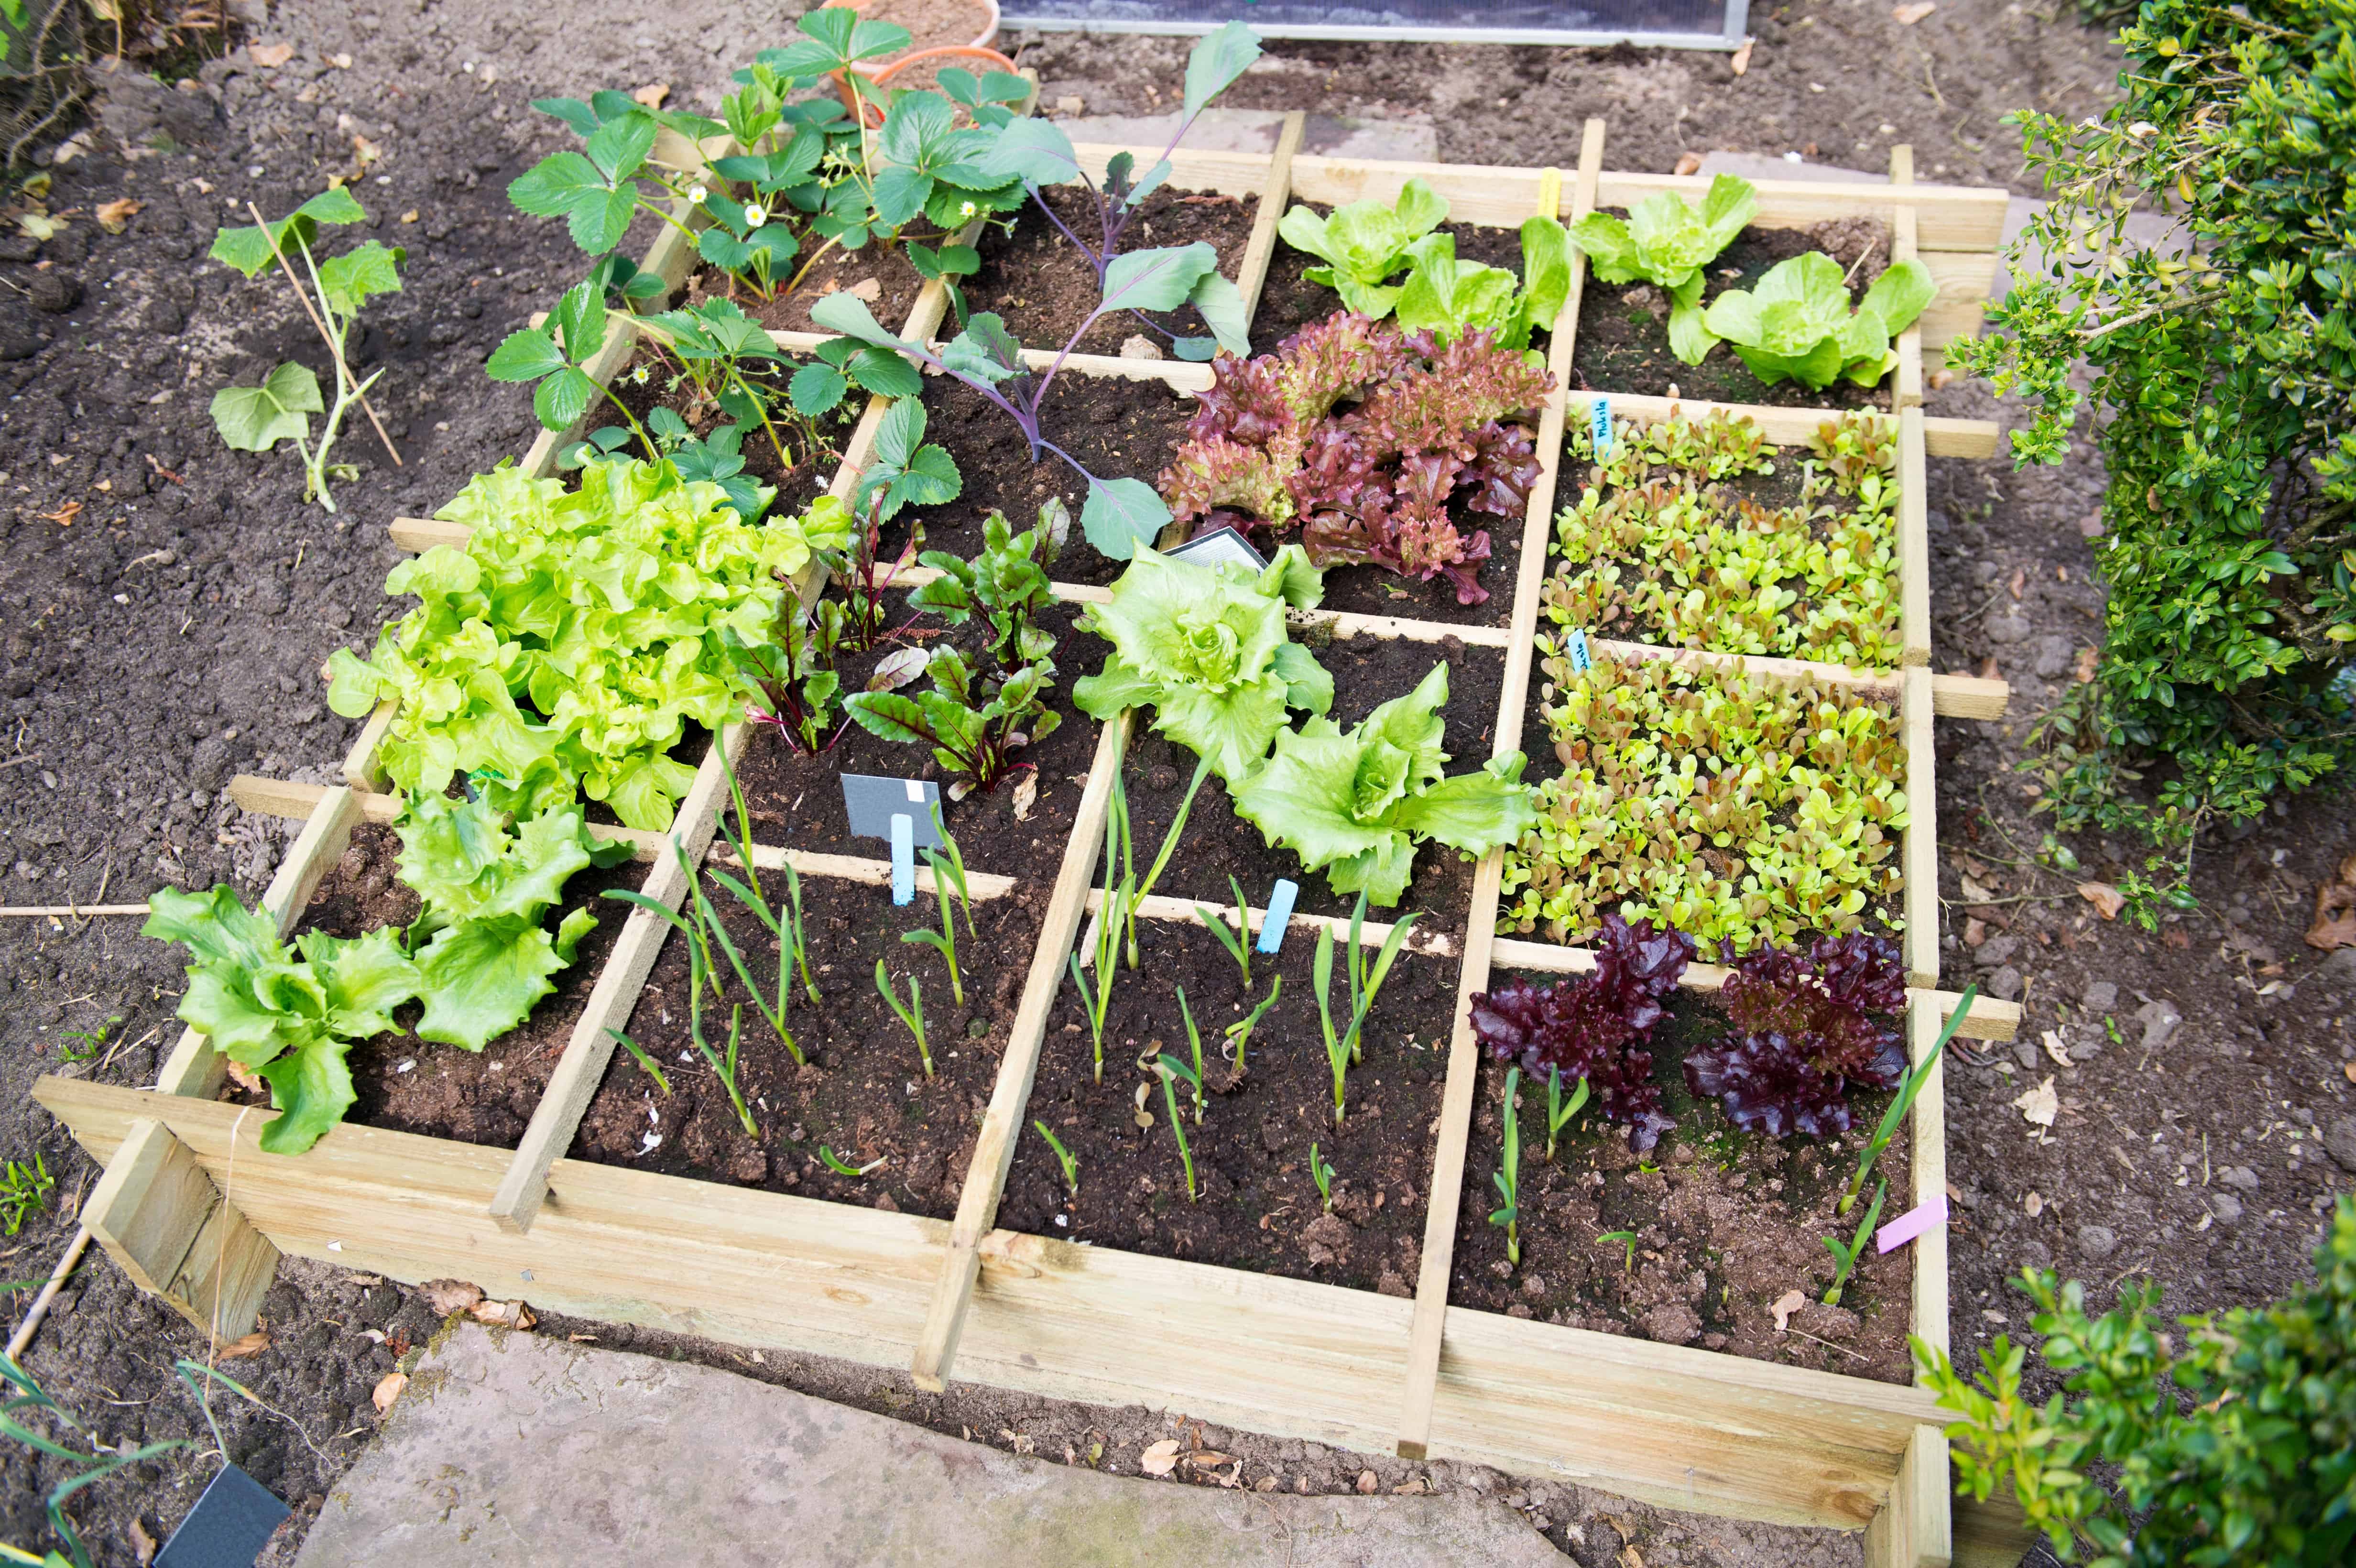
- What is it? It’s a 4×4 square foot raised bed garden, but you can do this on a traditional in-bed garden as well. Just make sure to measure your garden area into equal square-foot measures for accuracy.
- Pros? It can fit various plants and maximize your harvesting yield in a small space. Essentially there are ’16 spaces dedicated to each plant in one garden per square foot.
- Cons? If your plants are perennials, you might need to expand the space to accommodate its growth, which is more work down the road.
- Any helpful tip(s)? Plant your climbing or sprawling plants at the borders near a wall or with a stake in place. This will help their upward growth and avoid them taking over another plants’ growing space.
2. Rows
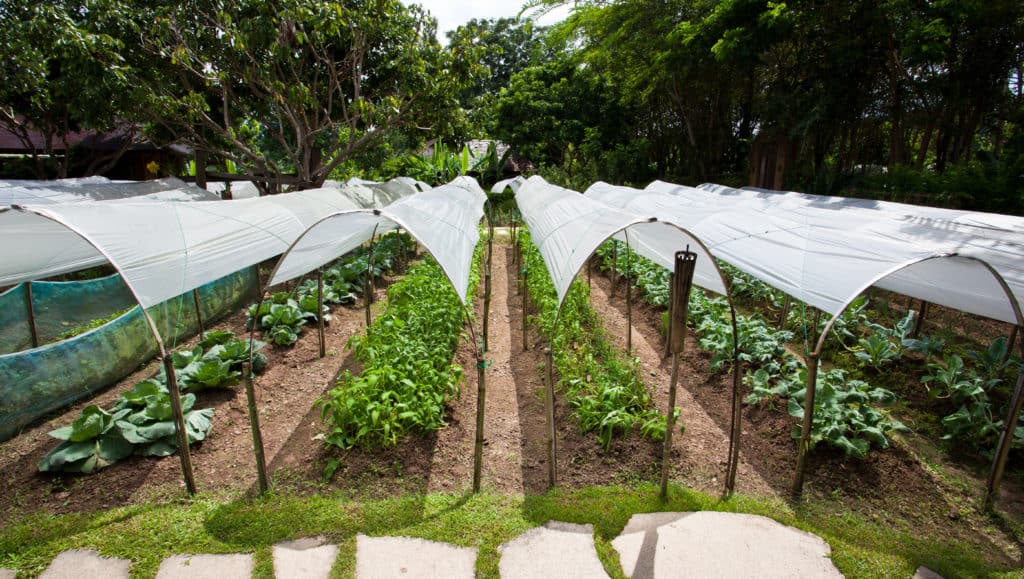
- What is it? This is your traditional gardening layout; single rows of a specific plant. It is usually equally spaced between a different companion plant in a small garden.
- Pros? It is immaculate and organized overall to look at.
- Cons? You are likely to compact the soil since you’ll walk between these rows to tend to the plants. In the long term, this may cause problems for your plants if you expand your gardening area.
- Any helpful tip(s)? Use a raised bed garden to avoid stepping on the soil. There’s also an option to create a raised garden table that eliminates any soil compaction problems or prevents hungry, underground critters you might have. Have a look at this article I wrote about it if you’re interested in constructing one!
3. Block/Wide Rows
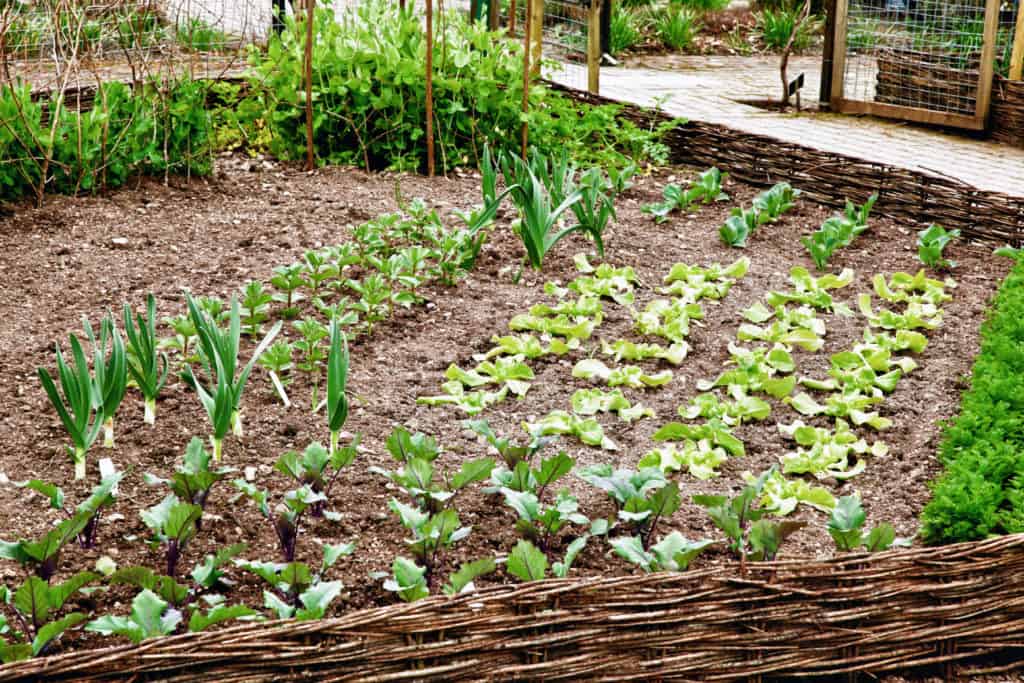
- What is it? This is kind of like square foot and row gardening combined into one. Instead of rows of the same plant, you have a block of the plants equally spaced apart. In the next block and onwards, you have other plants in the same arrangement depending on your space. This way, you have a compact myriad of plants in one garden.
- Pros? It maximizes yield in small to medium spaces.
- Cons? It’s possible that not all plants will grow to their full grandeur because they are not happy growing in a crowded space like this. Also, depending on how you design this, you may have a hard time tending to each plant if they are far from your reach.
- Any helpful tip(s)? Design your block/wide rows layout so that it is reachable from both ends without having to step in the soil and you will avoid most of the cons.
4. Vertical
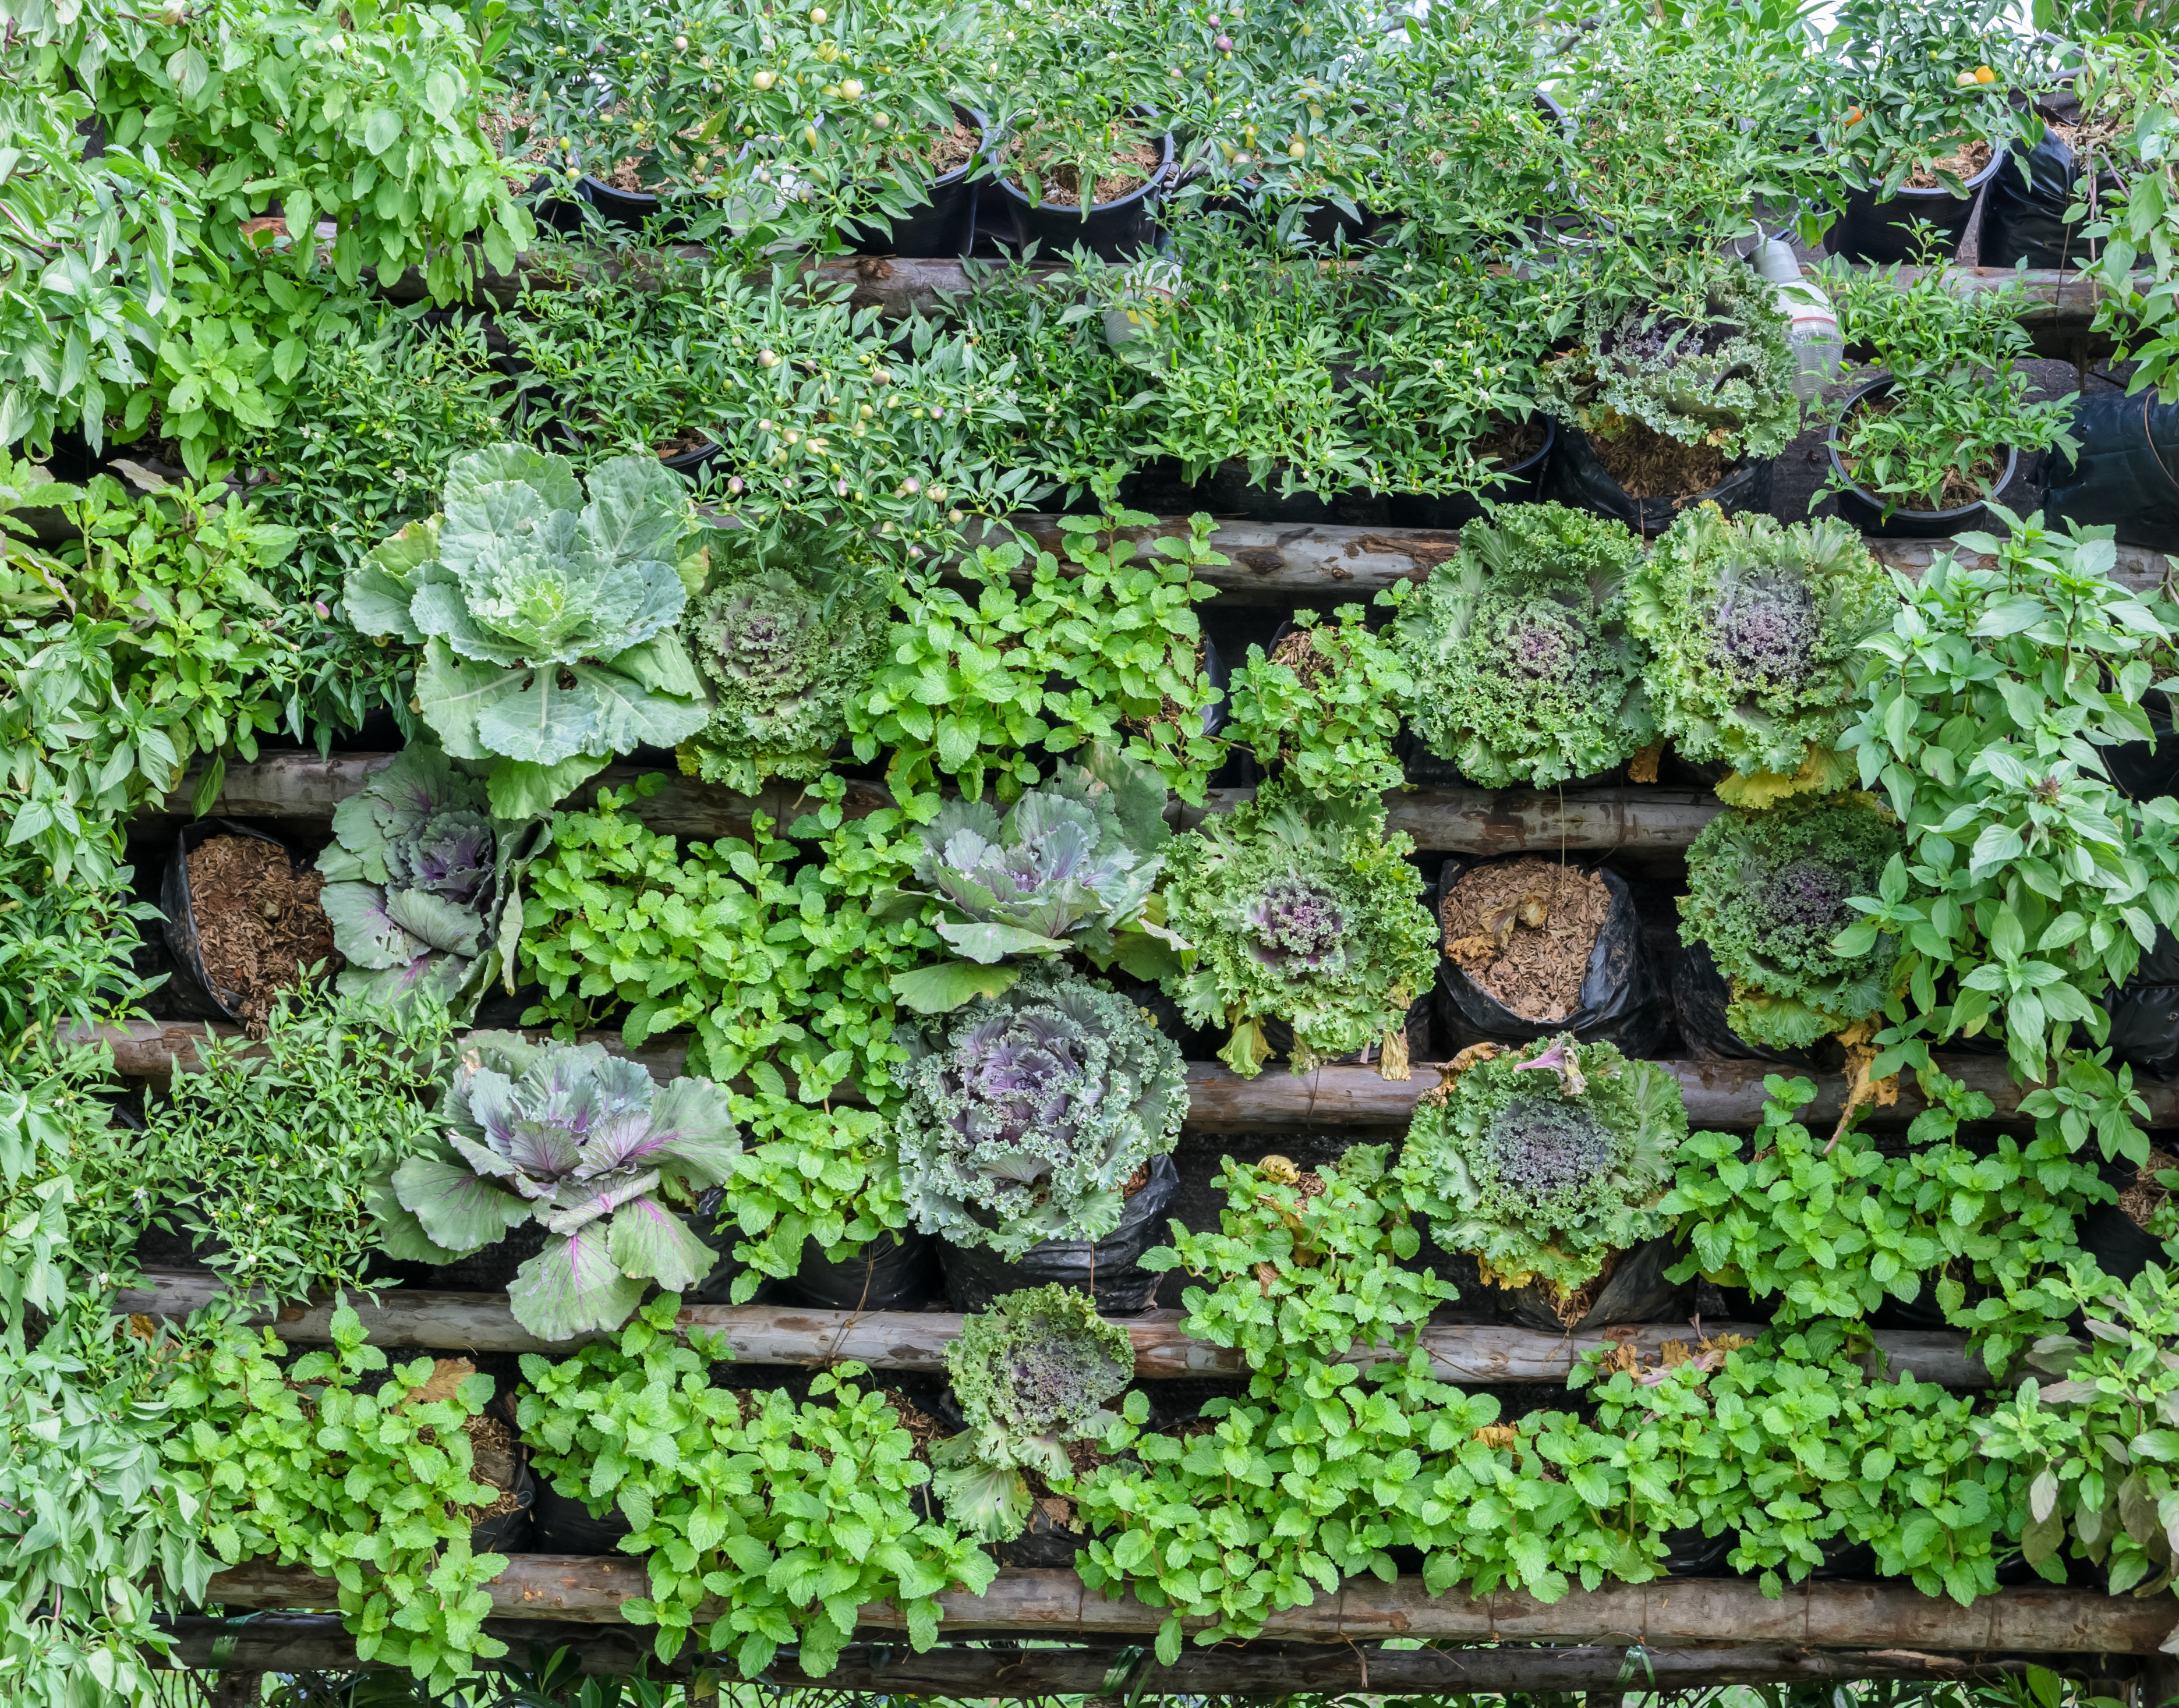
- What is it? This is like row planting, but instead of doing it horizontally, it’s vertical. The main difference though, is you’re using individual containers and pots for your plants. You can use items like vertical planters, wall planters, and stackable containers for your plants to grow in.
- Pros? This is the perfect solution for those with minimal to non-existing ground space to have a garden like apartments or houses in city areas.
- Cons? Not all plants can be grown in this setup. Root crops like carrots and potatoes will be challenging to grow vertically. Another downside is it may be hard to water them individually by hand unless you use a drip irrigation system. Another thing is they might outgrow their planters.
- Any helpful tip(s)? Salad greens, herbs, and strawberries can grow in this setup. Aim to grow climbing or sprawling plants and experiment with other plants as you move on with this gardening layout.
By the end of this step, you should know the following:
- The suitable layout for your garden
- The placement of your grouped plants in the layout.
4. Add supporting structures to your garden like a trellis or fences
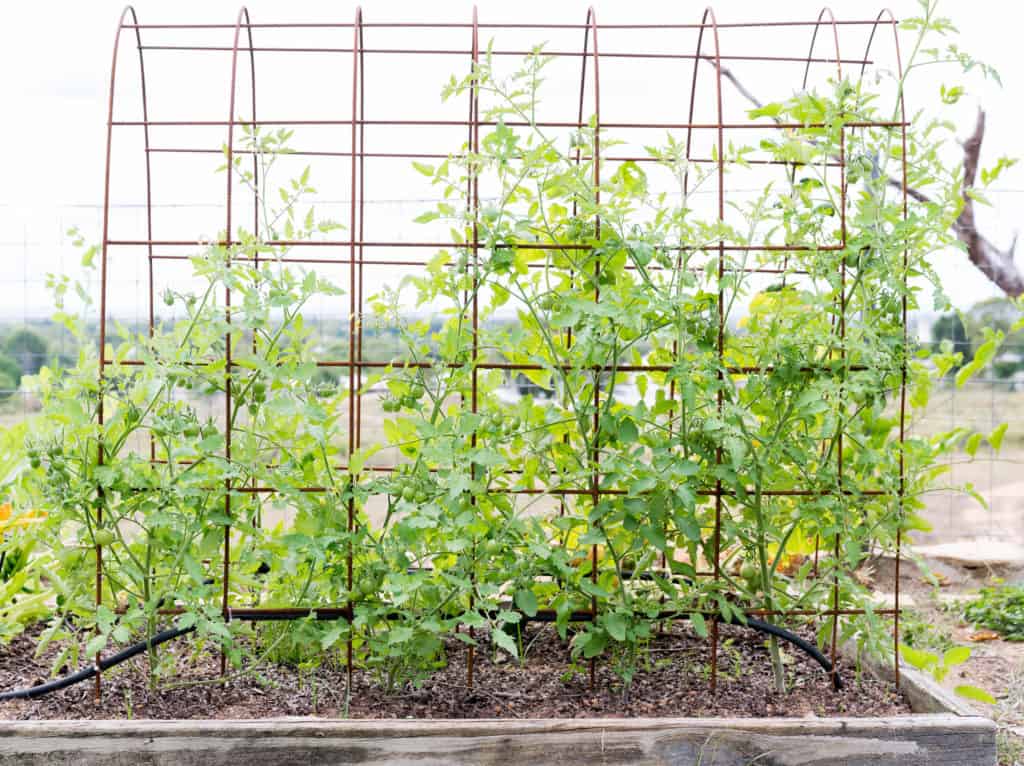
Just like a character is nothing without its supporting characters, a garden always needs a supporting structure or tips to aid in your plants’ growth. There are several valuable ones you definitely need to have at the ready as your garden flourishes, such as:
- A trellis for climbing and sprawling plants. If you ever ask yourself, ‘how do I make my vegetable garden look pretty?’ Use decorative trellises, frames, or cages to keep an edible garden looking mess-free and gorgeous. It also benefits the mentioned plants to grow upwards without stress. Alternatively, you can stick in stakes early on when you place the plants in so you don’t risk accidentally damaging their roots if you put them in later.
- Add a chicken wire fence around the garden. This is to prevent curious pets and critters from waltzing in to munch on your food garden.
- Place down chicken wire and permeable landscape fabric underneath raised beds. This is to prevent underground critters from popping up for a meal in your garden. While whack-a-mole is a pretty fun game in the arcade, it is arguably cruel to an actual mole, even if they steal your lettuce.
- Use a drip irrigation system for convenient watering. As I mentioned earlier, this helps if you have various sections of your garden with different watering needs. It also helps if you’re the forgetful type, which is entirely normal. But if you want that endless supply of spuds for your fries addiction, this is the device that will help you get there … among other things.
- Use season extenders such as cold frames and row covers to keep gardening during winter. You can read more about this in my Winter Gardening article here!
- Start some of your plants indoors with LED grow lights. It helps if you started your gardening projects late in the year or you’re still waiting for the soil to be ready after prepping and amending it. Indoor gardening your seeds will give you a head start and possibly give you an early harvest, as long as you get the planting time right.
I’ve written in detail about some of these tips in another article. You can have a read here!
By the end of this step, you should know the following:
- Any structures you might need for your climbing and sprawling plants.
- Any additional protective structures to prevent your garden from being invaded by hungry critters.
- Any season extenders you might need if you plan on gardening all year long.
5. Create an accessible path around the garden to reduce soil compaction
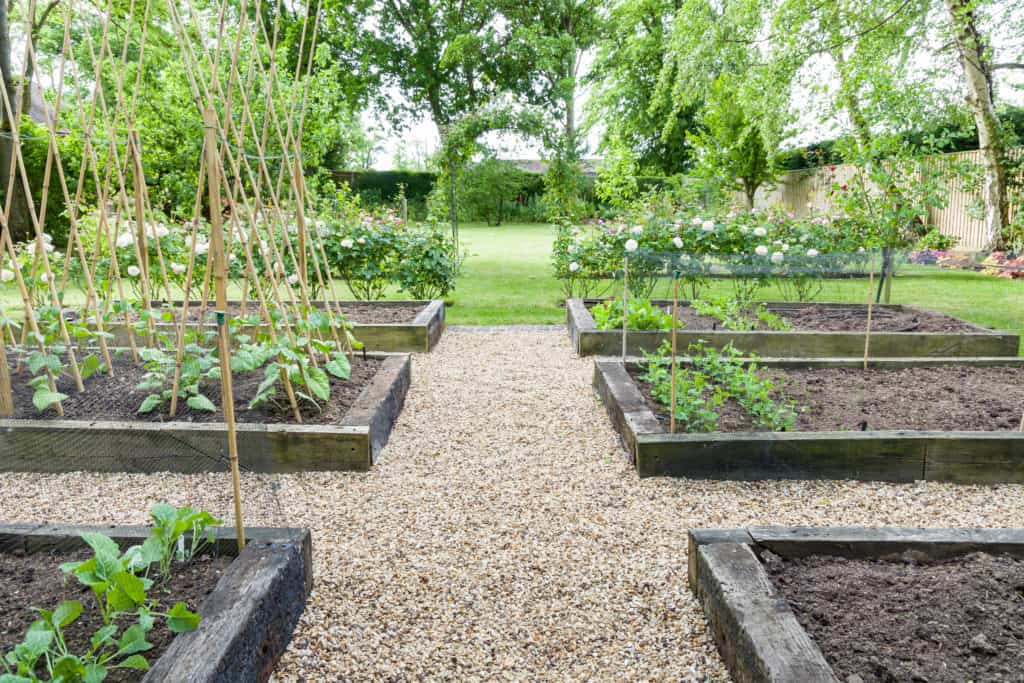
This step is mainly for in-bed gardening. Raised bed/table and container gardening don’t have much potential for soil compaction problems from constant foot traffic around the garden space.
Prepare the following:
- Your drawing/printout from step 1, which should be filled with scribbles of info by now
- Stones, bricks, or anything you can use to mark your garden space
- A rope or unused hose
Here’s what you need to do:
- Place your stone/bricks at the edges of your garden’s area. It’s ok if you don’t know the exact measurements yet; just estimate an outline, and you’re good. Sometimes your original plan and the materials don’t always line up so feel free to free style the border a bit.
- With the rope/hose, lay a path where you will walk, kneel, or sit to tend to your garden.
- Mark this path on your drawing/printout.
- Examine the path again. Is it reasonably spaced to fit a wheelbarrow, a cart, or 2 people sitting side-by-side for when you harvest your garden? You don’t want to end up establishing your garden and then realize down the line that you can’t fit your wheelbarrow without trampling on your tomatoes.
- Decide which materials you can put down to mark the path. This could be anything from planks, mulch, stepping stones, or nothing at all. You can read about this process in another article I wrote here about gardening landscapes!
By the end of this step, you should have the following:
- An outline of a widely spaced path around your garden on your drawing/printout.
- The material you will be using for your path.
Final Words
Edible gardening is a whole lot of work! But so is anything that you pour your time, effort, and heart into. Don’t worry about not getting it right the first time; the important thing is you start somewhere. A favorite proverb of mine goes, “the best time to plant a tree was 20 years ago. The second best time is now.” Happy gardening, everyone!
References:
https://www.gardeningknowhow.com/edible/vegetables/vgen/layout-options-for-gardens.htm
https://extension.uga.edu/publications/detail.html?number=C1027-1
https://salisburygreenhouse.com/edible-garden-layouts-101/
https://extension.missouri.edu/publications/g6911?p=1
https://transylvania.ces.ncsu.edu/2020/03/shady-characters-edibles-that-will-grow-in-the-shade/
https://horticulture.oregonstate.edu/oregon-vegetables/radish-0
https://extension.usu.edu/yardandgarden/research/raspberry-management-for-utah
https://harvesttotable.com/interplanting_vegetables_root/


Leave a Reply