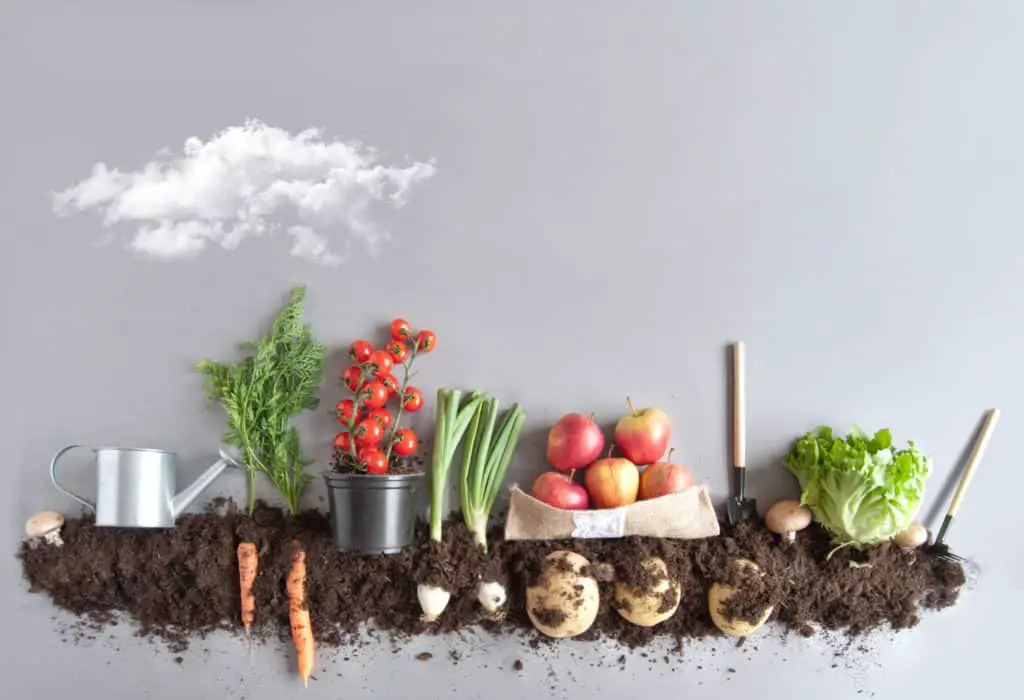
Most plants need that extra pep from fertilizers to flourish happily, even more so to ensure a plentiful yield from your vegetable garden. But with enough options to make your head spin, which fertilizer should you get?
Compost, worm castings, and powdered alfalfa meal are the best food to feed your vegetable garden. These substances are nutrient-rich in organic matter to improve soil conditions and fertility. For fast-acting solutions, spray diluted fish emulsion or liquid seaweed to boost weakened plants.
In this article, I will be talking about applying organic fertilizers to in-bed vegetable gardens, feeding the plants what they need by improving the soil’s nutrient makeup. I’ll discuss each fertilizer in detail, along with when to use them and guided steps to mix/make your own in your backyard:
(As an Amazon Associate, I earn from qualifying purchases.)
Table of contents
- Compost from Food Scraps & Organic Materials
- Worm Castings from Vermicomposting Kits
- Liquified Fish Emulsion Diluted in Water
- Liquid Seaweed Fertilizer or Kelp Meal
- Powdered or Pelletized Alfalfa Meal
- Powdered or Liquified Bonemeal from Ground-Up Animal Bones
- Powdered Bloodmeal from Dried Animal Blood
- Composted Manure from Herbivores with Chemical-Free Diets
- Final Words
Compost from Food Scraps & Organic Materials
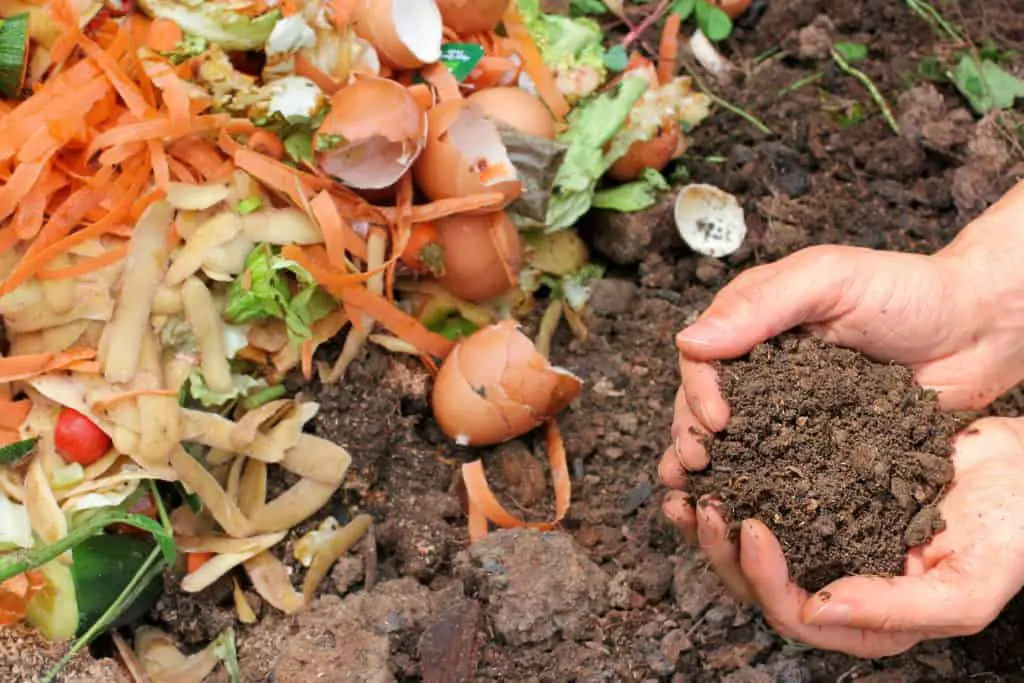
Compost is a nutrient-rich organic substance used to enrich garden soil; it is made from decomposed food, yard waste, and other organic materials. This fertilizer is a great way to recycle kitchen scraps and other organic waste, speeding up the natural decomposition process with oxygen (aerobic composting) or beneficial bacteria (anaerobic composting). It is reasonably easy to create your own compost at home, but you are more than welcome to purchase available compost from garden centers or online. Just be sure to check the ingredients and ensure they are organic in nature if you plan to eat what you grow with it.
A good starter list of compostable items:
| Nitrogen-Rich Food Scraps | Carbon-Rich Organic Matter |
| Fruits (even moldy or rotten ones) | Shredded paper |
| Vegetables (even moldy or rotten ones) | Shredded cardboard |
| Cooked Grains (like barley and rice) | Dead leaves |
| Eggshells (grind them up first!) | Small wood chips |
| Flour-based products (like noodles and bread) | Straw or hay |
| Cooked food waste (provided it is vegetable-based and grease-free) | Sawdust |
Note: Never include the following for composting:
- Dairy and egg products
- Meat and fish products
- Oily or greasy substances
- Leaves, wood, straw, or hay treated with herbicide
- Infected or pest ridden plants
- Pet waste
- Plastic
- Colored or glossy paper
- Black walnut tree or leaves
- Charcoal or coal ash
Here’s how to create your own compost using a compost tumbler:
Note on compost tumblers: Personally, I find it’s far convenient to do composting with. It’s sealable to keep pests out and keep the contents hot enough to decompose; it comes with a built-in spin function to mix your compost, and best of all, I can just add, spin (compost go brr), and collect in weeks time! Easy, homemade compost ready to use in my own home. This Tumbling Composter on Amazon is a good place to start as any!
- Place your compost tumbler in a relatively sunny and open area. Note: Make sure to bring it indoors or provide cover when it rains. This prevents your compost from getting soggy.
- Place an equal amount of food scraps and organic matter into the tumbler. Make sure to cut or tear both up into small pieces to quicken the decomposition process.
- Leave your compost tumbler for a week. This is to allow the substances to break down without intervention.
- After a week has passed, spin your compost tumbler. These spins help to add oxygen to the pile, quickening the decomposition process. Each model varies on how many spins you need to perform daily; if it is cold, you’ll need to add more spins to make up for the lack of warmth. Make sure the door is tightly shut before you do your spins otherwise you will have a mess on your hands.
- Check your compost regularly to ensure there is enough moisture. Ideally, you want it damp to the touch:
- If it is too dry, add a bit of water.
- If it is too wet, add a bit more dry leaves or any carbon-rich material.
- If there is bad ammonia (read: rotten) smell coming from it, add more carbon-rich organic matter and give it more spins than usual for that week. The ammonia smell means that there’s too much water and not enough oxygen in the pile.
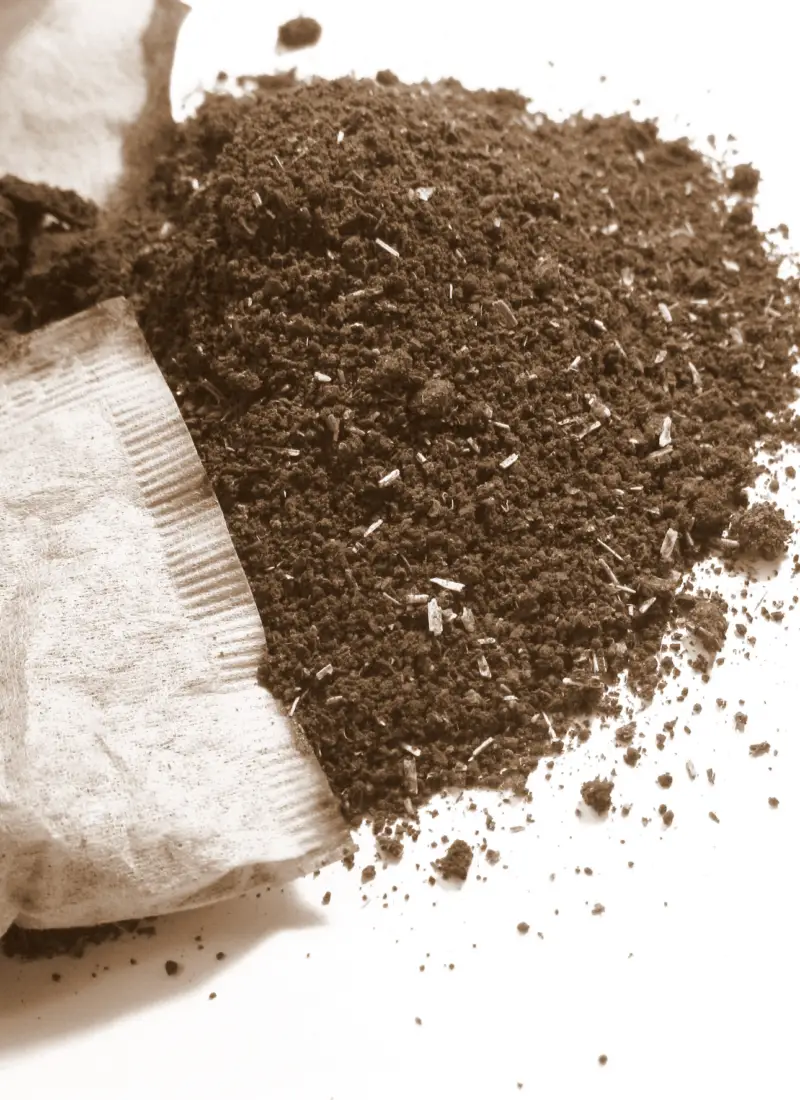
- Collect your compost. Your compost is ready when what remains is a brown, granular matter that smells earthy. There should also be less volume to the compost after going through the decomposition/composting process.
Worm Castings from Vermicomposting Kits
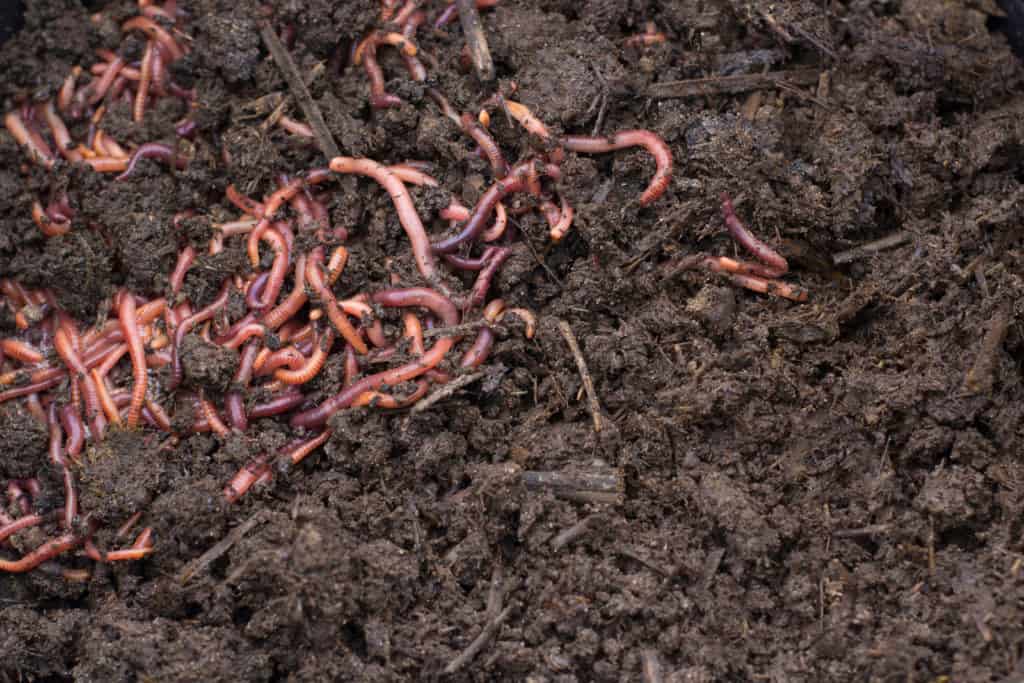
Worm castings are worm poop plain and simple. It looks and smells very much like soil but, don’t confuse the composting from above with vermicomposting. Rather than waiting for decomposition to do the work on a microscopic level, vermicomposting uses worms to eat and therefore break down organic scraps and carbon-rich substances to produce nutrient-rich excretions. It shares the same general concept of composting, both methods use naturally occurring organisms to make the nutrients from the composting ingredients readily available for the plants to absorb but vermicomposting has its own pros and cons. You can read more about it in this article!
The great thing about using worm poop as fertilizers is it conditions the soil, increasing organic matter and beneficial microbes, which helps aerate the soil and improve moisture retention. Good, healthy soil like this is the best kind of soil for almost any garden. However, it’s worth noting that this fertilizer is not suitable for acidic-loving plants because worm castings have a neutral pH i.e. not acidic (think vinegar) or basic (think baking soda).
Generally, you can’t burn roots and overfertilize using worm castings as fertilizer. Mainly because it acts as a slow-release fertilizer – the castings are covered in mucus once excreted. Over time and with a bit of water, the mucus coating breaks down, gradually delivering nutrients into the soil, so there is no risk of burning the plants’ roots. This fertilizer can be applied by mixing it in the soil and immediately watering it or soaking the worm castings in water to make worm casting tea (not that I should have to say it but, don’t drink it… it’s for your plants).


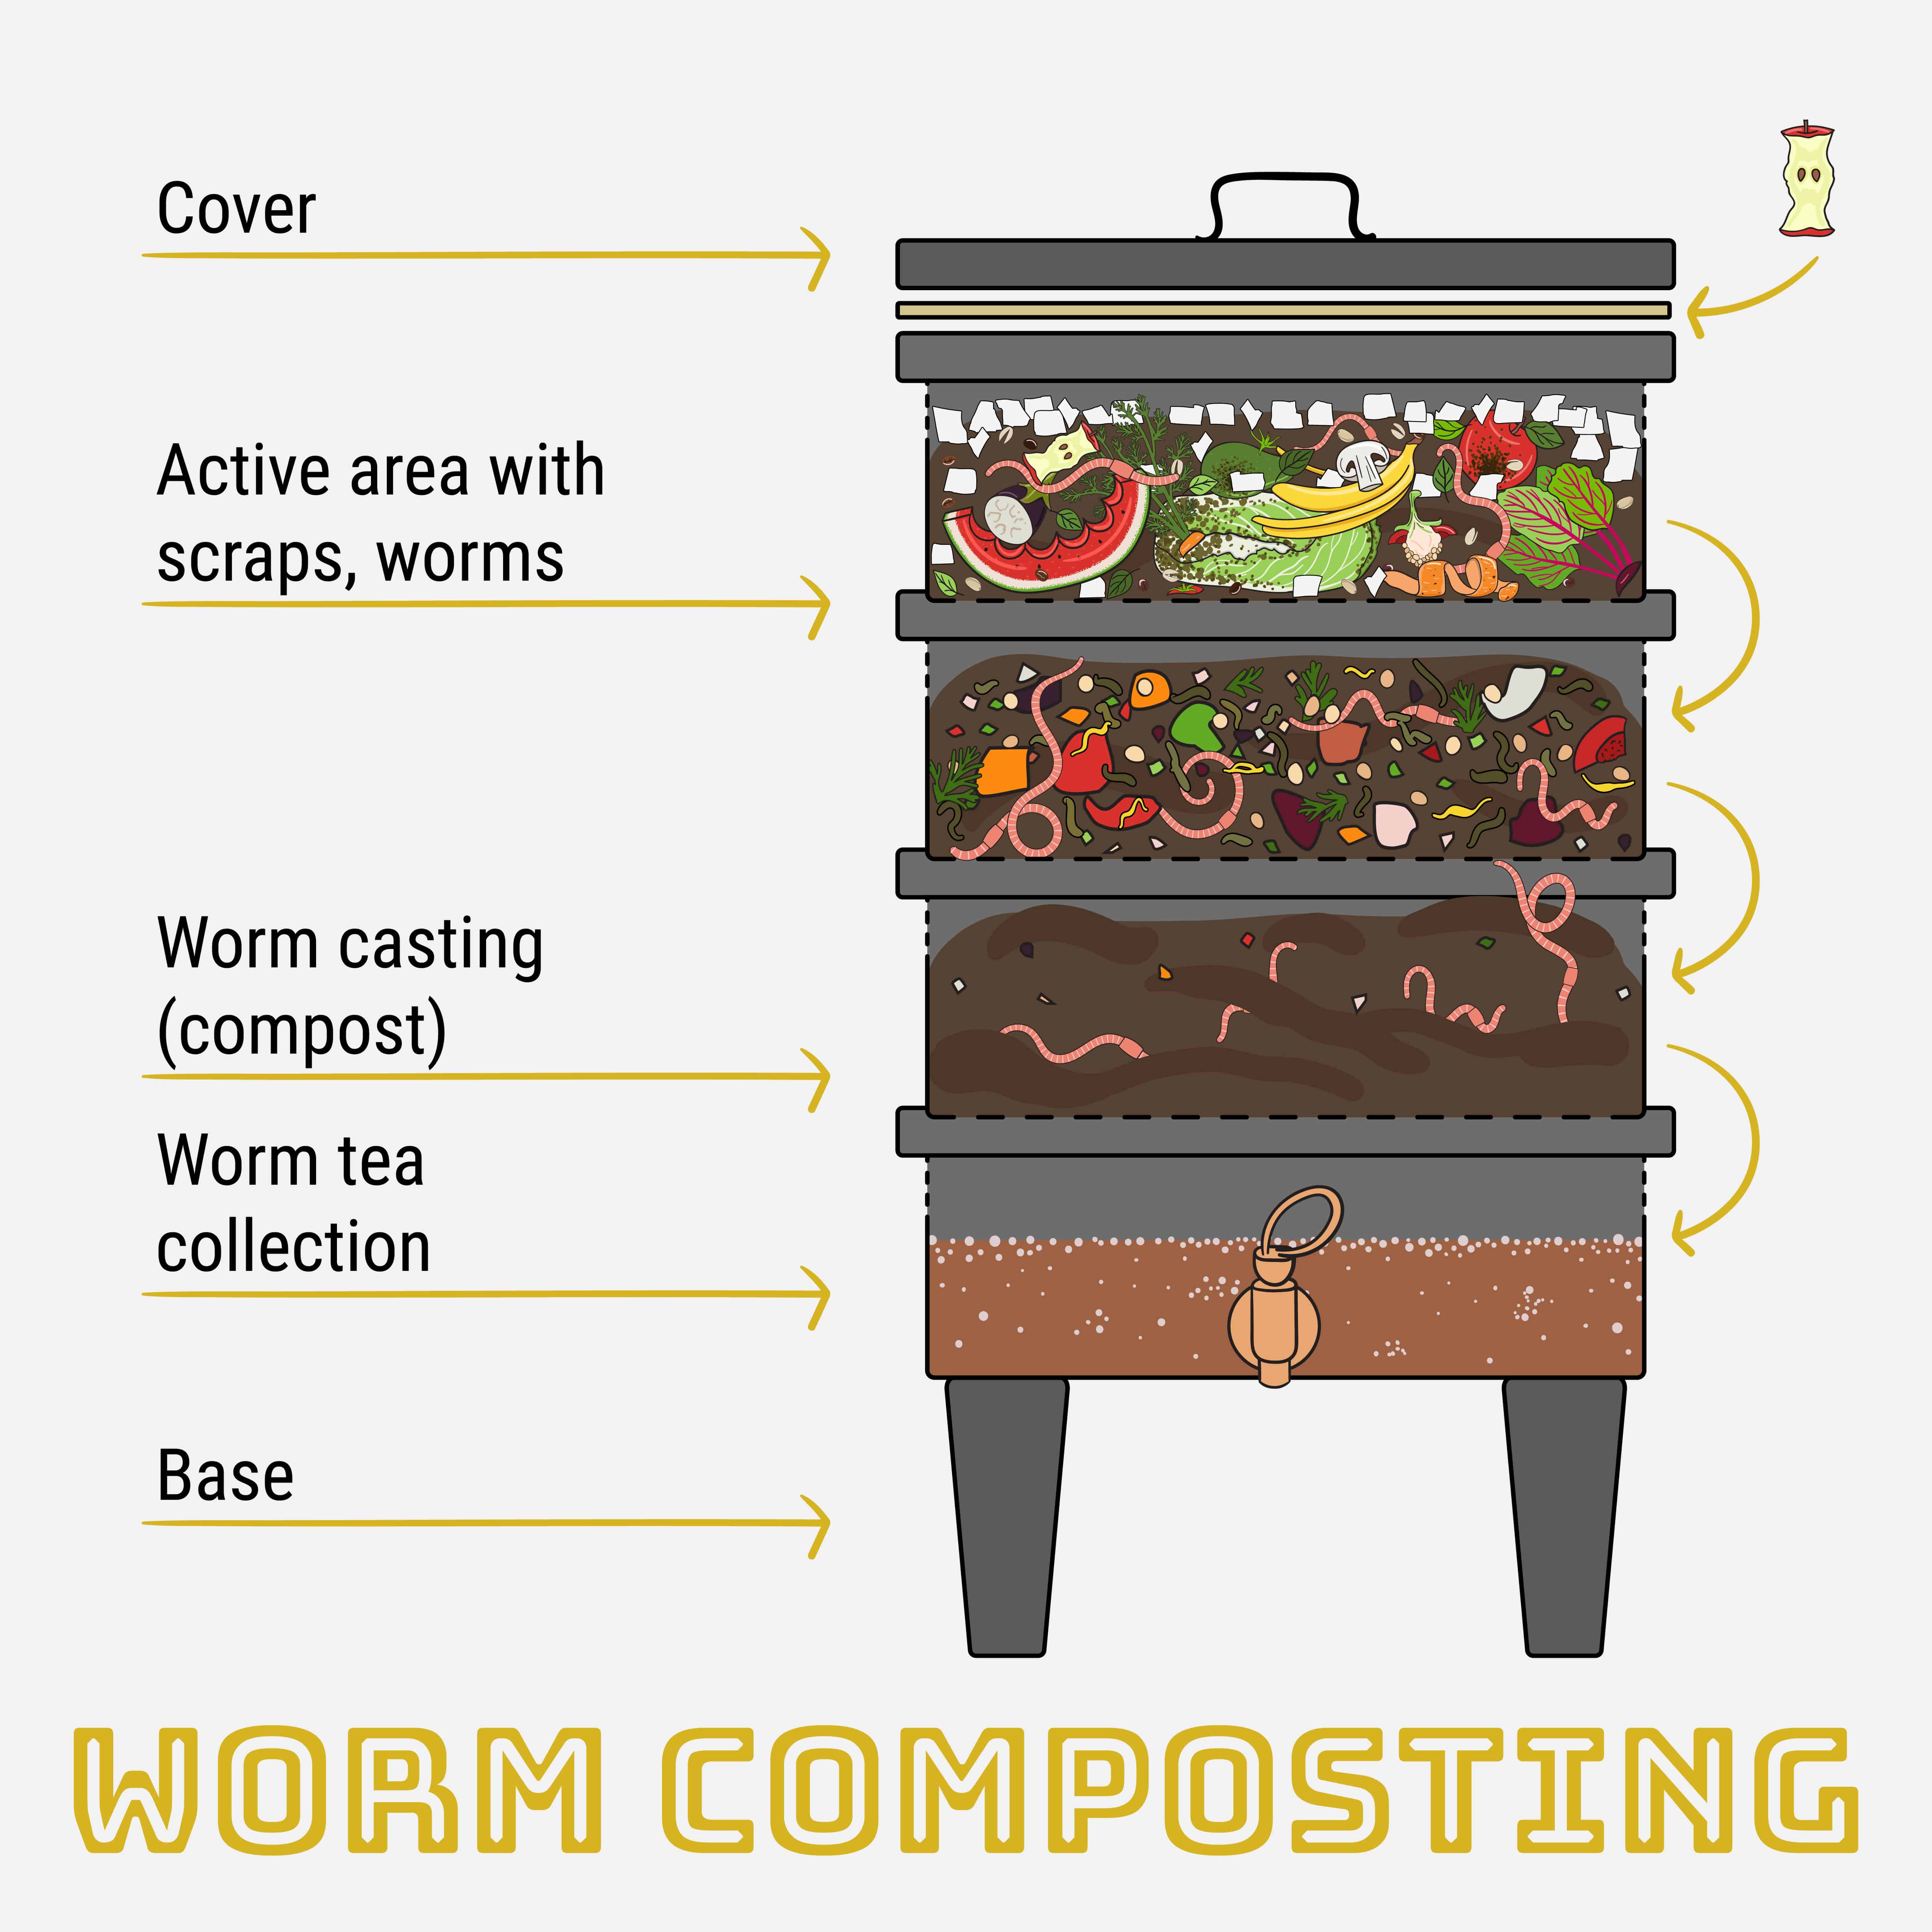
It’s relatively easy to start your own vermicomposting system at home. All you need is to purchase a worm bin (this Worm Composter on Amazon is pretty good) and some worms (red wrigglers, to be exact) to get you started! This vermicomposting article will tell you all you need to know about that wormy goodness.
Depending on the size of your vegetable garden, it may take time for you to collect enough worm castings to fertilize it. You’re looking at anywhere around 3-6 months, maybe even a year; it entirely depends on how well your worms are doing in your vermicomposting kit. It’s helpful to blend your kitchen scraps and shredded brown materials, i.e., worm bedding, to allow the worms to digest the substances faster. I suggest adding readily available worm castings into your shopping cart when you buy the stuff needed to start your own worm poop farm. I recommend getting this Standard Earthworm Castings on Amazon. This backup is to make sure you have something to feed your garden while you wait for your worms to churn out those nutritional nuggets for your use. Hope you weren’t eating nuggets when you read this…
Liquified Fish Emulsion Diluted in Water
Fish emulsion is a concentrated fertilizer made from fish scraps and diluted in water before use. As you can guess, this fertilizer smells all kinds of funky and not the type that makes you want to get your dancing shoes out. Despite its horrendous smell, it promotes valuable microorganisms in the soil to break down organic matter, making it easier for plants to take up yummy nutrients. Fish emulsion is high in Nitrogen, which helps boost leafy growths in crops. It is typically used as a pick-me-up fertilizer, i.e., foliar feeding, for wilting plants because it is fast-acting, though it requires frequent application about twice a week. Just don’t spray it on your leafy greens … you’ll have a hard time getting rid of the taste in your mouth afterward; water it into the soil instead! I recommend getting this Organic Wild Fish Fertilizer on Amazon for your fertilizing needs.
It’s worth noting that despite being an organic fertilizer, commercial fish emulsions might have added chemicals to make them last longer or smell better. Luckily, you can make your own at home for your vegetable garden. It’s similar to composting, except everything is wet, icky, and stinks to high heaven. Here’s how you can do just that:
Prepare the following items:
- A bucket. Preferably one you won’t mind sacrificing to this project.
- Fish scraps. Either from fishmongers or from your own kitchen. You can choose to use whole fish if you’d like, but why do that when you can make fish tacos out of it?
- Carbon-rich “brown” materials such as dry leaves, shredded newspapers, or cardboard.
- Bottle(s) with a tight-fitting cap.
- Sieve. Preferably one you will never use in the kitchen again.
- Optional: Unsulfured molasses or brown sugar.
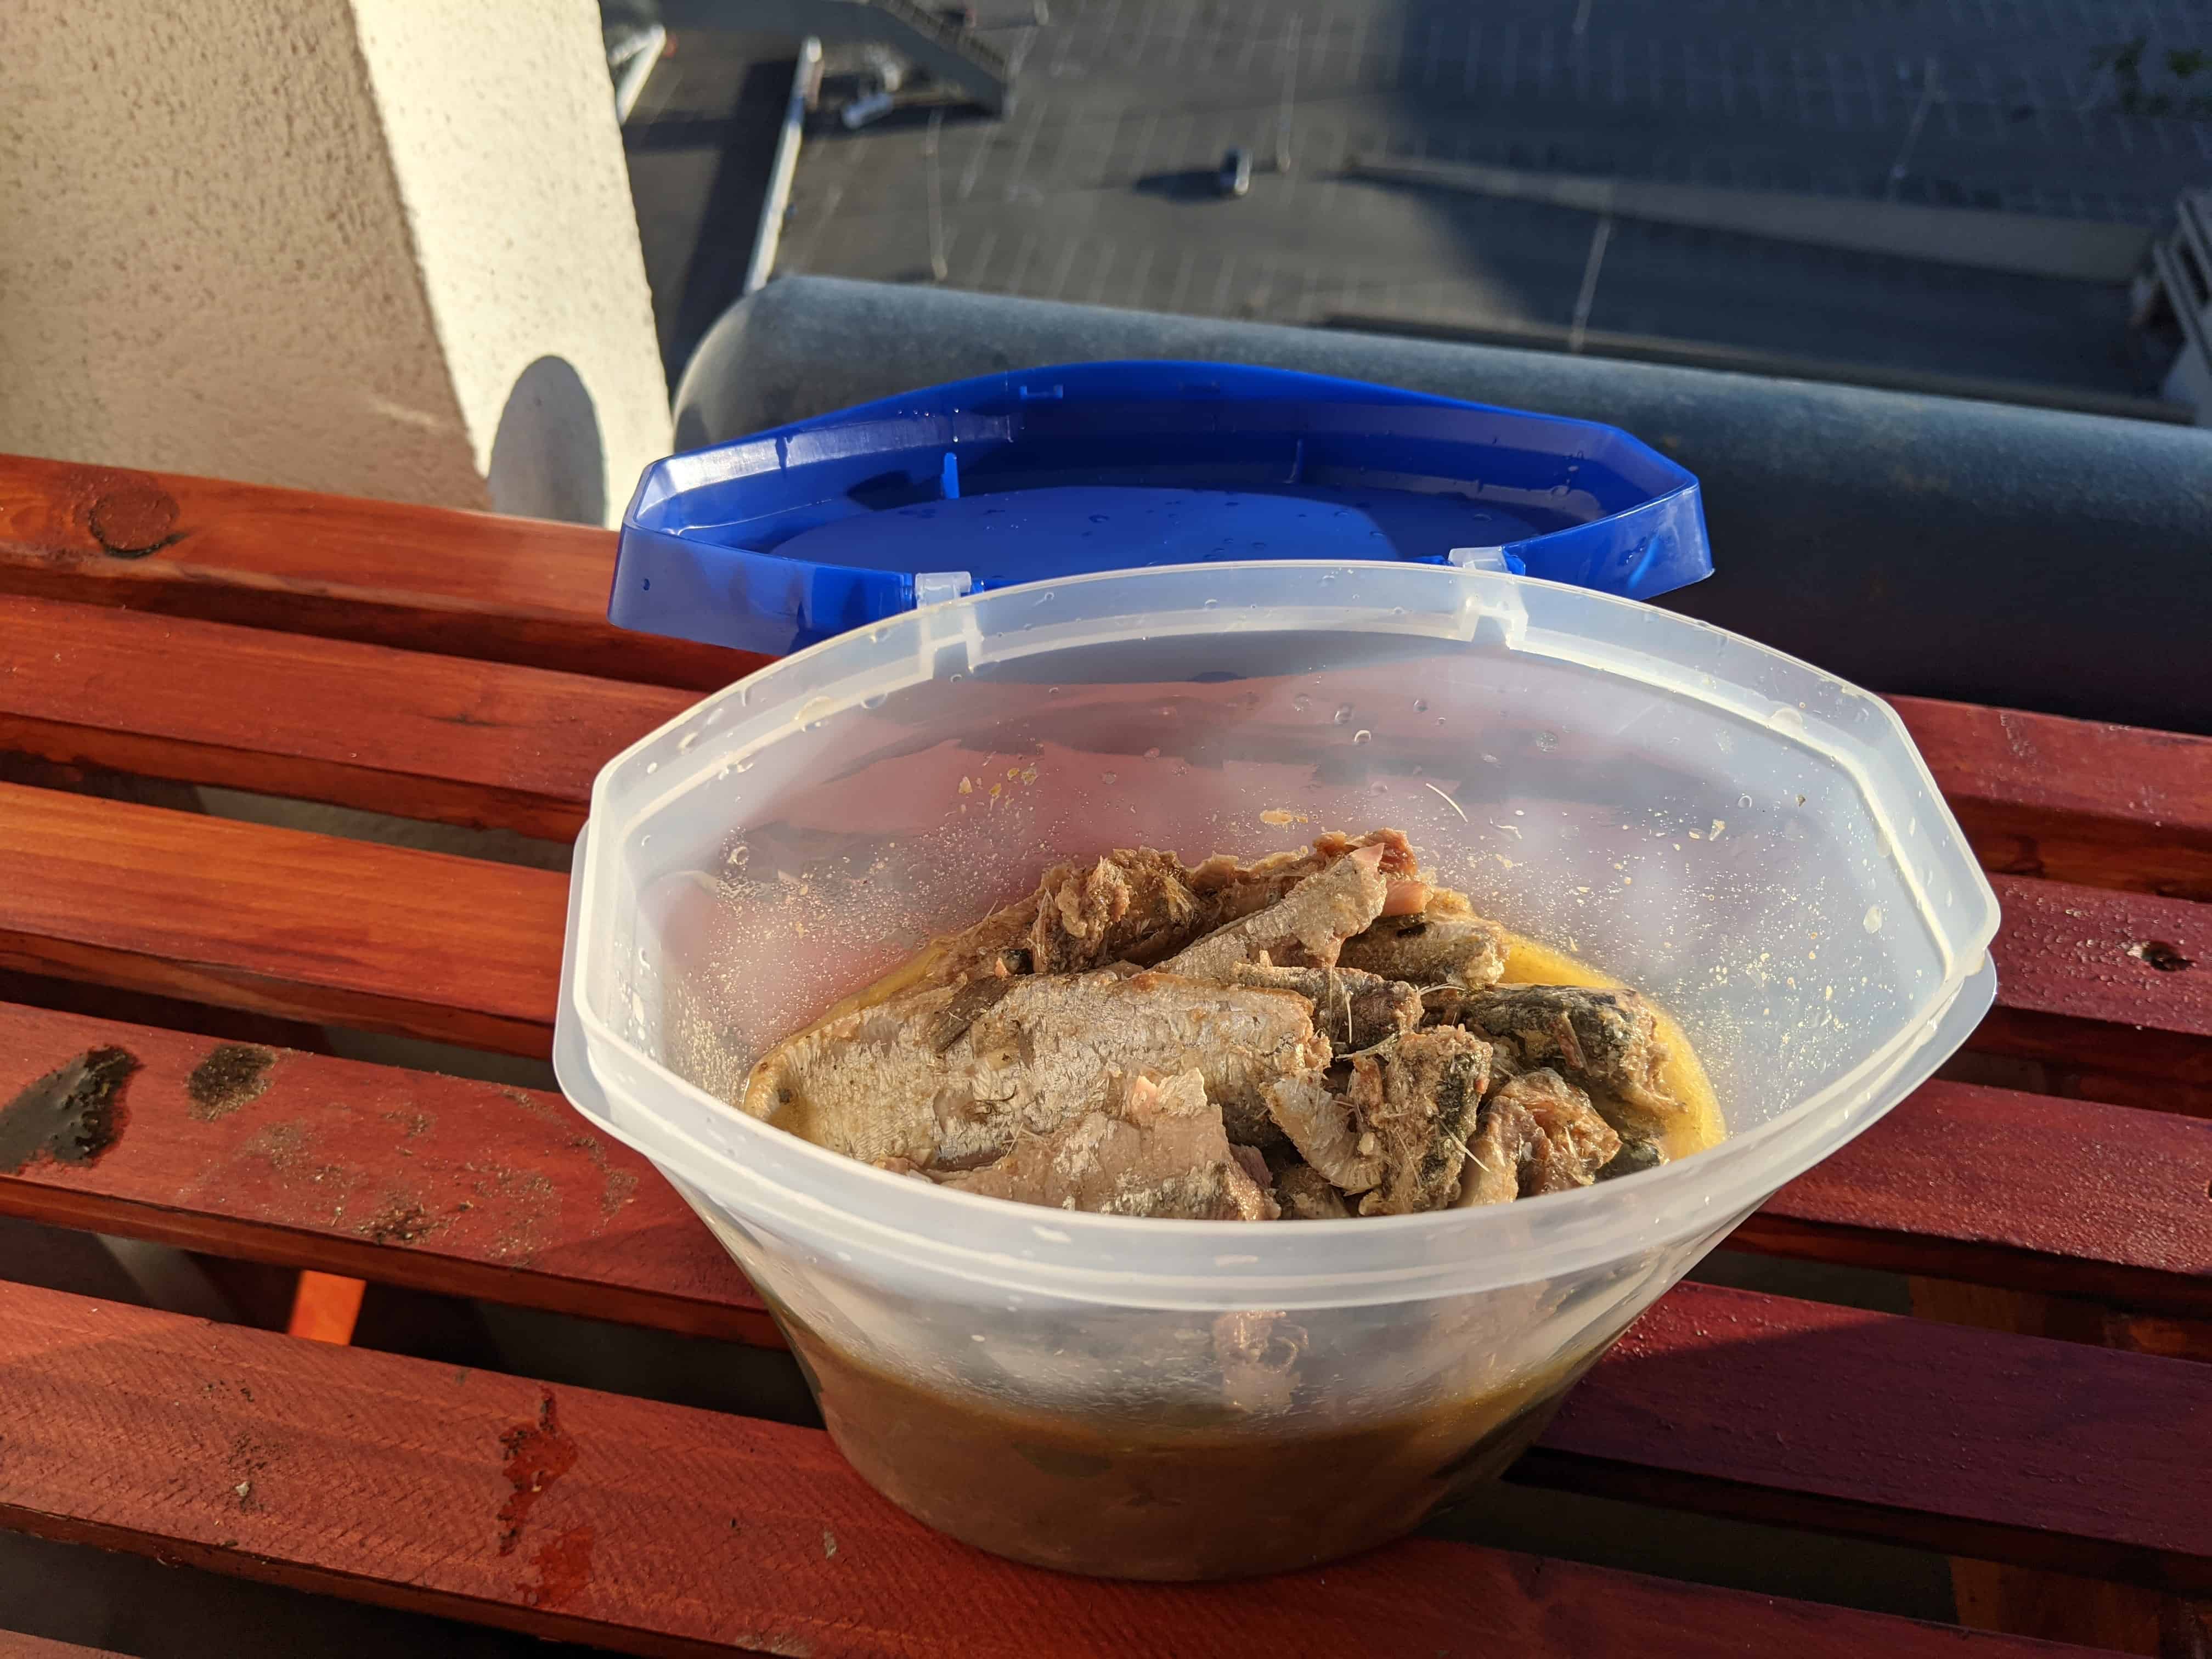
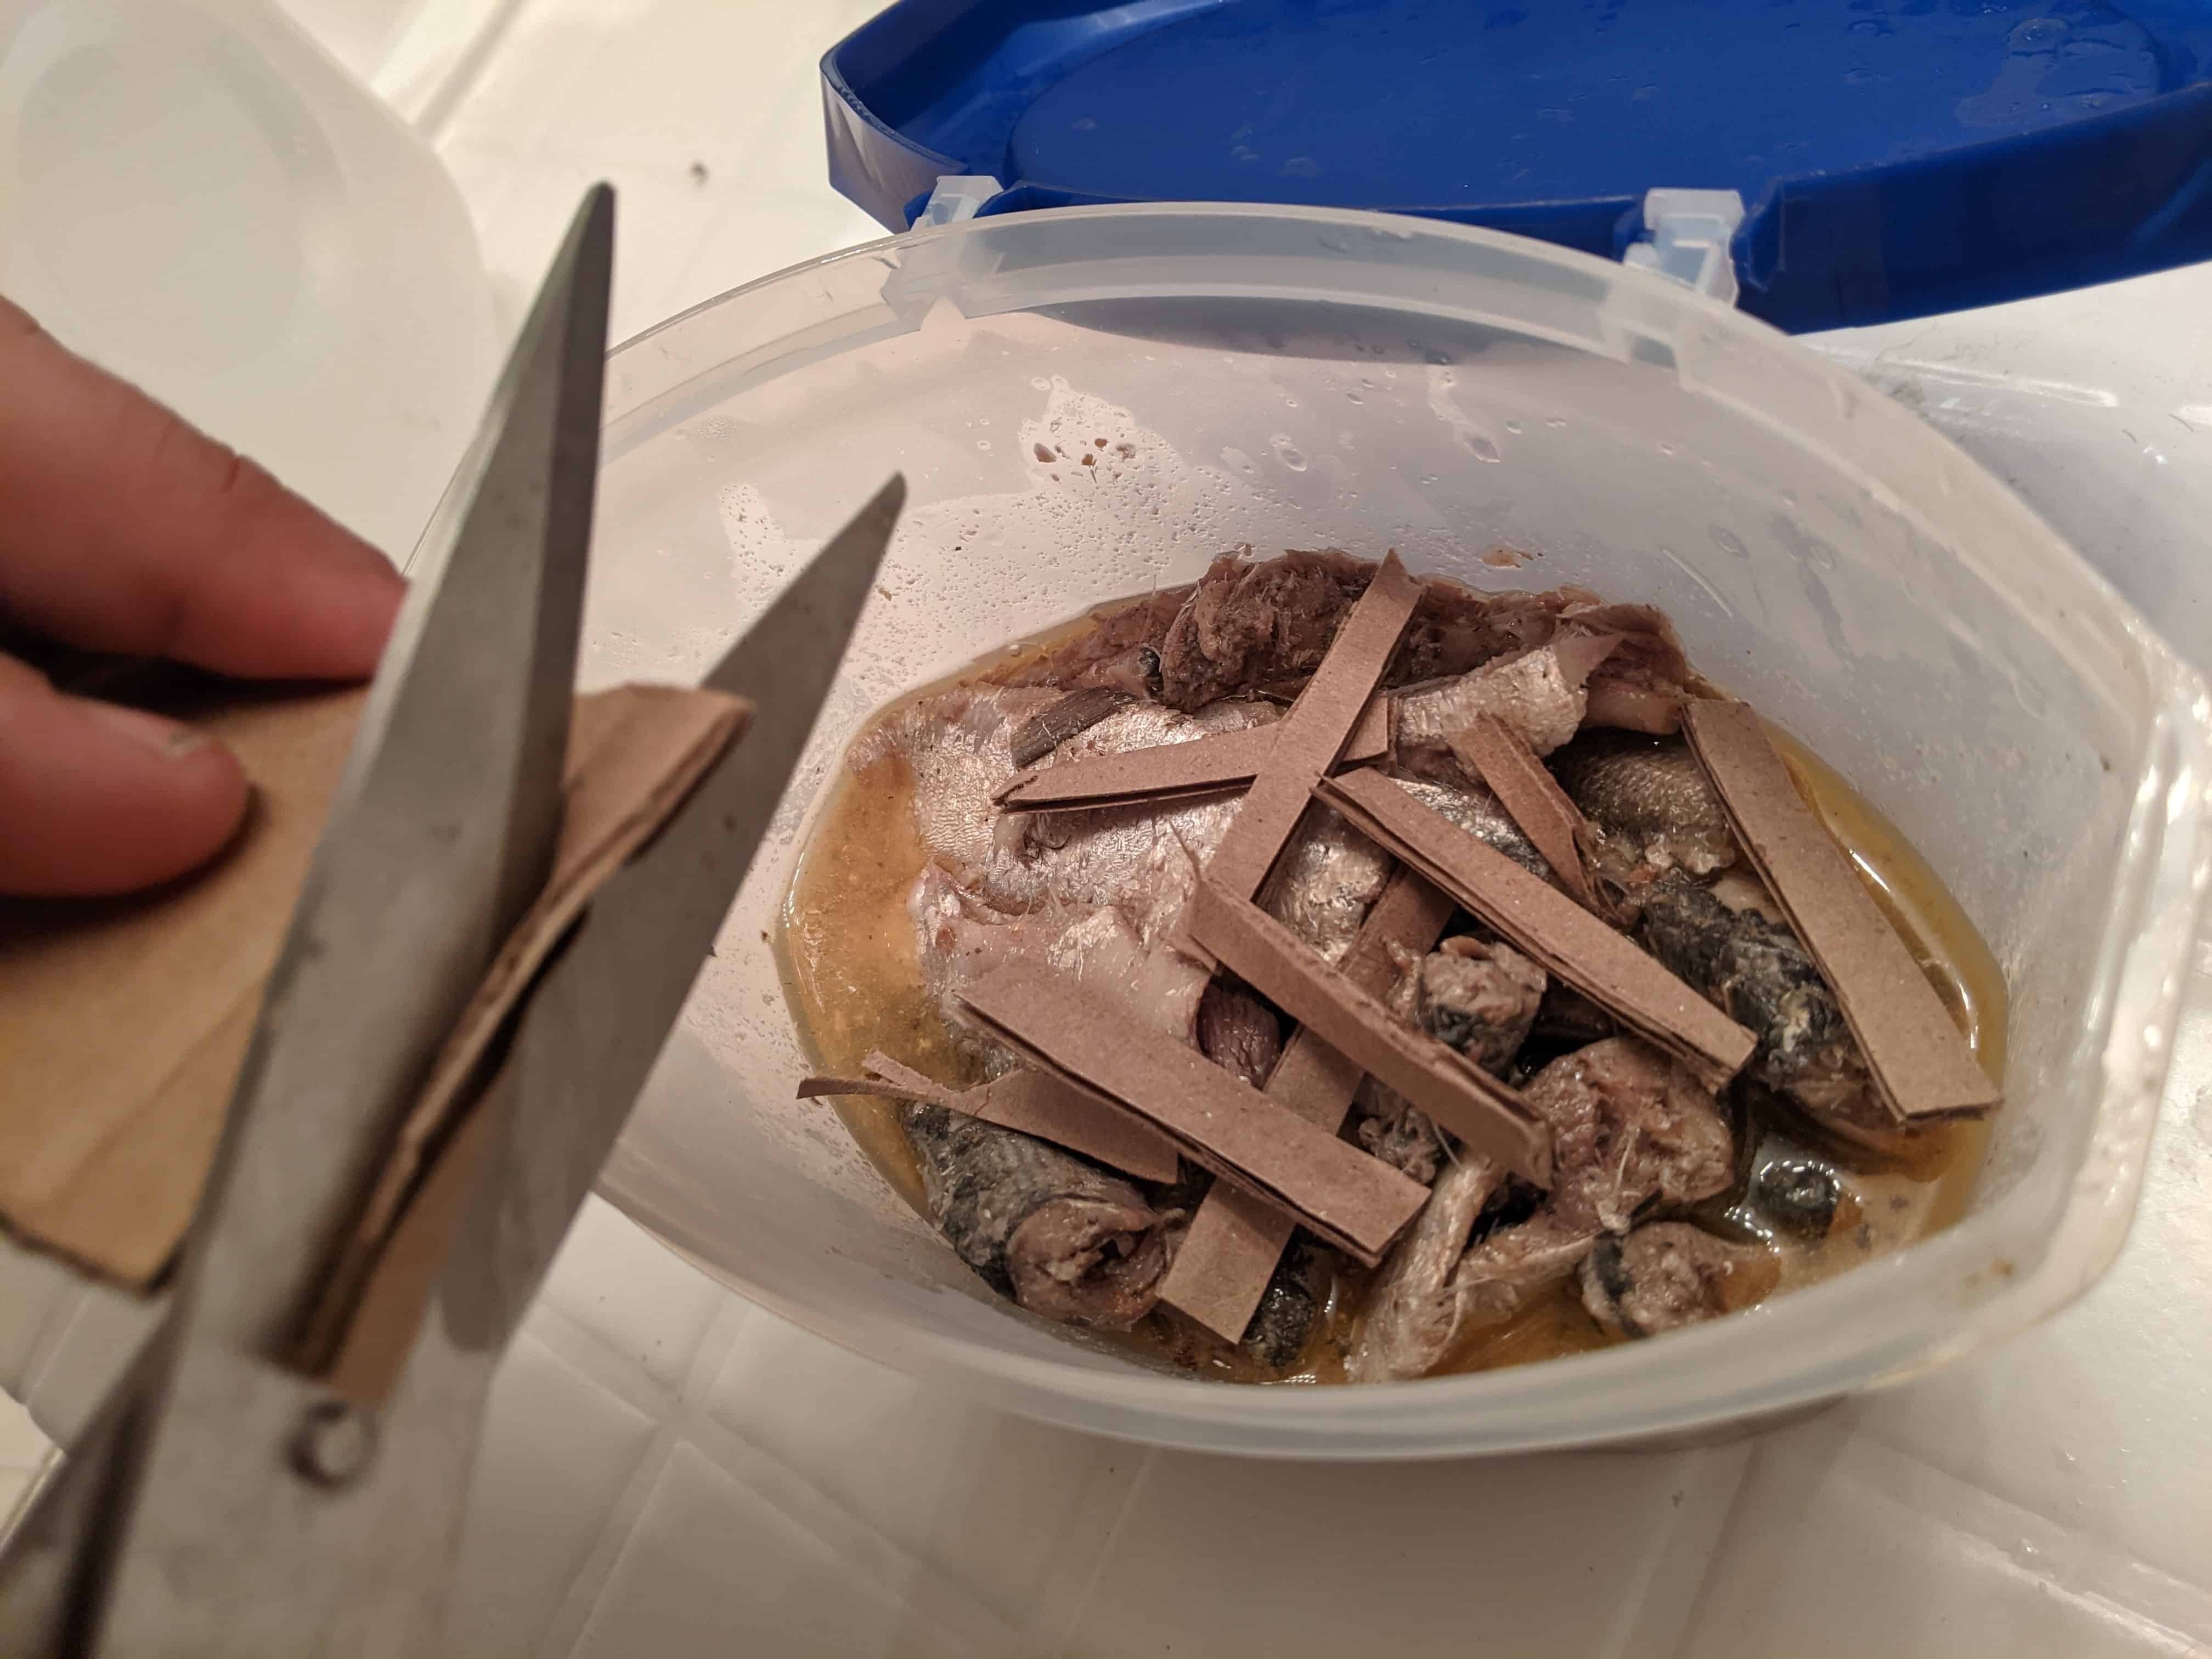
- In the bucket, add fish scraps then mix in brown materials until you have filled it ¾ of the way. Optional: Add a cup of molasses or brown sugar to the mix.
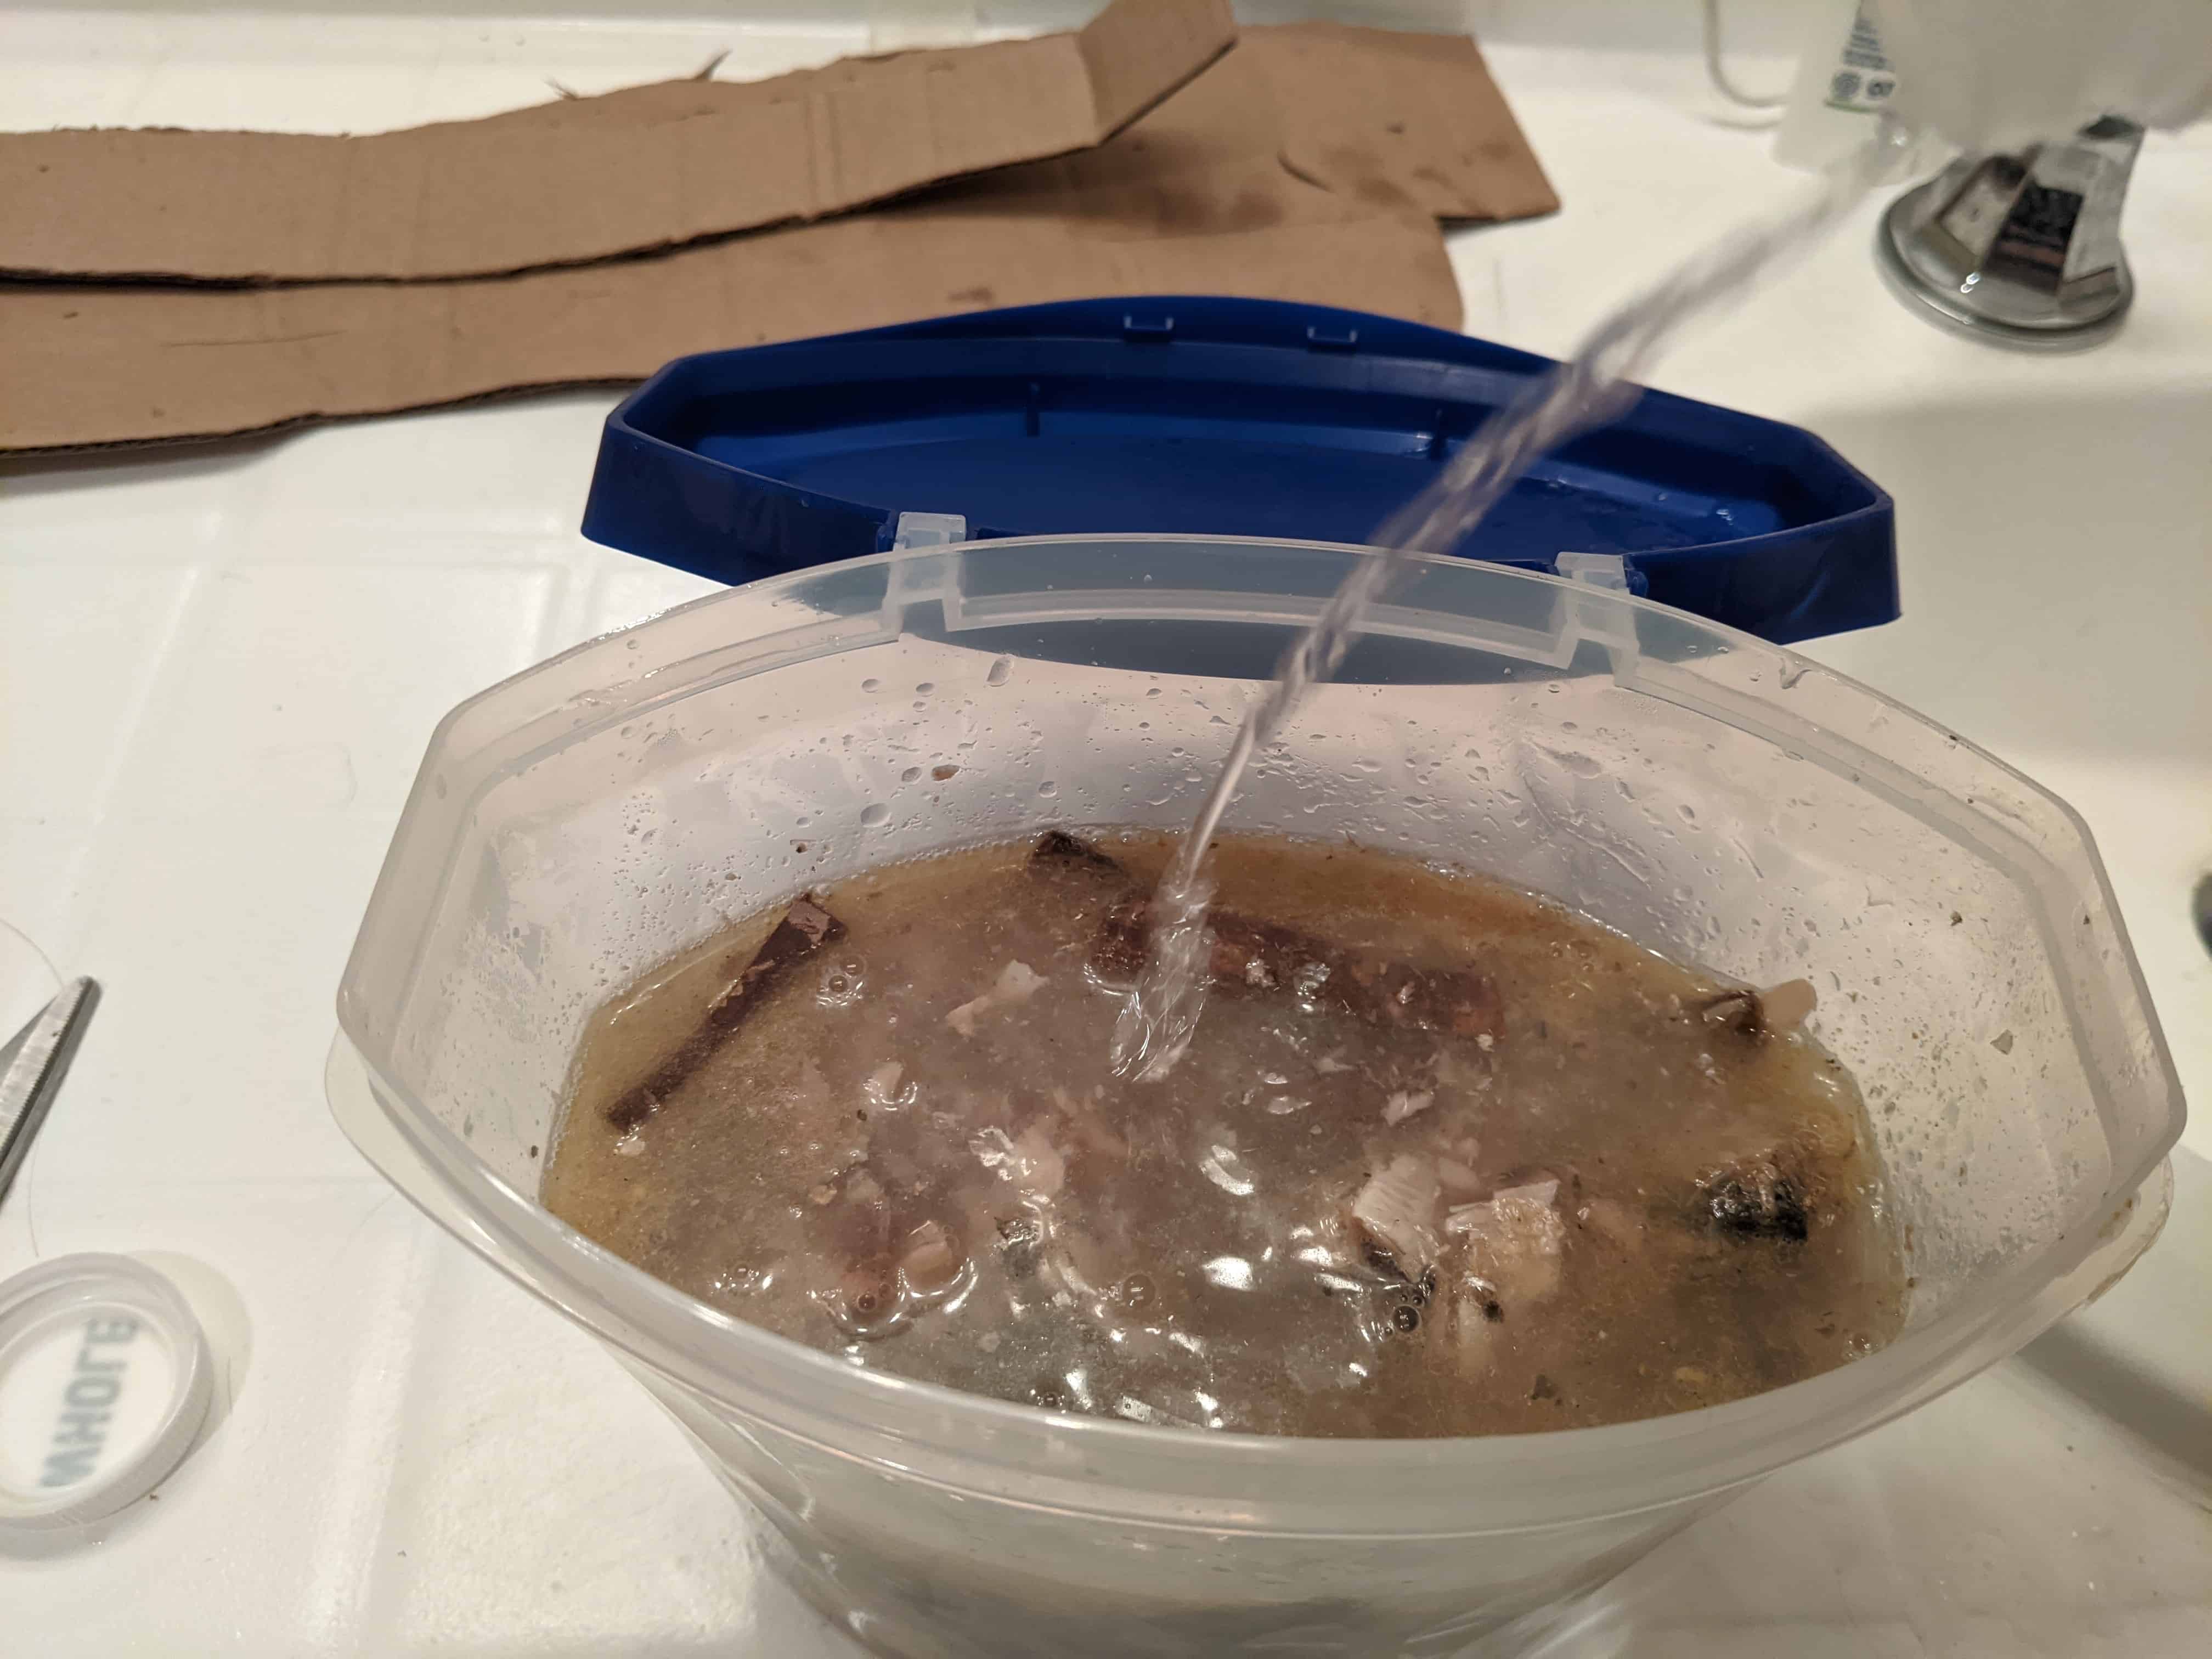
2. Cover everything with water and seal the bucket tightly where it won’t be accidentally disturbed.
3. Check the contents in the bucket daily, observing whether bubbles have started to form. If you use a clear-ish container as I did you may not have to open it to see this. If bubbles begin appearing, stir the mixture once a week. The mixture should decompose in a month, or earlier if you live in a warm region like mine, California.
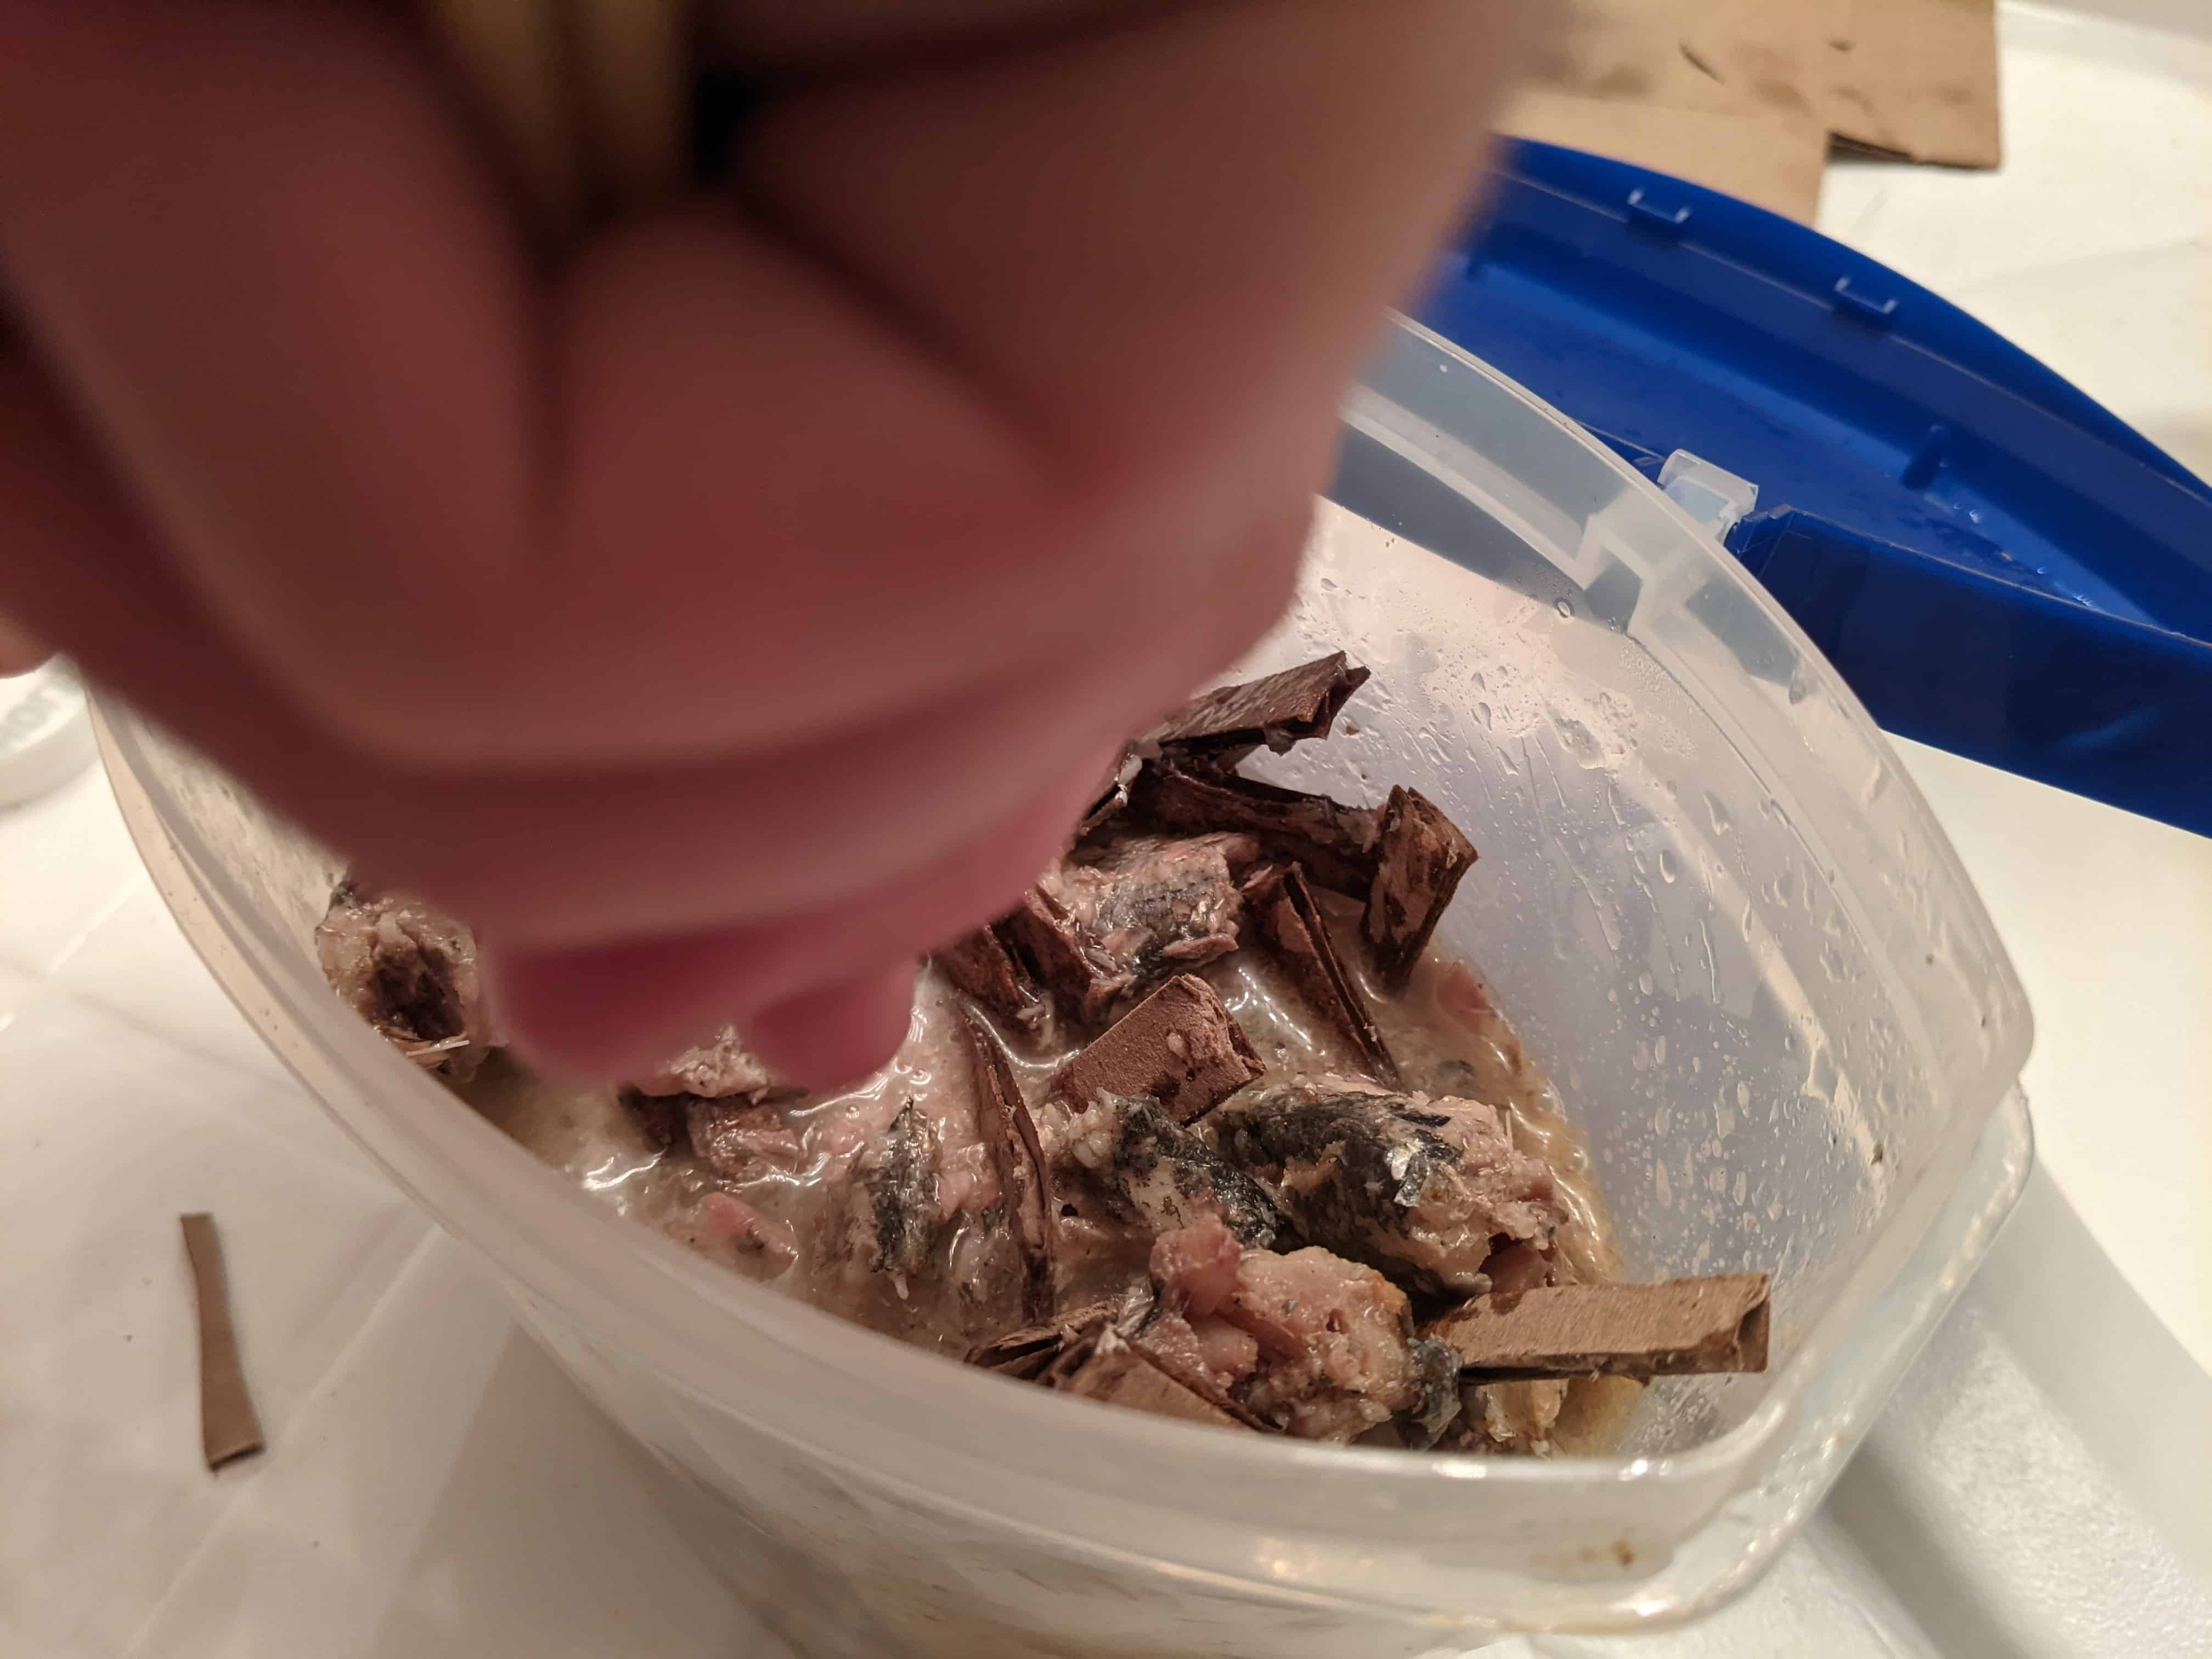
Once it is ready, strain the liquid out into a bottle. Take a deep breath; it will smell gloriously awful. Do it for the veggies. To use the fertilizer, make sure to dilute about 5 ounces to 1 gallon of water before use.
Helpful tip: Put the scraps back into the bucket and repeat steps 1-3 for another batch. Usually, you can squeeze out about 3 batches with your starting material. But if you decide that homemade fish emulsion fertilizer is not for you, you can simply discard it.
Liquid Seaweed Fertilizer or Kelp Meal

Liquid seaweed fertilizer is made of various seaweeds, including kelp. These ingredients are harvested and then thoroughly rinsed to get rid of excess salt. Afterward, it is left to ferment in water to create a slurry, the final fertilizer product. What I find absolutely neat about this process is that no chemicals are added to preserve the beneficial biological properties of seaweed. AND it is a sustainable ingredient to harvest from the ocean. But obviously, only collect seaweed from your local beach in moderation and check whether there are regulations in place about seaweed harvesting in your area. Seaweed is primarily there as food and shelter for animals, so don’t take and hog away all their sustenance – the only time you should do that is to your friend’s fries.
On the other hand, Kelp meal consists of only dried brown seaweed but is sometimes mixed with fish products. It is processed into a meal (think rolled oats) that must be grounded finely and added to water to make a fertilizer solution. Liquid seaweed fertilizer should then be diluted in water before you can use it in your garden.
Liquid seaweed fertilizer and kelp meal are different in essence but are both great fertilizers to use. They are regularly used for foliar feeding, i.e., spraying on plants’ foliage. This method is helpful because the fertilizer’s nutrients are immediately released once applied to plants. Alternatively, you can feed your plants during watering sessions since they are water-based solutions anyway, evenly saturating the soil. It helps to improve the soil by encouraging beneficial fungi and bacteria to prevent certain pests and diseases from terrorizing the plant.
If you’re on the lookout for a really good liquid seaweed fertilizer, find one that isn’t heat- or pressure-treated. You want pure seaweed slurry with unaltered nutrients, so it retains its beneficial components – this is the [insert chef’s kiss] good stuff. Mix 5 teaspoons of fertilizer to 1 gallon of water, although instructions may vary on the product label, so follow the written instructions for your product. Kelp meal can either be mixed into the soil, acting as a slow-release fertilizer, or soaked to make a water-based solution; I recommend getting this Organic Kelp Meal on Amazon. Whichever fertilizer or options you choose, make sure to only apply it during the plants’ growing season, i.e., in spring and summer.
It’s also possible to make your own batch of seaweed fertilizer. Before you do though, look up any restrictions on collecting seaweed from your local beach. If there aren’t any then you’re good to go! Next, follow these steps below:
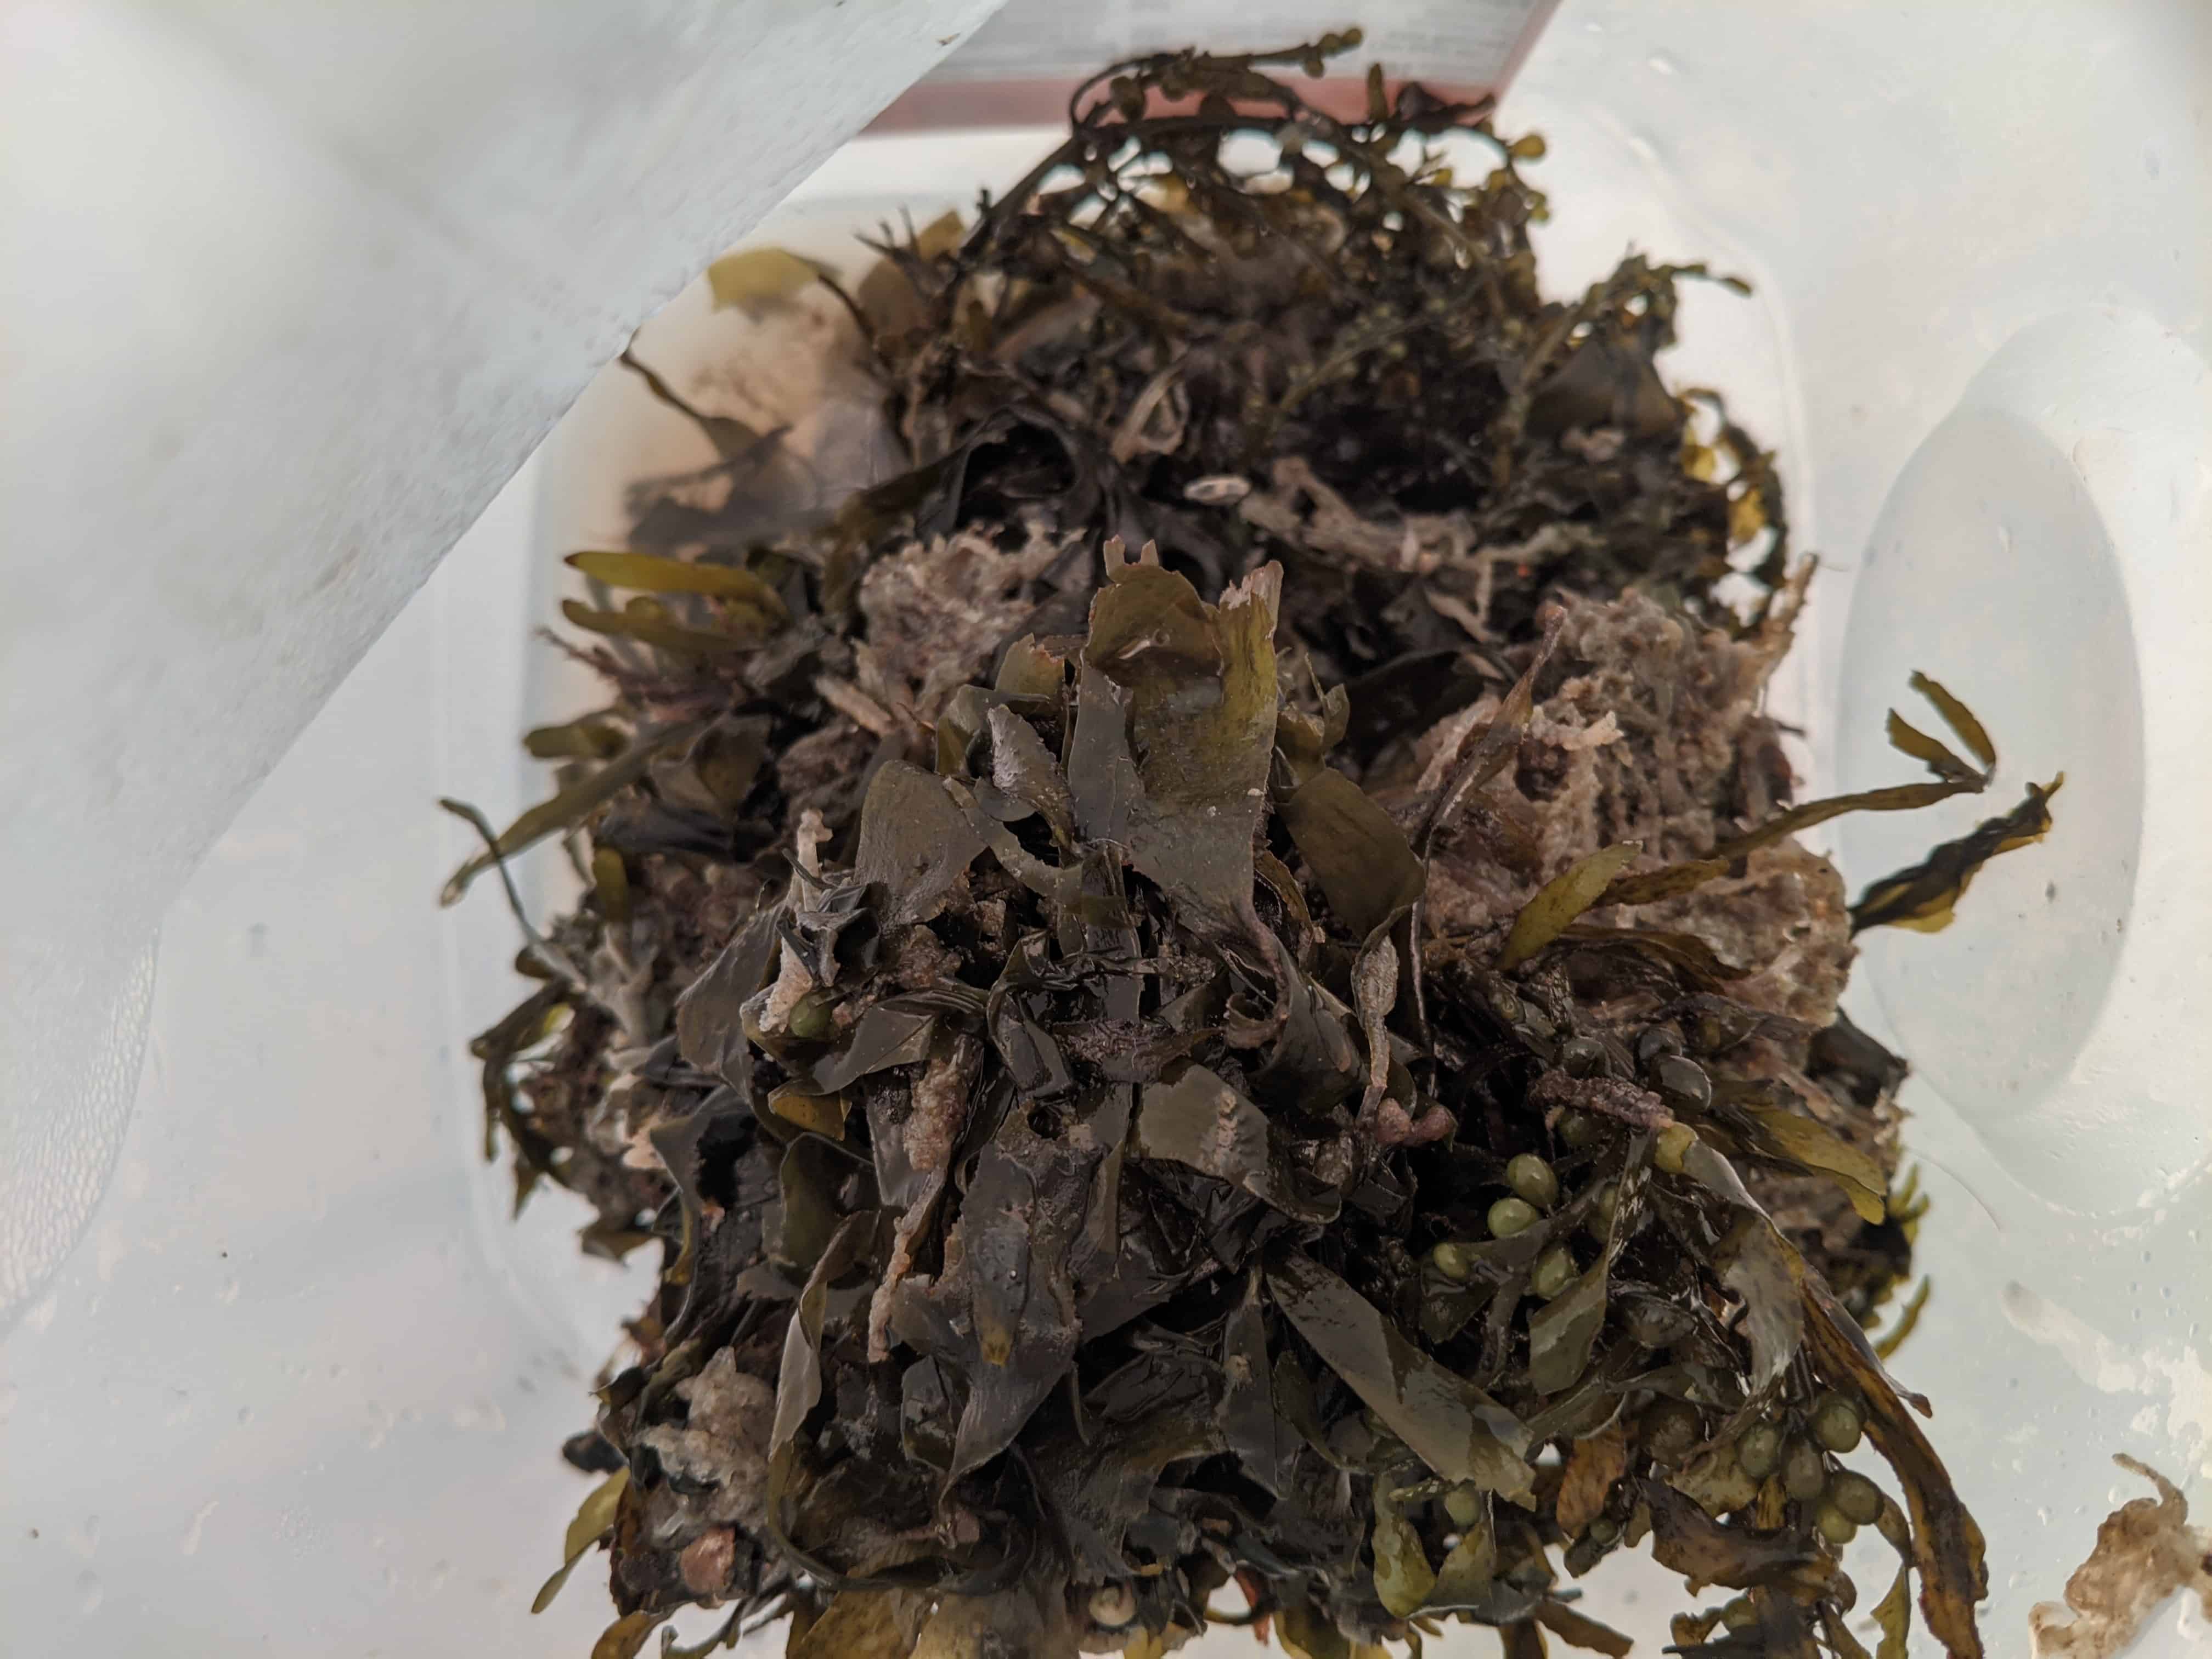
1. Harvest some seaweed off the seashore, but only in moderation. Again, you don’t want to mess up the ecosystem by stripping the beach clean of its much-needed seaweed. If you can, try to collect the ones in the sea if there is some growing near the shore. Put it in a plastic bag and quickly bring it home; seaweed breaks down easily once dried, so you need to work fast. It will still break apart as your washing but it won’t be microscopic pieces at least haha.
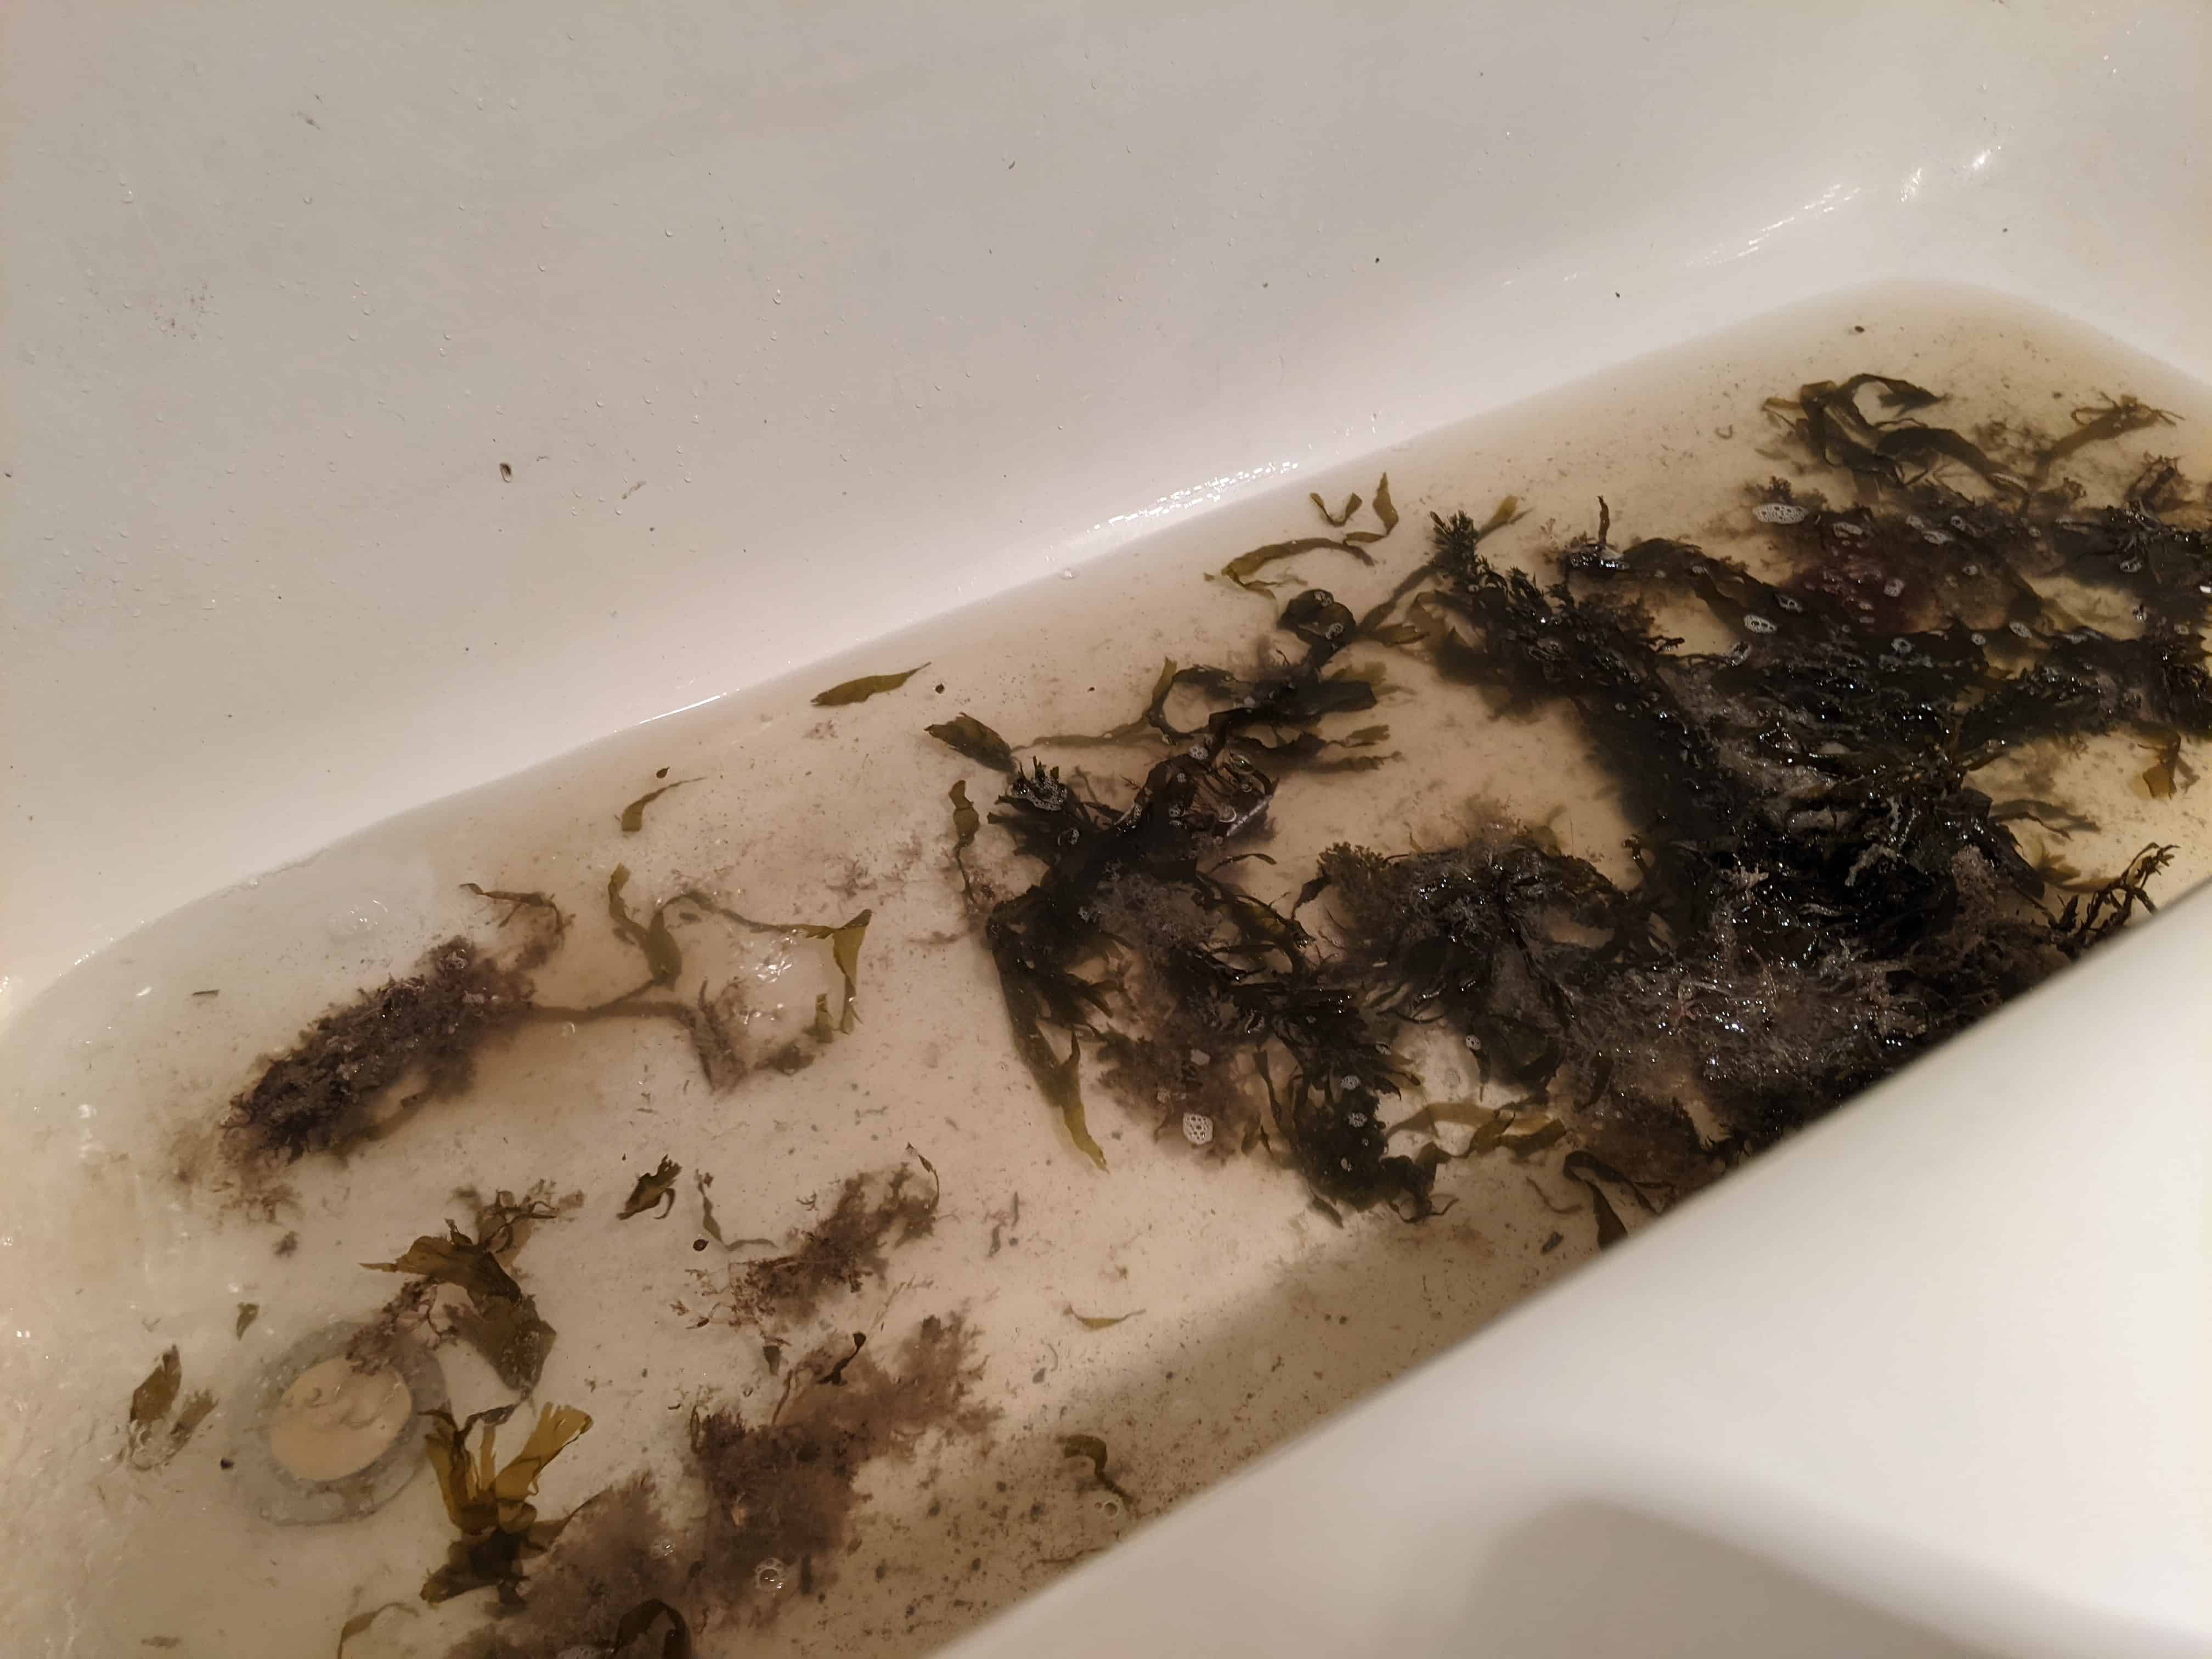
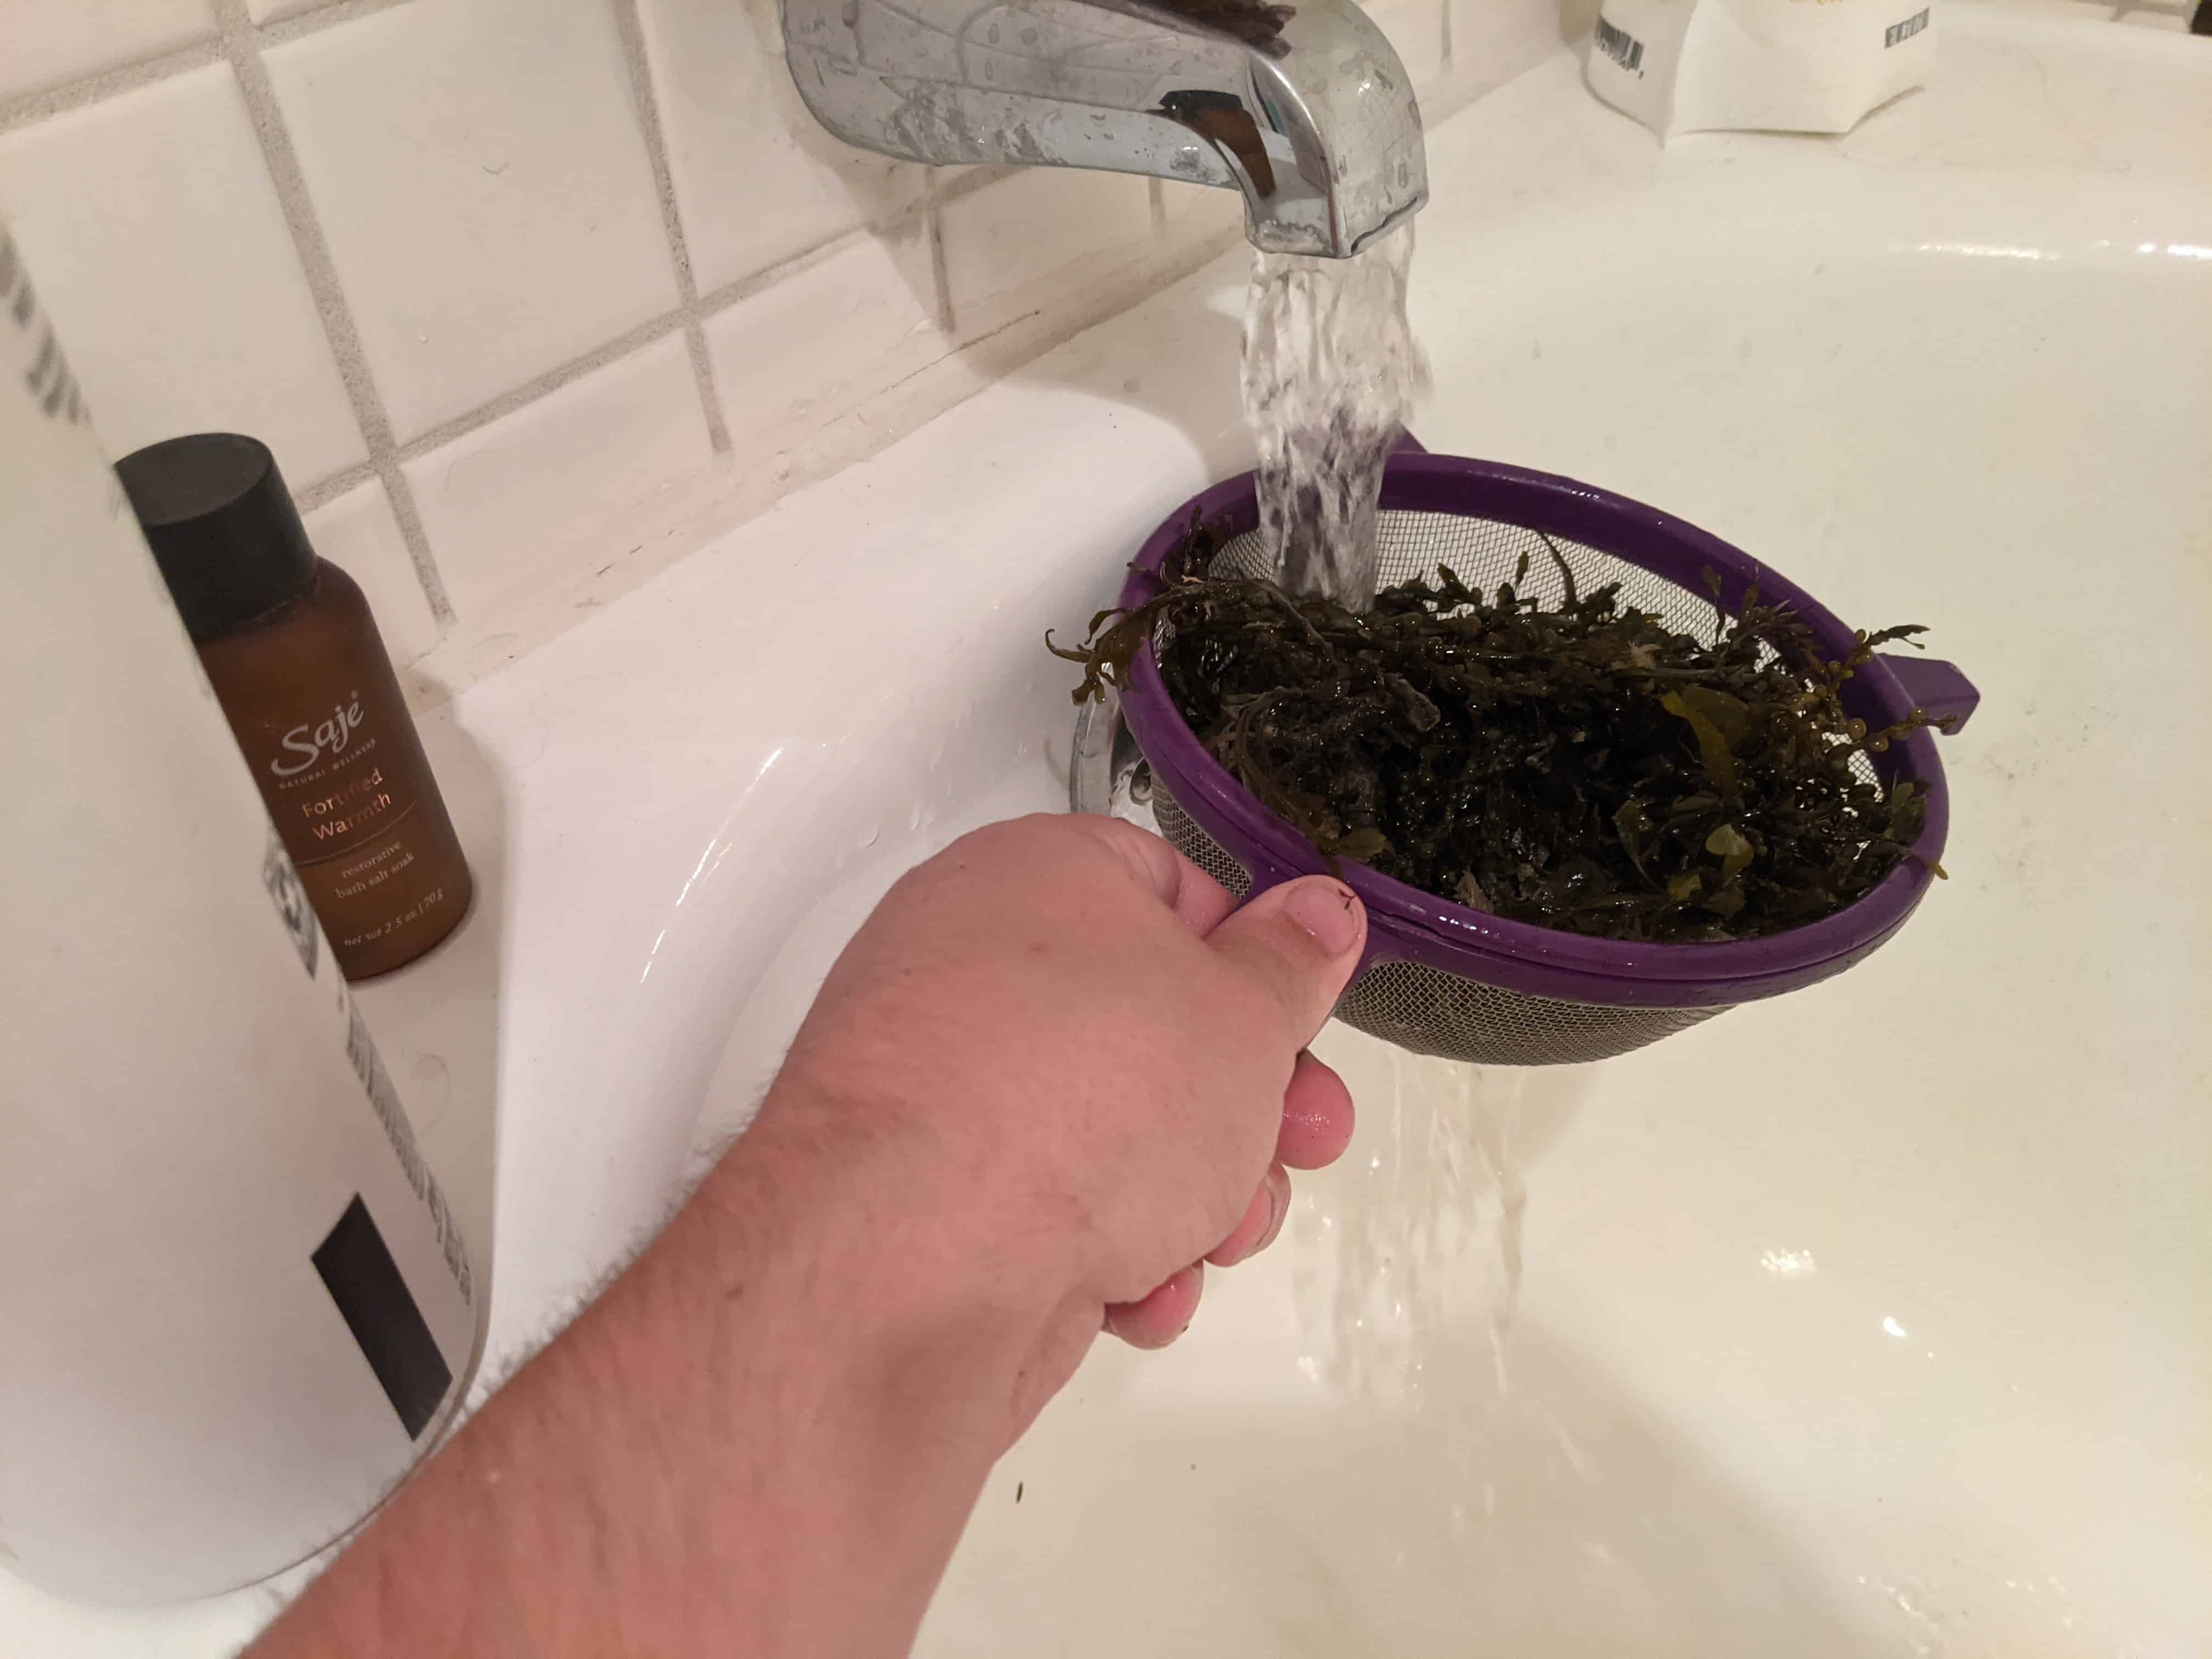
- Once you get home, rinse excess salt and debris off the seaweed. I recommend doing this outside under running water lest you don’t mind having sand inside… I didn’t have an option, or so I thought but, if you happen to have a beach shower try that out! I wish I did. Once sand gets in, it stays there. Months later down the line, you’ll be finding sand in the least expected places. Sand is i n f i n i t e. After doing this myself I will tell you that the best you can hope for is getting the sand off. The brown will never wash out as you can see from the picture of the 1st and the 5th washing. So just wash it in a strainer from the get-go; the $5 strainer will save you 20 minutes of your time and a lot of wasted water. Don’t worry if it’s not perfectly clear by the time you’re done washing.
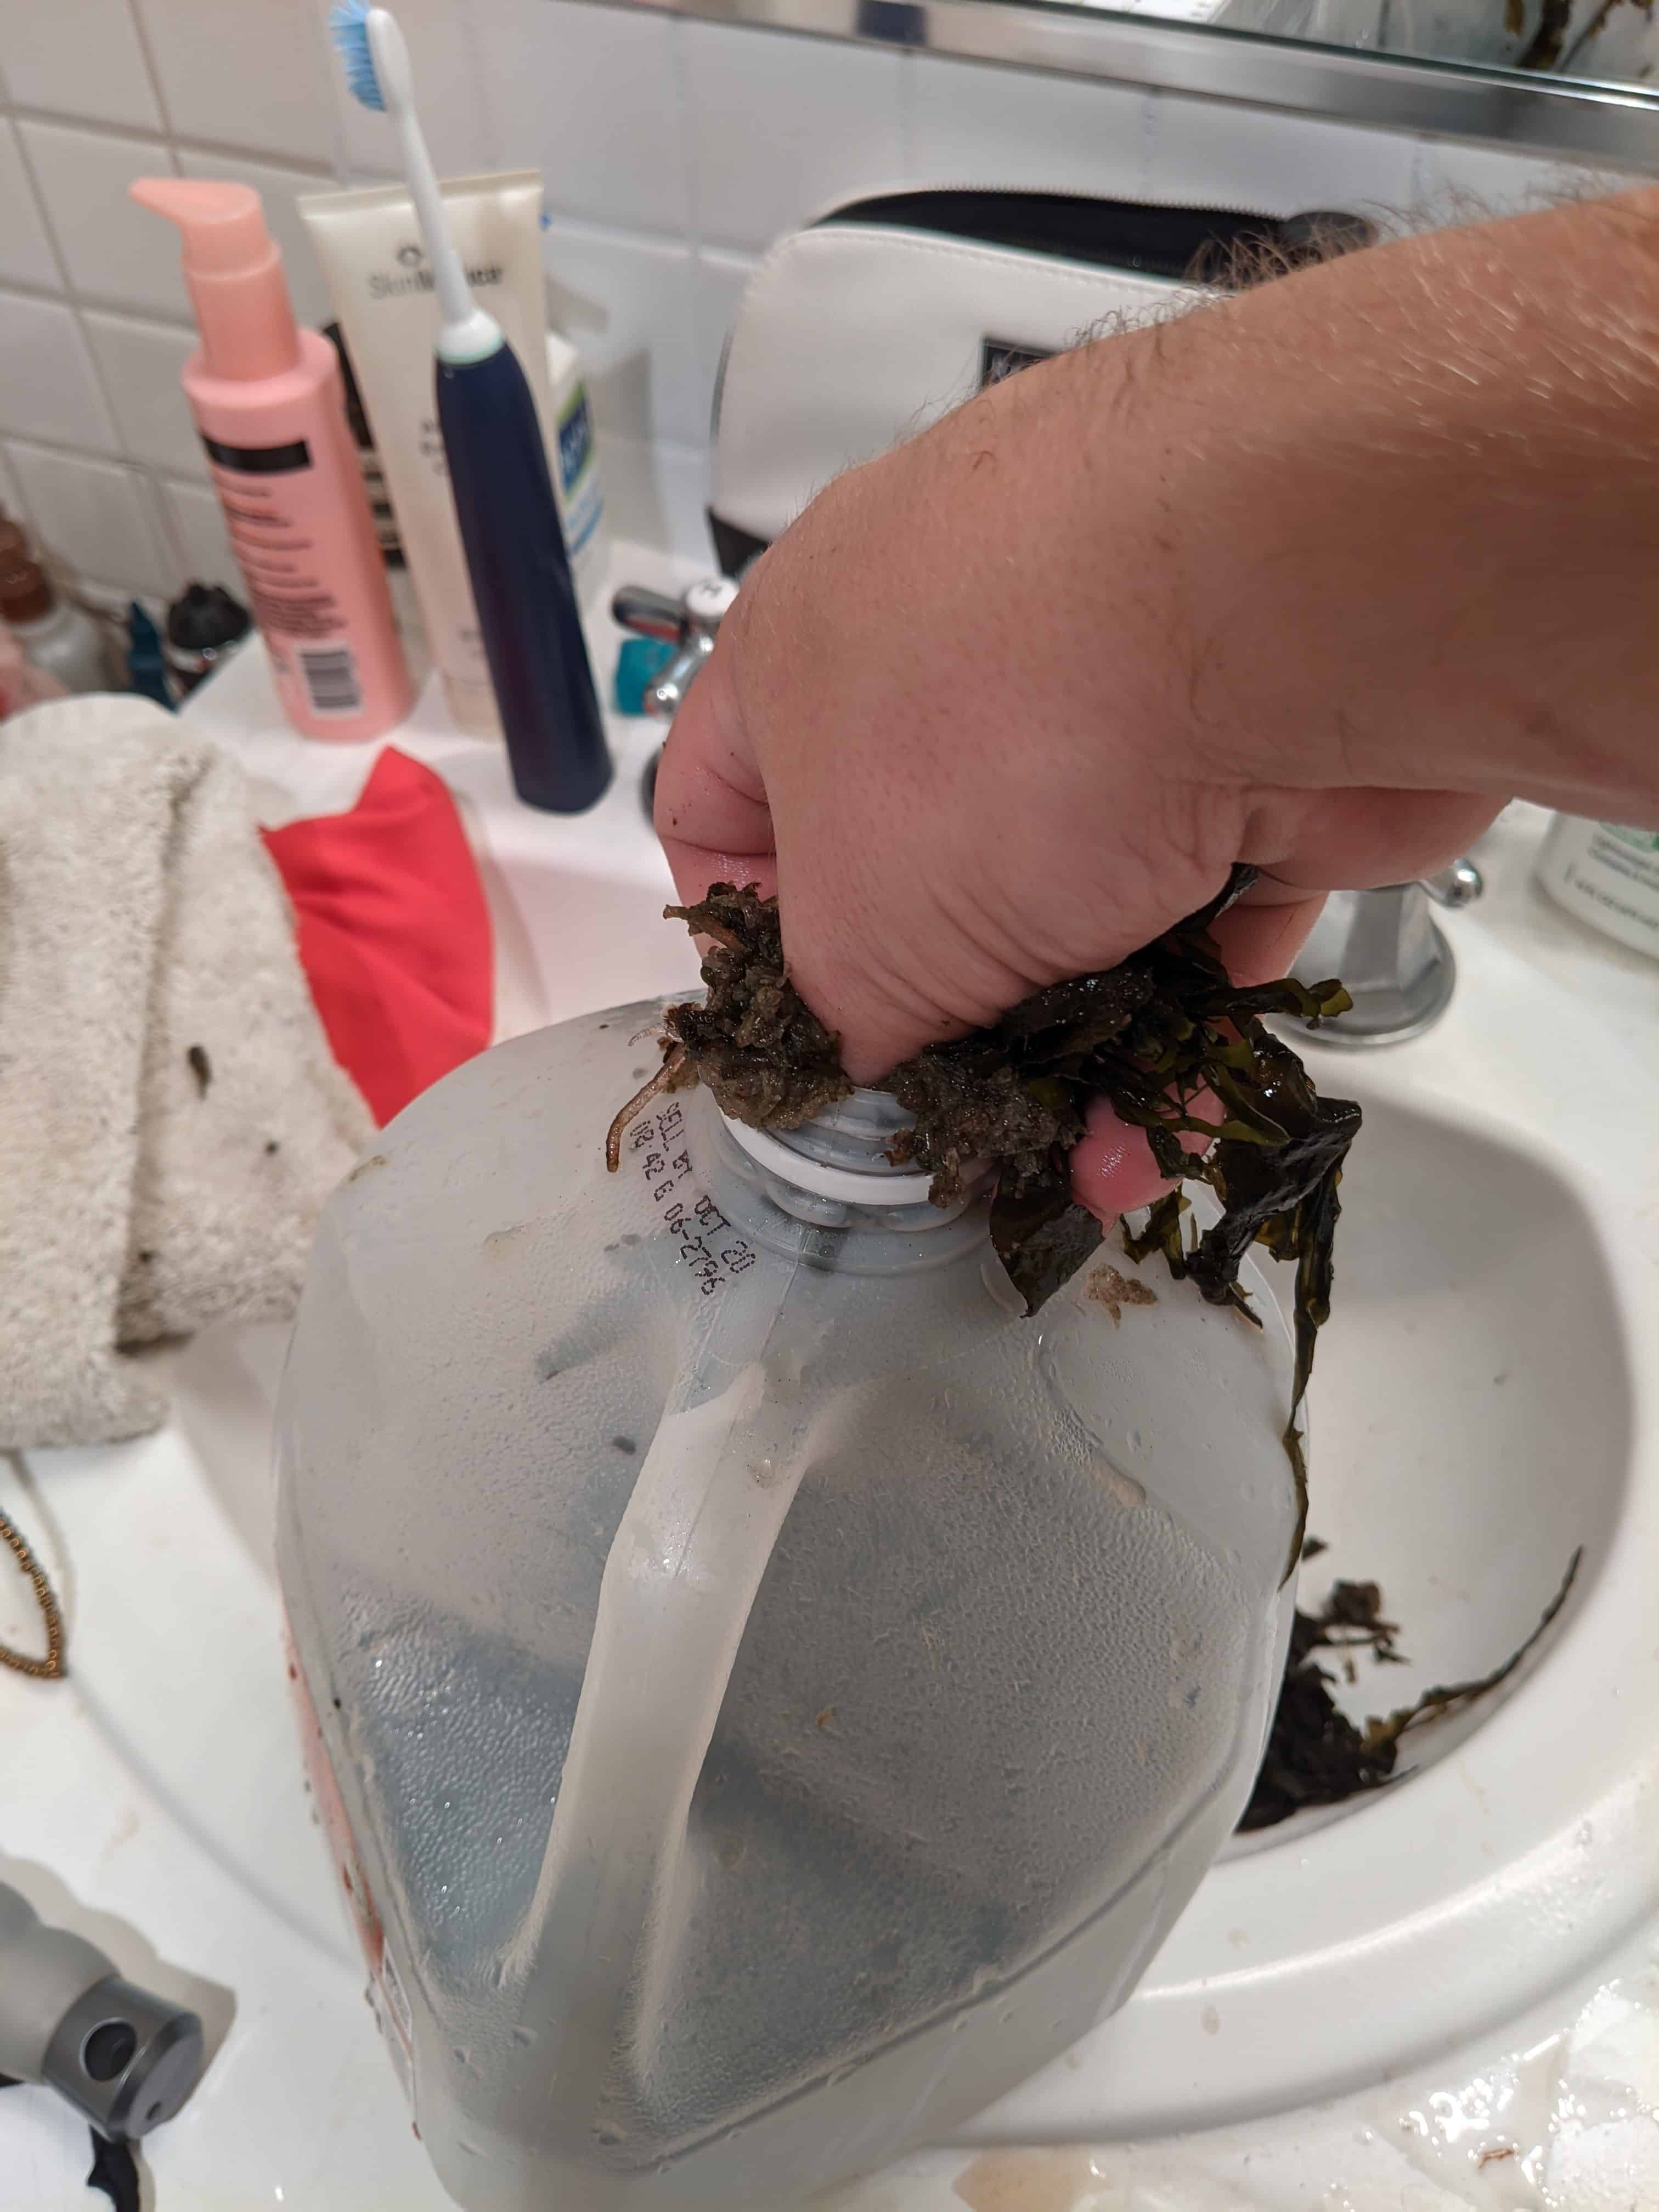
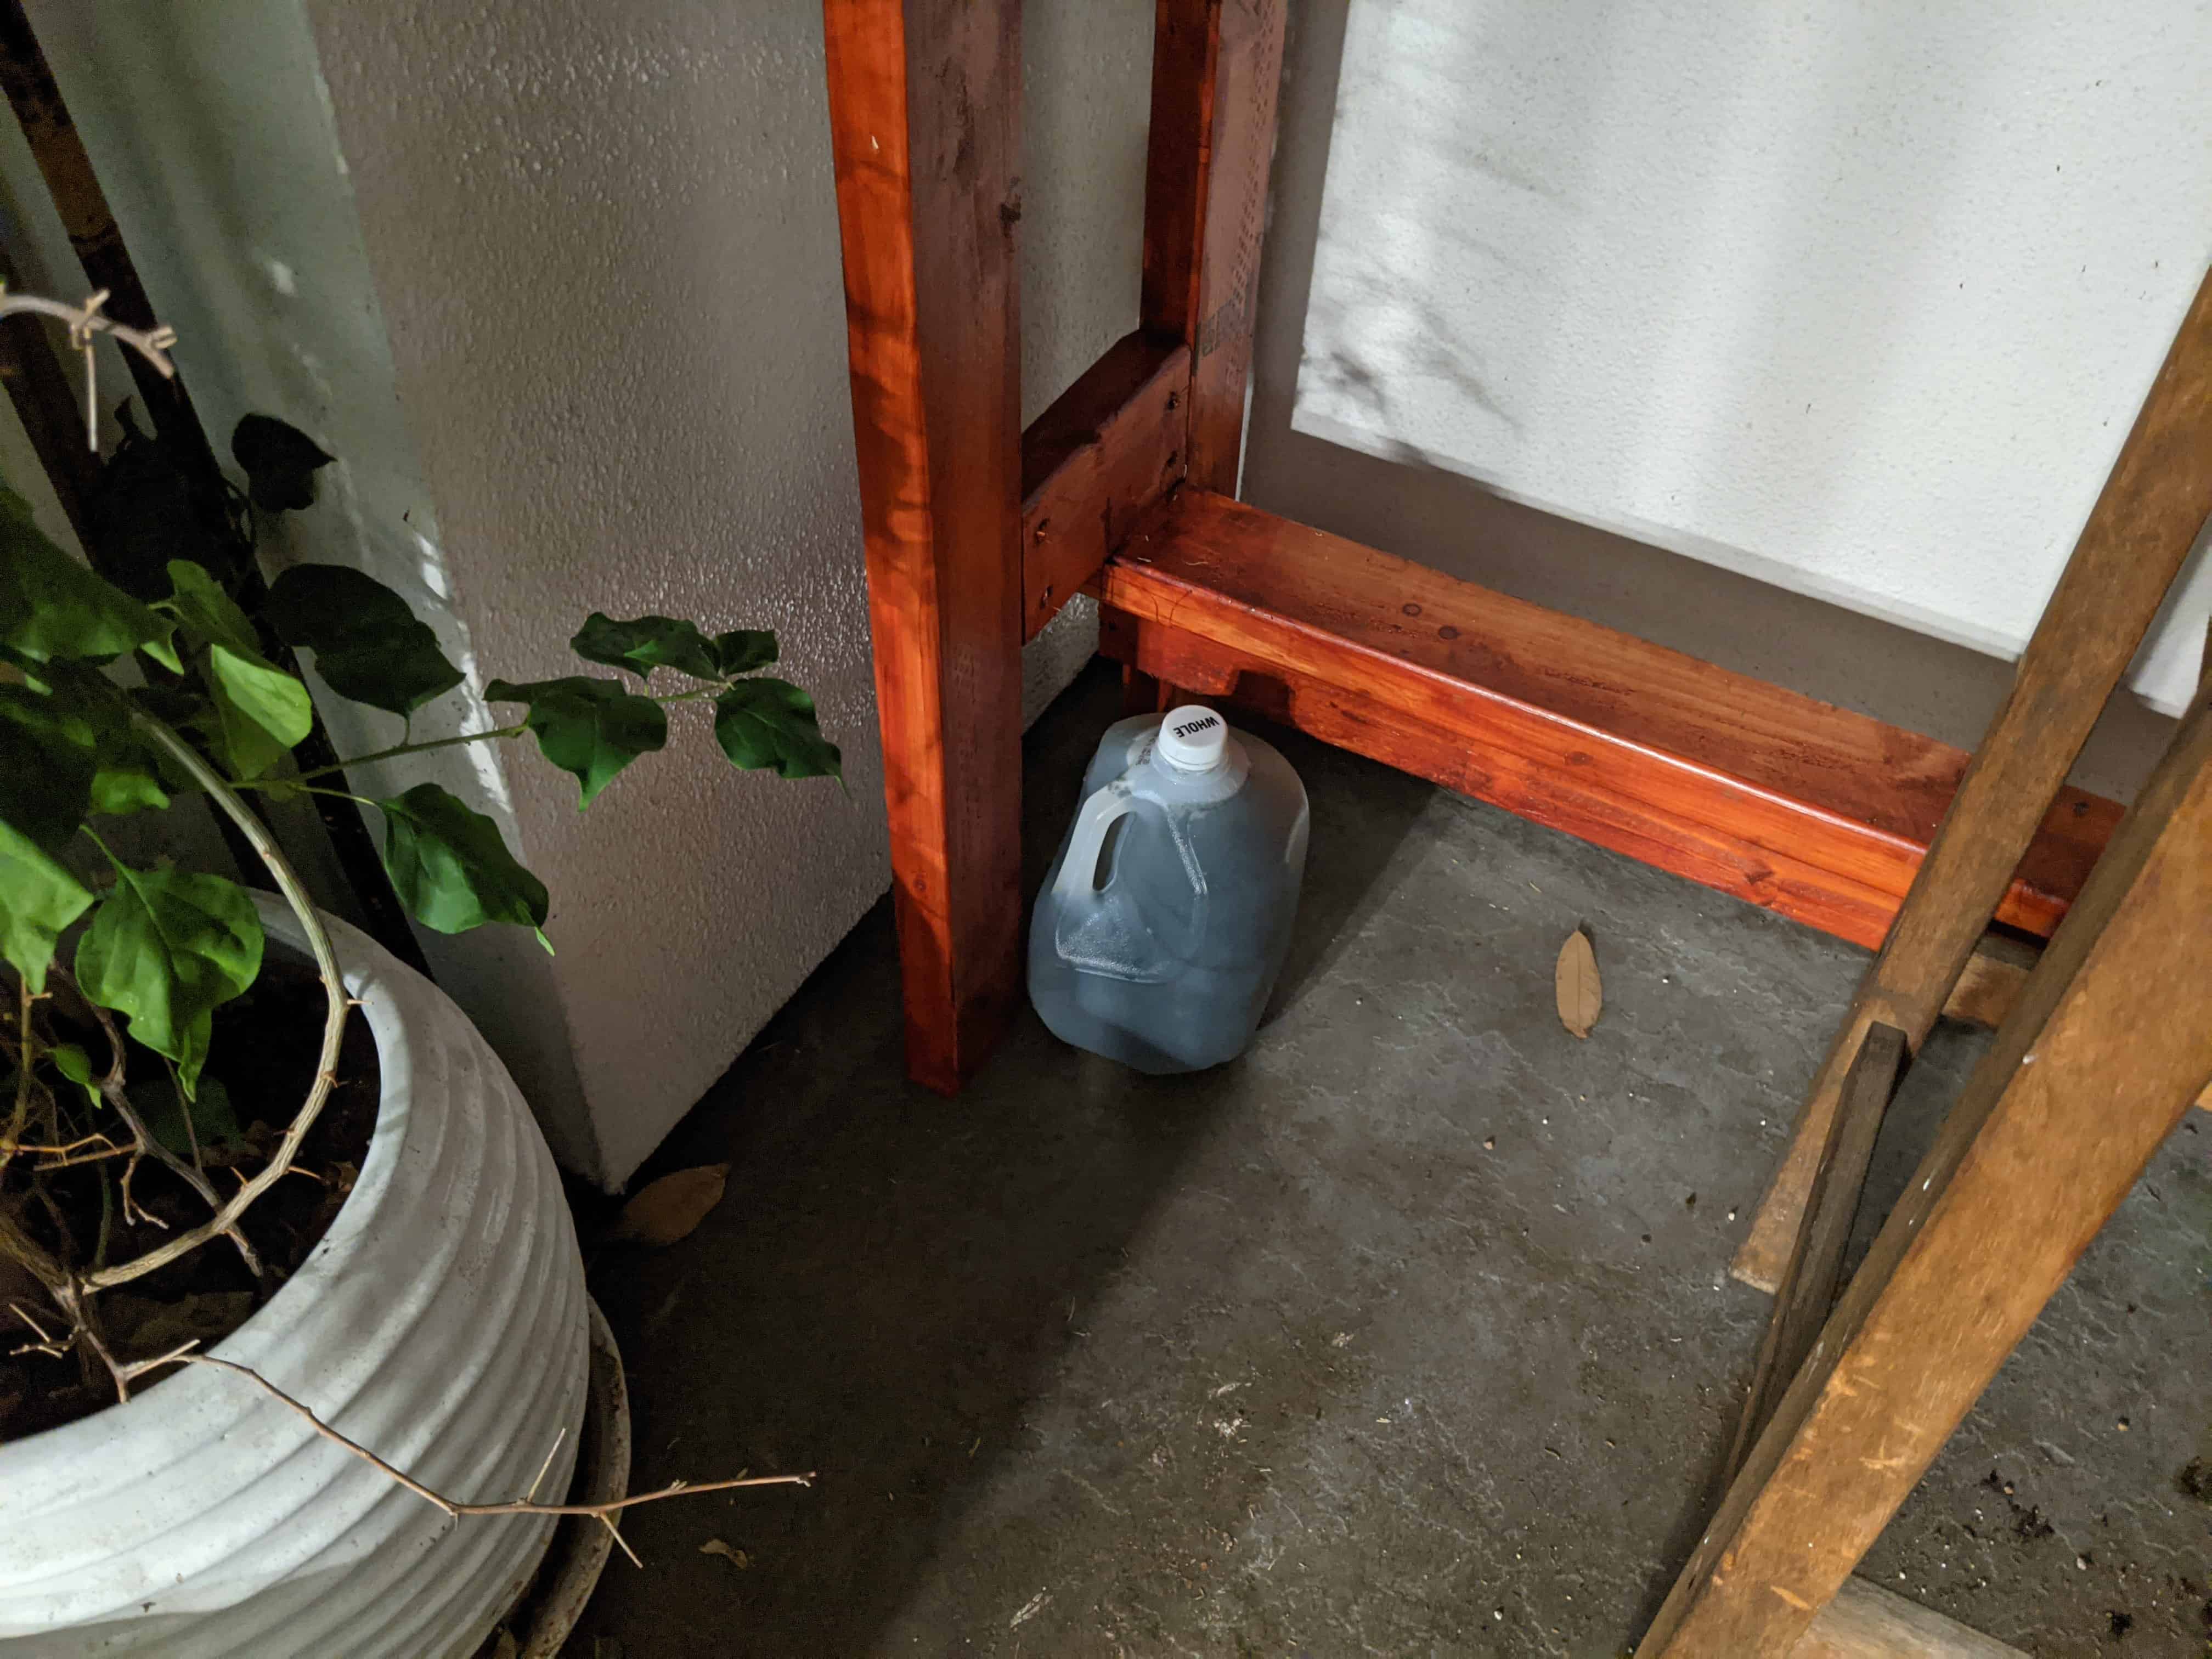
- Place the seaweed in a large, airtight or at least close to an airtight container and fill it completely with water. I used a milk gallon. Set it aside in a cool, shaded area to ferment the seaweed for a couple of weeks. It could take up to months before it’s ready, depending on how much seaweed you have.
Give the mixture a shake or stir weekly to check if it’s ready. Once the water has turned murky brown and smells like rotten plants, you can start using it! Just make sure to dilute 1 part of the fertilizer in 10 parts water first before applying liberally to your garden.
Powdered or Pelletized Alfalfa Meal


Alfalfa meal is made from fermented mature alfalfa plants and seeds. This fertilizer is an all-rounder, packed with several nutrients with a unique growth hormone called Triacontanol, which helps your plants grow large and thick. It is, however, alkaline, so it’s not suitable to use in acidic soil. But you can compensate for that by mixing it in your compost, so it decomposes into rich fertilizer for your soil. Note: Alfalfa is known to crank up the temperature when composting, so use sparingly if you’re using a compost bin or tumbler.
On the other hand, powdered alfalfa meal is made of only alfalfa plant; usually scattered and mixed into the soil or made into a water-based solution. Be sure to wear a mask when handling this powder so you don’t accidentally inhale it and trigger any allergies.
Other forms such as pelletized or cubed alfalfa meal contain alfalfa, molasses, and binder agents to make it palatable to livestock. Rodents love this stuff, so storing it somewhere safe out of reach is a priority. For extra protection, station a cat within the area, name it Tom, and watch it get involved in plenty of booby traps set by a troublemaking mouse.
There isn’t usually any problem with using pelletized or cubed alfalfa meal as a fertilizer as long as they don’t use beef tallow or soy oil as binding agents. But this form of alfalfa does require soaking the pellets or cubes before applying it to your plants which might take a while. Once the alfalfa meal is dissolved, strain the liquid out and place the alfalfa sludge all over your garden. Don’t throw the liquid out though, this is now alfalfa tea which you can leave to ferment before using as fertilizer. Though I recommend using the liquid form for foliar feeding on any weakened plants.

When sourcing an alfalfa meal, you can usually buy it online or at a garden center. Failing that, you can also check at an animal feed store. Ensure that the alfalfa used is sourced from non-GMO (genetically modified organism) alfalfa plants. The reasoning here is because GMO alfalfa plants could possibly mean that it’s pesticide-resistant, which lends to the likelihood it was sprayed with pesticides. I could be wrong, but better to be safe than sorry. I recommend getting this Organic Alfalfa Meal on Amazon to get you started.
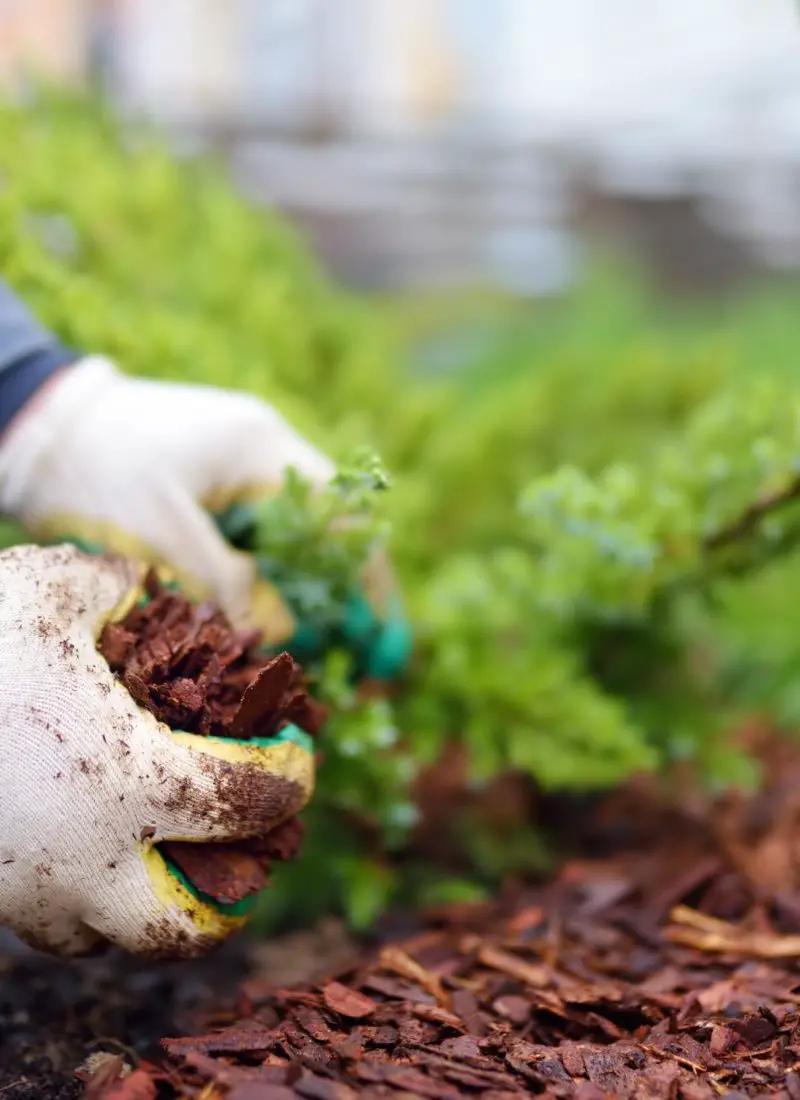
Alfalfa can also be grown as a cover crop for your garden, which acts as an organic mulch to prevent weeds from growing and keep the soil warm. When it breaks down, it releases nutrients and nourishes the soil. Make sure to keep it low to the ground by trimming it down when it starts to flower; otherwise, it might begin to overtake some plants in your garden.
Powdered or Liquified Bonemeal from Ground-Up Animal Bones

You can probably guess it from the title; bonemeal is made from pulverized animal bones, typically cattle, that have been steamed. This particular fertilizer is high in Phosphorus and Calcium, with negligent Nitrogen and Potassium levels. On its own, it isn’t much of a balanced fertilizer, which is why it’s better paired with other fertilizers such as bloodmeal and fish emulsion. But before you make an animal fertilizer soup for your vegetable garden, it’s worth noting that bonemeal is better used as a soil amendment than fertilizer for the garden. It doesn’t mean it can’t be used as a fertilizer though, it’s actually commonly used to fertilize bulbs and flowering plants.
As mentioned, bonemeal is high in Phosphorus which is needed for root development. Applying this fertilizer in soil with low phosphorus levels is more beneficial for balancing out the already present Nitrogen and potassium levels. Although, take note that it works better in acidic soil. If it is applied to alkaline soil, i.e., above pH of 7, it won’t take effect at all. I suggest using the powder version, which can dissolve in water and be applied directly to the soil. The granular version functions more like a slow-release fertilizer which might get carried away in runoffs during downpours and cause algae growth elsewhere. It’s also essential to get your soil check first before adding bonemeal to your garden. Unnecessarily adding it when the soil doesn’t need it will only cause slow root development in your plants.
Unfortunately, there are some drawbacks to using bonemeal in your garden. It is, after all, made from animal bones, so it will attract carnivorous creatures. Your pets might even end up chewing parts of your garden because of the smell. The other concern is where it is sourced from. If it has been sourced from countries with lax animal and food practices, you don’t know how the livestock is being treated or if it was fed well. If it’s difficult for you to find out where the animal bones came from, it might be best to avoid using bonemeal altogether. But if you choose to use it after clarifying the bones are from ethically and regulated sources, wear a fitted mask when handling the fertilizer to avoid accidentally inhaling it. You can get this Bone Meal Fertilizer on Amazon as a good start!
Powdered Bloodmeal from Dried Animal Blood
Like bonemeal, bloodmeal is a by-product of the livestock industry where animal blood from slaughterhouses is dried up, pasteurized, and ground up into a powder. It’s usually cow’s blood but can sometimes be from pigs as well. It’s also commonly used as a soil amendment rather than a stand-alone fertilizer, but where bonemeal is high in Phosphorus, bloodmeal is high in Nitrogen.
Bloodmeal is helpful to increase nitrogen levels in the soil, supporting healthy leaf growth in plants, especially salad greens. Not only that, but it can also make the soil more acidic for certain plants such as radishes and sweet potatoes. One of the perks of using bloodmeal in the soil as a fertilizer or soil amendment is it keeps herbivores away from your garden due to the smell of blood. However, it does mean it is most likely to attract carnivorous animals too.
Regrettably, it may be difficult to source out where the animal blood comes from, just like bonemeal. It’s especially sketchier if it’s cheap and comes from countries with lax animal care and food laws and regulations. Make sure to clarify that the animal blood is originated from well-taken care livestock industries with excellent regulations. The idea behind this concern is the unknown factor of what chemicals, additives, and hormones were given to the livestock. These can still pass into the soil and affect vegetation from the dried blood despite being processed rigorously to turn into fertilizer. If you are uncertain about using it or the product’s source, best avoid using it in your garden.
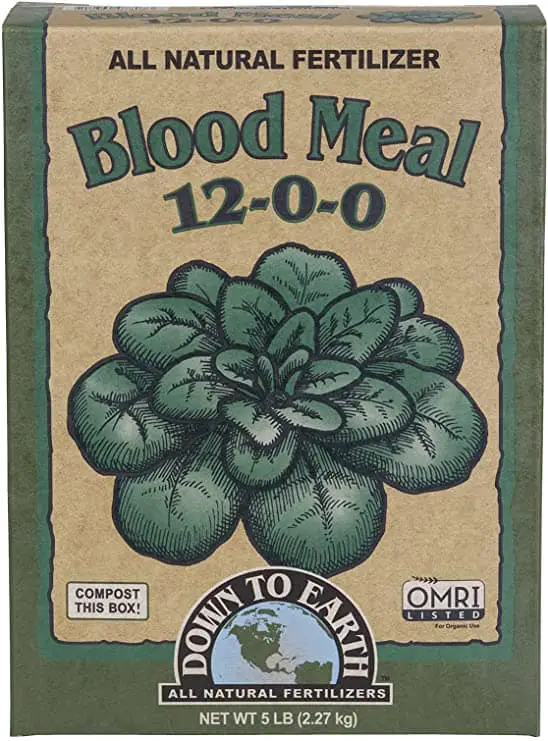
But if you do use it, you can directly mix it into the soil or dissolve it in water first before feeding it to the plants around the soil. Take note never to provide this to young plants as it can easily ‘burn’ them. Also, avoid giving this to beans and legumes because these plants on their own are nitrogen-fixers – they have bacteria that add Nitrogen back into the soil. This Blood Meal Fertilizer on Amazon is a particularly decent one to work with.
Composted Manure from Herbivores with Chemical-Free Diets
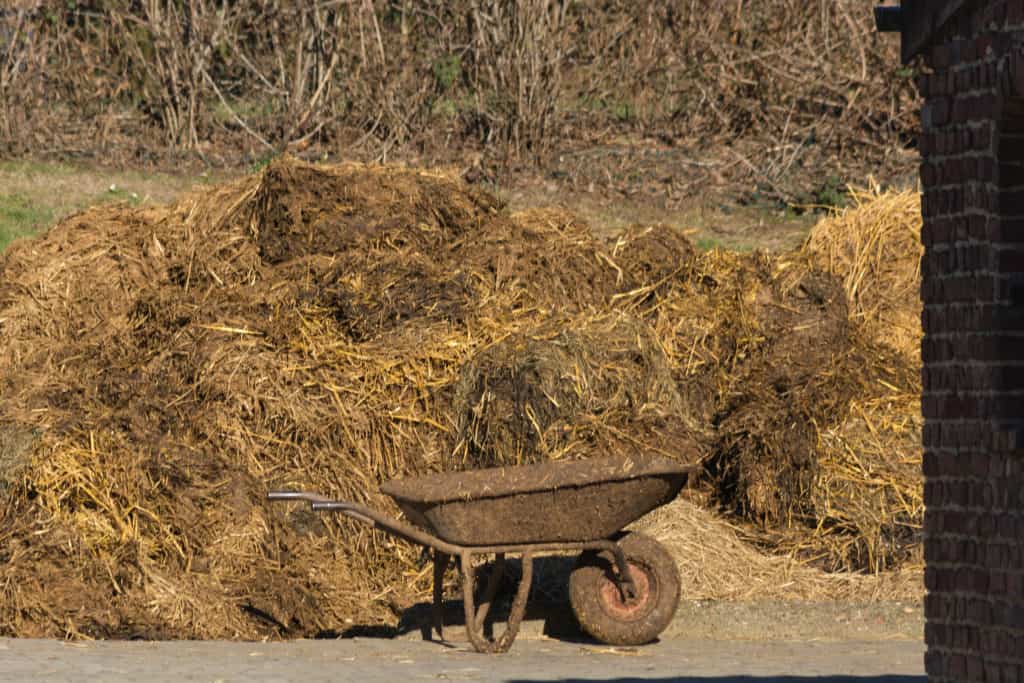
Manure is animal waste from farm animals such as cows, horses, chickens, goats, and sheep. Yes, there is an eek factor to it, but it provides rich nutrients to the soil and boosts your plants’ development. However, this also depends on the animals’ diet. According to this article, manure from livestock grazing on herbicide-treated hay still has the presence of the herbicide ingested. This caused malformed plants, dead young plants, and poor germination. So, if you intend to create your own composted manure, be mindful about what you’re feeding your animals.
Avoid using fresh or “aged” manure to fertilize your garden. Fresh manure will only “burn” your plants, kind of like over fertilizing because of how ripe it is. If the smell isn’t enough to deter you, then maybe saving your plants will. “Aged” manure doesn’t have an offensive odor; however, it is not guaranteed that the pathogens have not died out. The plants can take up this after the aged manure is added to the soil, causing food-borne illnesses. The safest way to kill all pathogens is to compost or pasteurize manure before adding it to the soil. The easiest way is compost, simply give the manure 3-4 months to break down in the soil before planting your crop.
Final Words
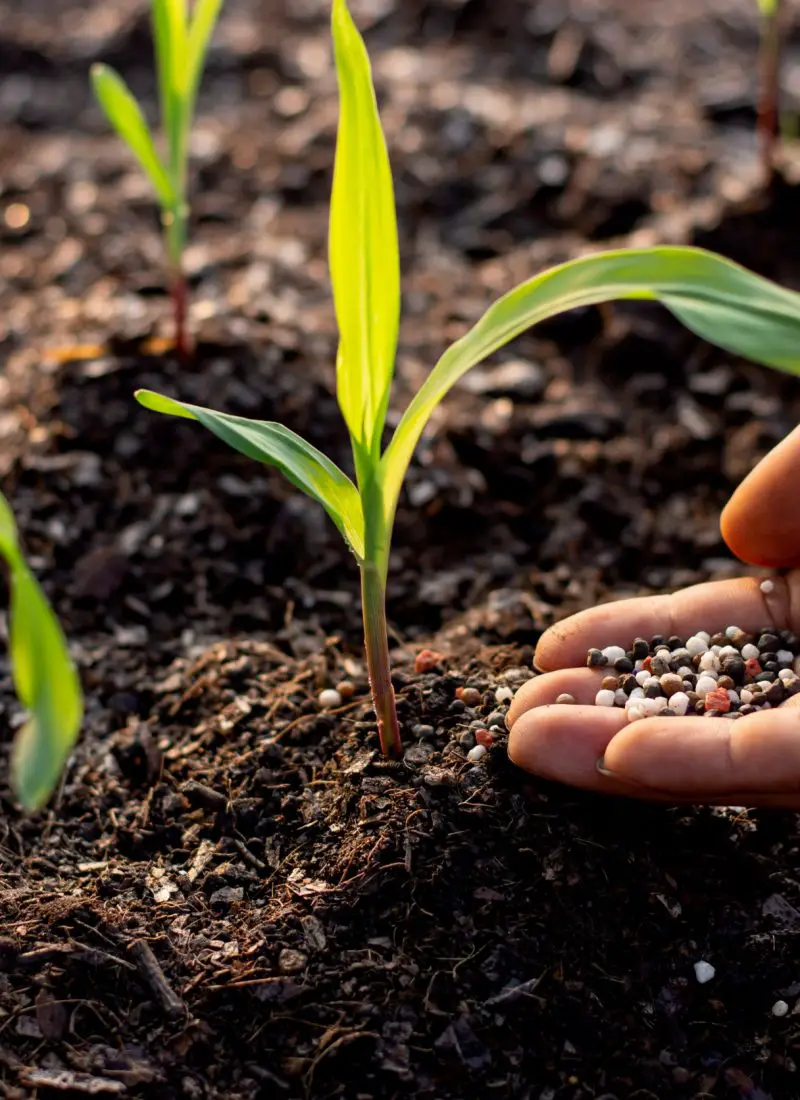
After all those options, the one question you might have left is probably when should I feed my vegetable garden? Generally, vegetable gardens should be provided with fertilizer only during the growing season, i.e., in spring, summer, and sometimes fall. It’s advisable to apply the fertilizers early in the morning or late afternoon, finishing with a thorough watering session after application.
Lastly, remember that fertilizing is only one aspect of a vegetable garden’s basic needs. Like all plants, ensure to provide the adequate amount of water, sunlight, and air circulation required. Together with the proper fertilizing practice, you will end up with a gratifying and bountiful harvest from your very own vegetable garden. Happy gardening!
References:
https://www.epa.gov/recycle/composting-home
https://www.nrdc.org/stories/composting-101#tips
https://content.ces.ncsu.edu/herbicide-carryover
https://hgic.clemson.edu/factsheet/worm-composting/
https://thehomesteadinghippy.com/worm-castings/
https://morningchores.com/bone-meal-fertilizer/
https://thegrownetwork.com/a-recipe-for-homemade-fresh-fish-fertilizer/
https://theprepperproject.com/make-fish-fertilizer/
https://www.gardeningknowhow.com/garden-how-to/soil-fertilizers/fish-emulsion-fertilizer.htm
https://herbsathome.co/liquid-seaweed-fertilizer/
https://homeguides.sfgate.com/homemade-seaweed-fertilizer-39822.html


Leave a Reply