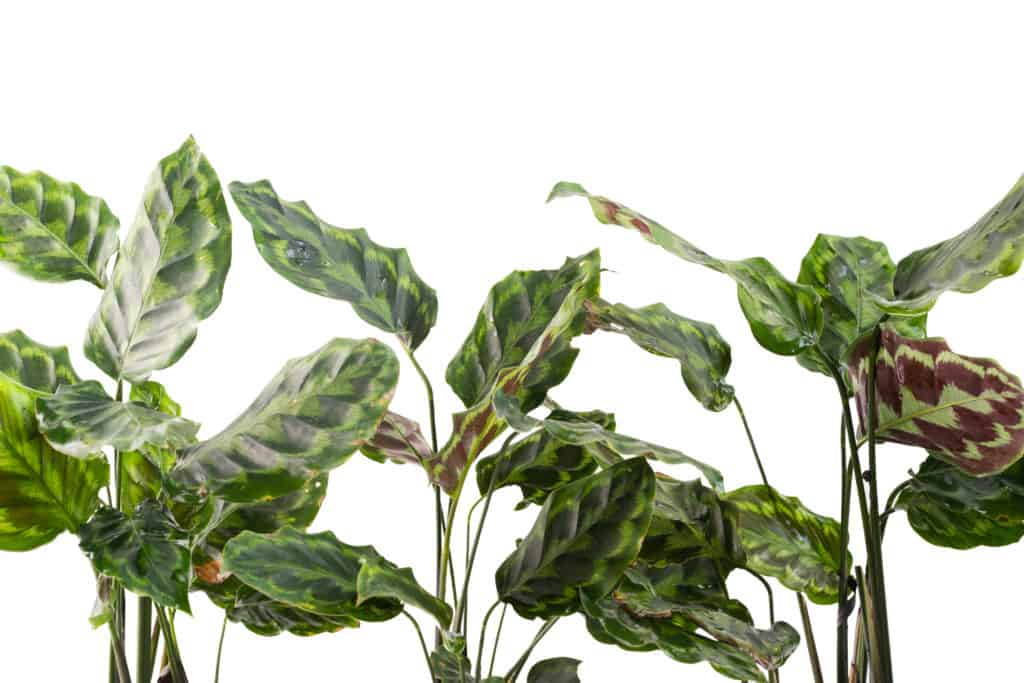
Calathea Varieties:
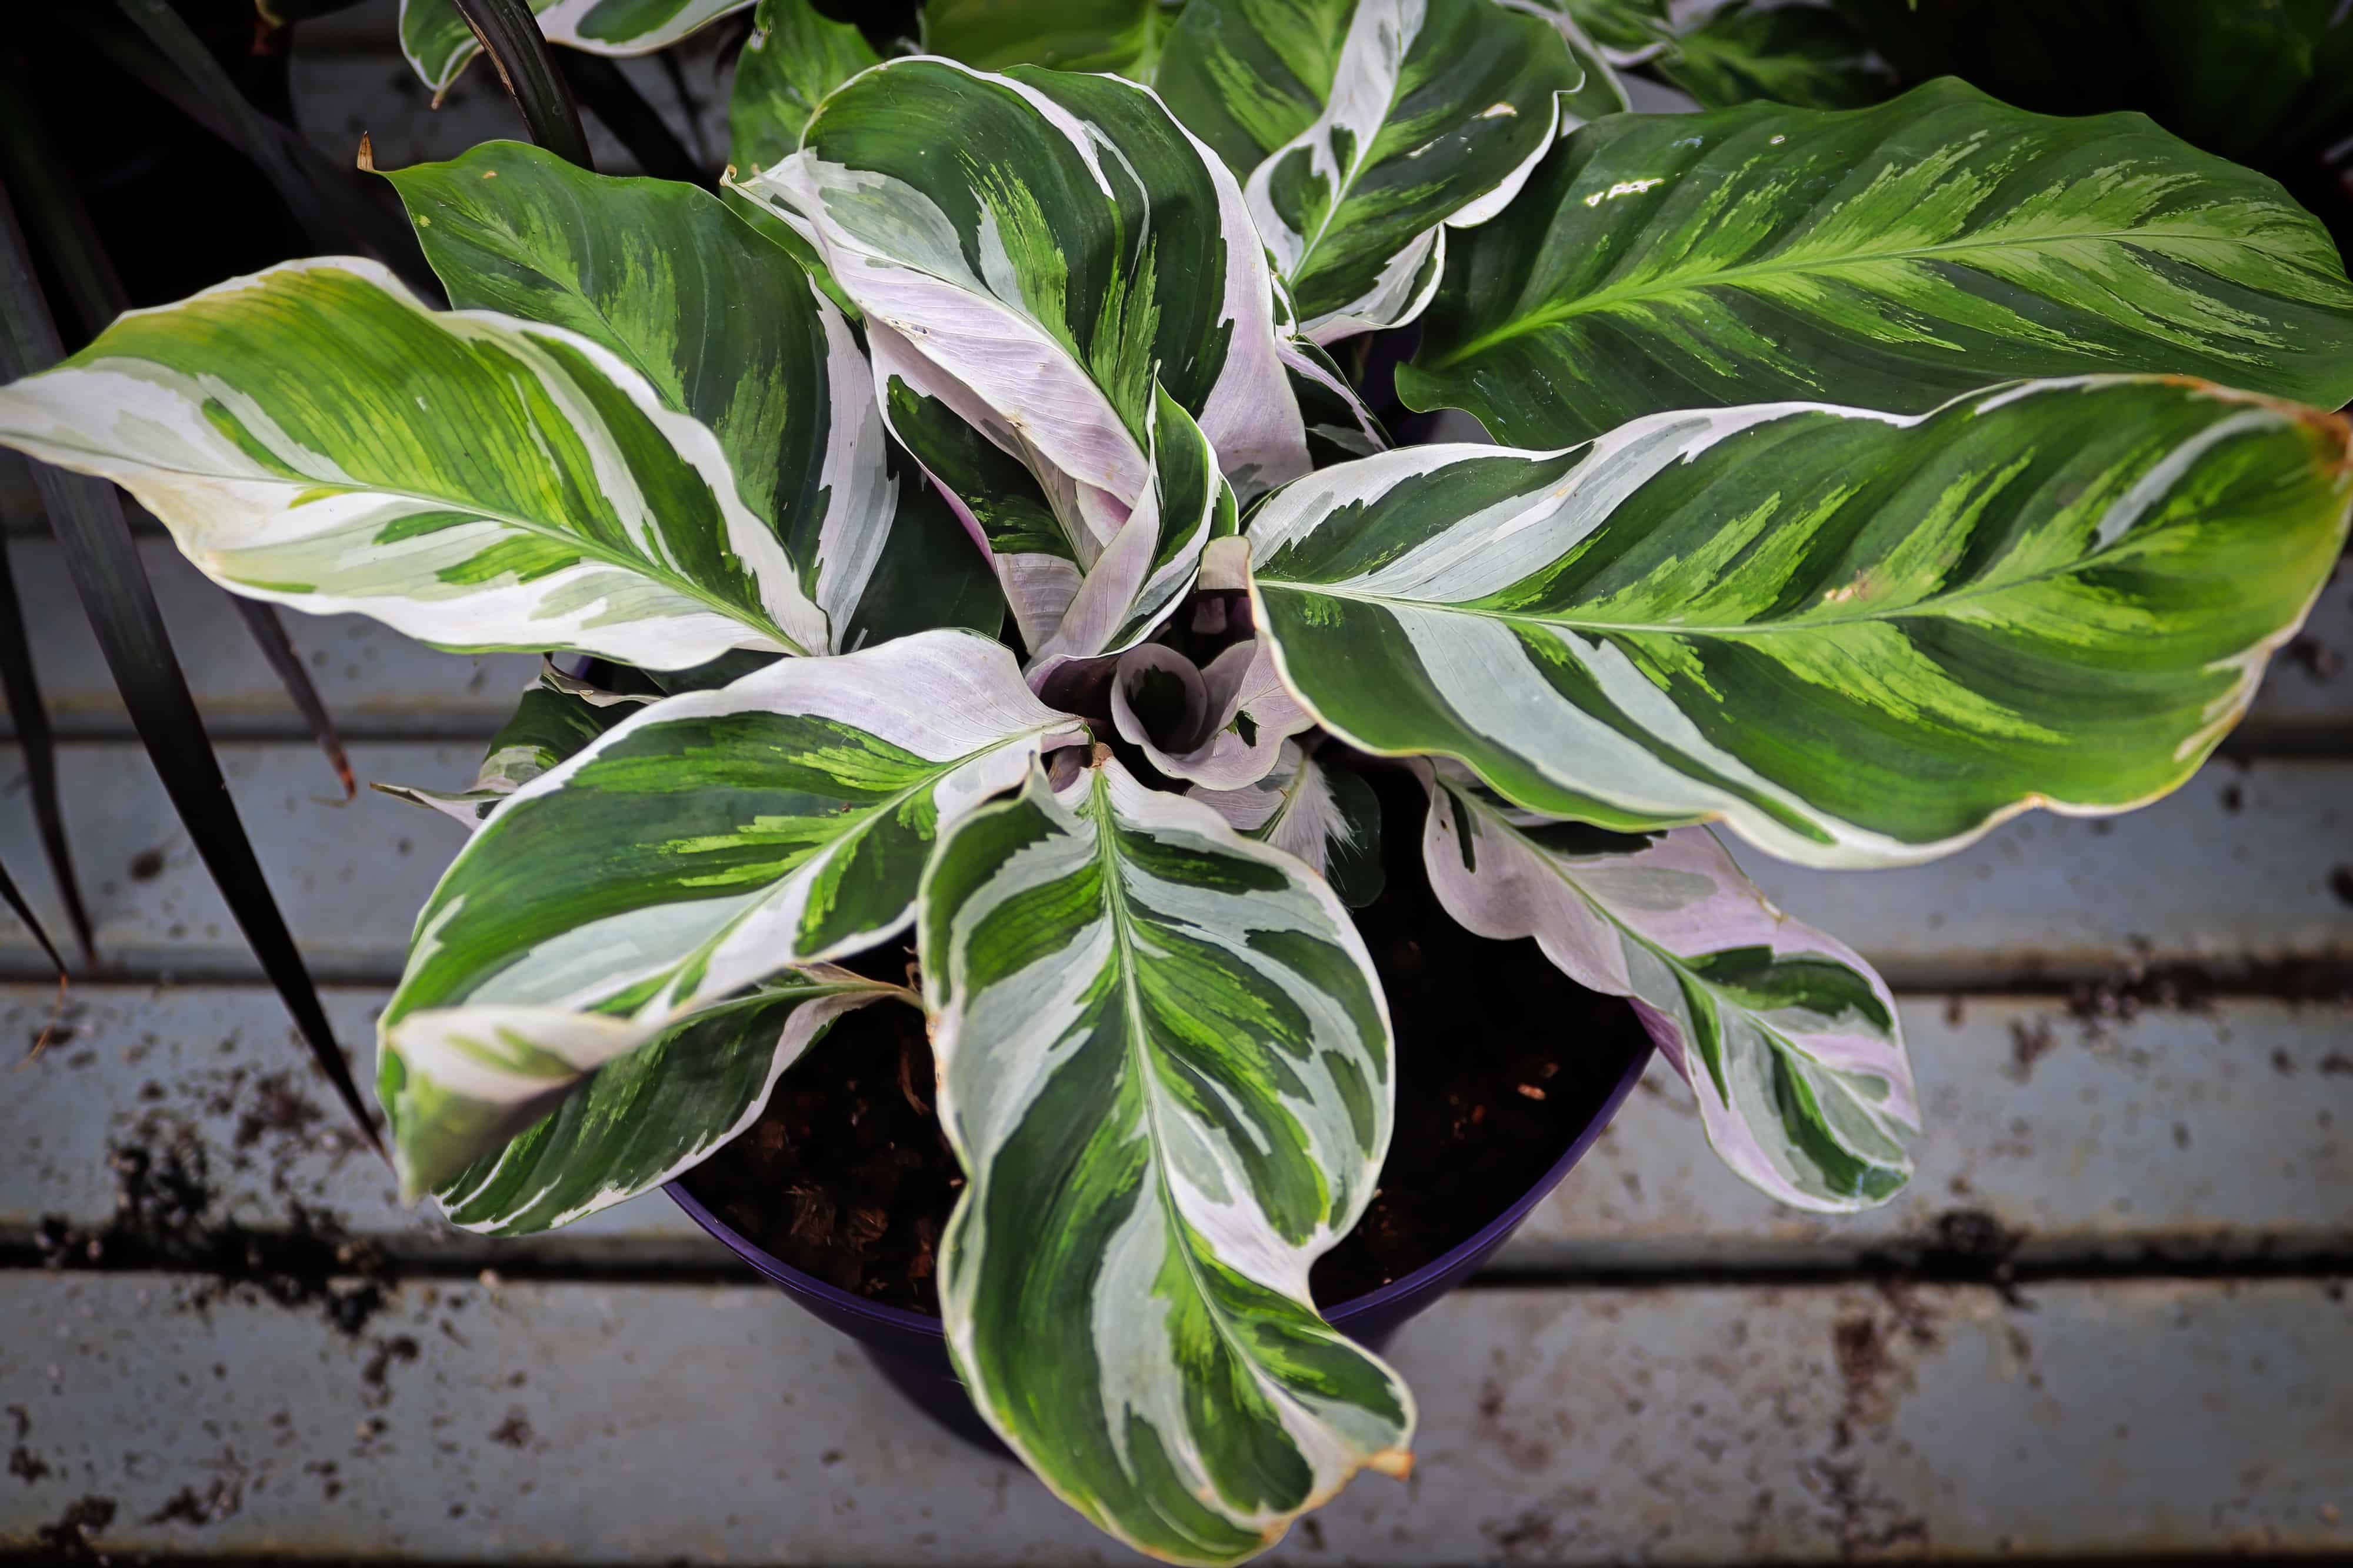
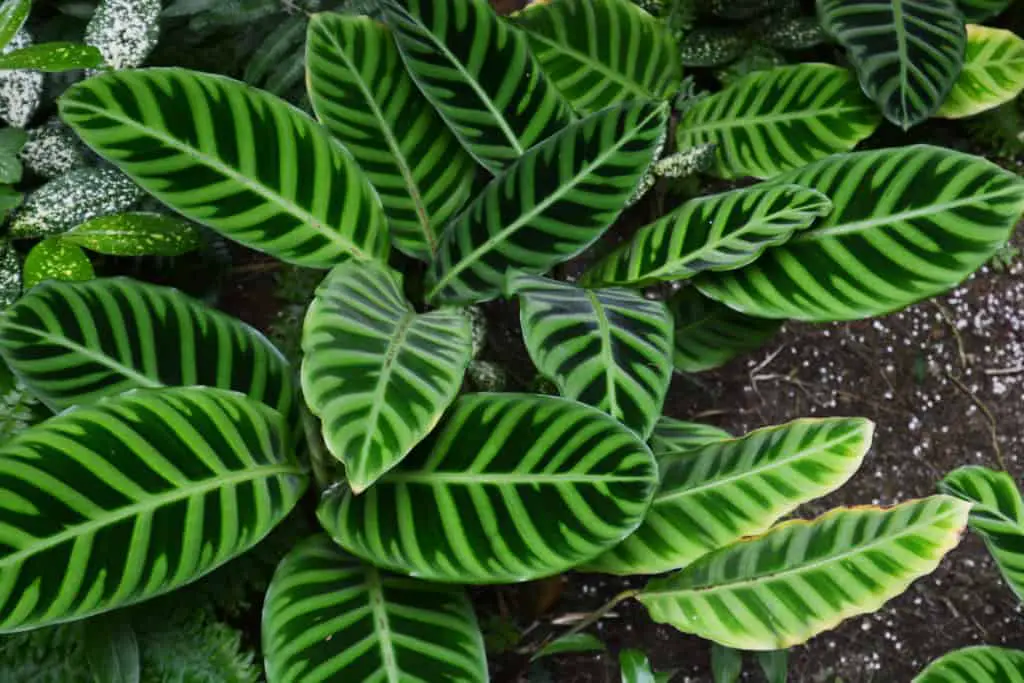
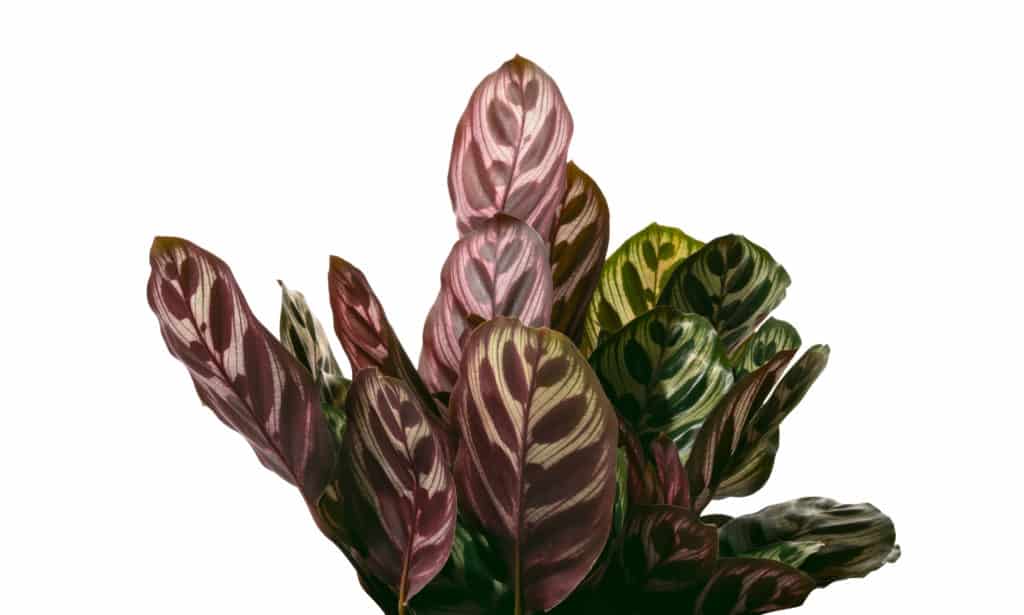
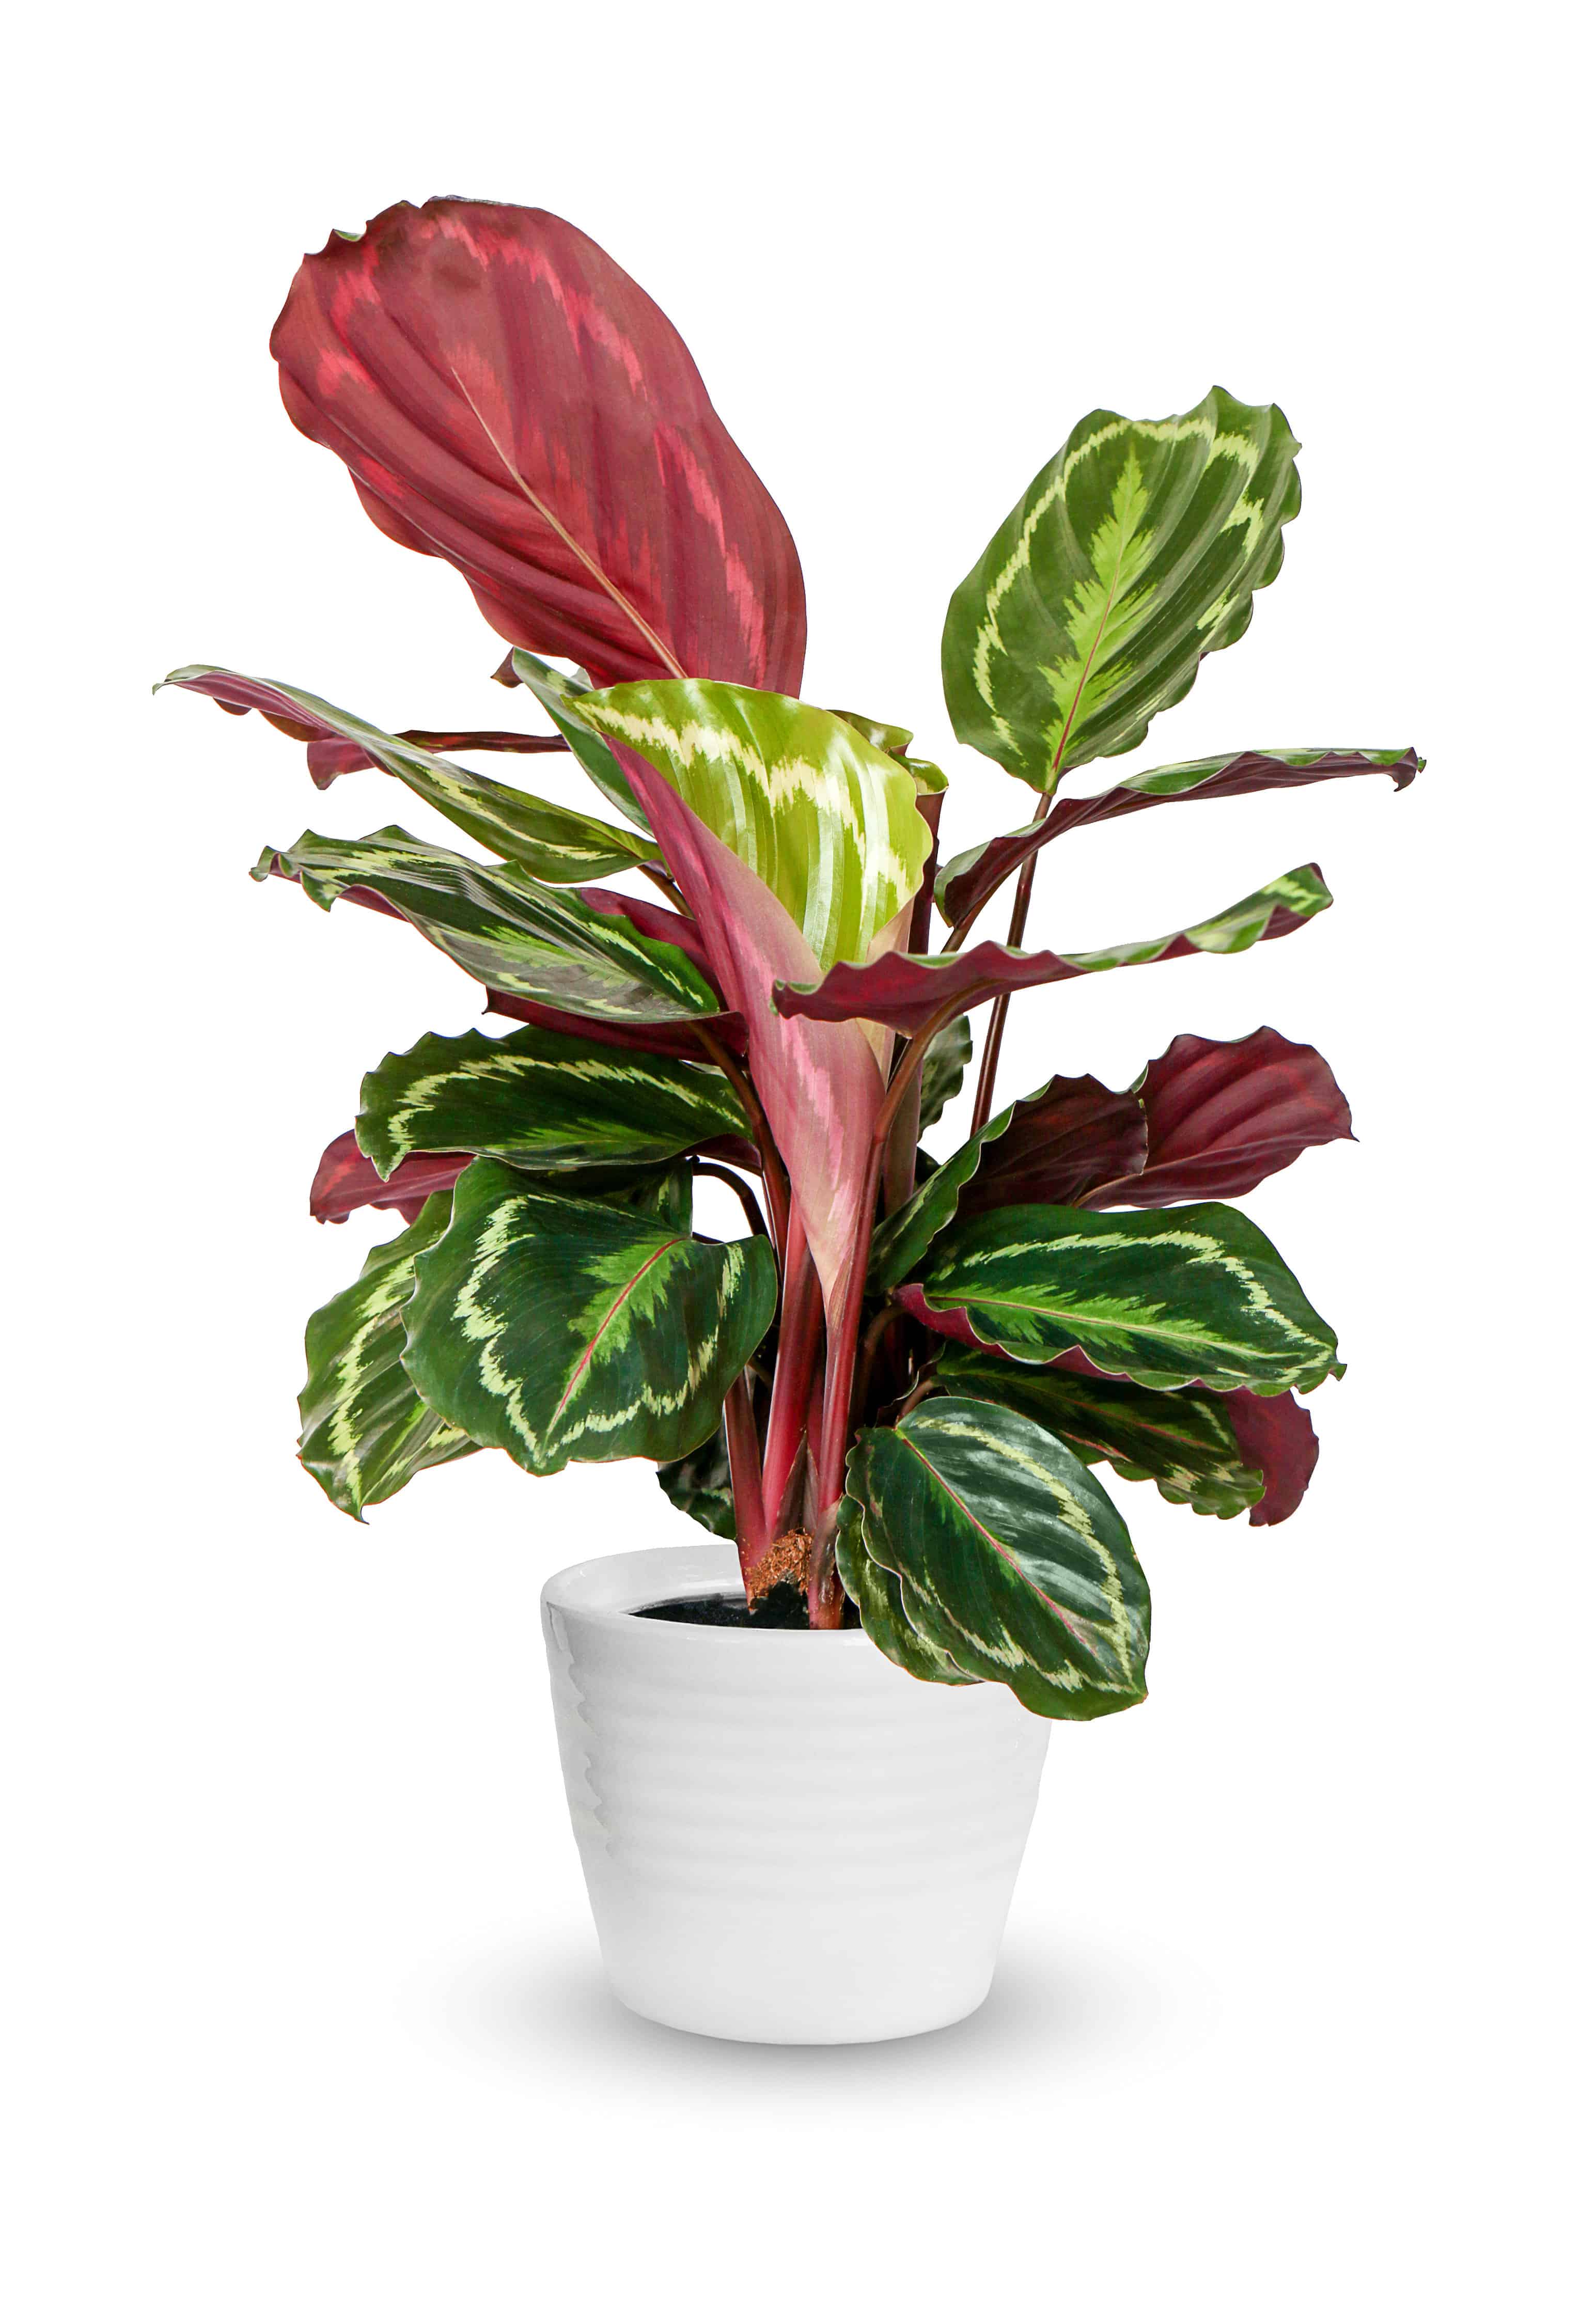
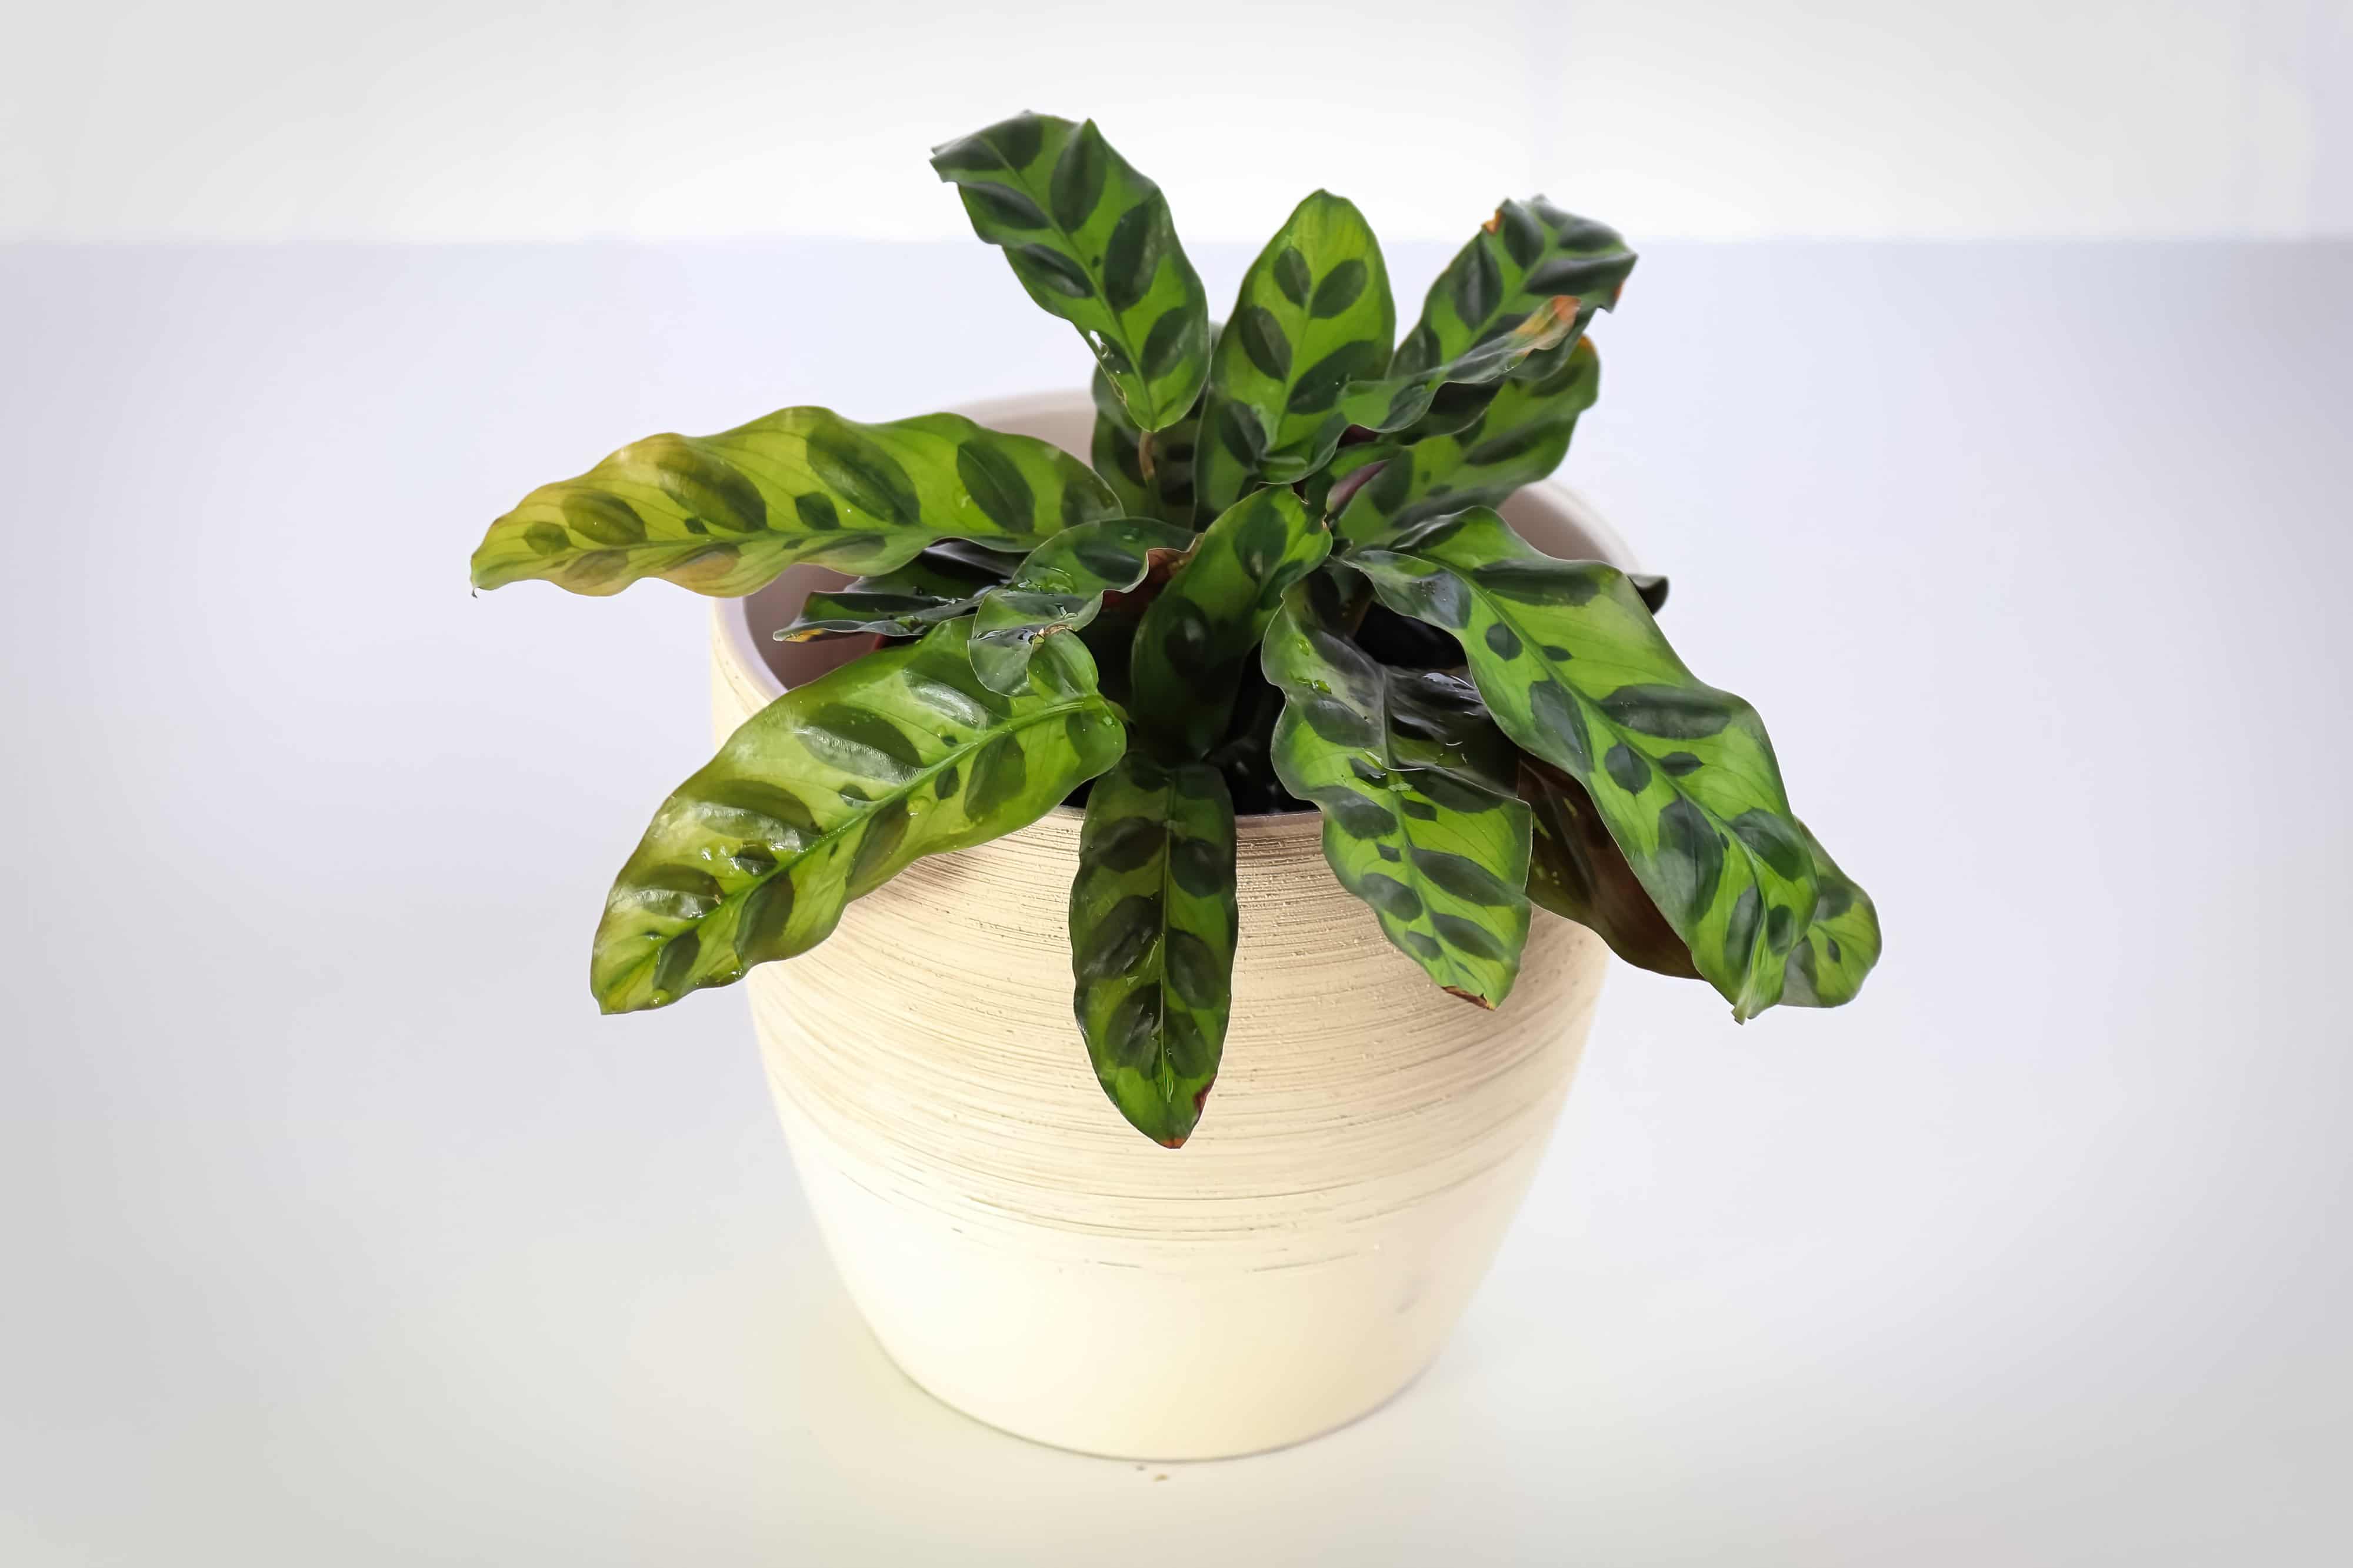
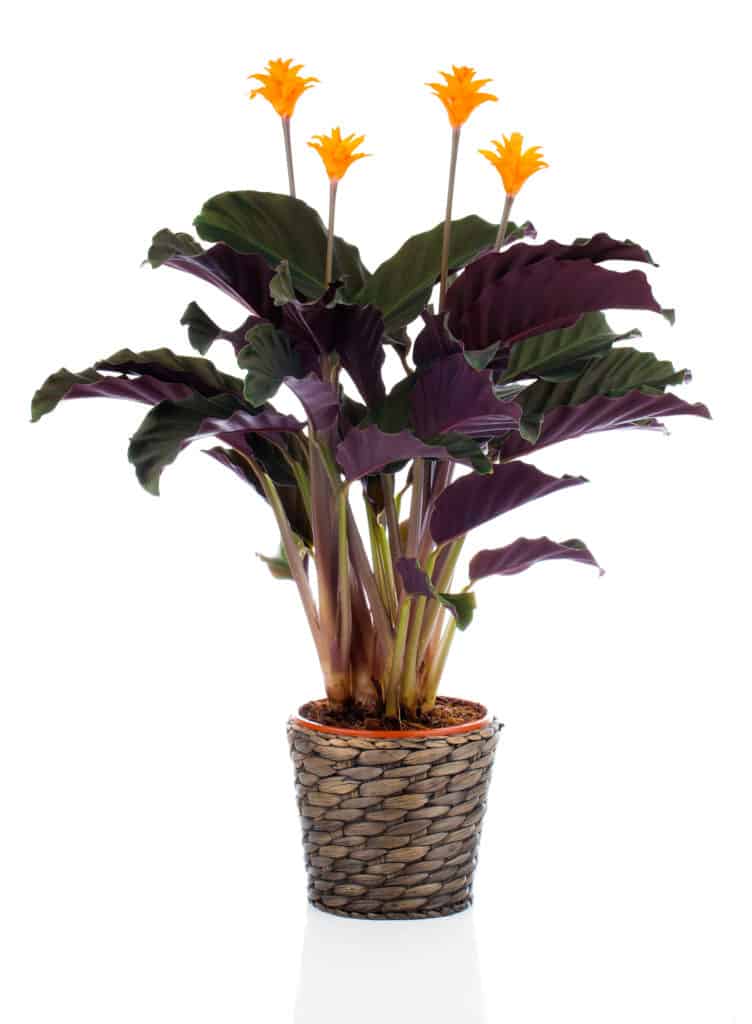
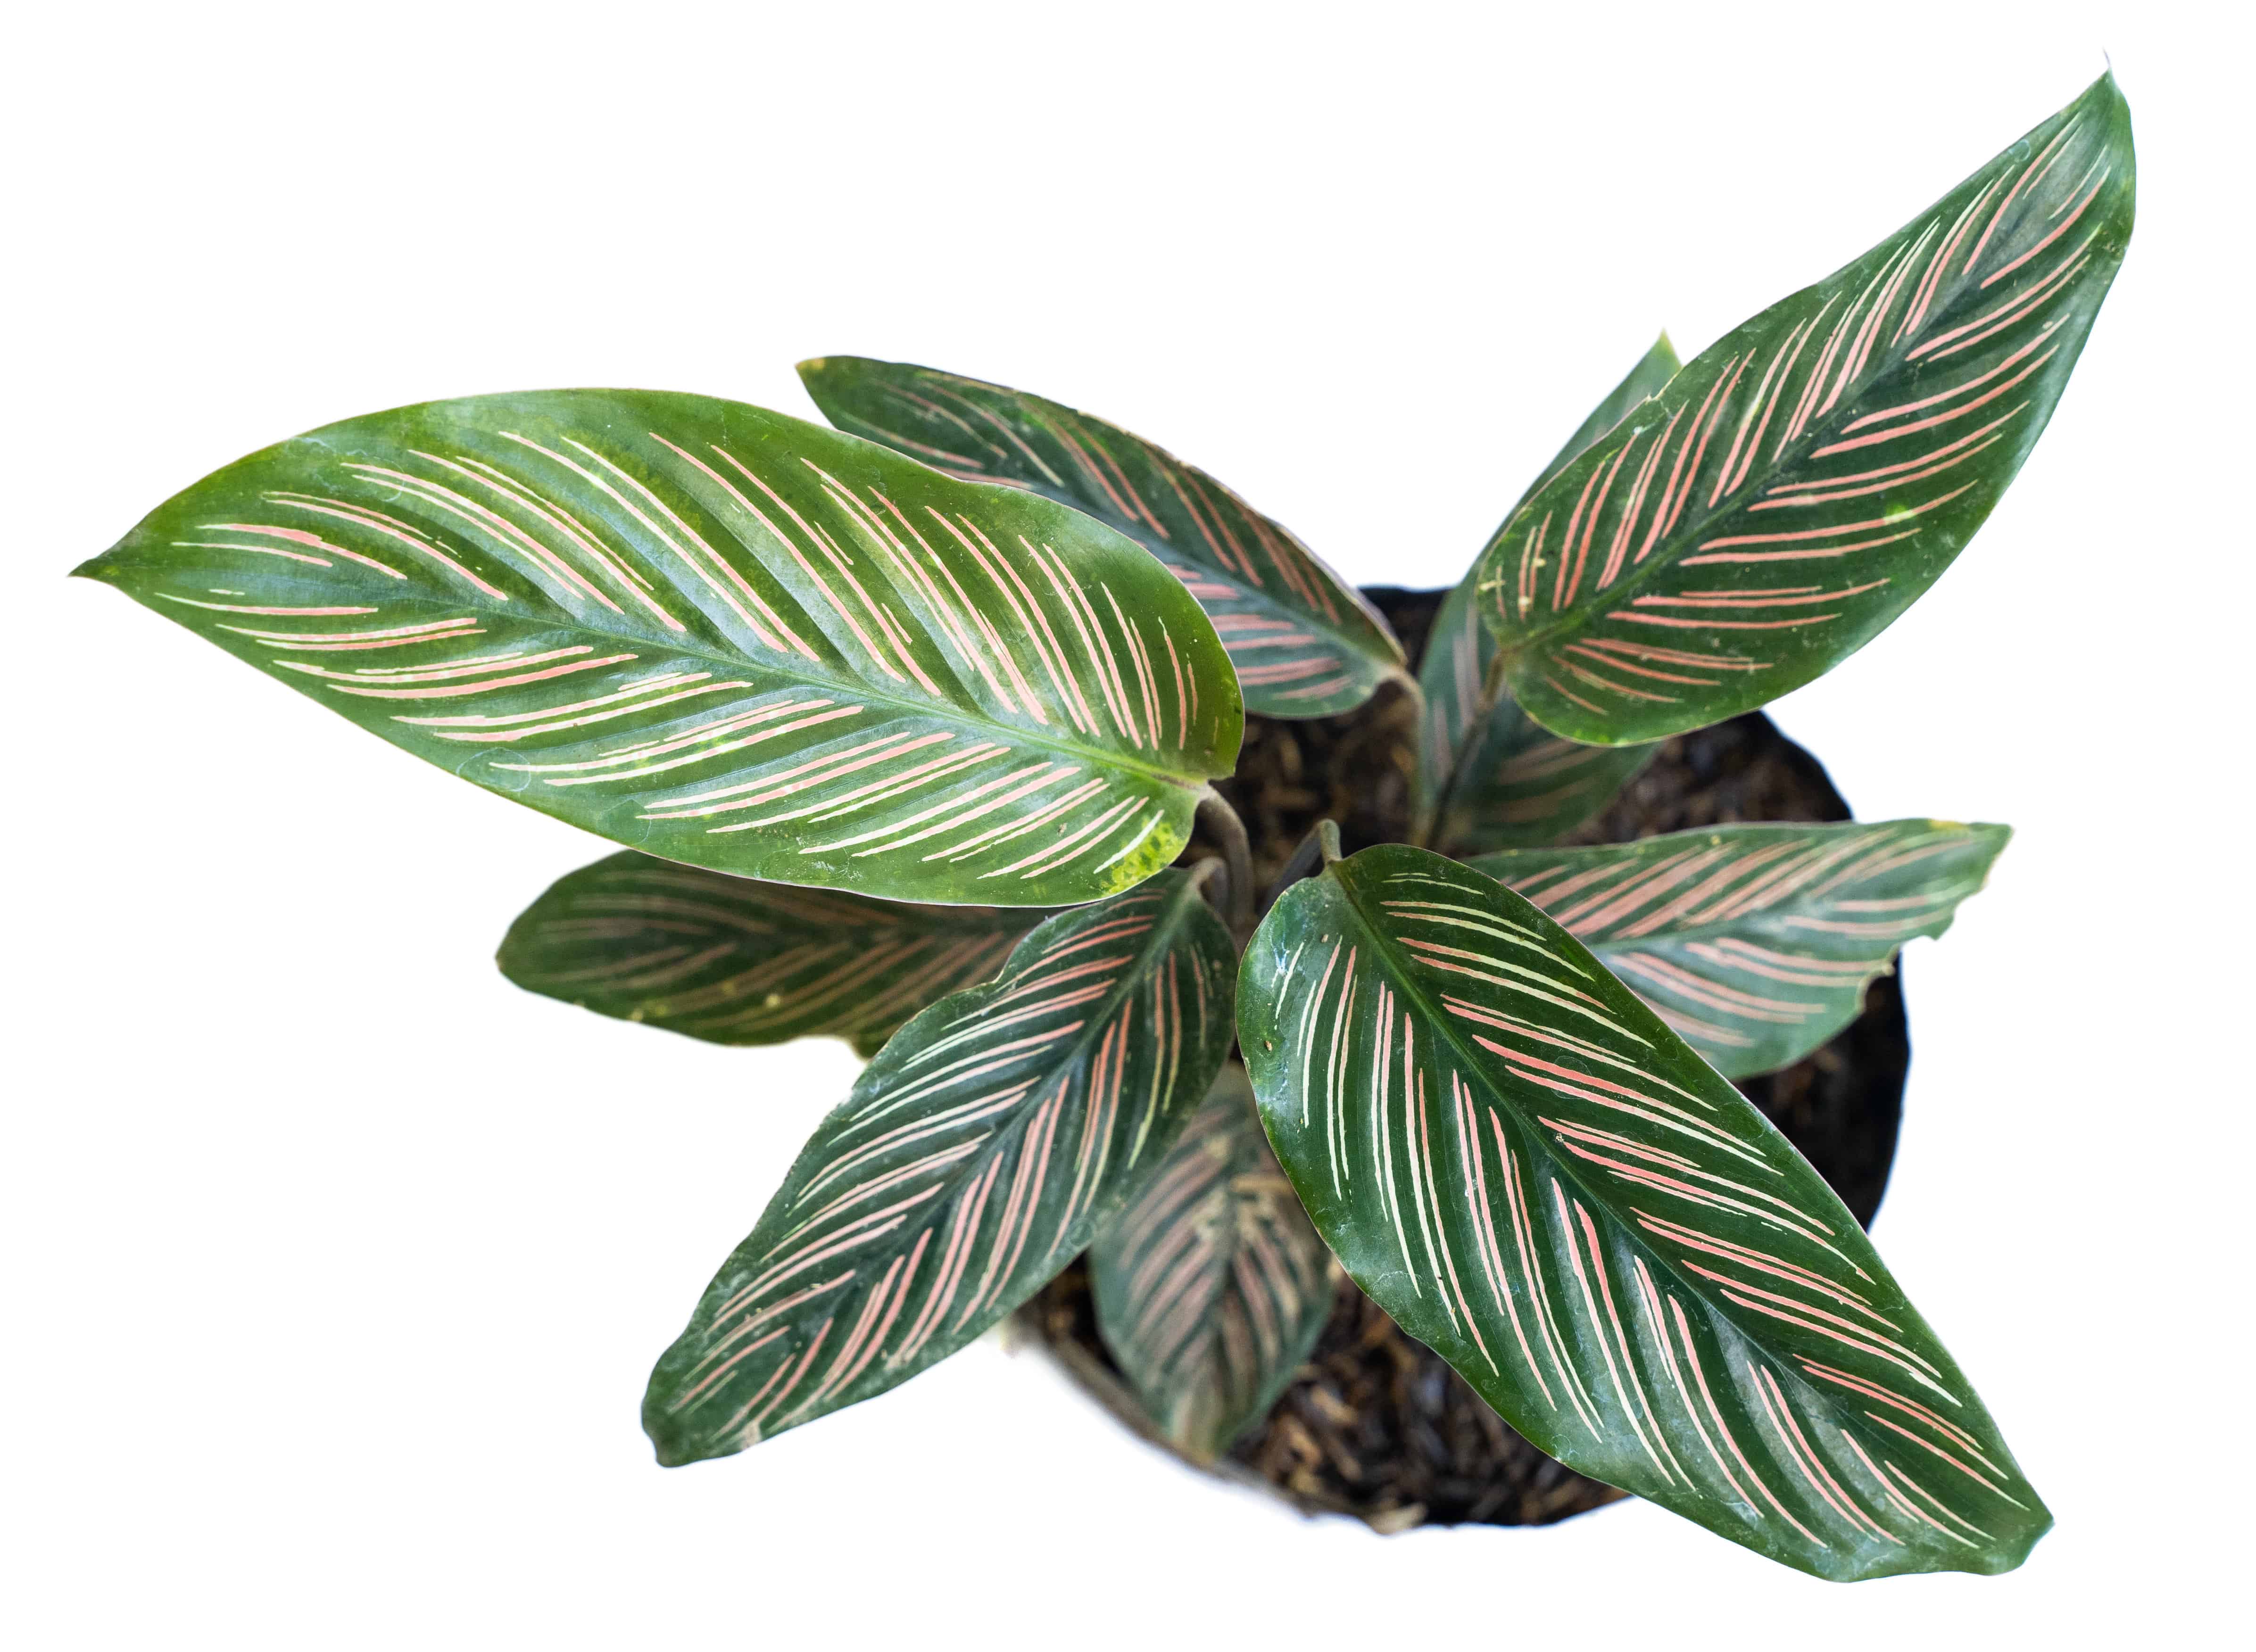
Calatheas have a well-known reputation for being a high-maintenance, prima donna houseplant. Luckily, I have an easy how-to-care guide for you to ensure a happy queen that will bloom enthusiastically in your home.
Quick Article Summary:
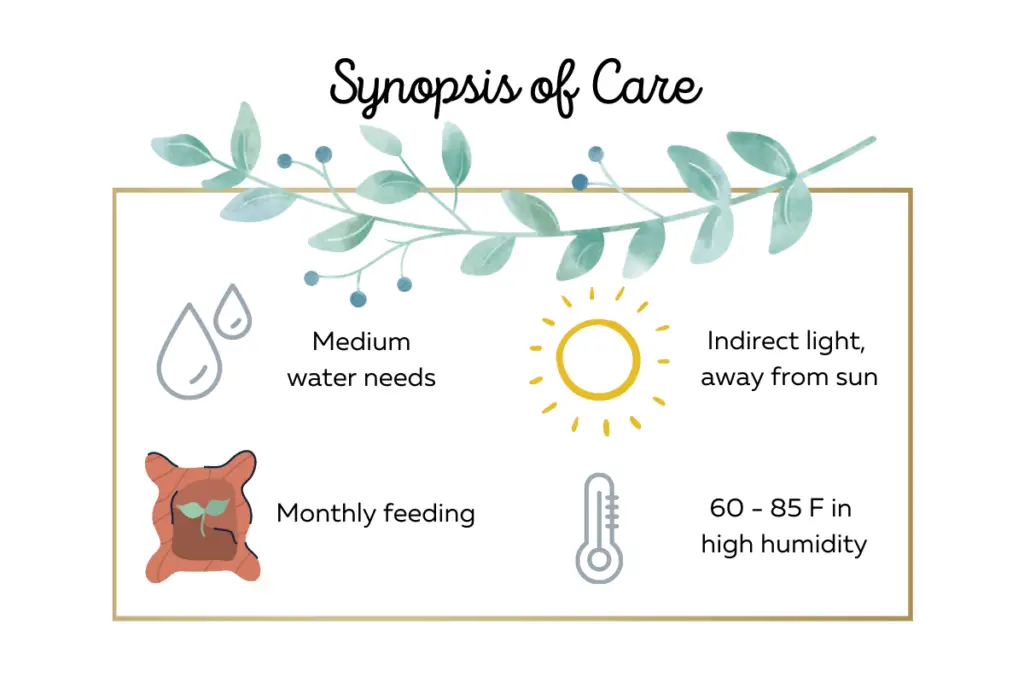
As a general rule, Calatheas need water every four days to once a week to keep it lightly moist, plant it in well-draining, aerated soil. Give the plant monthly fertilizer feedings and place it in a warm, brightly lit area with high humidity to ensure long-term thriving vitality.
Below, I discuss ways to identify common Calathea problems with their respective solutions and include tips to prevent these issues for future plant care.
(As an Amazon Associate, I earn from qualifying purchases.)
How To Care For a Calathea Plant: The 4 Essentials
Water Calatheas Once a Week
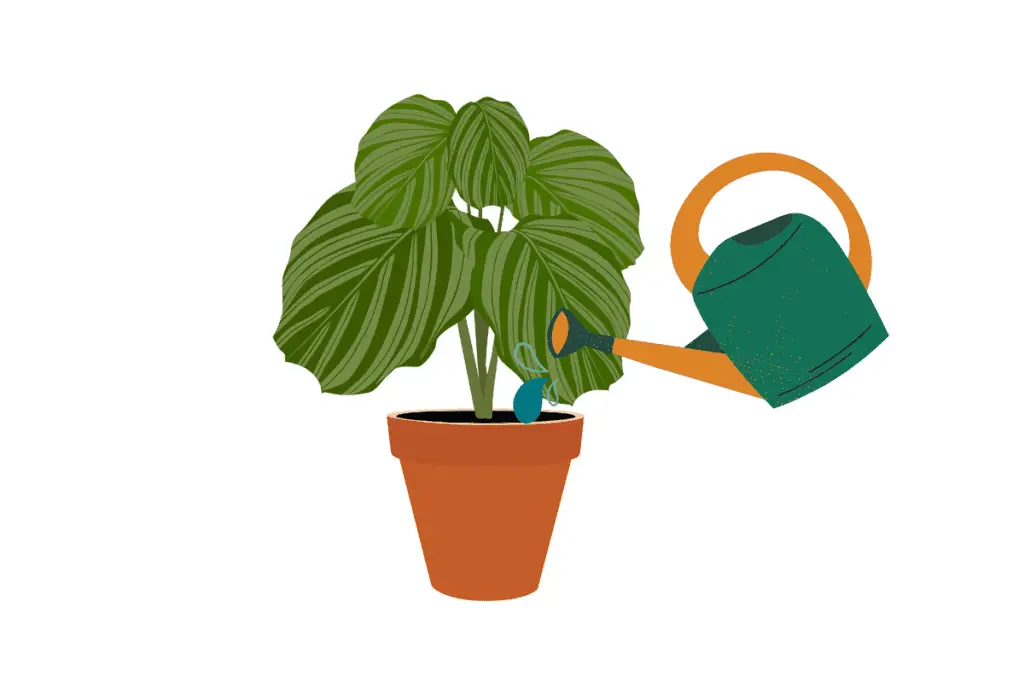
Calatheas love water, but not to the point where you should be drowning it. Watering it every few days to once a week is enough to meet its needs, ensuring that the soil never dries out completely. Also, if you can, avoid using tap water as the minerals in it may disagree with the plant. You can use room temperature distilled water, filtered water, or collect rainwater for quenching your Calathea’s thirst.
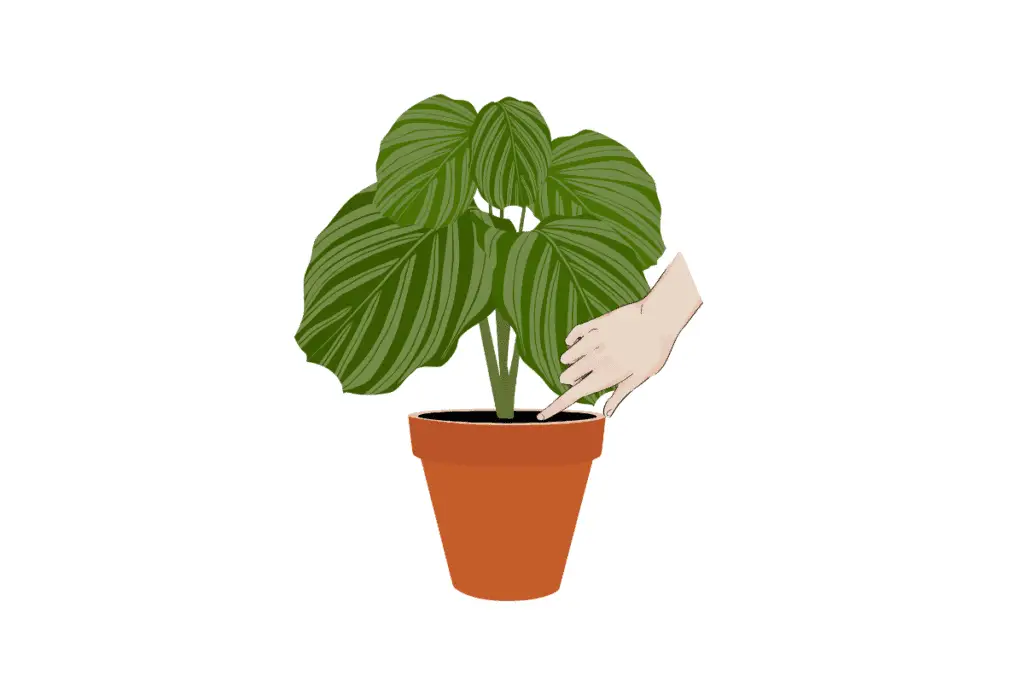
Check! Knuckle-test – Feel the soil. Dip your fingers into the soil about an inch or two deep:
a. If it feels damp, put off watering your Calathea until the next day or two and check again then.
b. If it’s dry, pour water evenly around the soil until it drains out. Leave the plant for about 15 minutes before removing the excess water from the saucer. This extra step gives the plant a chance to reabsorb some water through the roots if needed.
Click here if you want to know more about the knuckle-test and proper watering.
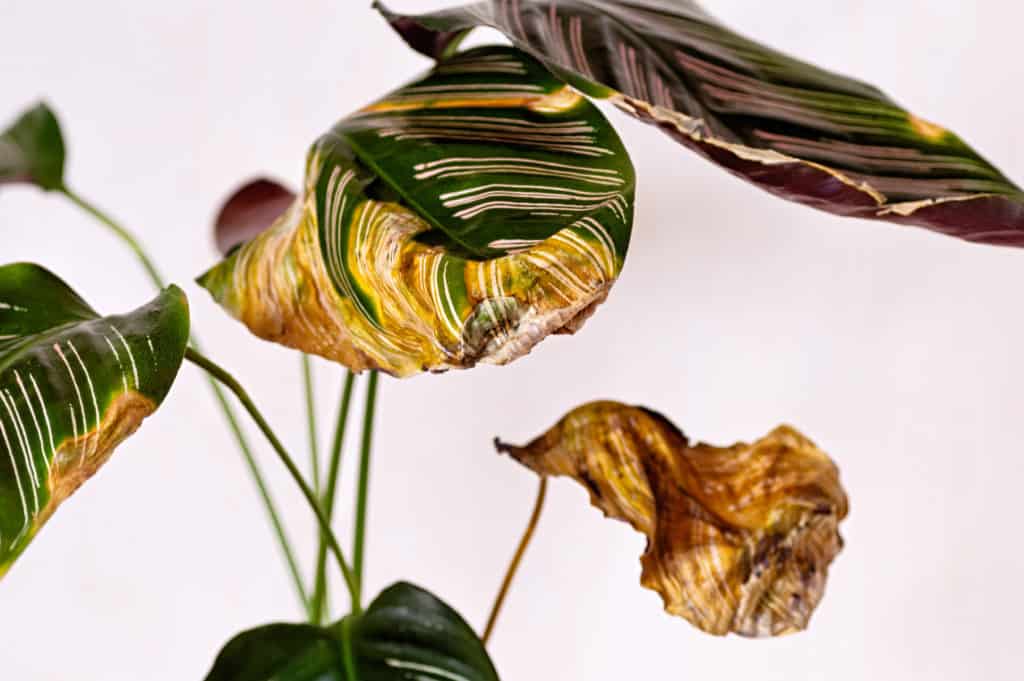
Check! Observe your plants’ leaves:
a. If you notice any browning or withering on the leaves, this indicates that you should water your Calathea more. Check the soil and make sure to saturate it thoroughly each time, not just with a spot of water.
b. If you notice the leaves yellowing, one of the possible reasons could be mineral salt from the tap water building up. Immediately stop using it and change to an alternate water supply.
Plant Calatheas in Well-Draining, Aerated Soil
In ensuring a constant moisture environment for your Calathea to live in, use a potting mix that retains moisture, drains excess water well, and has proper aeration. A good base for this is a fluffy, peaty mixture with a bit of perlite to provide sufficient aeration. Make sure to use a pot with proper drain holes so water can escape through and not accumulate at the bottom. It’s worth noting that Calatheas also like slightly acidic soil (pH 6.5).
In terms of fertilizers, it is best to use a water-based solution at ½ strength. Fertilizing should only occur once a month throughout its growing season (in summer and spring) and none at all during winter when it’s not actively growing. While it is certainly better to under-fertilize to err on the side of caution, using no fertilizer for your Calathea may leave the plant malnourished after a while. The leaves will turn yellow or pale due to lack of nutrients, and it may stunt the plants growth. So fertilize moderately within the advised dosage and just be careful. A good fertilizer I’d recommend trying is the All-Purpose Indoor Plant Fertilizer on Amazon, there are a 2600+ reviews at a 4.5 star avg. for this fertilizer. There were plenty of “guinea pigs” that tried this stuff out before you and it’s good stuff. It is also a high concentration so it will last you a long time since you don’t need very much of it to fertilize your plants each time.
Check! Observe what happens when you water your plant.
If water stays above the soil for longer than a few seconds, this means your soil is poorly draining. This issue could indicate an inadequate potting soil mixture or compacted soil that needs changing. Immediately stop watering and tilt the pot slightly to get rid of the runoff and start the repotting process
Important note: Do not start repotting if your plant isn’t healthy or is generally in distress. Exceptions to the rule are emergency cases like root rot or insect infestation, where repotting is the only option to get rid of the infected/infested soil.
Save it! You can do it!
- Carefully remove your Calathea from the pot.
- Set it on some newspapers to absorb water from the very wet potting mix on the plant. Change the newspapers as needed until minimal to no water is absorbed.
- Pour a different potting mix into a new pot about halfway.
- Carefully place the plant into its new home and seal the gaps with more soil.
- Water the plant only lightly until it recovers. Be patient, as it will take time before your Calathea perks back up.
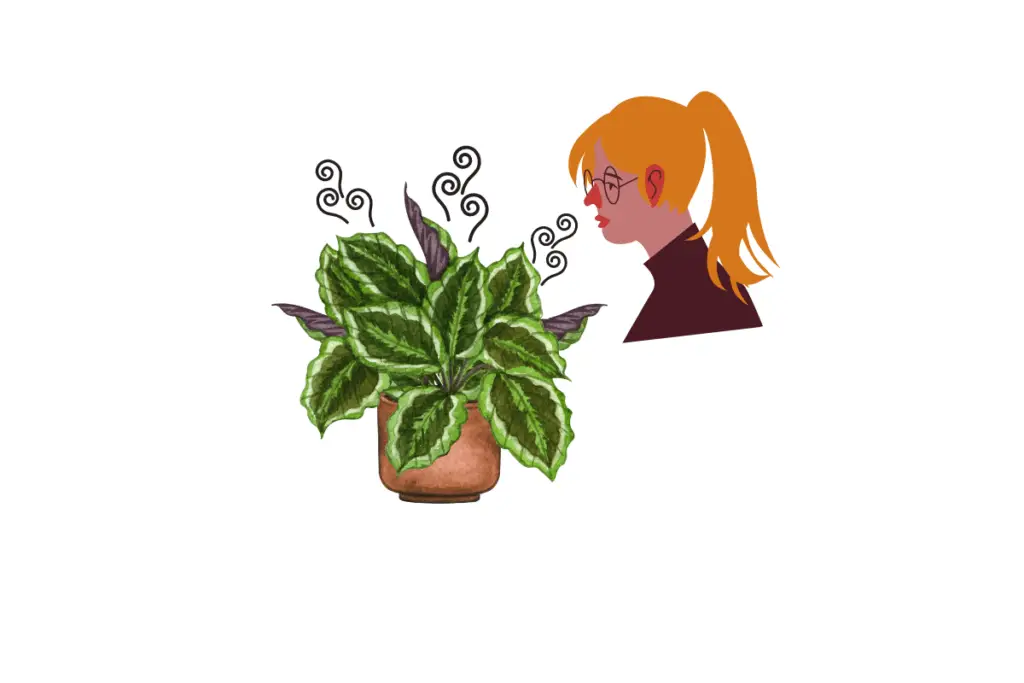
Check! Smell your plant.
If you detect a nasty smell from your Calathea, it’s a very likely sign of root rot. Gently remove the plant out of its pot and look at its roots. If there are mushy black or brown roots, that means it’s infected. In reality, if the root rot is horrible, you’ll be able to smell it from a couple of feet away—no need to stick your nose on the dirt or anything, haha … unless you’re into that.
Click here for detailed instructions on how to get rid of root rot.
Provide Indirect Sunlight to a Calathea plant
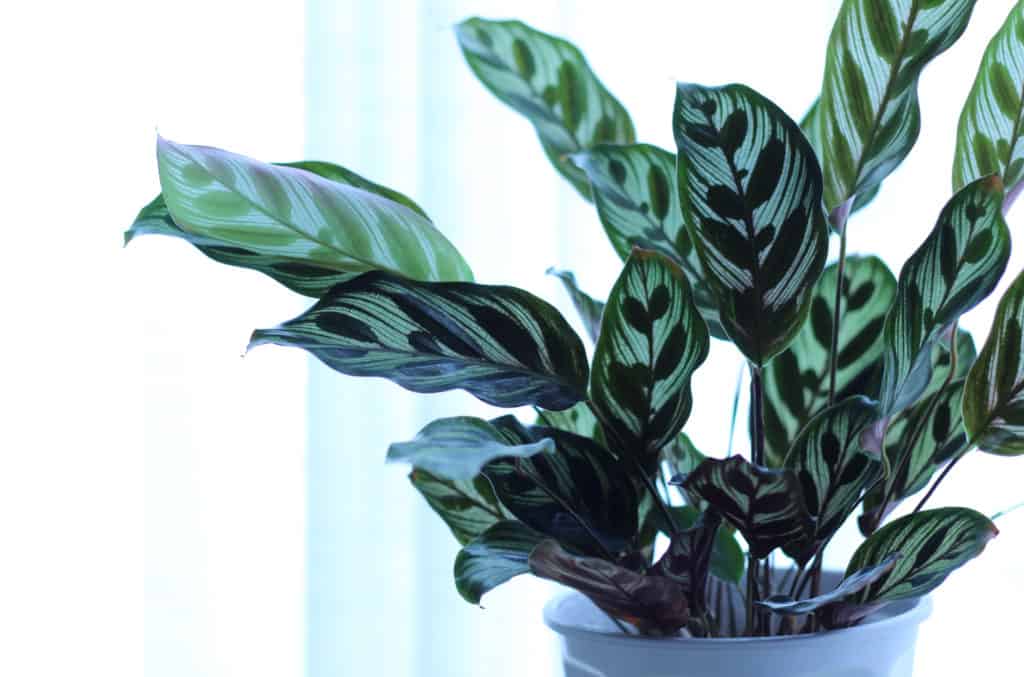
Calatheas need just the right amount of light to be healthy and actively growing. Remember: it needs an abundance of bright, indirect light for 8 hours, but away from direct sunlight. A good example would be a bright spot near a window with curtains shading direct sun rays. It takes a bit of trial and error to find the perfect place, so you may have to move your Calathea around during different seasons to maintain an optimal light source for it.
Their leaves are pretty lively as well; you’ll notice leaves curling and unfurling wide open respectively at night and in the mornings. This phenomenon is the plant’s natural inclination to absorb as much light as possible for its needs. Another note is that the variegated (white or partially colored leaves) varieties will require more sun than their non-variegated counterparts. Otherwise, they will lose their colors.
Check! Observe your plants’ leaves.
If the leaves have turned yellow, this could mean the plant is not getting enough light or too much direct sunlight:
For too much direct sun, there will also be scorched marks, brown edges, sometimes bleached, and a significant amount of dead leaves. Quickly move your plant a few feet away from its previous spot to a more shaded area.
For minimal light, you will only see yellowing. Gradually move your plant to a brighter spot little by little for it to get used to more sunlight. Shocking it with sudden, intense brightness will only damage its recovery.
Check! Knuckle-test – Feel the soil.
If your plant has been in low light for quite some time, this will result in slow growth, making the plant require less water. This problem could easily lead to overwatering and root rot. Prevent that by slowly moving it to a well-lit area and watering lightly when the top 1-2 inches of soil is dry.
Place Calatheas in High Humidity with Warm Air Circulation
With regards to its tropical origins, Calatheas requires a very warm, consistent atmosphere of 60-85°F (16-30°C) in high humidity (>60%) to thrive. So place it in an area with good air circulation and minimal temperature fluctuations, away from heat sources and cold drafts.
A general problem Calathea plant owners tend to come across is providing the proper humidity for their plants. This dilemma could very well be dependent on the climatic conditions of their area. Even though most homes have an average of 30-50% humidity levels, there are three methods to increase the humidity level for the plants’ needs. Take note that this is entirely optional, but your Calathea will appreciate being spoiled.
Some will argue that misting your plants helps to increase the humidity. I have not included that step here because it is generally a temporary solution. It does not address the root issue of low humidity in the room that is causing the houseplants trouble in the first place. So should you mist your Calathea? As a whole, do not mist Calatheas to prevent pests and fungal or bacterial diseases from settling on the wet or soaked leaves. Instead, use a pebble tray or a humidifier to continually maintain a small area of humidity for the plant.
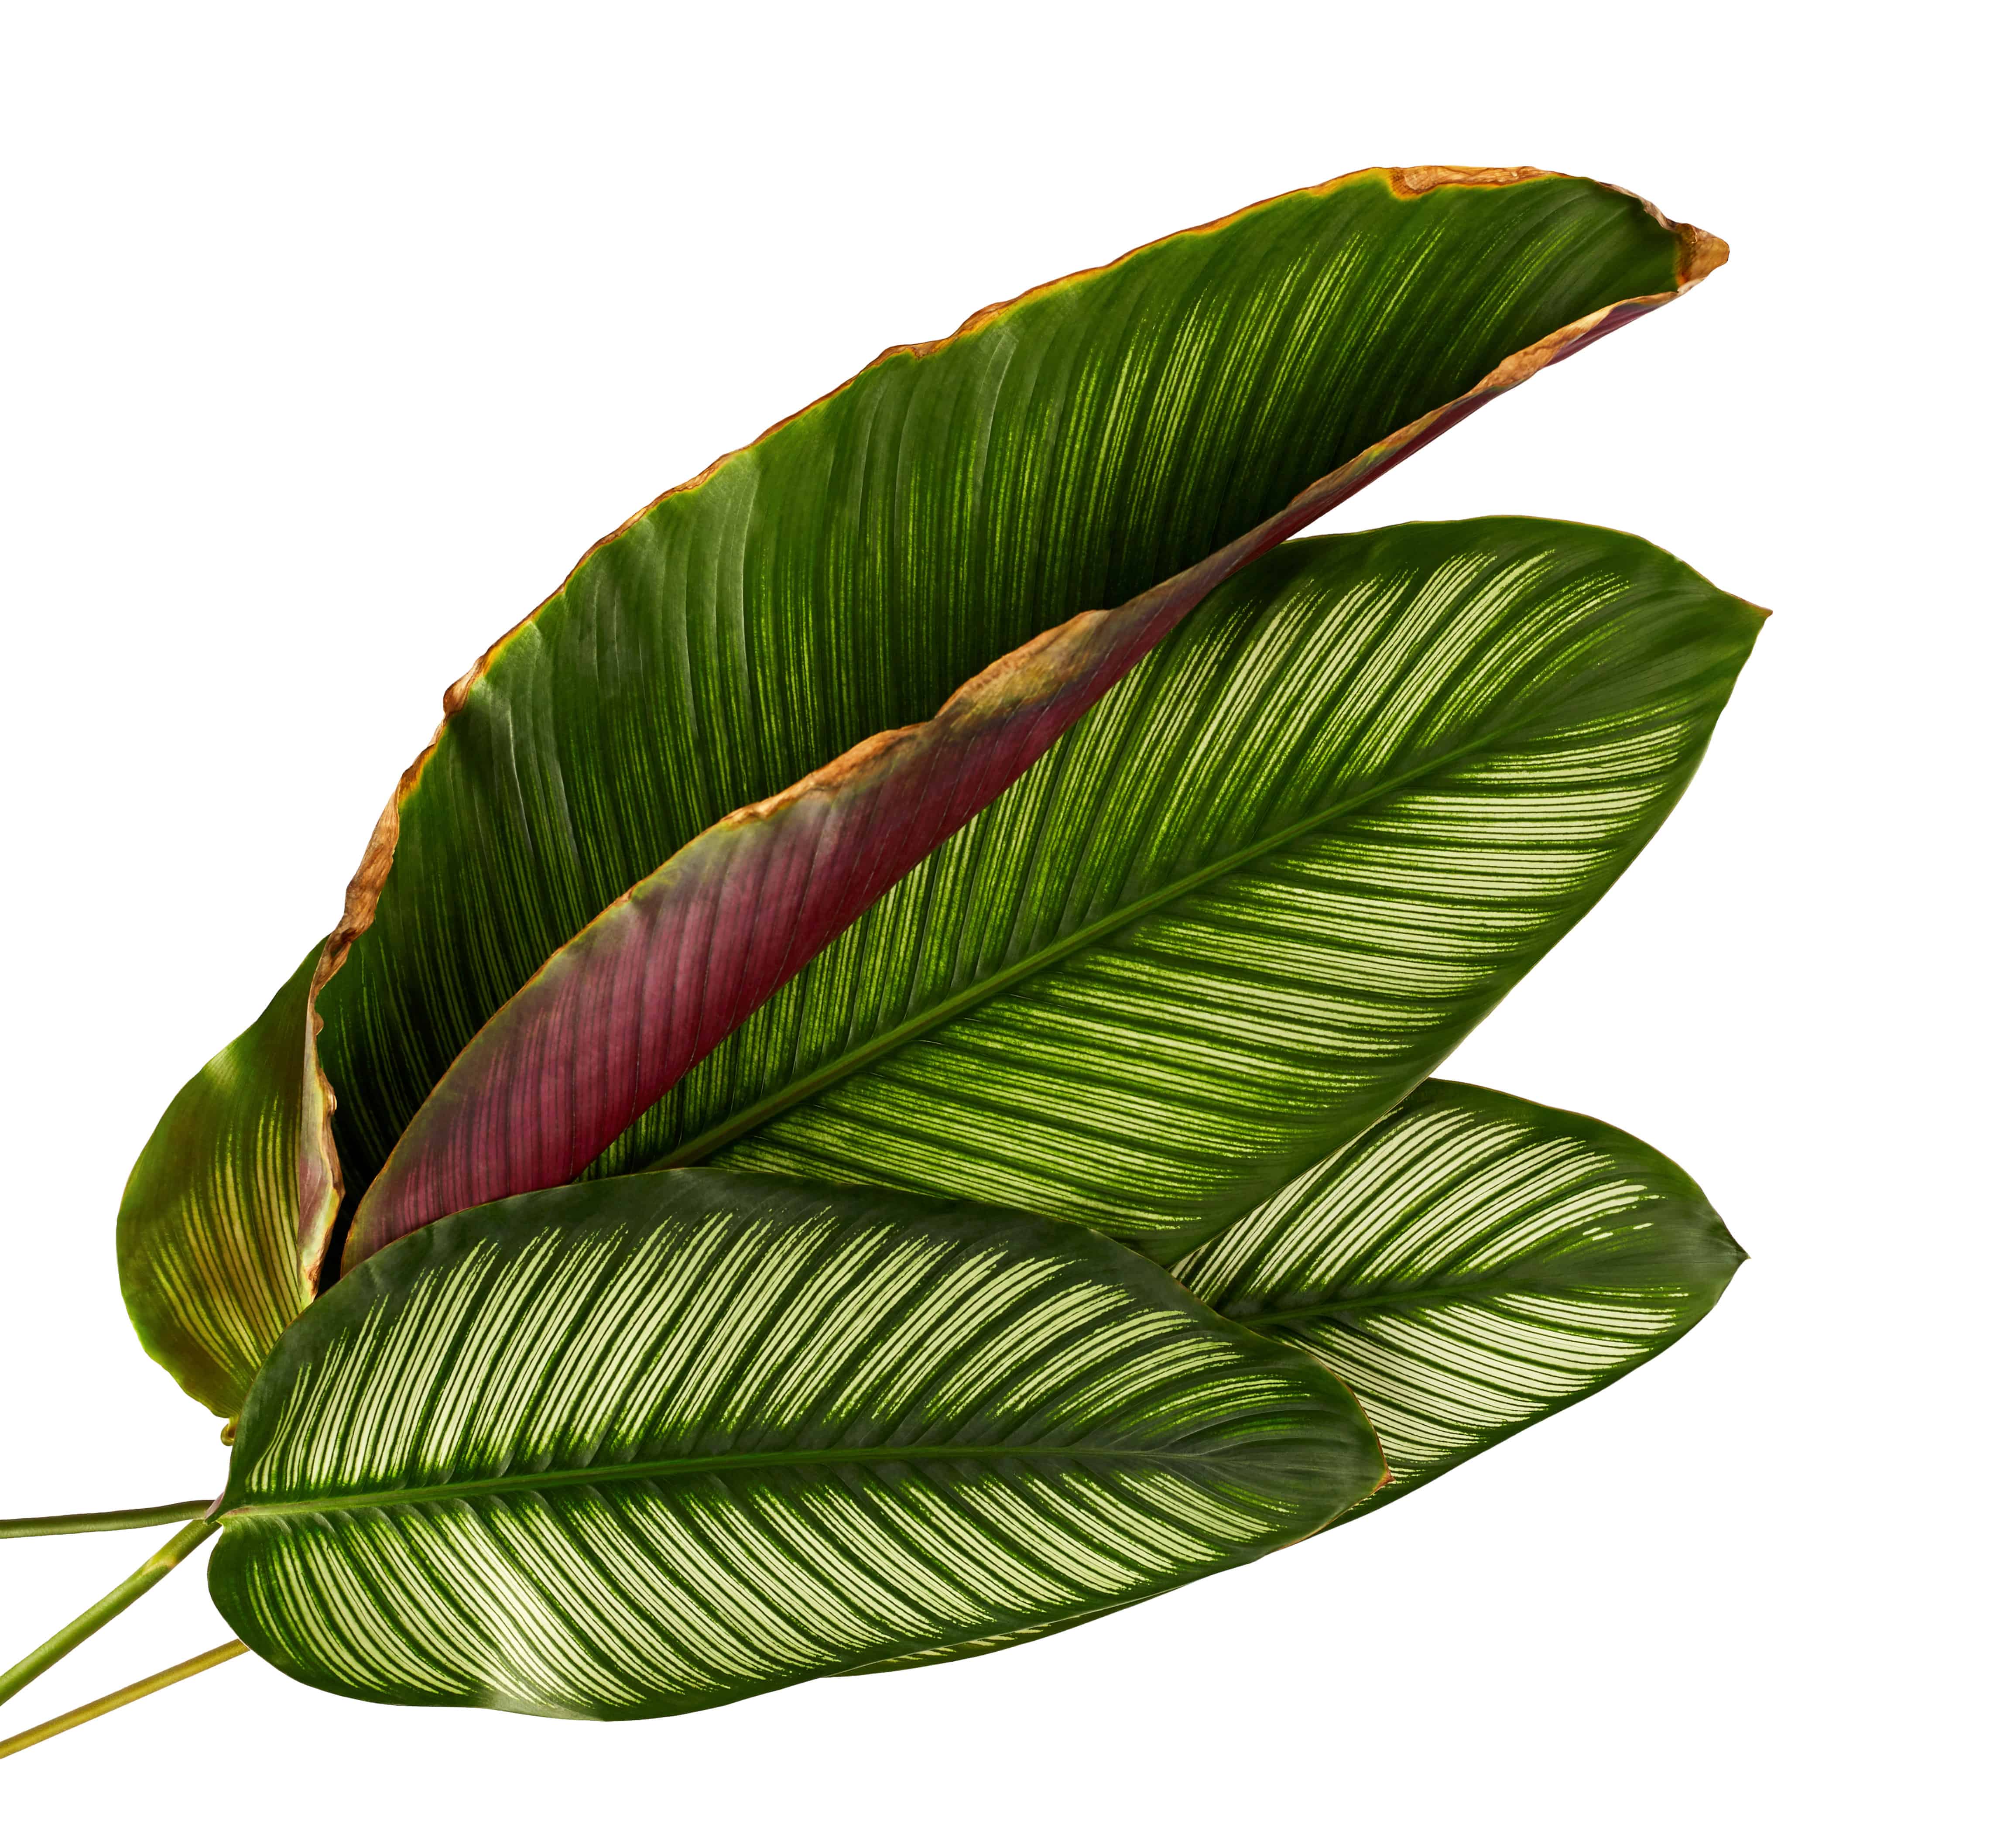
Check! Observe your plants’ leaves.
If the leaves are wilting, turning yellow, or developing brown edges/tips, it could be due to low humidity or temperature stress:
For low humidity, increase the surrounding humidity levels with the methods as mentioned earlier.
For temperature stress, you’ll need a thermometer/hygrometer to be certain. This handy tool can check if your Calathea’s spot is wonky with hot or cold spots. As a bonus, it can also tell you the surrounding humidity levels. This device makes solving your plants’ maladies a little easier. You never have to guess, you know if the air is too dry and you know if it’s too hot or cold, no more second guessing when you have it around. I recommend getting the Thermo-Hygrometer on Amazon, it’s got a backlight, it’s like $12 and I think it works really well. I use it in my plant room/office and it has a 24 hour and an all-time high and low tracker for both humidity and temperature. These two features really come in handy for keeping track of fluctuations and figuring out how you can make your plants more comfortable. With a little tweaking you’ll get better at automating their care.
The humidity gauge/thermometer as well as a humidifier and a pot-hygrometer have really cut down on the amount of mistakes I make, especially over watering. I have also been able to cut down on the amount of work that goes into taking care of my plants each week. If you want to see the the other products, here’s the link for those and the humidity gauge/thermometer:
- My Preferred Humidifier with 64,000+ 4.5 Star AVG Reviews
- My Preferred Pot-Hygrometer with 26,000+ 4.5 Star AVG Reviews
- My Preferred Humidity Gauge/Thermometer with 20,000+ AVG Reviews
Calathea’s Additional Care:
Prevent Pests and Diseases on Calatheas
On top of being a diva of a plant, Calatheas also have their share of unwanted pest and disease problems. Even when meeting all 4 of its basic needs, pests and diseases are the second most common culprit causing your plant’s death.
Check! Inspect the plant thoroughly.
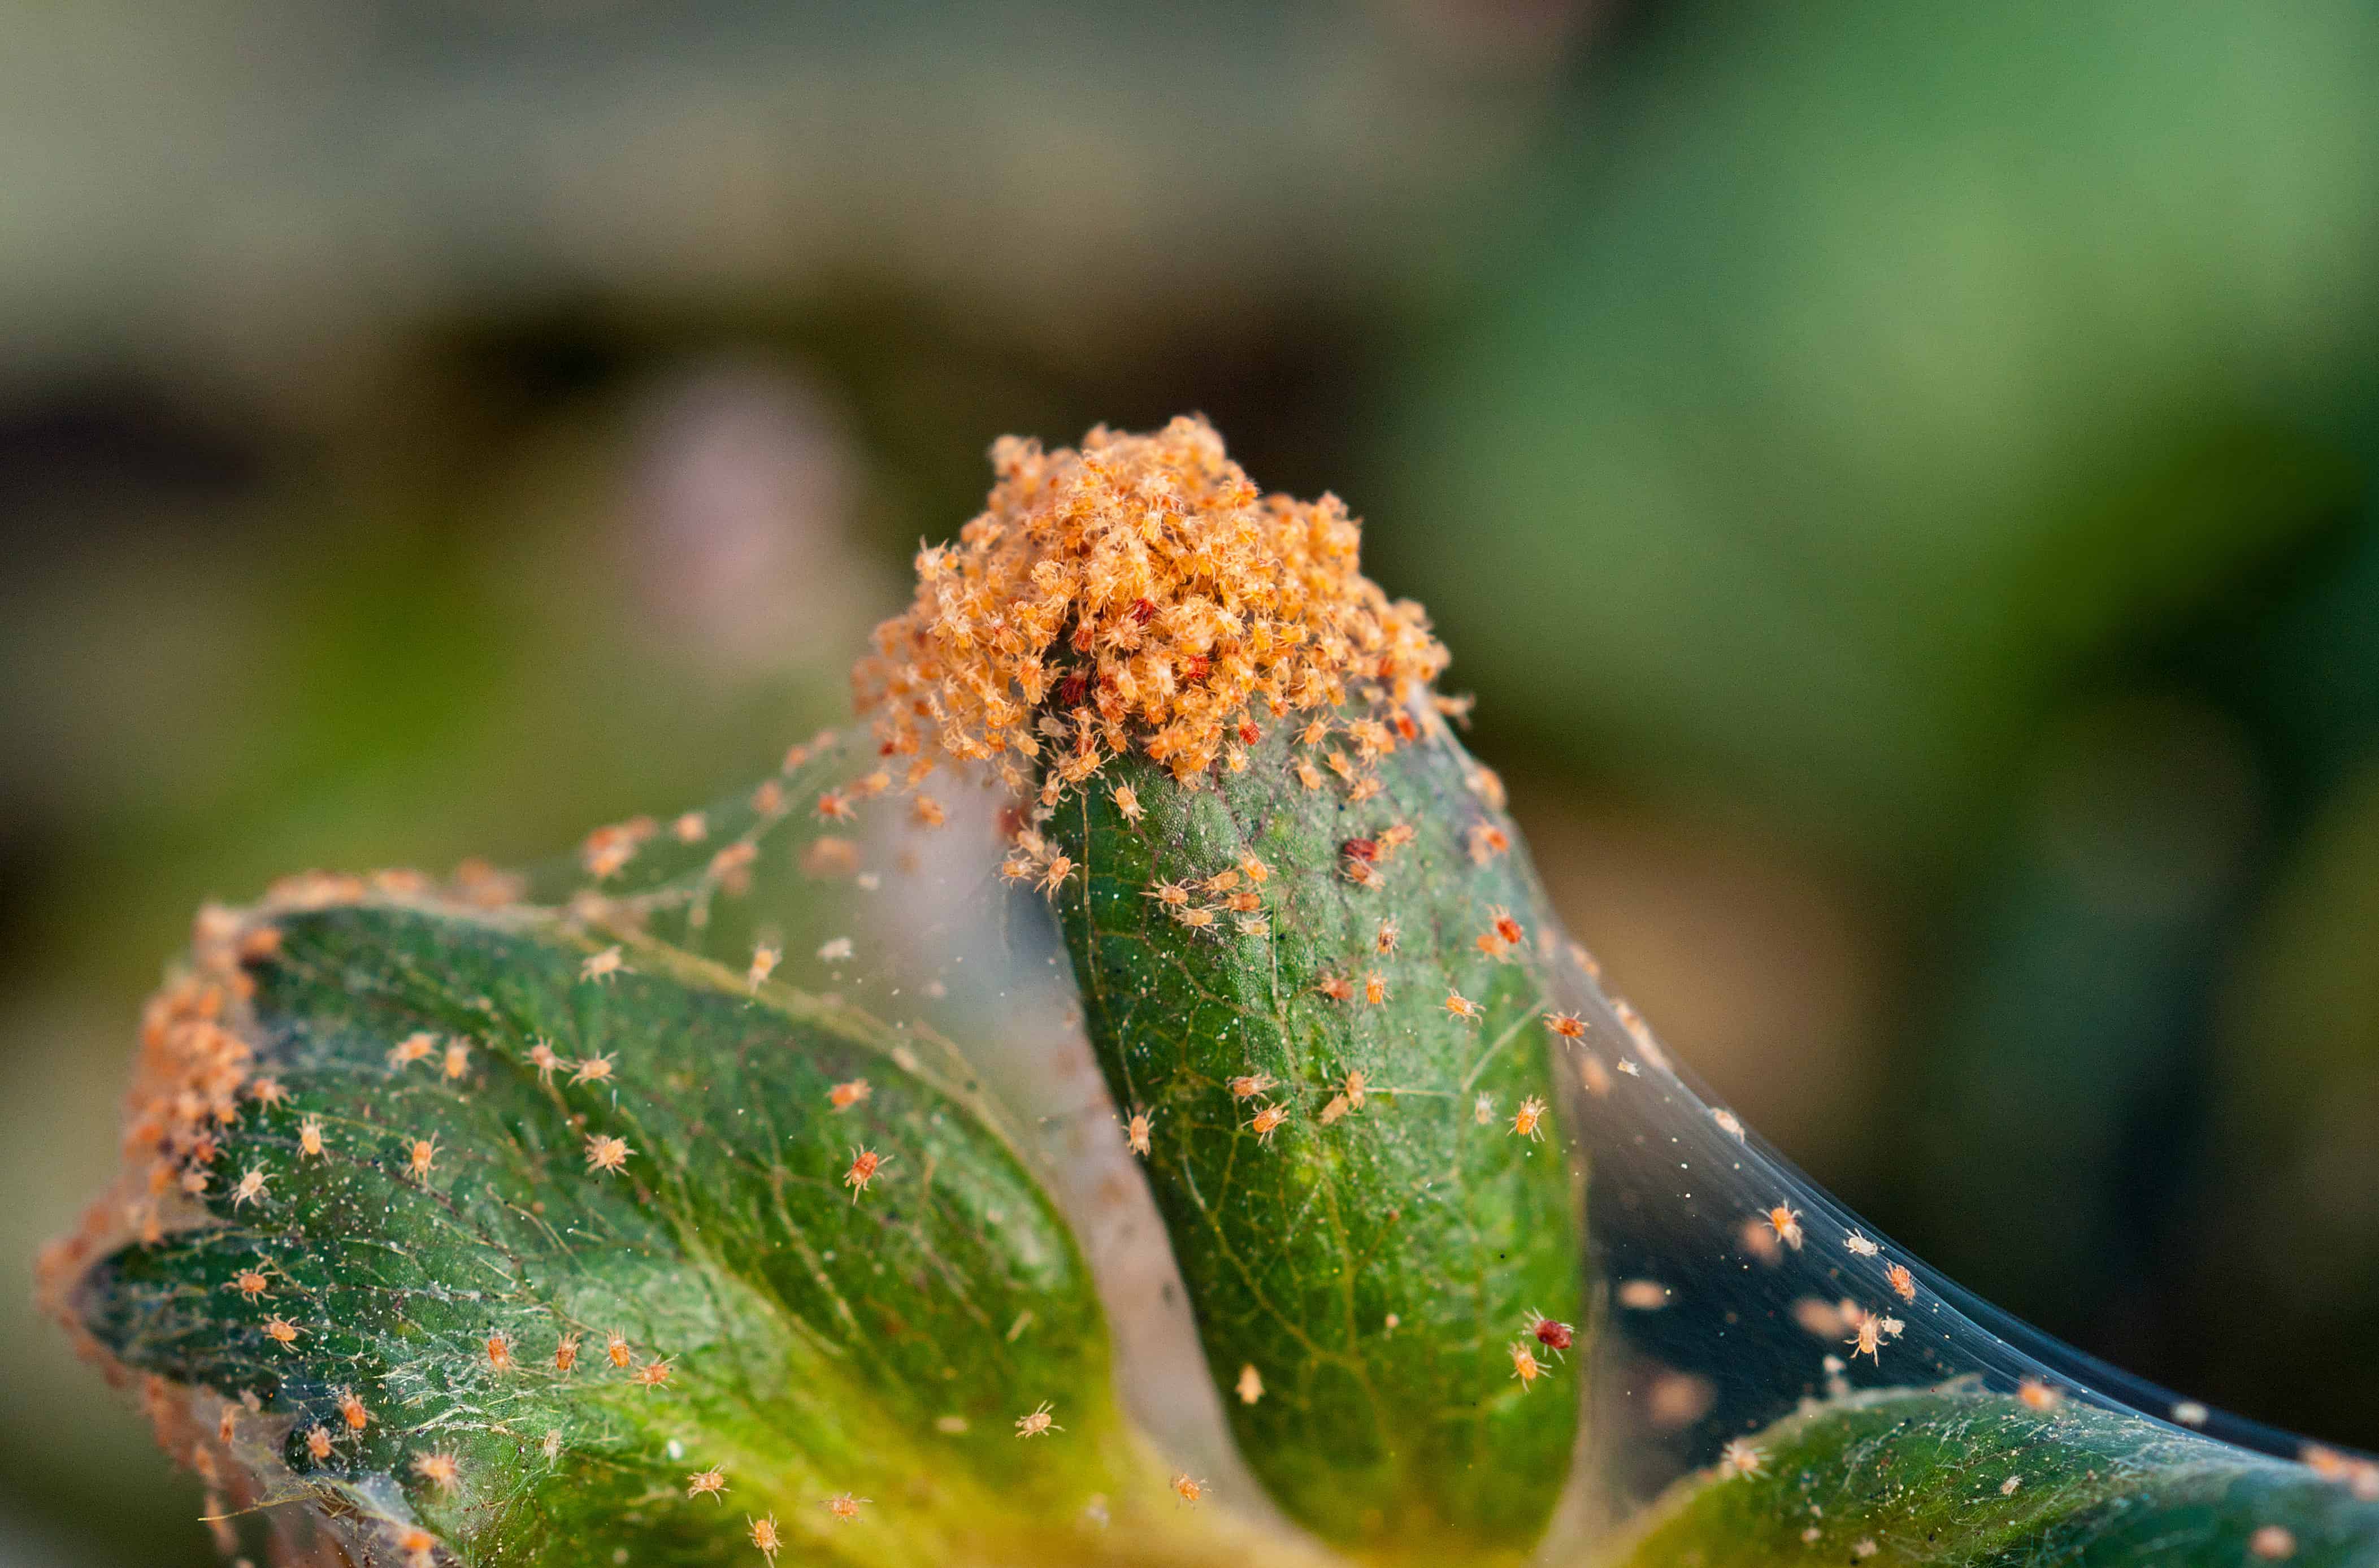
Check the leaves from top to bottom, in between, and along its stems for any pests. Also, check the soil for larvae that could be wiggling in there. A common pest that loves to torture Calatheas is the spider mite. Wispy webs and irregular colors under the leaves are confirmed indications of their presence. You can likely spot the pest as red, brown, or white spots on the plant if you look closely.
Save it! You can do it!
- Isolate your Calathea away from other plants to prevent an infestation.
- Once isolated, wipe away the pests with a damp cloth or use a shower head to spray the bugs off.
- Apply a treatment of insecticidal soap or horticultural spray (you can use either these Insect Soap or Neem Seed Oil on Amazon) to your plant. Use this treatment for a few weeks to ensure that the infestation is completely gone.
- Once your Calathea is looking clear of any lingering pests, it is safe to rejoin it with the rest of the indoor plants. Keep an eye on it for a few days, just in case.
- When it has grown new leaves, prune off the damaged and dead leaves.
Check! Observe your plants’ leaves and stems.
If multiple leaves start manifesting brown or black spots quickly in a few days, this could signify leaf blight. This disease is a serious condition caused by either bacterial, fungal, or even viral pathogens, leading to a rapid deterioration of the plants’ health.
Save it! You can do it!
Immediately quarantine your plant away from the rest of the plants and prune off the affected leaves with a sterilized cutting tool. The survival rate of your Calathea depends on the severity of the disease and how quickly you remove the infected foliage. It is not as common as diseases related to root rot. However, it is better to be safe and prevent this by ensuring the leaves are not water-soaked from the plant’s watering sessions.
You can learn more about common houseplant pests and diseases in this article here.
Repotting a Calathea plant
Ideally, you should be repotting your Calathea plant every 2-3 years. However, Calatheas hate it when their roots are disturbed. Hence why you should stave off repotting them after purchasing, even if they are rootbound; too many changes at once will stress the plant. Ensure the plant gets used to its new home first. The two scenarios in which repotting is unavoidably necessary for your Calathea is it has root rot or is rootbound after having it for at least a week.
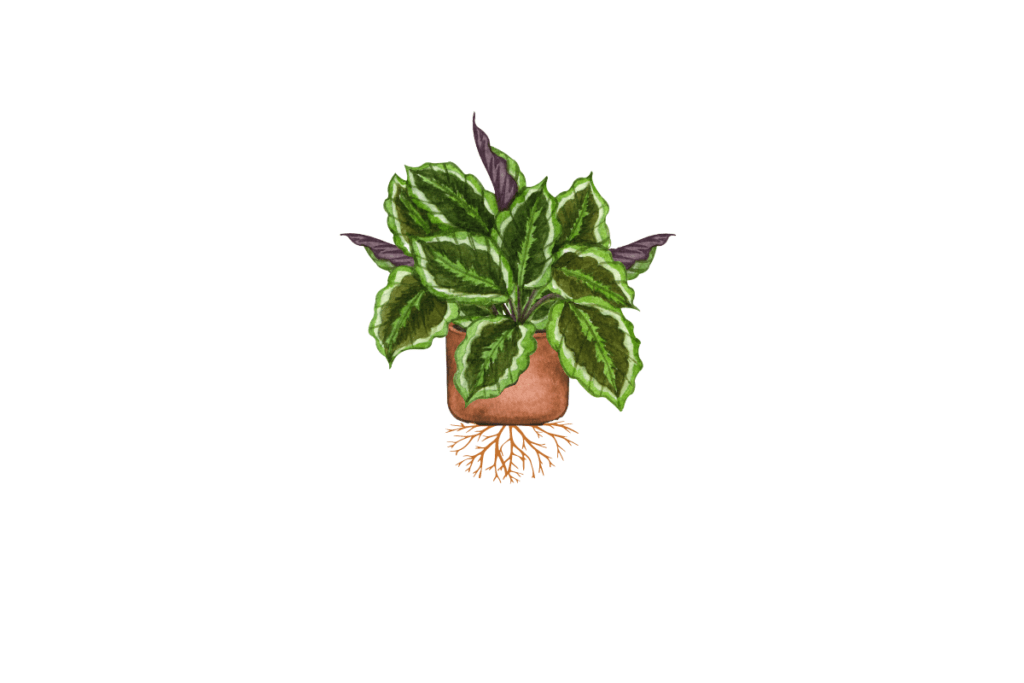
Check! Observe the roots.
If roots are poking through the drain holes at the bottom, it’s rootbound. Alternatively, gently grab the plant’s main stem at its base with your fingers and slowly tug it straight and upwards while pulling the pot down by a few inches, do not twist as it could break the stem. If you can see a mass of roots gathered and circling at the edge of the soil, the plant is rootbound.
When repotting your Calathea, check first whether it’s healthy. Identify any problems it might have and nurse it back to health first. Again, the idea here is to minimize the amount of stress your plant will inevitably face in the course of repotting. If there are no immediate problems, move on to prepare the following items:
A. A new, larger pot. Measure the diameter of the pot opening and make sure it is 1-2 inches wider than the previous pot.
B. Fresh, well-draining potting mix.
C. A small trowel, or use your hand if you’d like.
D. A clean, flat surface with some newspapers laid down.
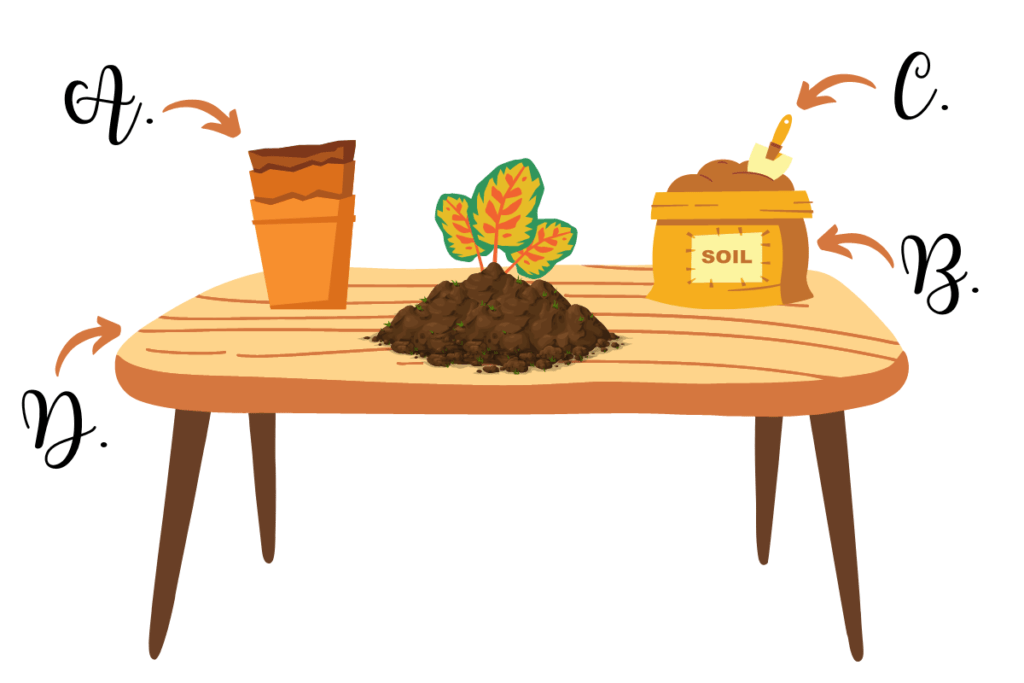
Follow these steps below:
- Carefully loosen any roots growing through the drain holes of the pot.
- With a hand over the soil to support it, turn the pot upside down and gently pull it upwards to ease the plant out. If this doesn’t work, ease a knife at the sides of the pot to loosen up the soil.
- Once it is free, check the roots for any infection. A healthy root system should have light brown or white roots. If it has smelly, mushy, black roots, this means the plant has root rot. Deal with this as mentioned here before moving on to the next step.
- Fill the larger pot halfway with fresh potting mix and place your Calathea into the middle of it.
- Hold the plant in place, and fill the pot with fresh soil around the plant.
- Add water lightly to make the soil moist and place the plant in a bright, warm spot to receive indirect sunlight. At this point, increase humidity as much as possible. The plant cannot take as much water as it usually does since the roots are still getting used to its new home, so high humidity will help compensate for that. Also, avoid feeding fertilizers for up to 6 weeks until your Calathea recovers.
Propagating Calatheas
Calatheas, when given the optimal care it needs, will mature and grow up to about 2 feet in height. You can then choose to propagate your plant by dividing it while you begin its repotting process. It will allow you to manage its size and give you another set of Calathea to admire or give away to your family and friends.
As always, ensure that your plant is healthy before attempting to remove it from its pot. Water it the day before to nourish your Calathea, so it recovers faster after the whole process. Next is to prepare the following items:
A. A pot with adequate drain holes.
B. Fresh, well-draining potting mix.
C. Paper towels underneath the pot(s). This item is optional, but it helps to prevent soil runoff when watering the plants after repotting.
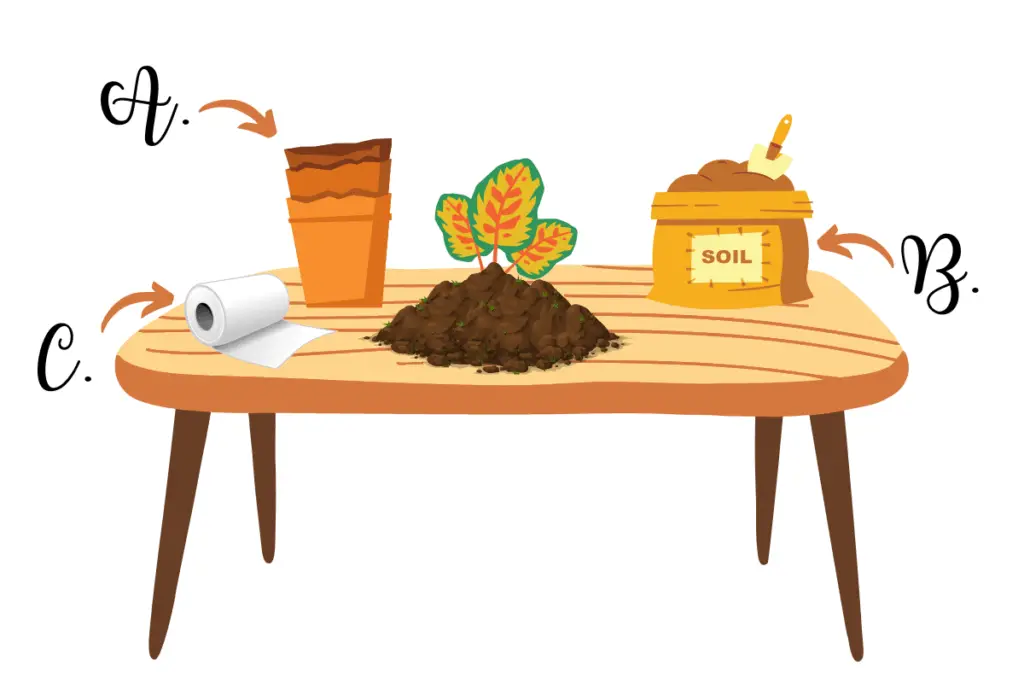
Follow these steps below:
- Fill the new pot(s) halfway with fresh potting mix.
- Remove the plant and lightly brush off loose soil from the roots.
- Look closely for a natural root division in the plant where you can divide it into portions without breaking off the roots. With your fingers, gently work these roots free. At the same time, snip off any damaged roots in the process.
- Place each offspring into their new pots. Hold them at a level while you fill in fresh soil around the plant. It is also beneficial to use soil from the mother plant to allow the offspring to get used to its new home faster and prevent stress.
- Water each of the offspring lightly until excess water drains from the bottom of the pot.
- Additionally, you can cover the offspring with a plastic bag so it will retain its humidity. Remove the plastic bag once you start to see new growth on the baby Calathea.
- Monitor your Calatheas for the next few weeks as usual while maintaining its optimal essential care to ensure a speedy recovery.
Check! Observe your plants’ leaves.
If there are brown tips/edges or their leaves start closing up during the daytime, the plant is dehydrated or suffering from low humidity. Give it a good glug of water (do the finger check in the soil to be sure) and improve its humidity conditions with either of the three methods mentioned before.
If the leaves are drooping, there may be a draft somewhere. Immediately move the plant to a warmer place.
Check! Observe your plants’ overall health.
If it has been a month and nothing has grown from the offspring(s), that means it wasn’t appropriately divided. The portion of roots and leaves that remain should be equal; otherwise, the plant would die off. Remember, it now has a limited root system and cannot fulfill the plant’s needs in all parts of its foliage.
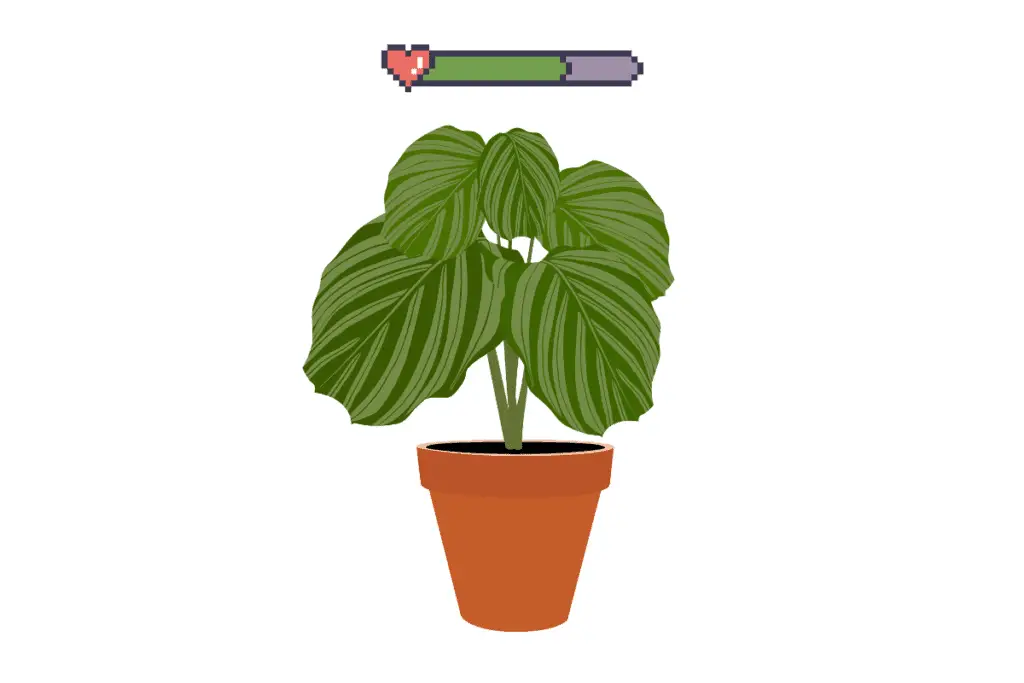
Save it! You can do it!
The best thing you can do is keep it in a very warm, humid area with consistent airflow and bright, indirect light. However, water it only lightly so that the soil is constantly slightly moist. This cautionary step will increase its chance of survival. It could take up to a few weeks, so keep monitoring your plant’s health until it recovers. Once it does, trim off the damaged leaves to allow new growth of healthy leaves.
Pruning a Caleathea plant
Dying or damaged leaves are inevitable from time to time – that’s your Calathea’s way of pouting at you. So to keep its foliage looking upbeat, a bit of pruning will help it in the long run. Note that your plant will shed older leaves occasionally – this is entirely normal.
- Sterilize your cutting tools by soaking them in 9:1 water to household bleach for 10 minutes. Wash it with soapy water, rinse thoroughly, then dry well.
- Using your sterilized cutting tool, snip out the stalks of dead or dying leaves to encourage new leaves to grow in their place. For damaged leaves, remove the whole leaf or trim around the crispy or browned edges, carefully leaving the rest of the foliage intact.
- Tidy up and throw out the discarded leaves or include them into a compost pile for your gardening uses.
- Sterilize and clean your cutting tools once again before putting them away.
Are you having trouble pruning houseplants in general? You can read this general guide I wrote on how to prune your indoor plants easily here.
Final Words
Calathea, fussy as it is, will reward your efforts appreciatively with continued growth and beautiful foliage to give character to your home.
References:
https://indoorgardenook.com/calathea-guide/#7
https://smartgardenguide.com/how-to-repot-a-calathea/
https://www.thespruce.com/grow-calathea-indoors-1902745
https://www.costafarms.com/plants/calathea
https://smartgardenguide.com/calathea-dying/
https://osera.org/houseplants/calathea/
https://houseplantcentral.com/problems-with-calathea/
https://www.garden.eco/calathea-plant-problems
https://smartgardenguide.com/how-to-propagate-calathea-plants/
https://www.thespruce.com/expert-tips-for-keeping-calatheas-alive-5181396
https://leafylittlehome.com/pebble-tray-for-plants/
https://www.gardeningknowhow.com/plant-problems/disease/plant-leaf-spots.htm
https://www.chron.com/life/gardening/article/Does-misting-help-house-plants-1713299.php
https://smartgardenguide.com/calathea-leaves-turning-yellow/




Leave a Reply