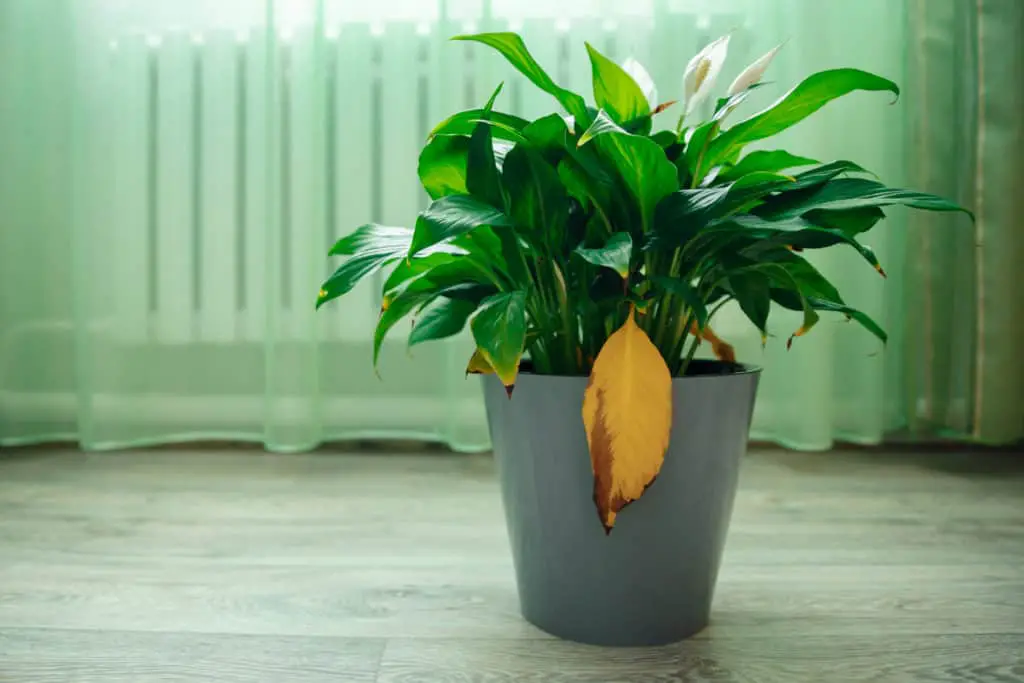
Peace lilies have such an aesthetic appeal in both homes and offices. They are pretty common and easy to care for but, that doesn’t mean they are immune to suffering from root rot.
Here’s how you can fix and prevent root rot from happening in the future:
(As an Amazon Associate, I earn from qualifying purchases.)
Table of contents
1. Repot your Peace Lily in a New Pot with Fresh Soil & Adequate Drain Holes
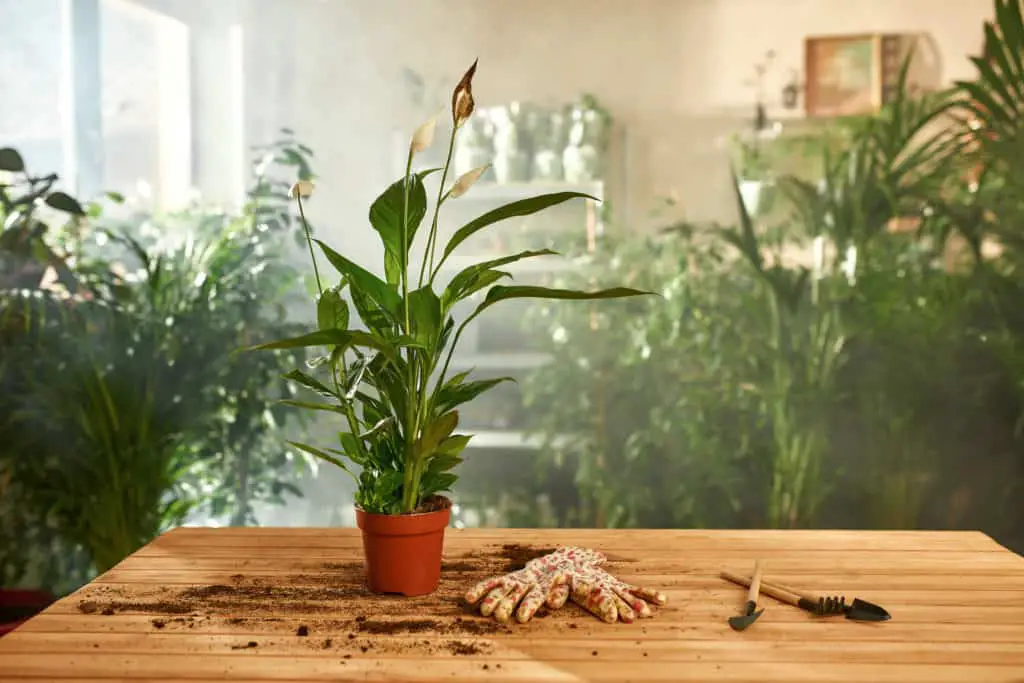
The number one solution to any root rot situation is to repot the plant. The idea is to remove it from the overly wet environment it currently is in, be it fungal-infested or incredibly swampy soil. It’s akin to a reset button, a fresh start for your peace lily.
Here are a few things you need to ensure during the process:
- Use a new, similar-sized pot to the previous one. You’re welcome to reuse the same one but only after washing and disinfecting it thoroughly. You may or may not have several spare pots lying around so, either works.
- Use a brand new bag of potting soil mix. It’s the safest way to ensure you are not using the same contaminated potting medium. On that note, try not to use garden soil for your indoor plants. This can create a whole other problem you don’t want to be dealing with.
For more detailed information on fixing root rot in your indoor plants, you can read it here in this article I wrote.
2. Trim Off Damaged and Dead Leaves
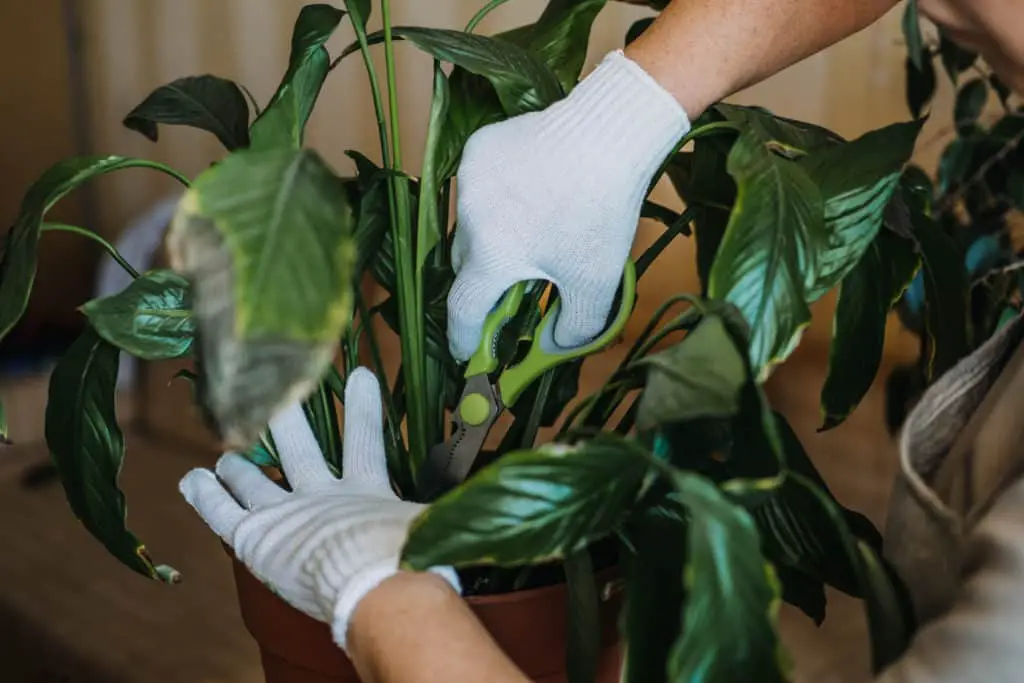
Given that some of the roots have rotted, there won’t be enough remaining to support the existing foliage. This is where you need to create balance and cut off any damaged and dead leaves, even stems that seemed to be changing color as well. Be ruthless and prune your peace lilies back.
This way, the plant will shift its energy to growing new roots rather than sustaining the old foliage. So don’t worry about getting rid of its plume of leaves; more new roots equals more foliage later on. If that isn’t enough to convince you, old rotting leaves and stems that die back and fall on top of the new soil will give the pathogens a fresh start in life again. Let’s swipe left and give that a hard pass.
3. Avoid Giving your Recovering Peace Lily any Fertilizers

Fertilizers are generally good, but only if your peace lily is healthy enough to take on the additional nutrient boost. Because the roots after trimming are barely healthy and are still recovering, the harsh chemicals will only worsen the situation and cause the tender roots to burn. This will bring you back to square one of the problem, so, let’s avoid it. Remember: your priority is to help the plant regrow healthy roots then grow to its full foliage and its eventual floral glory. So take your hands off the chemical boosters until your peace lily recovers.
4. Water your Peace Lily Once a Week
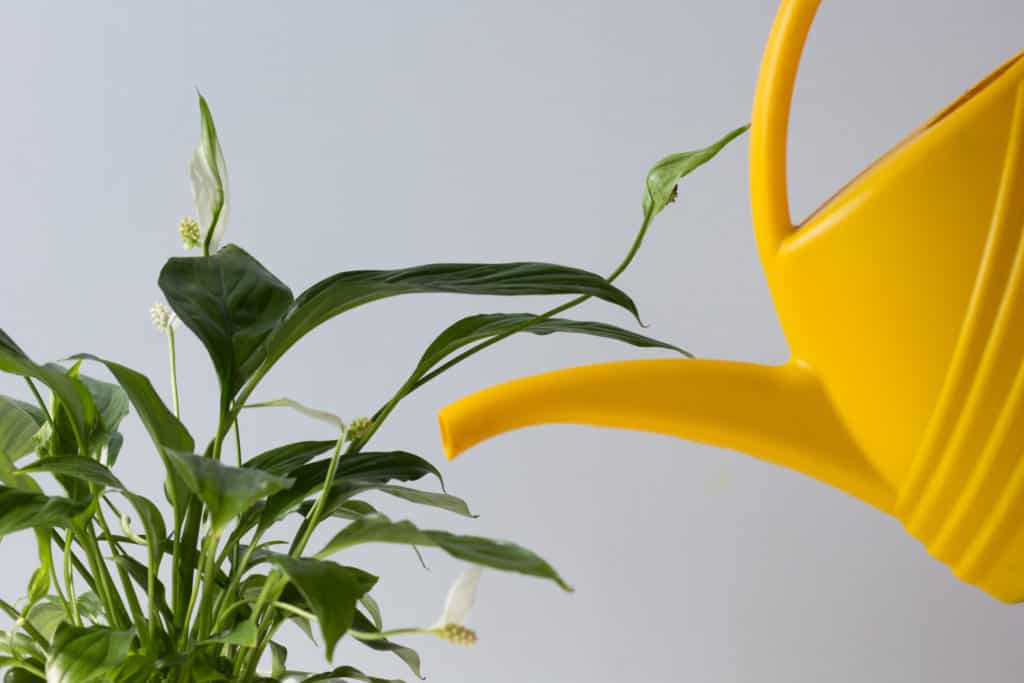
Peace lilies like a consistently damp soil environment. Since your peace lily probably had root rot due to overwatering, changing your water practice is the key to ensuring it doesn’t happen again. Once a week is an excellent place to start as any but feel free to adjust accordingly. Factors such as climate, humidity, and pot material may cause the soil to dry out slower or faster. So always resolve to at least knuckle-test the soil to see if you really need to water.
For example, you may need to water more frequently on hotter days and vice versa. When in doubt, use the knuckle test to check how wet or dry your peace lily’s soil is first before watering. Better safe than sorry, my plant dudes.
5. Give your Peace Lily the Care it Needs
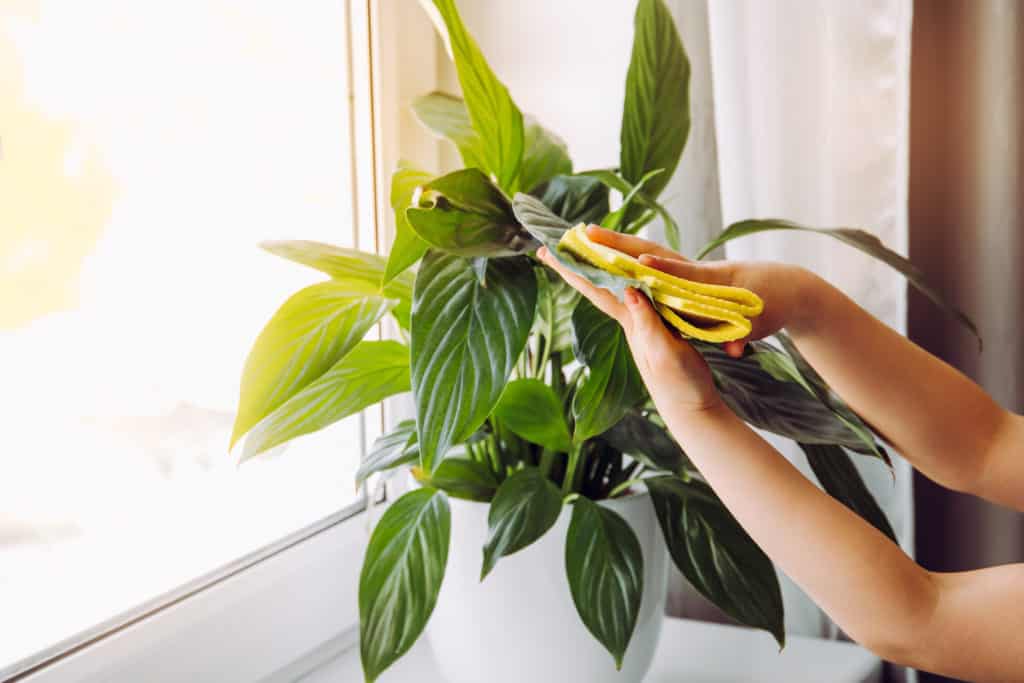
This is really the only remaining thing you can do to speed up their recovery. Other than that, everything else is up to the plant itself. It will either pull through or succumb to its inevitable end. Here are the essential cares every peace lily needs to ensure the best development:
- Provide plenty of indirect sunlight, away from direct sun. A bright area with a curtained window is a good spot to start with.
- Keep the plant away from areas with fluctuating temperatures like near radiators, air vents, and open windows. They get stressed out at the rollercoaster ride of hot and cold. A relatively warm area is ideal for them; if they are placed in cooler rooms, they will start sulking and slow their growth down.
- Keep the plant in a location with good airflow. A room with a fan set at the lowest setting is usually enough for the plant.
- Weekly watering as mentioned previously. If the first top 1-2 inches of the soil is dry, then it’s time to give the plant a good glug of water.
- Fertilize the plant sparingly once to twice a year. The less you give it, the better off the plant will be.
And it’s as simple as that. Here’s to your Peace Lily brightening back up after its horrendous ordeal – may it bloom happily again in your presence. Happy planting! 😀
References:
https://extension.psu.edu/spathiphyllum-diseases
https://hgic.clemson.edu/factsheet/peace-lily/
https://plants.ces.ncsu.edu/plants/spathiphyllum/
https://gardeningsolutions.ifas.ufl.edu/plants/houseplants/peace-lily.html
https://www.uaex.uada.edu/yard-garden/resource-library/plant-week/peace-lily.aspx




Leave a Reply