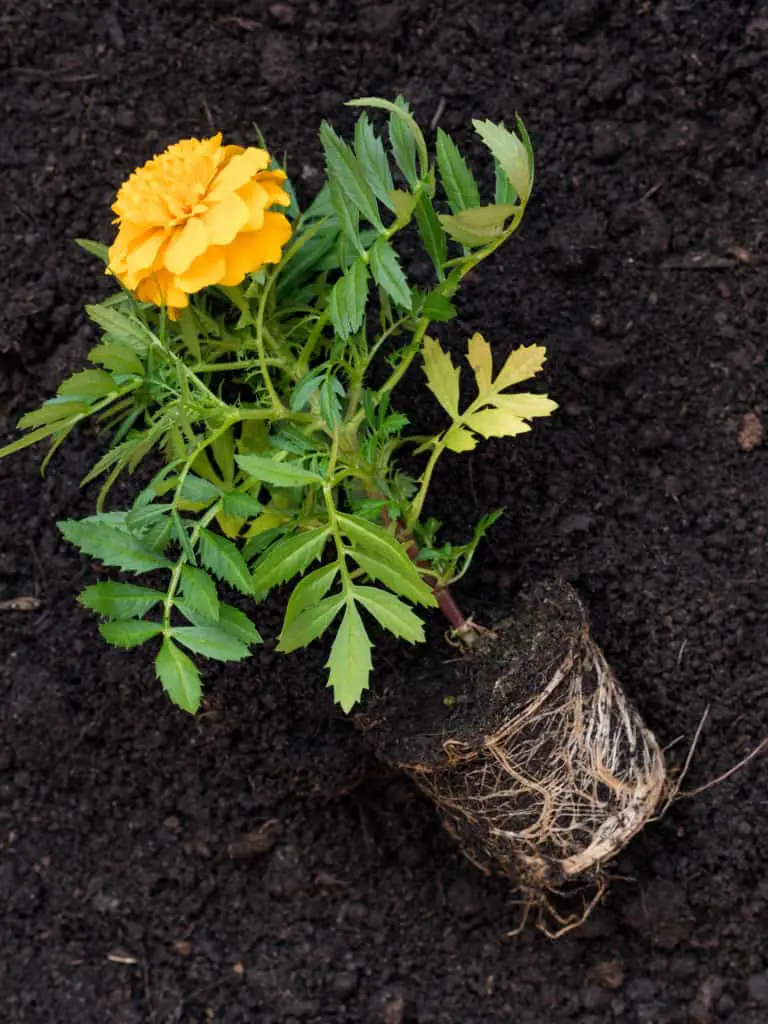
Sometimes houseplants get rootbound, usually fast-growing plants fall victim but any plant left long enough will become rootbound if not tended to. When the leaves turn brown and fall off the plant, and you can see roots poking out at the top and bottom of the pot…
– it’s time to give your green roommate a new home. This operation involves ruthlessly cutting off some of its roots and leaves, transplanting your plant into a new pot, and then coaxing it back to recovery.
(As an Amazon Associate, I earn from qualifying purchases.)
Table of contents
- 1. Remove the plant carefully from its pot
- 2. Check the roots for rot, and the severity of its rootbound
- 3. Loosen the plant’s roots by pruning or untangling the knotted roots
- 4. Prune the plant’s foliage to balance the trimmed root system
- 5. Place the plant in its new, bigger pot with fresh soil
- 6. Water the plant lightly to settle and saturate the soil
- 7. Monitor the plant’s recovery for the next few days to weeks
Here are the items you will need before you start repotting your plant:
- A larger pot. Make sure it measures 1-2 inches larger in diameter than the previous pot’s opening.
- Fresh, potting soil.
- Cutting tools such as scissors, a knife, or pruning shears. (Note: Already disinfected with alcohol wipes)
- Optional: hammer.
- A flat, clean area with some newspapers laid down.
Now put on your gardening gloves. It’s time to get into your operation station and begin the repotting process:
1. Remove the plant carefully from its pot
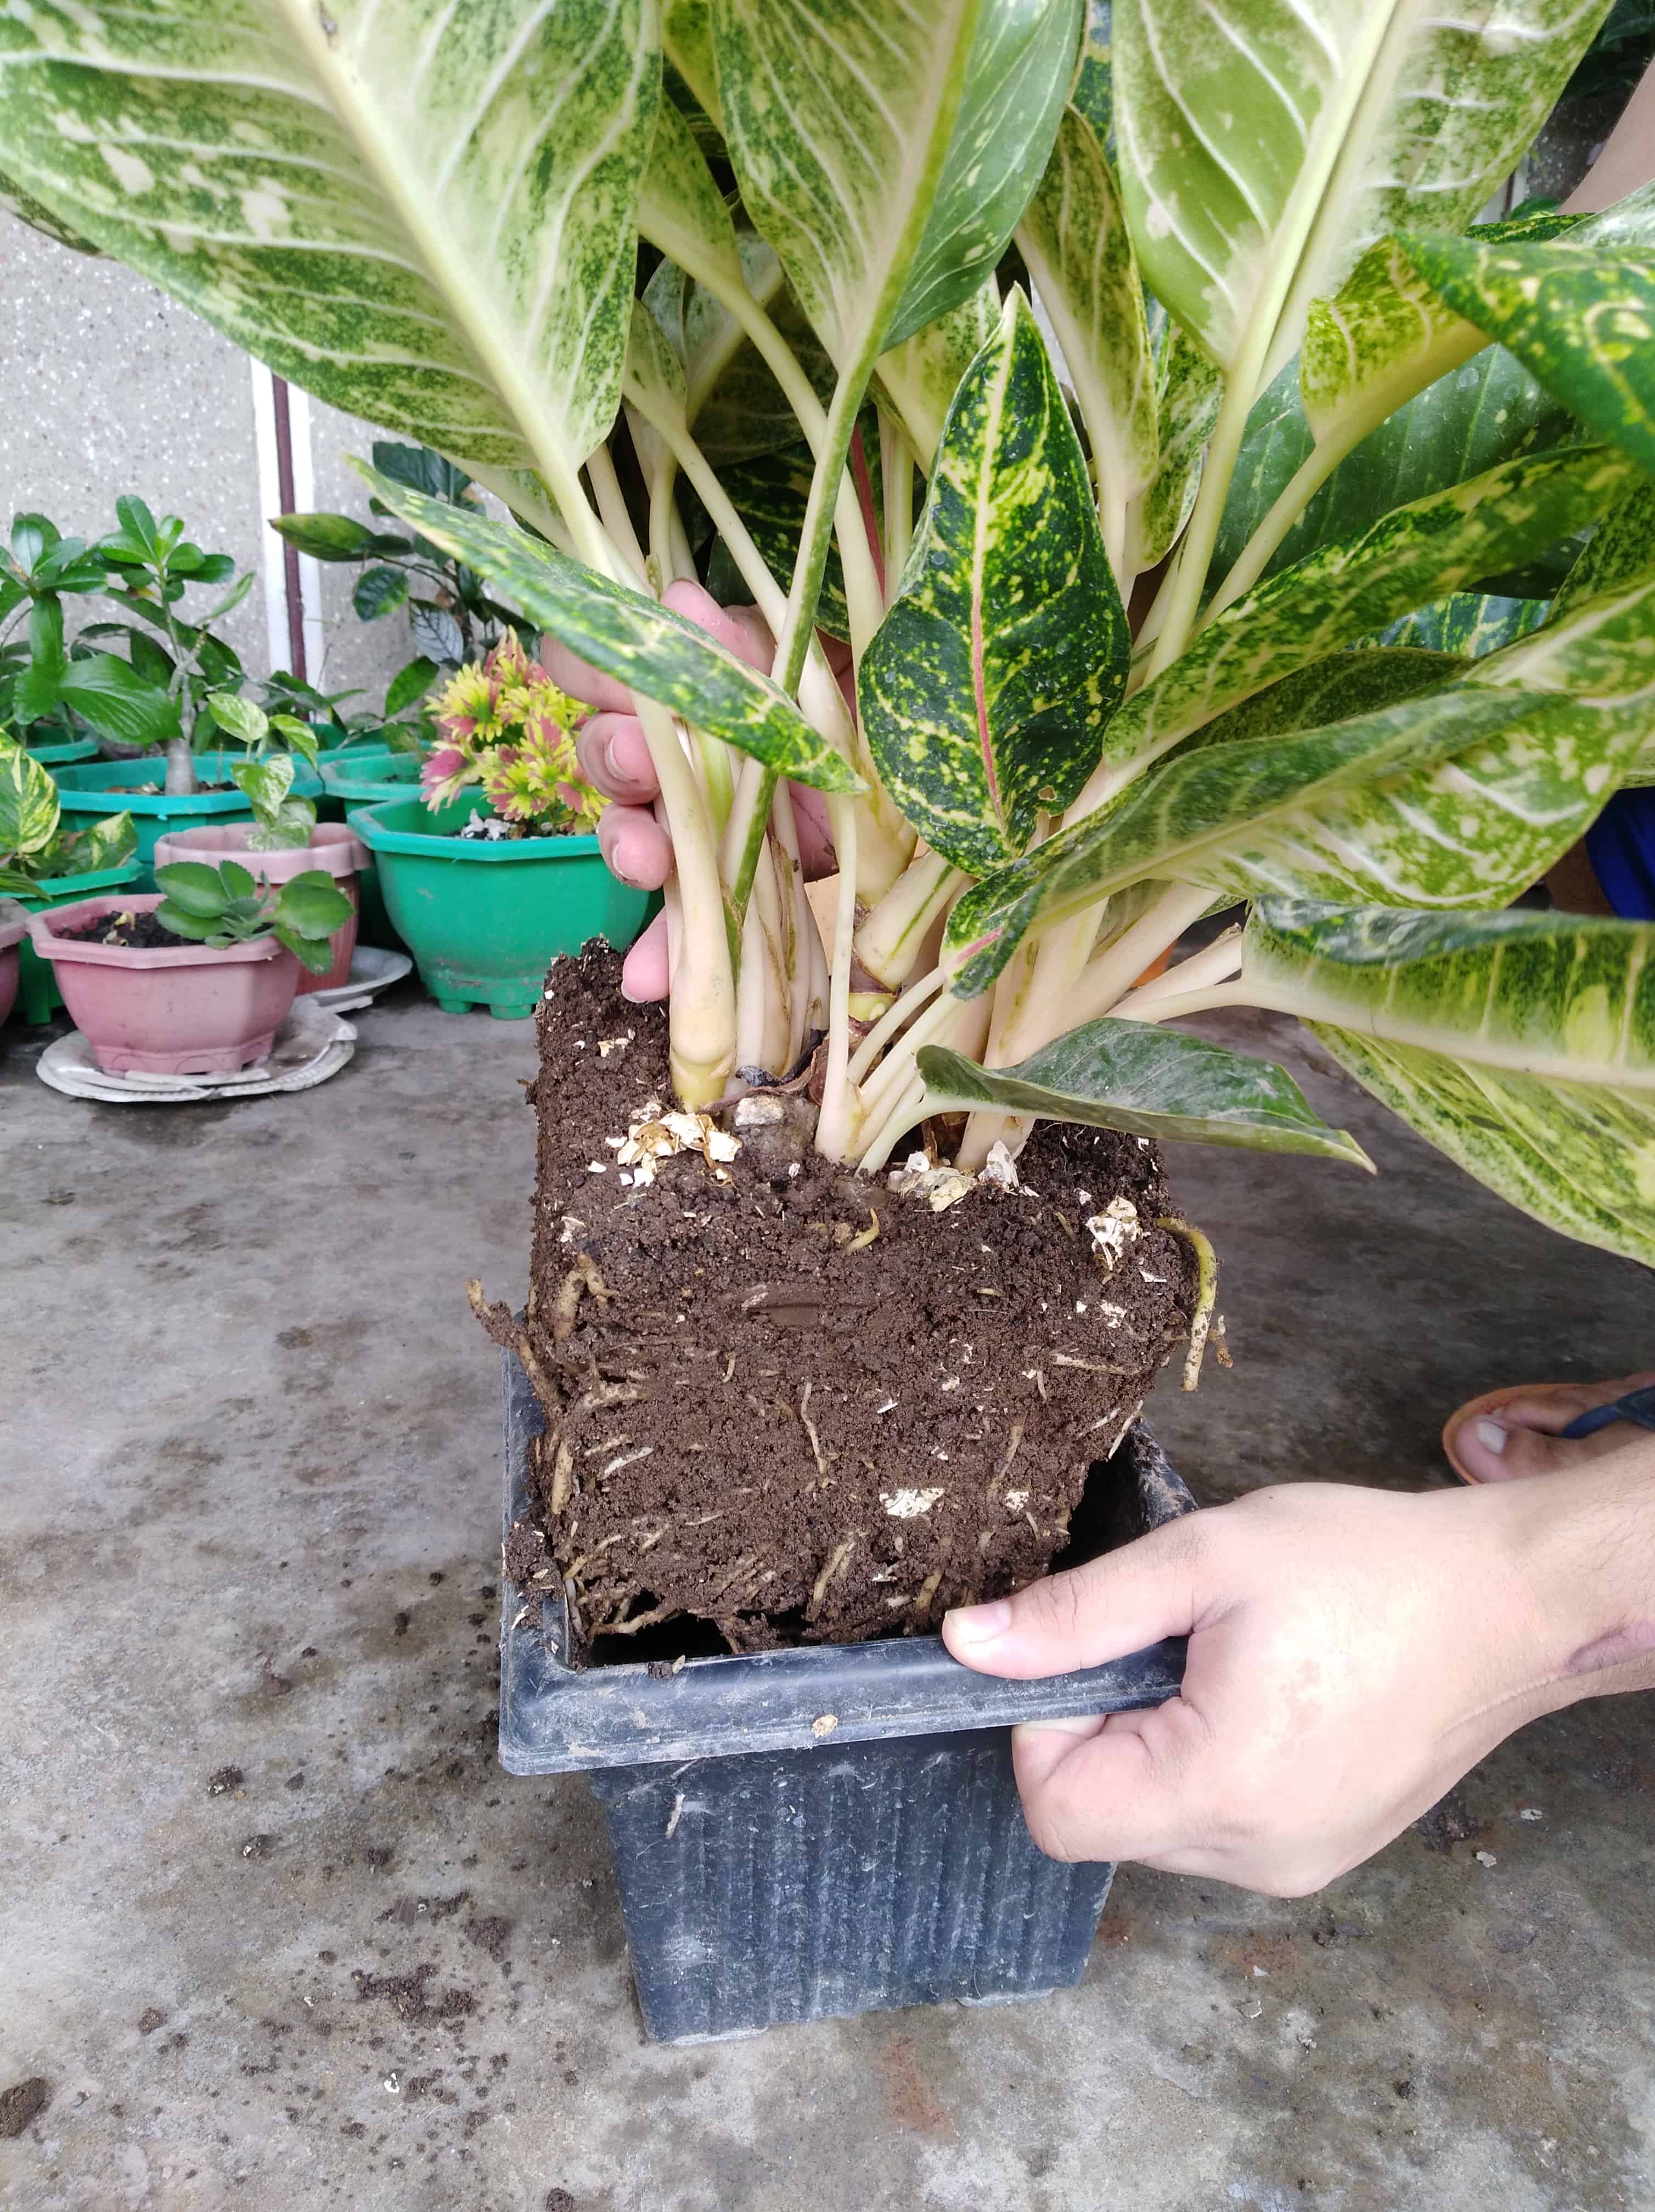
Depending on how rootbound the plant is, some can be easily taken out smoothly, and others can be a whole ordeal to remove. If the plants’ stem or roots are mushy, black/red/brown, or smelly you may also have a case of root rot and you will need to be extra gentle. Click Here for our article on how to identify and fix root rot.
Usually, you can gently pull the plant by the base of its stem, and it’ll slide right out. If it doesn’t, here are some handy ways to help you remove your plant out of its pot:
- Slide a butter knife inside the pot at the sides, loosening up the soil.
- If the pot is made of plastic or rubber, squeeze the sides until the plant starts to slide out. Alternatively, you can use a strong pair of scissors to cut the pot open.
- If the drain holes are big enough to fit your fingers, push the root ball out while simultaneously pulling on the stem.
- As a last resort; if the pot is made of clay, use a hammer to gently break the pot open to release the plant.
2. Check the roots for rot, and the severity of its rootbound
Once you have the plant out, there are two things you need to check for:
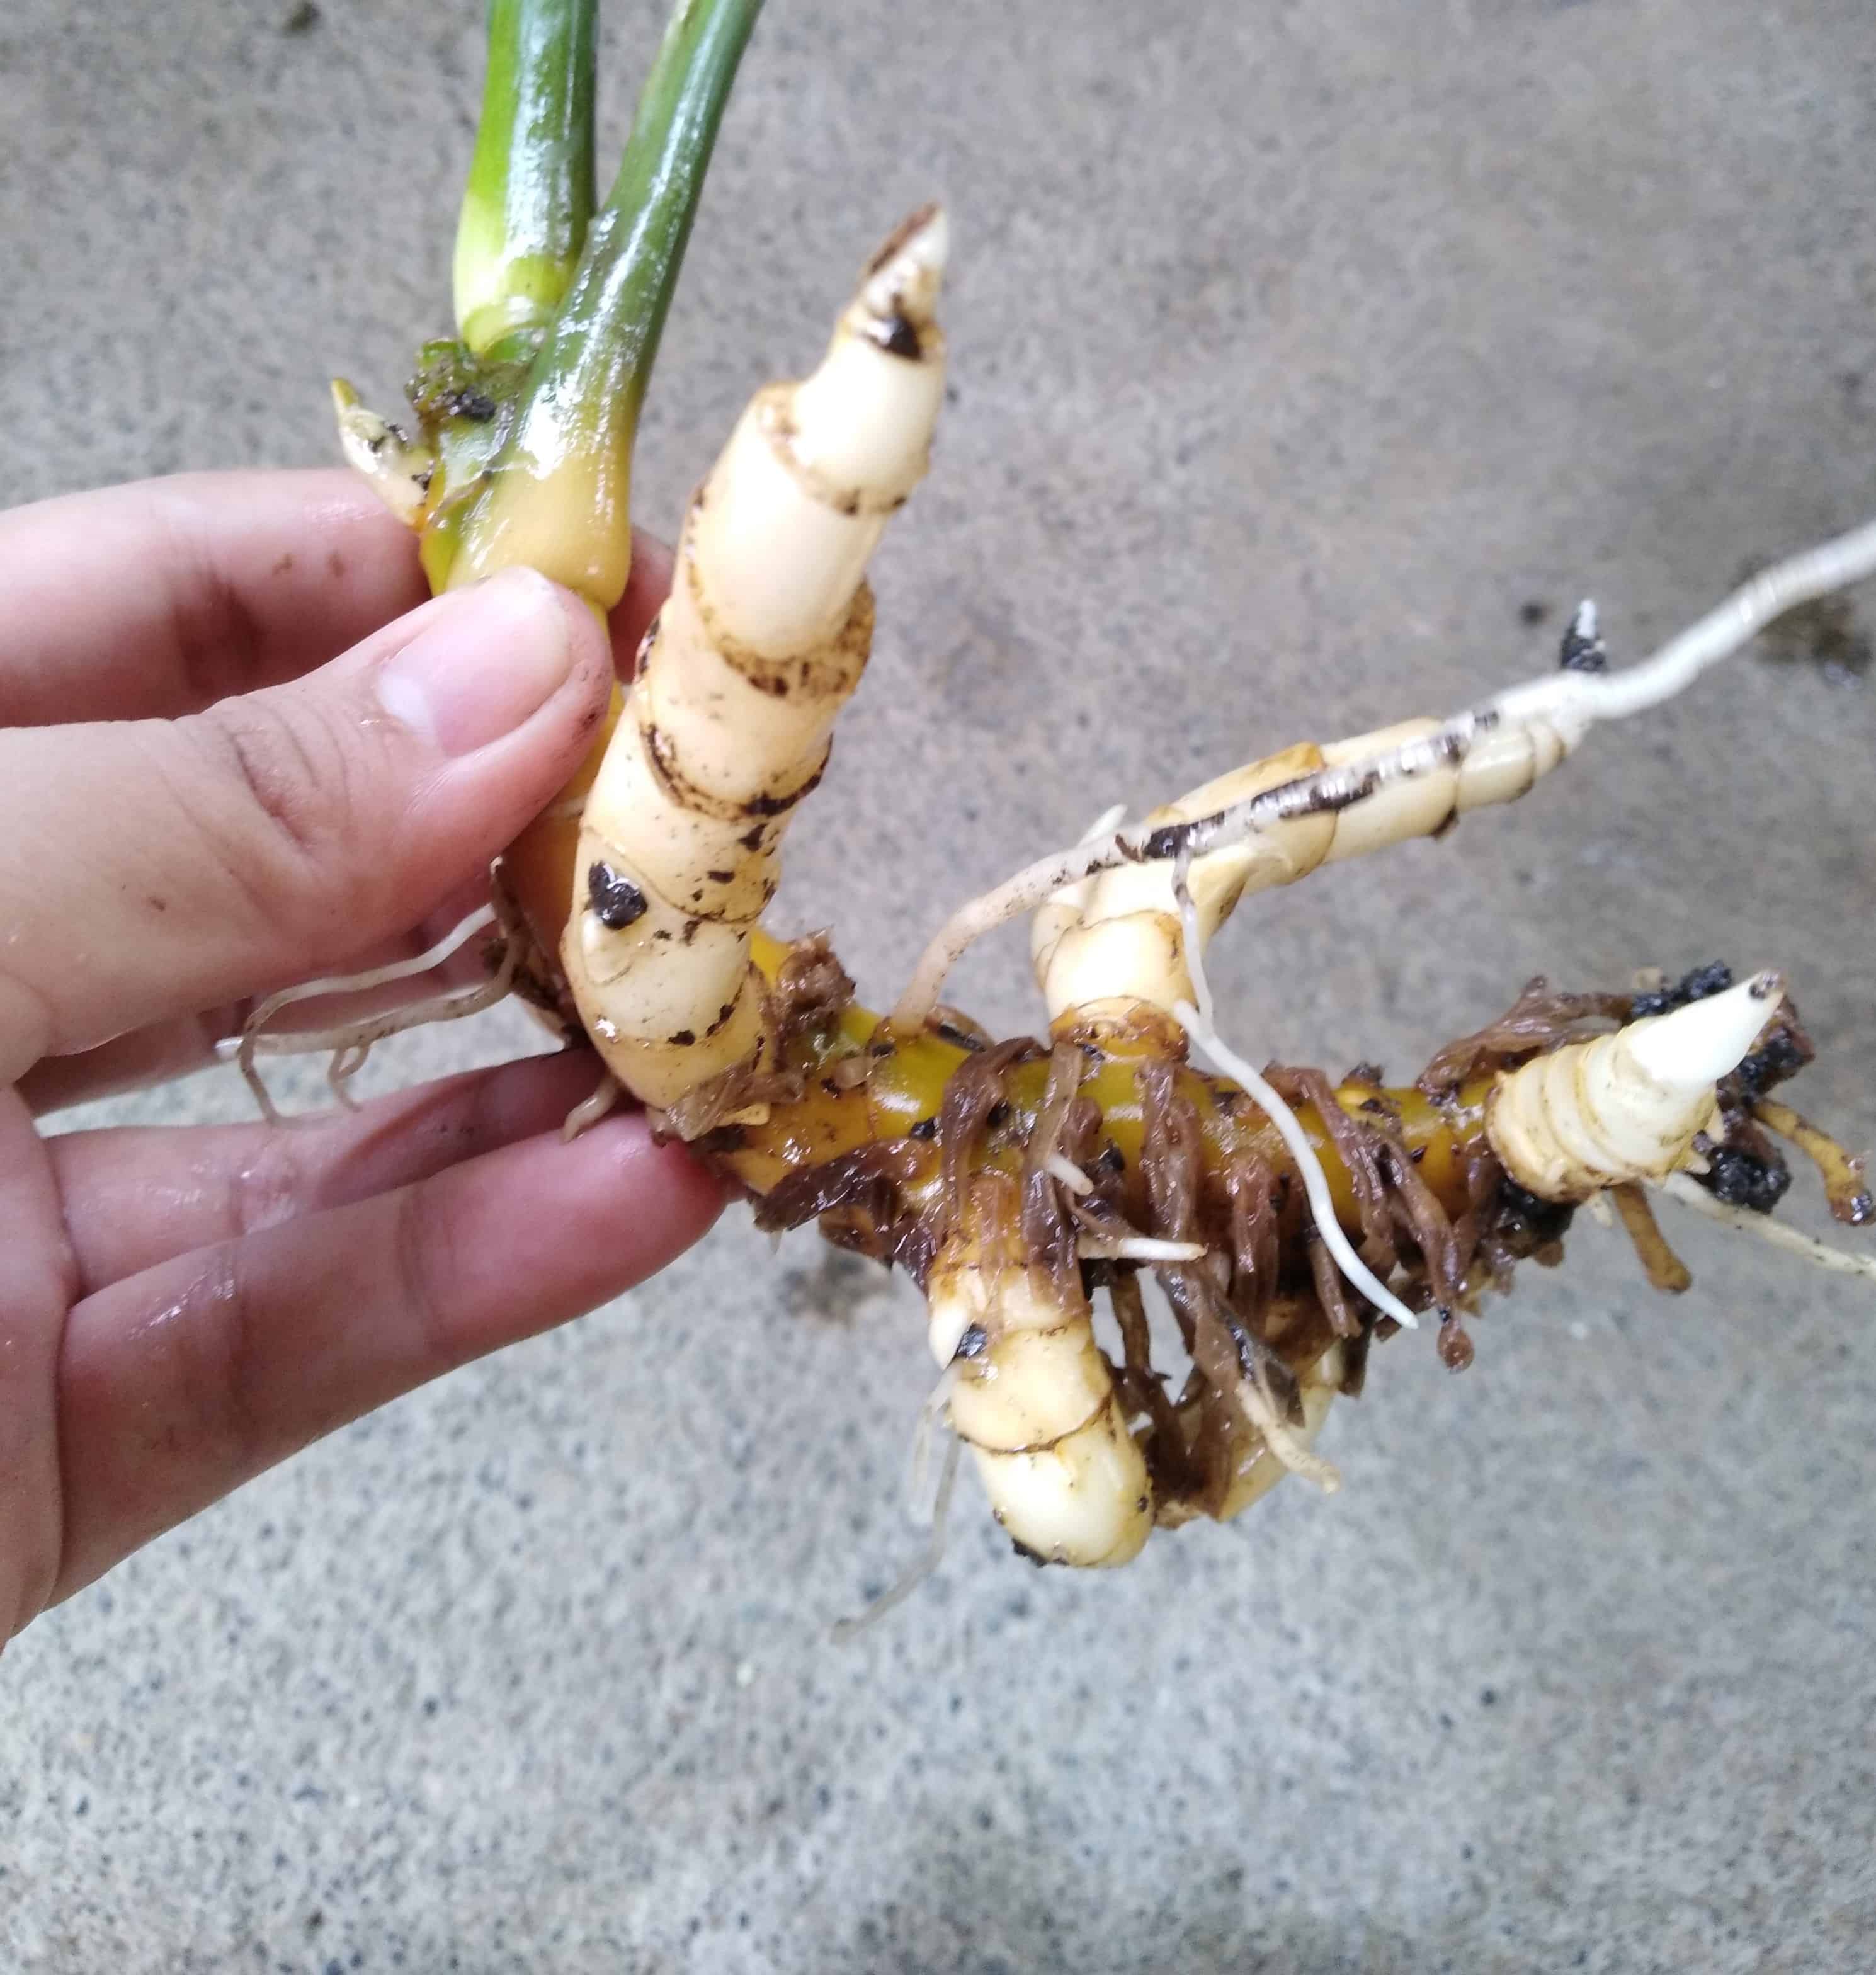
- Does the plant have root rot? Generally, you should only be repotting plants when they are healthy, but in these extreme cases, you’ll have to work delicately and quickly to make sure your plant doesn’t undergo further stress or damage. Click here for our article on how to fix root rot.
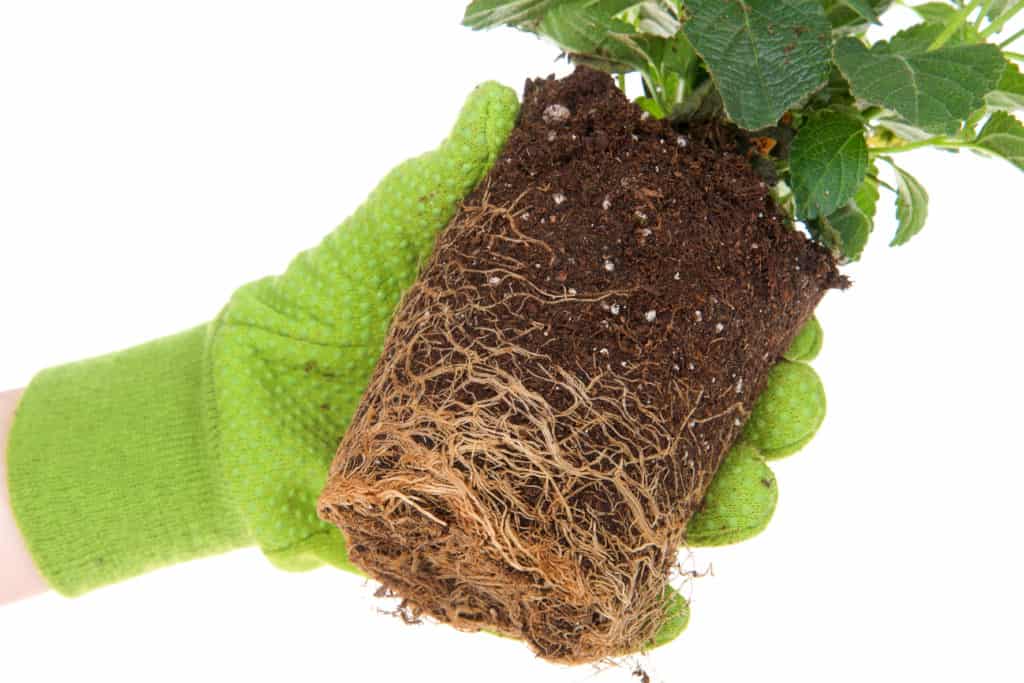
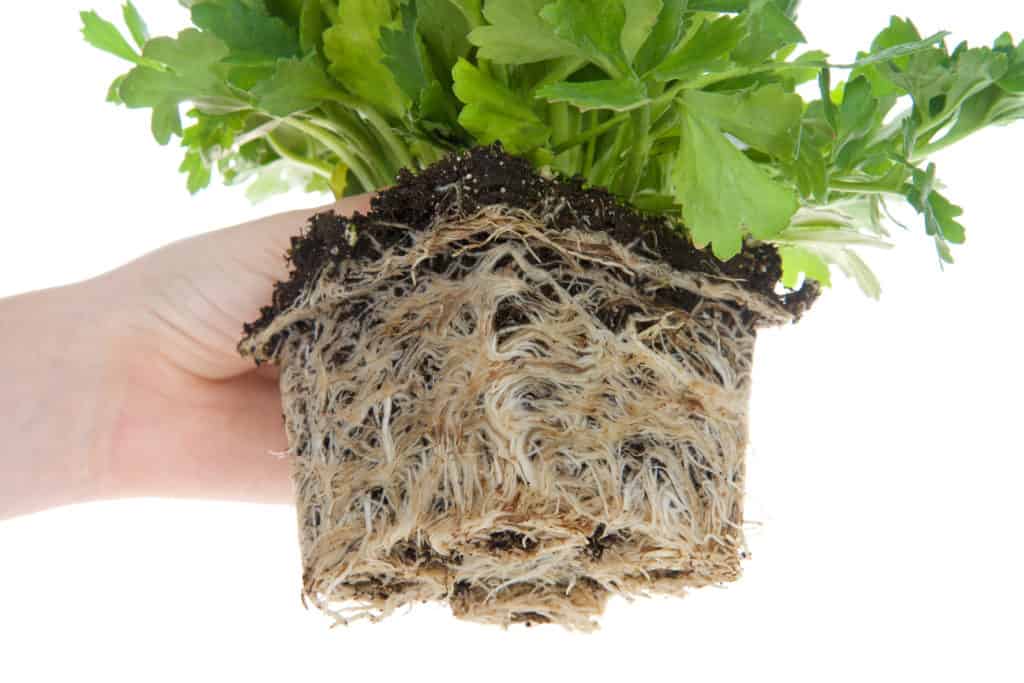
- How serious is the rootbound situation? There are two types of rootbound:
a. Mild rootbound. This type will have some accumulated roots growing around the rootball in the shape of the pot. But it is loose enough to untangle the hard soil and roots from each other with your fingers.
b. Severe rootbound. This type will have a densely packed root system that is very difficult to pry apart with your fingers, particularly if the roots are very thin.
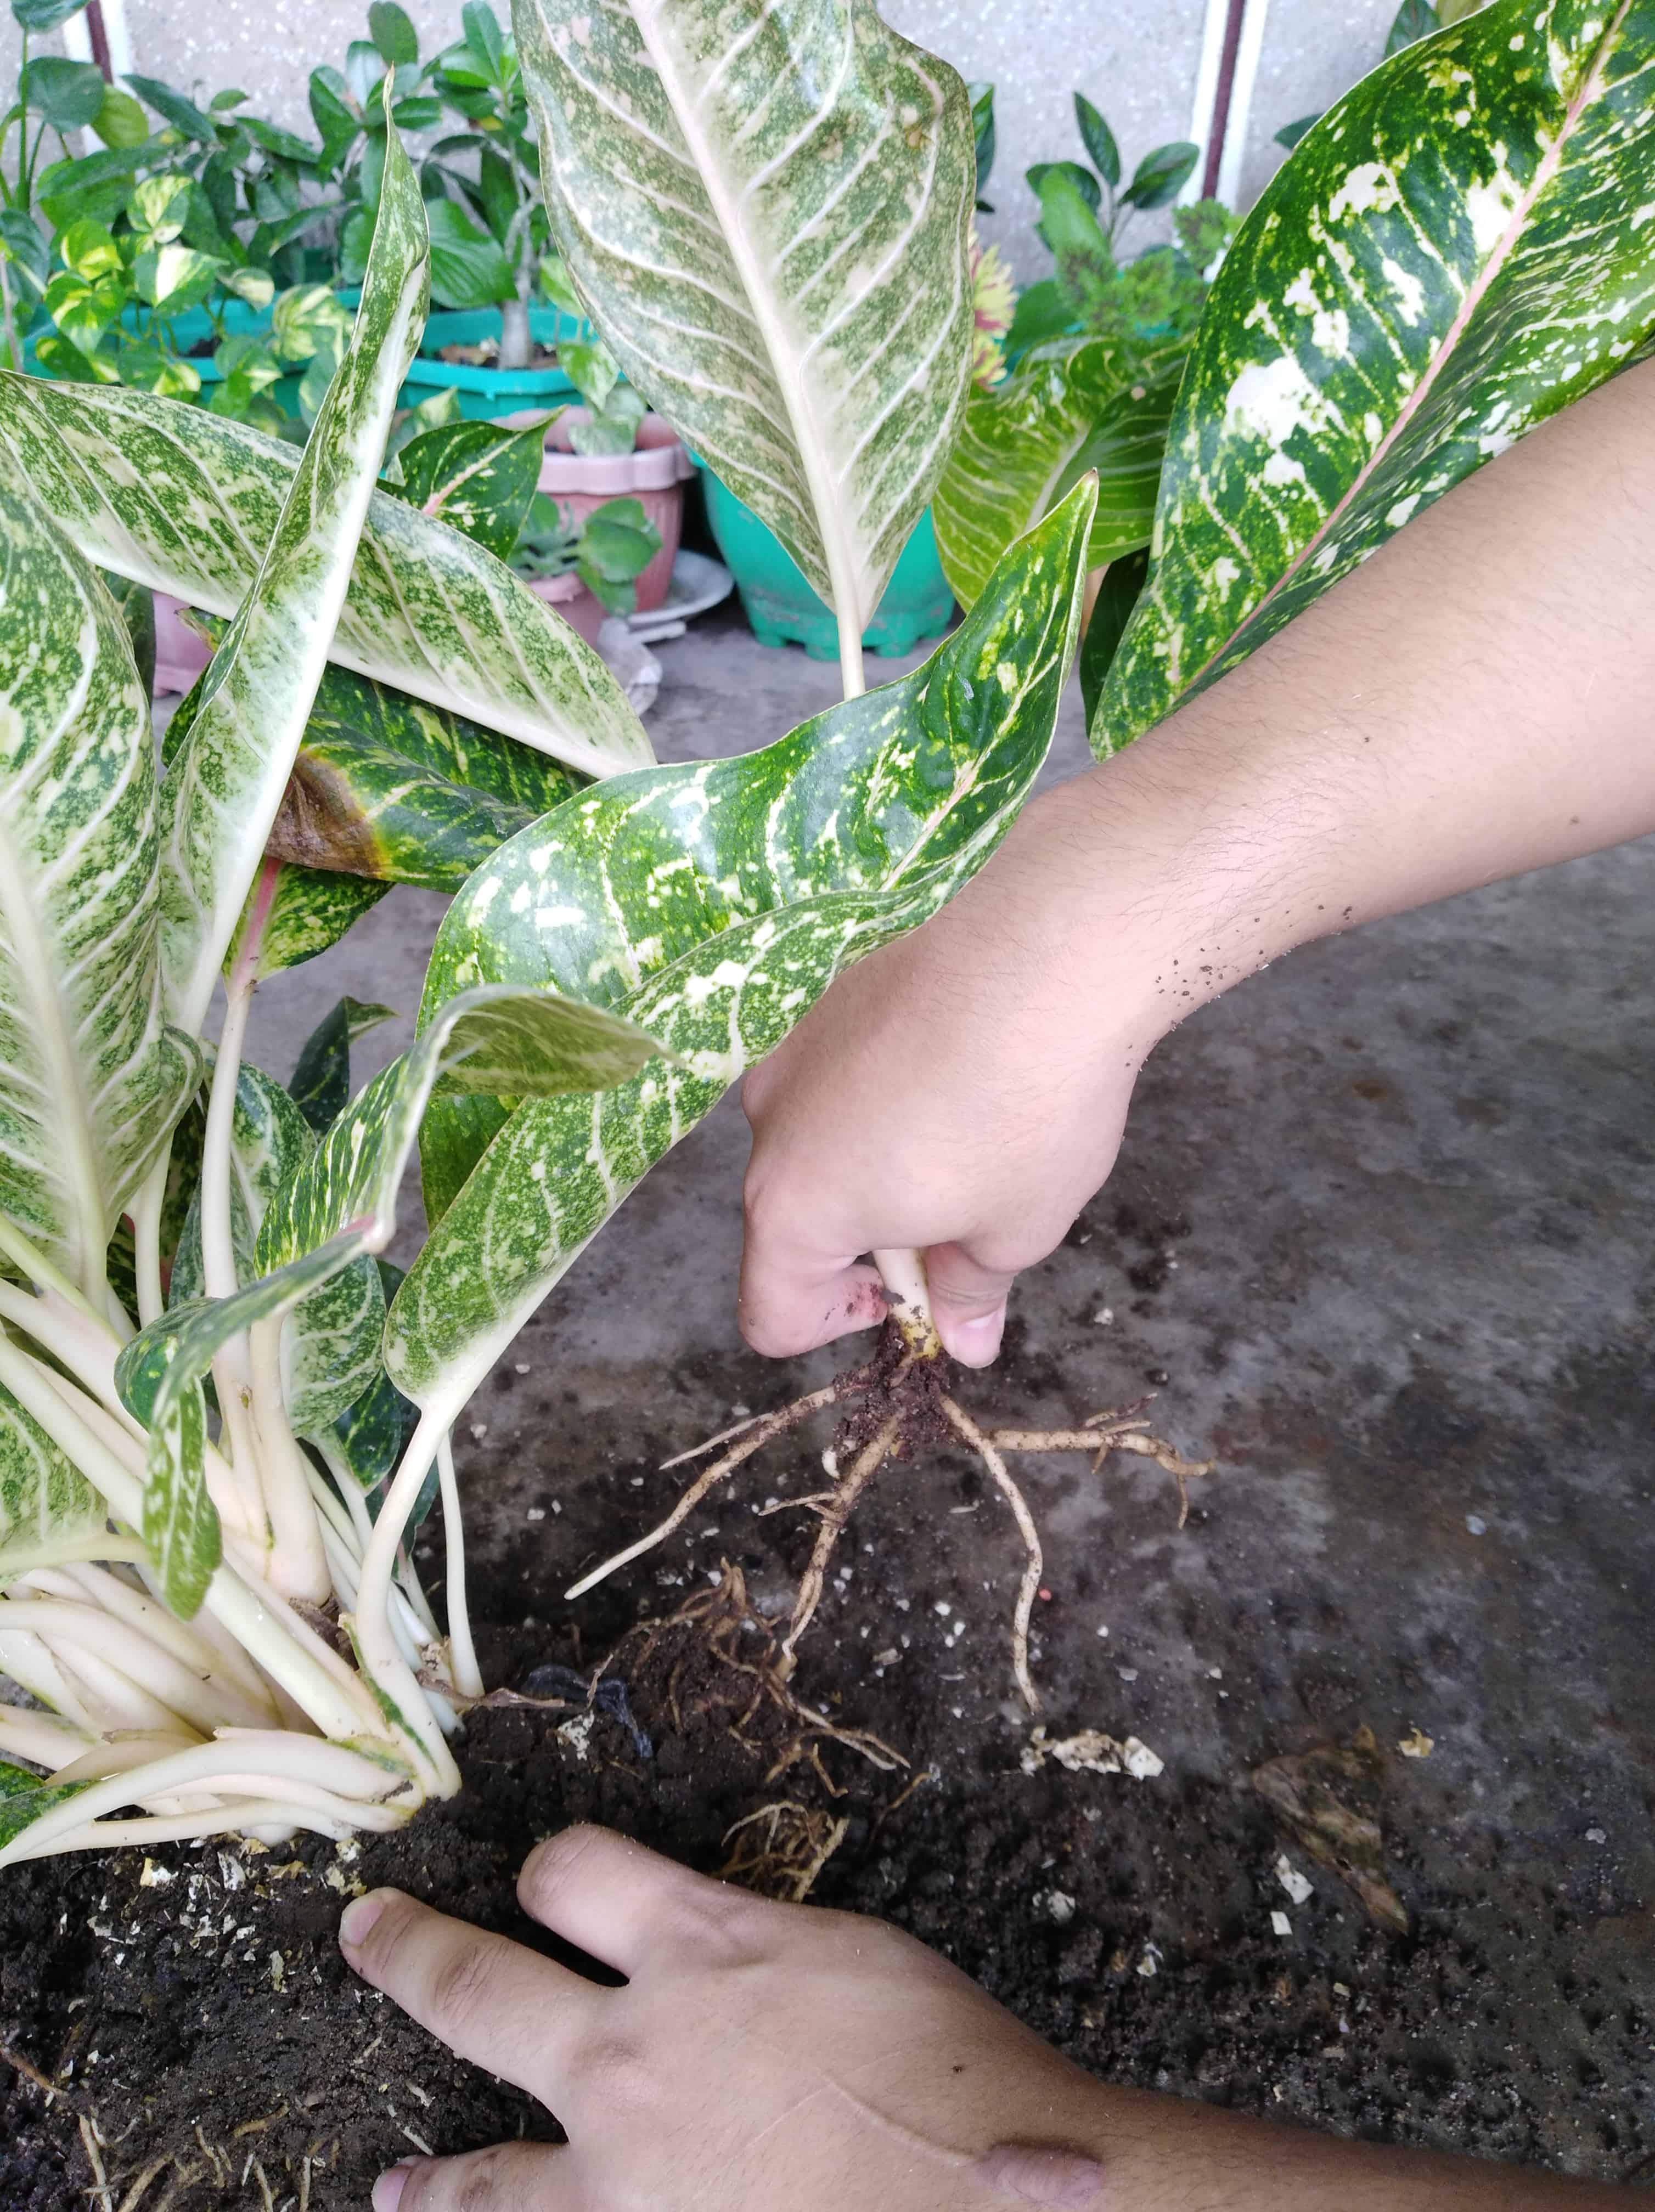
3. Loosen the plant’s roots by pruning or untangling the knotted roots
Before you begin any pruning, make sure to disinfect your cutting tool with alcohol wipes or a clean cloth with a few dabs of alcohol on it. It prevents any lingering pathogens on the tool from transferring to the plant you’re working on. Here’s how you can loosen your plant’s roots:
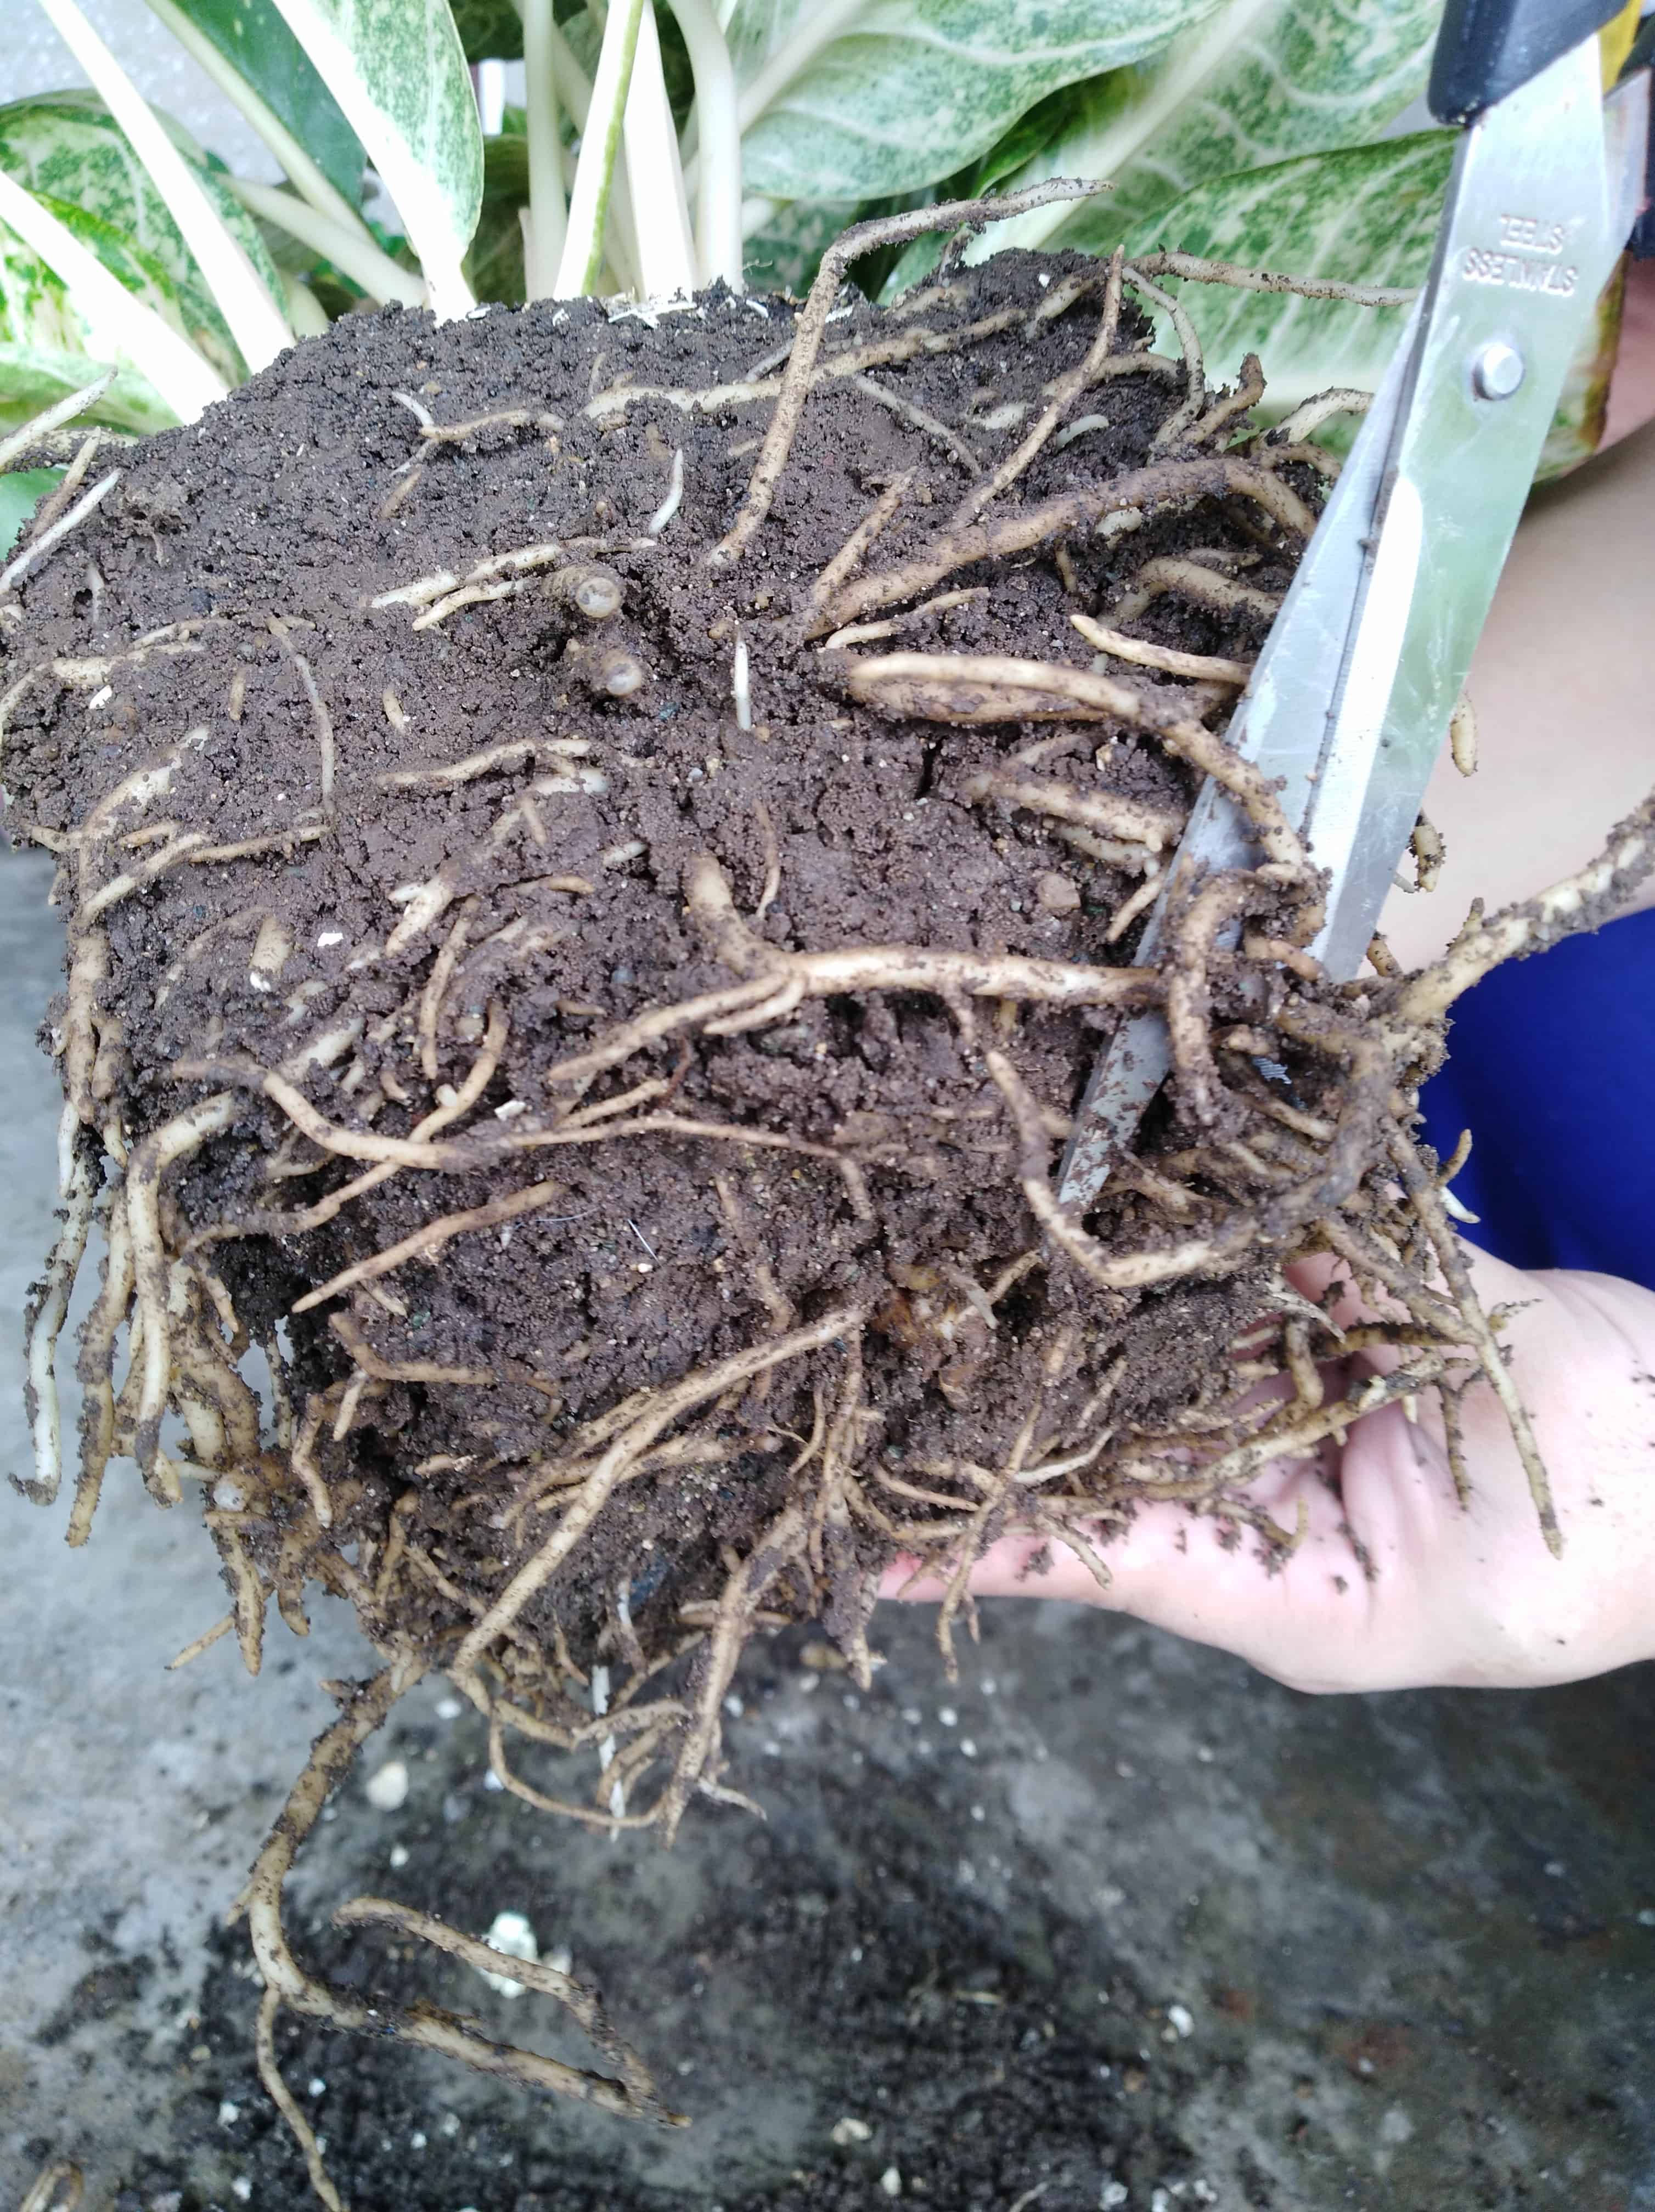
1. If there are big, circular roots around the rootball, trim these short to allow smaller roots to grow from it.
2. Remove the bottom layer of dense roots. You can use a knife to shave this off or cut it little by little with a pair of scissors. Don’t worry, the open layer will allow new roots to develop down from the root ball as they should.
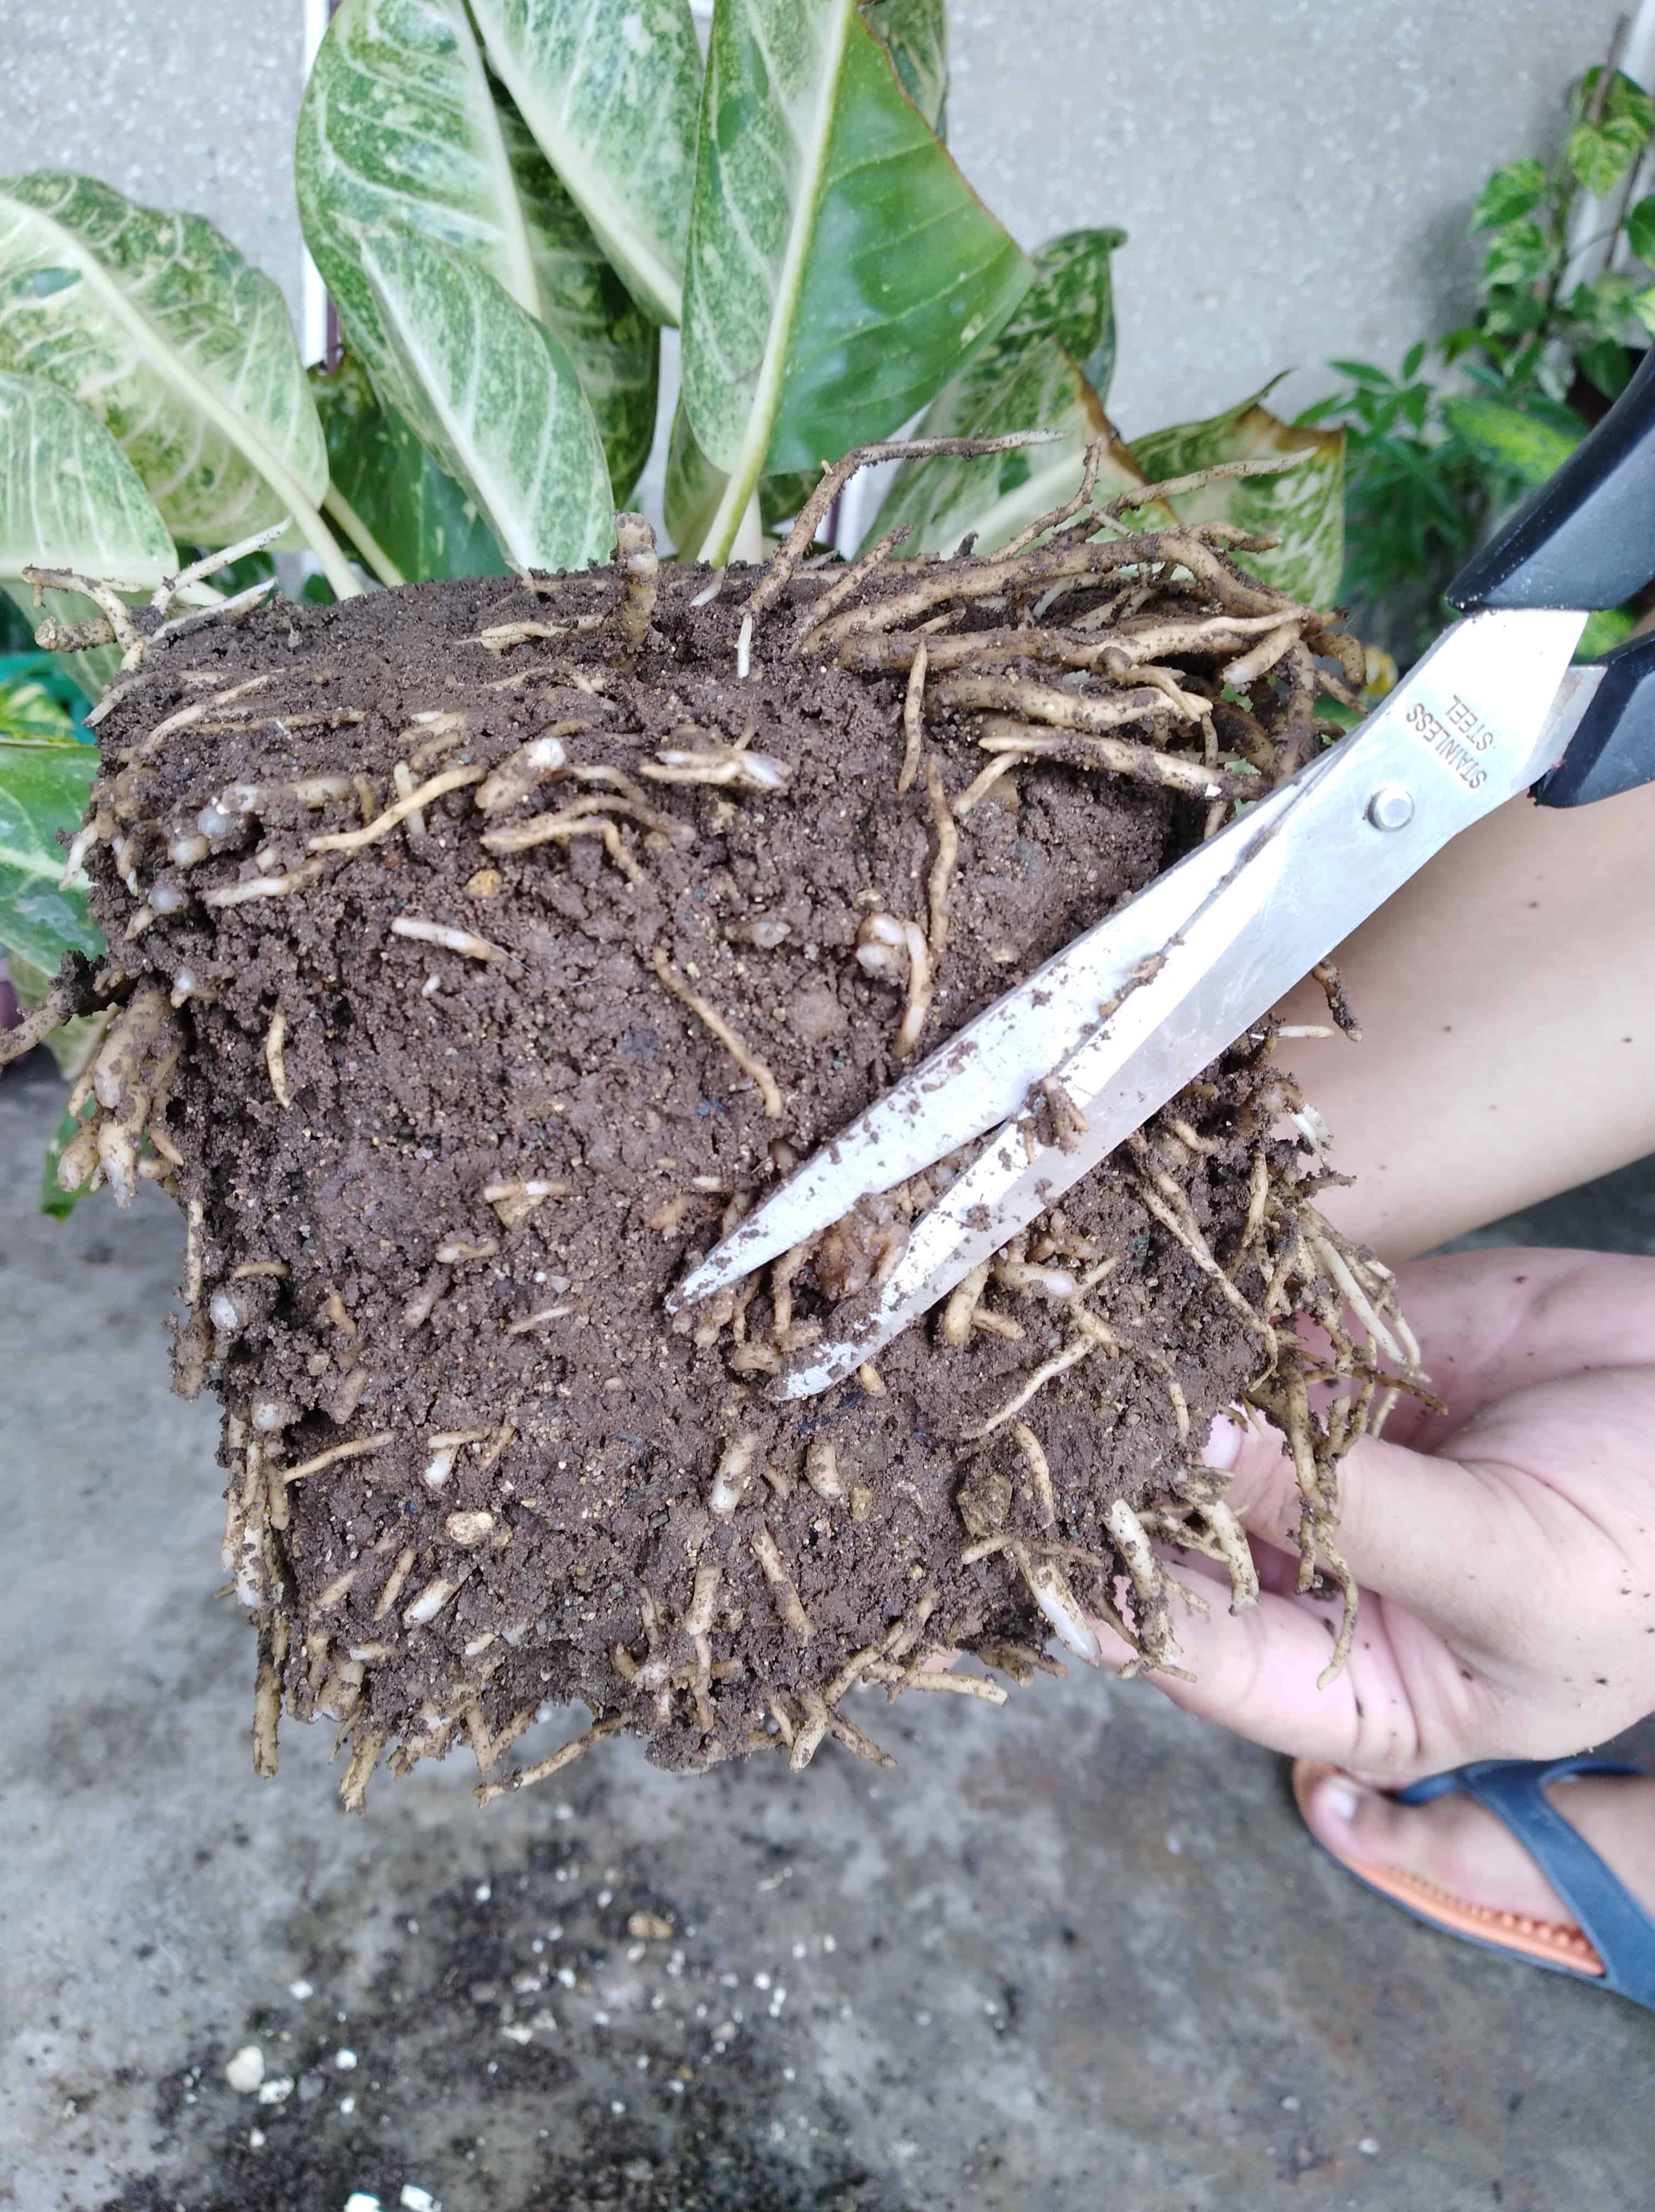
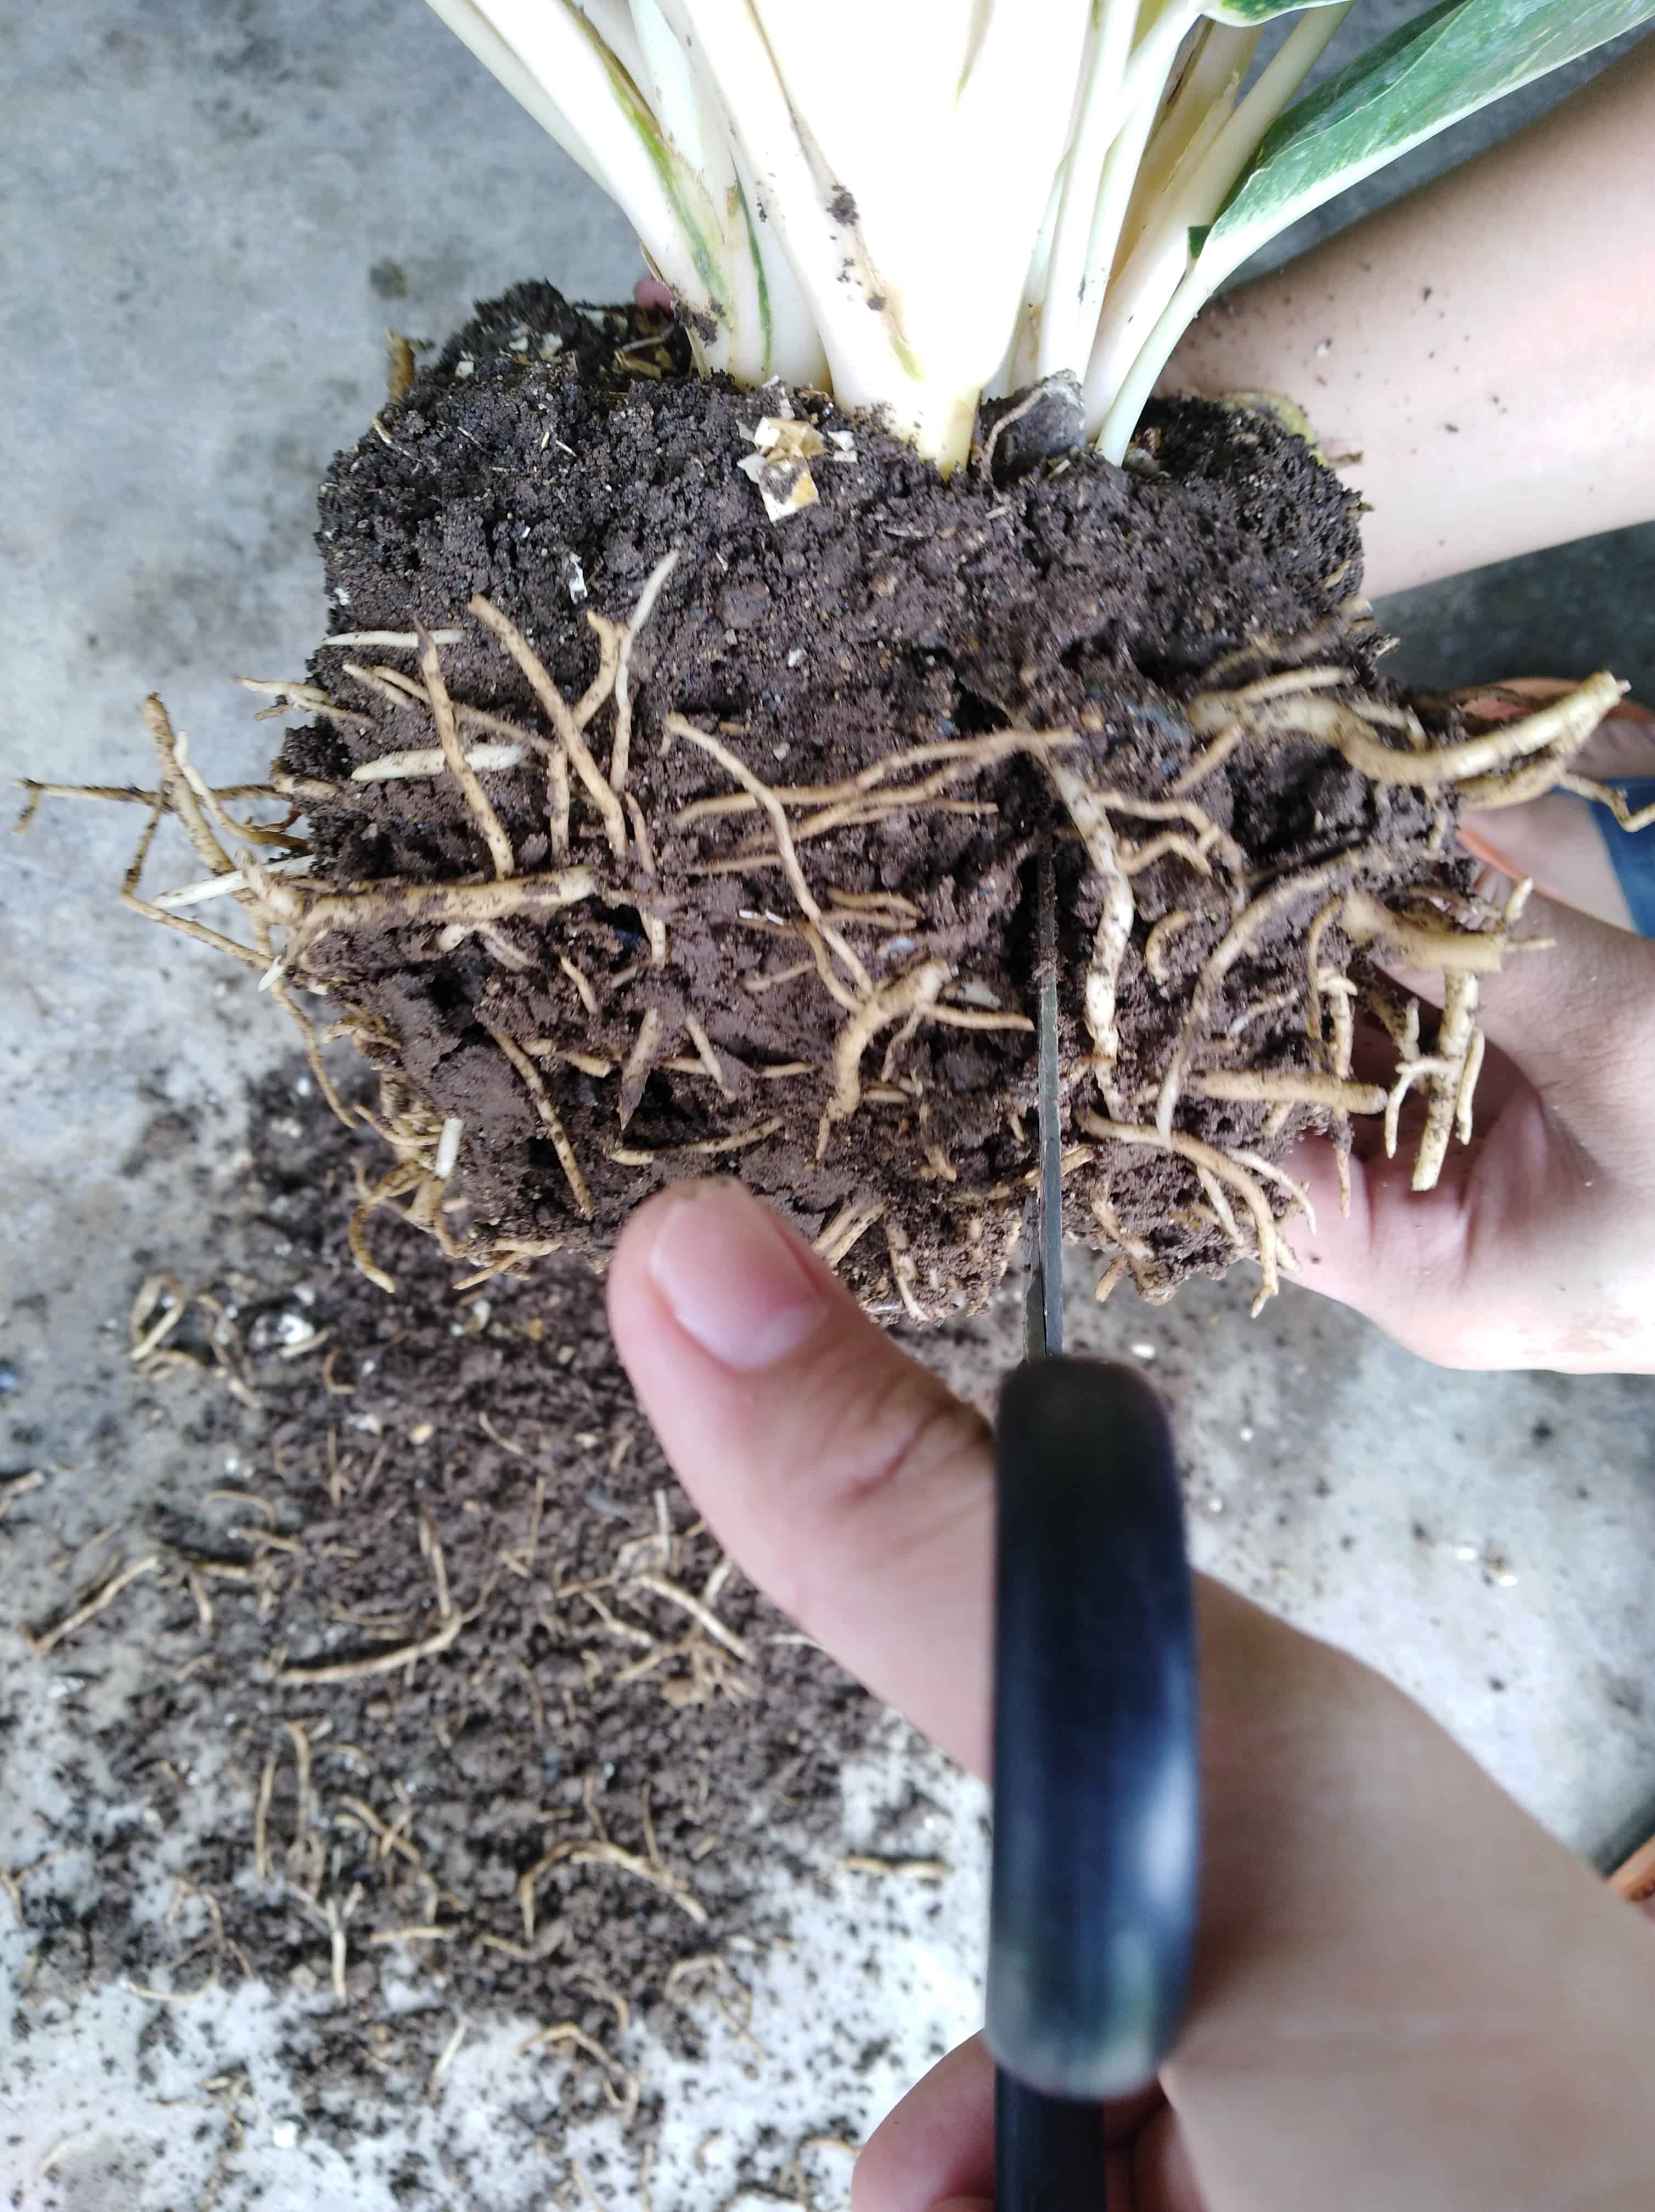
3. Using a knife or scissors, make 3-5 vertical cuts spaced evenly apart at the sides of the plant. I recommend starting the incision at mid-height of the plant’s root ball. It may seem like a brutal move, but it is necessary to free the pot from its Frankenstein roots.
It’s also worth noting that you can choose to divide your plant’s root ball at this stage. So instead of planting the parent plant in a larger pot, you can have two to three offspring planted in smaller pots instead. This alternative is beneficial if you want to have another set of the same houseplant for yourself or your friends and family.
4. Prune the plant’s foliage to balance the trimmed root system
Due to the number of roots you trimmed off, your plant now has a small, functioning root system. These roots won’t keep up with the rest of the plant, which is partly why some leaves have died or are dying from dehydration. You need to make sure the remaining foliage and the roots are proportionate; it’s alright to make approximate trimming here and there. Here’s what you should do:
1. Begin by removing the dead leaves. These have no chance of reviving anymore anyway; you might as well put it in your compost.
If the plant is woody, remove the dried-out trunk and limbs which should feel hard and brittle.
If it feels quite soft and hollow, that means it is actively rotting. Get rid of it anyway.
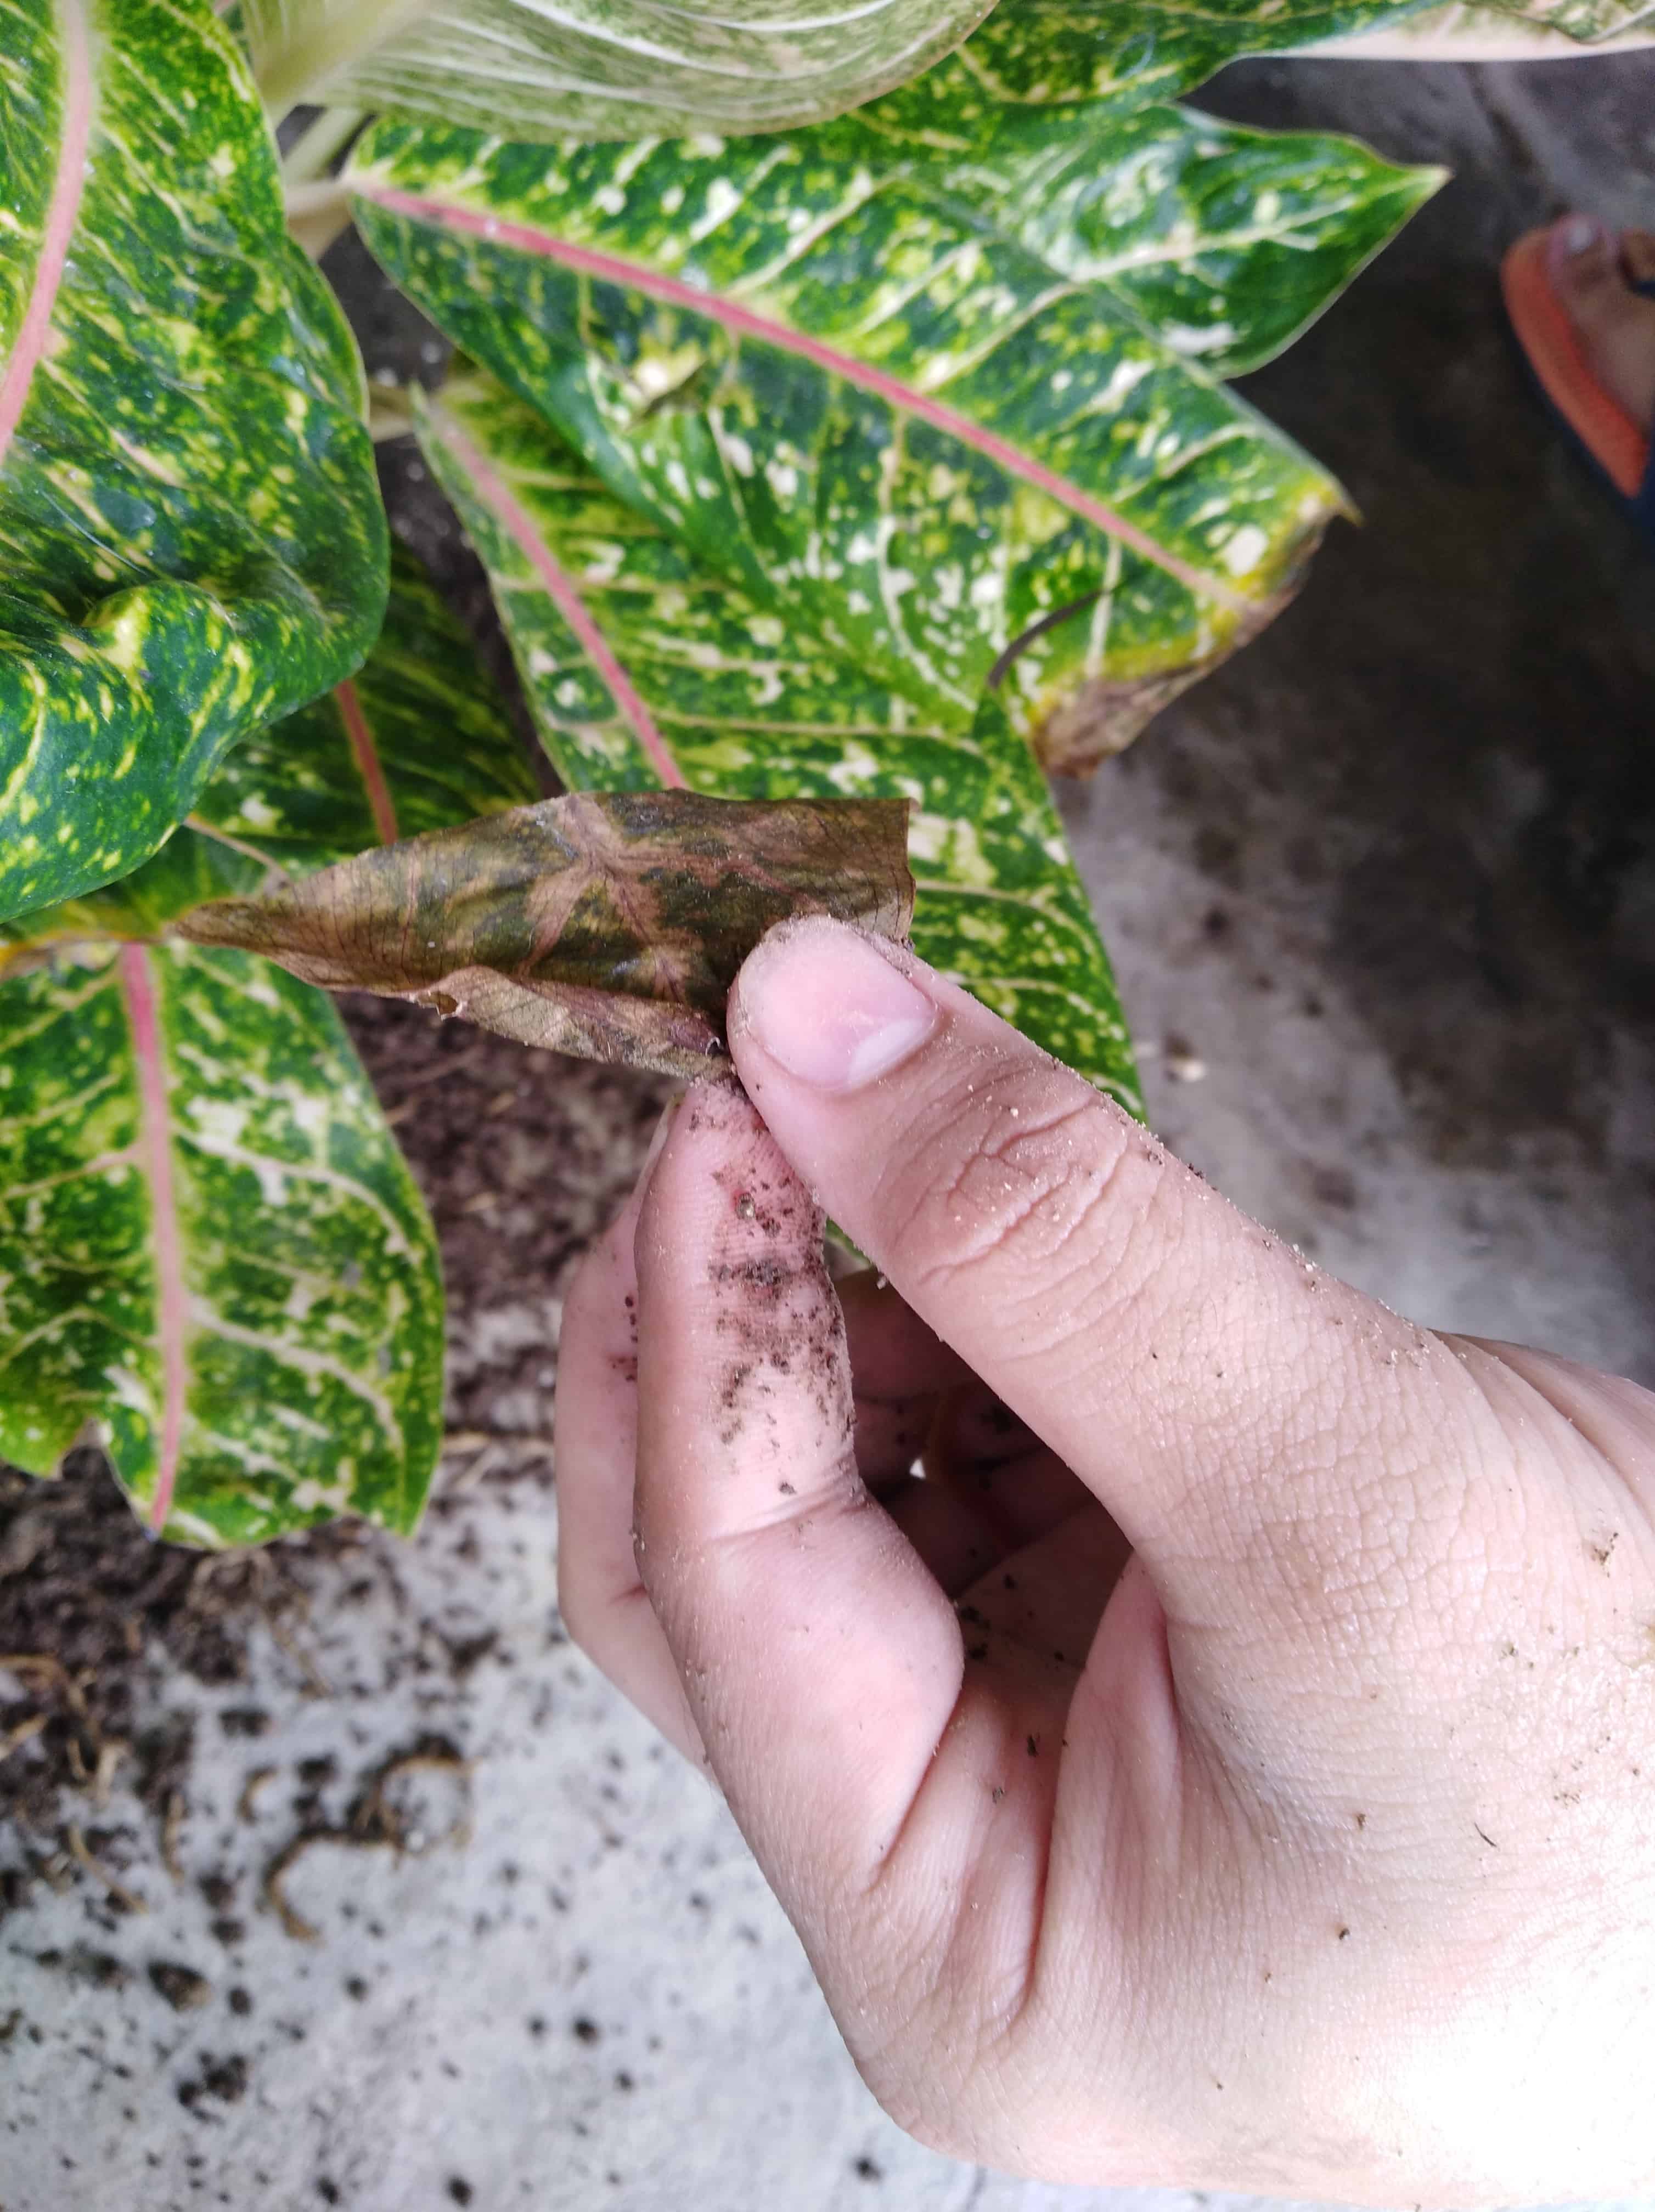
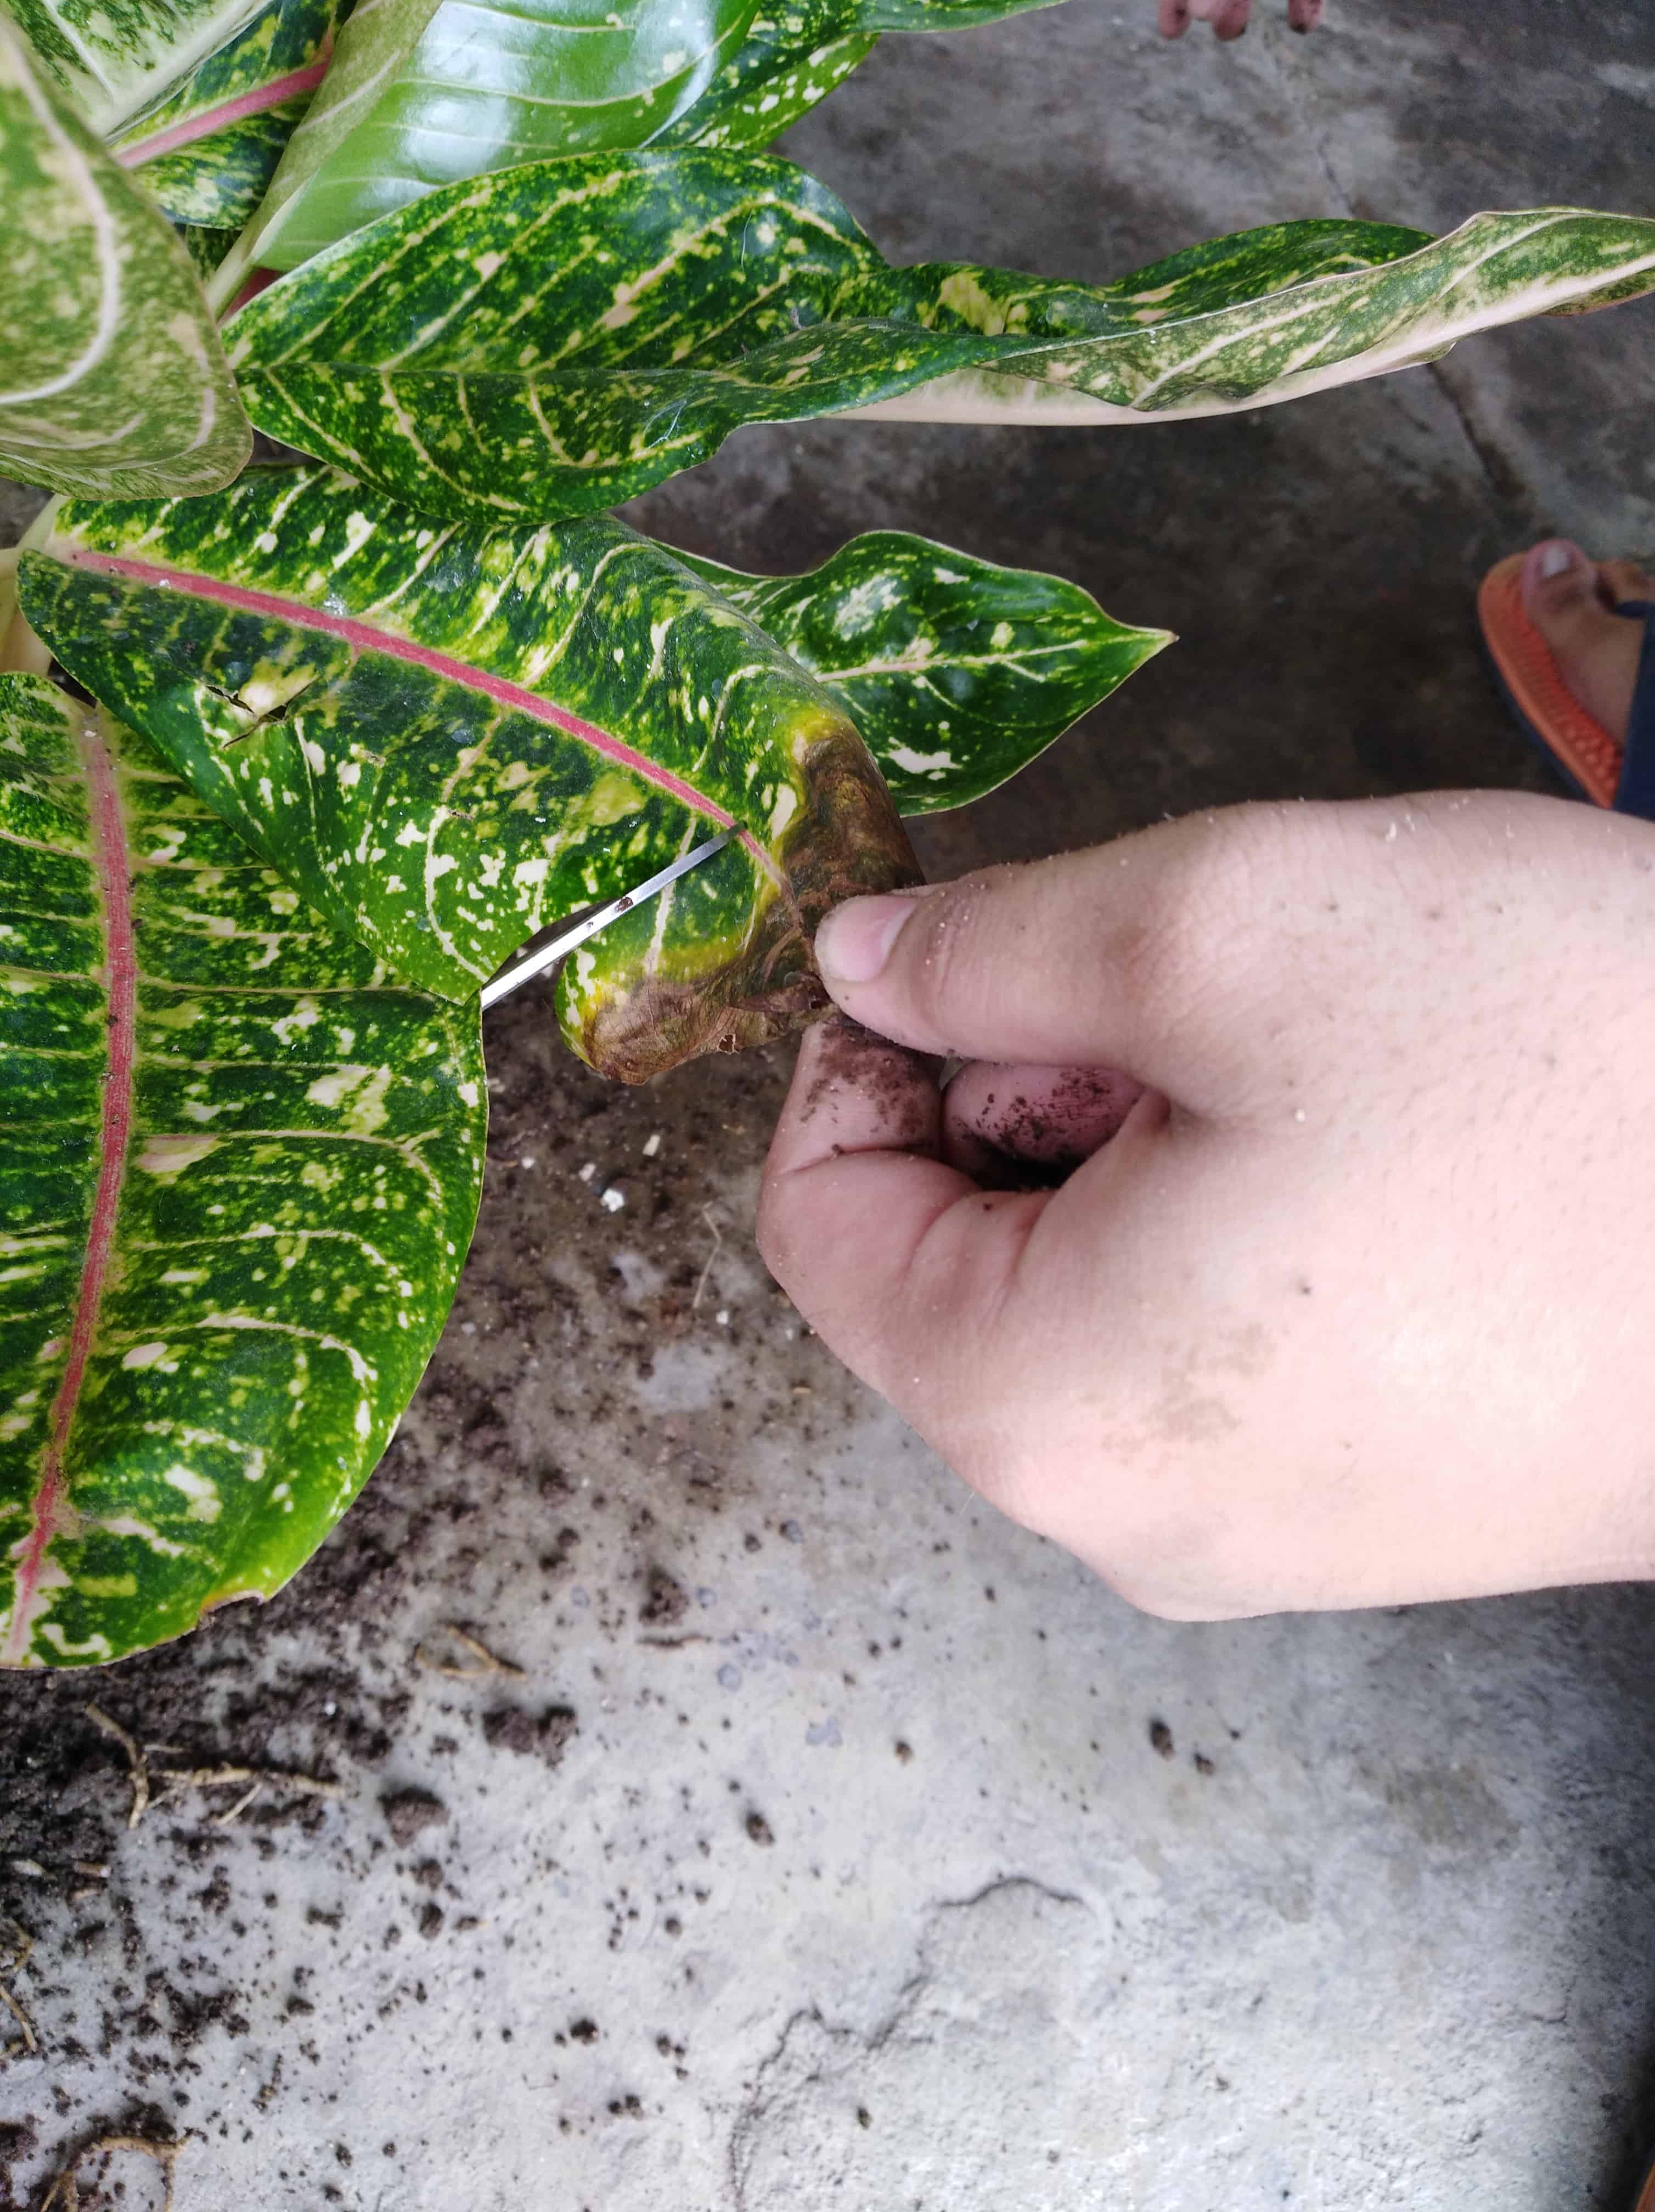
2. Trim off damaged parts on the leaves, leaving the healthy part of the leaves intact.
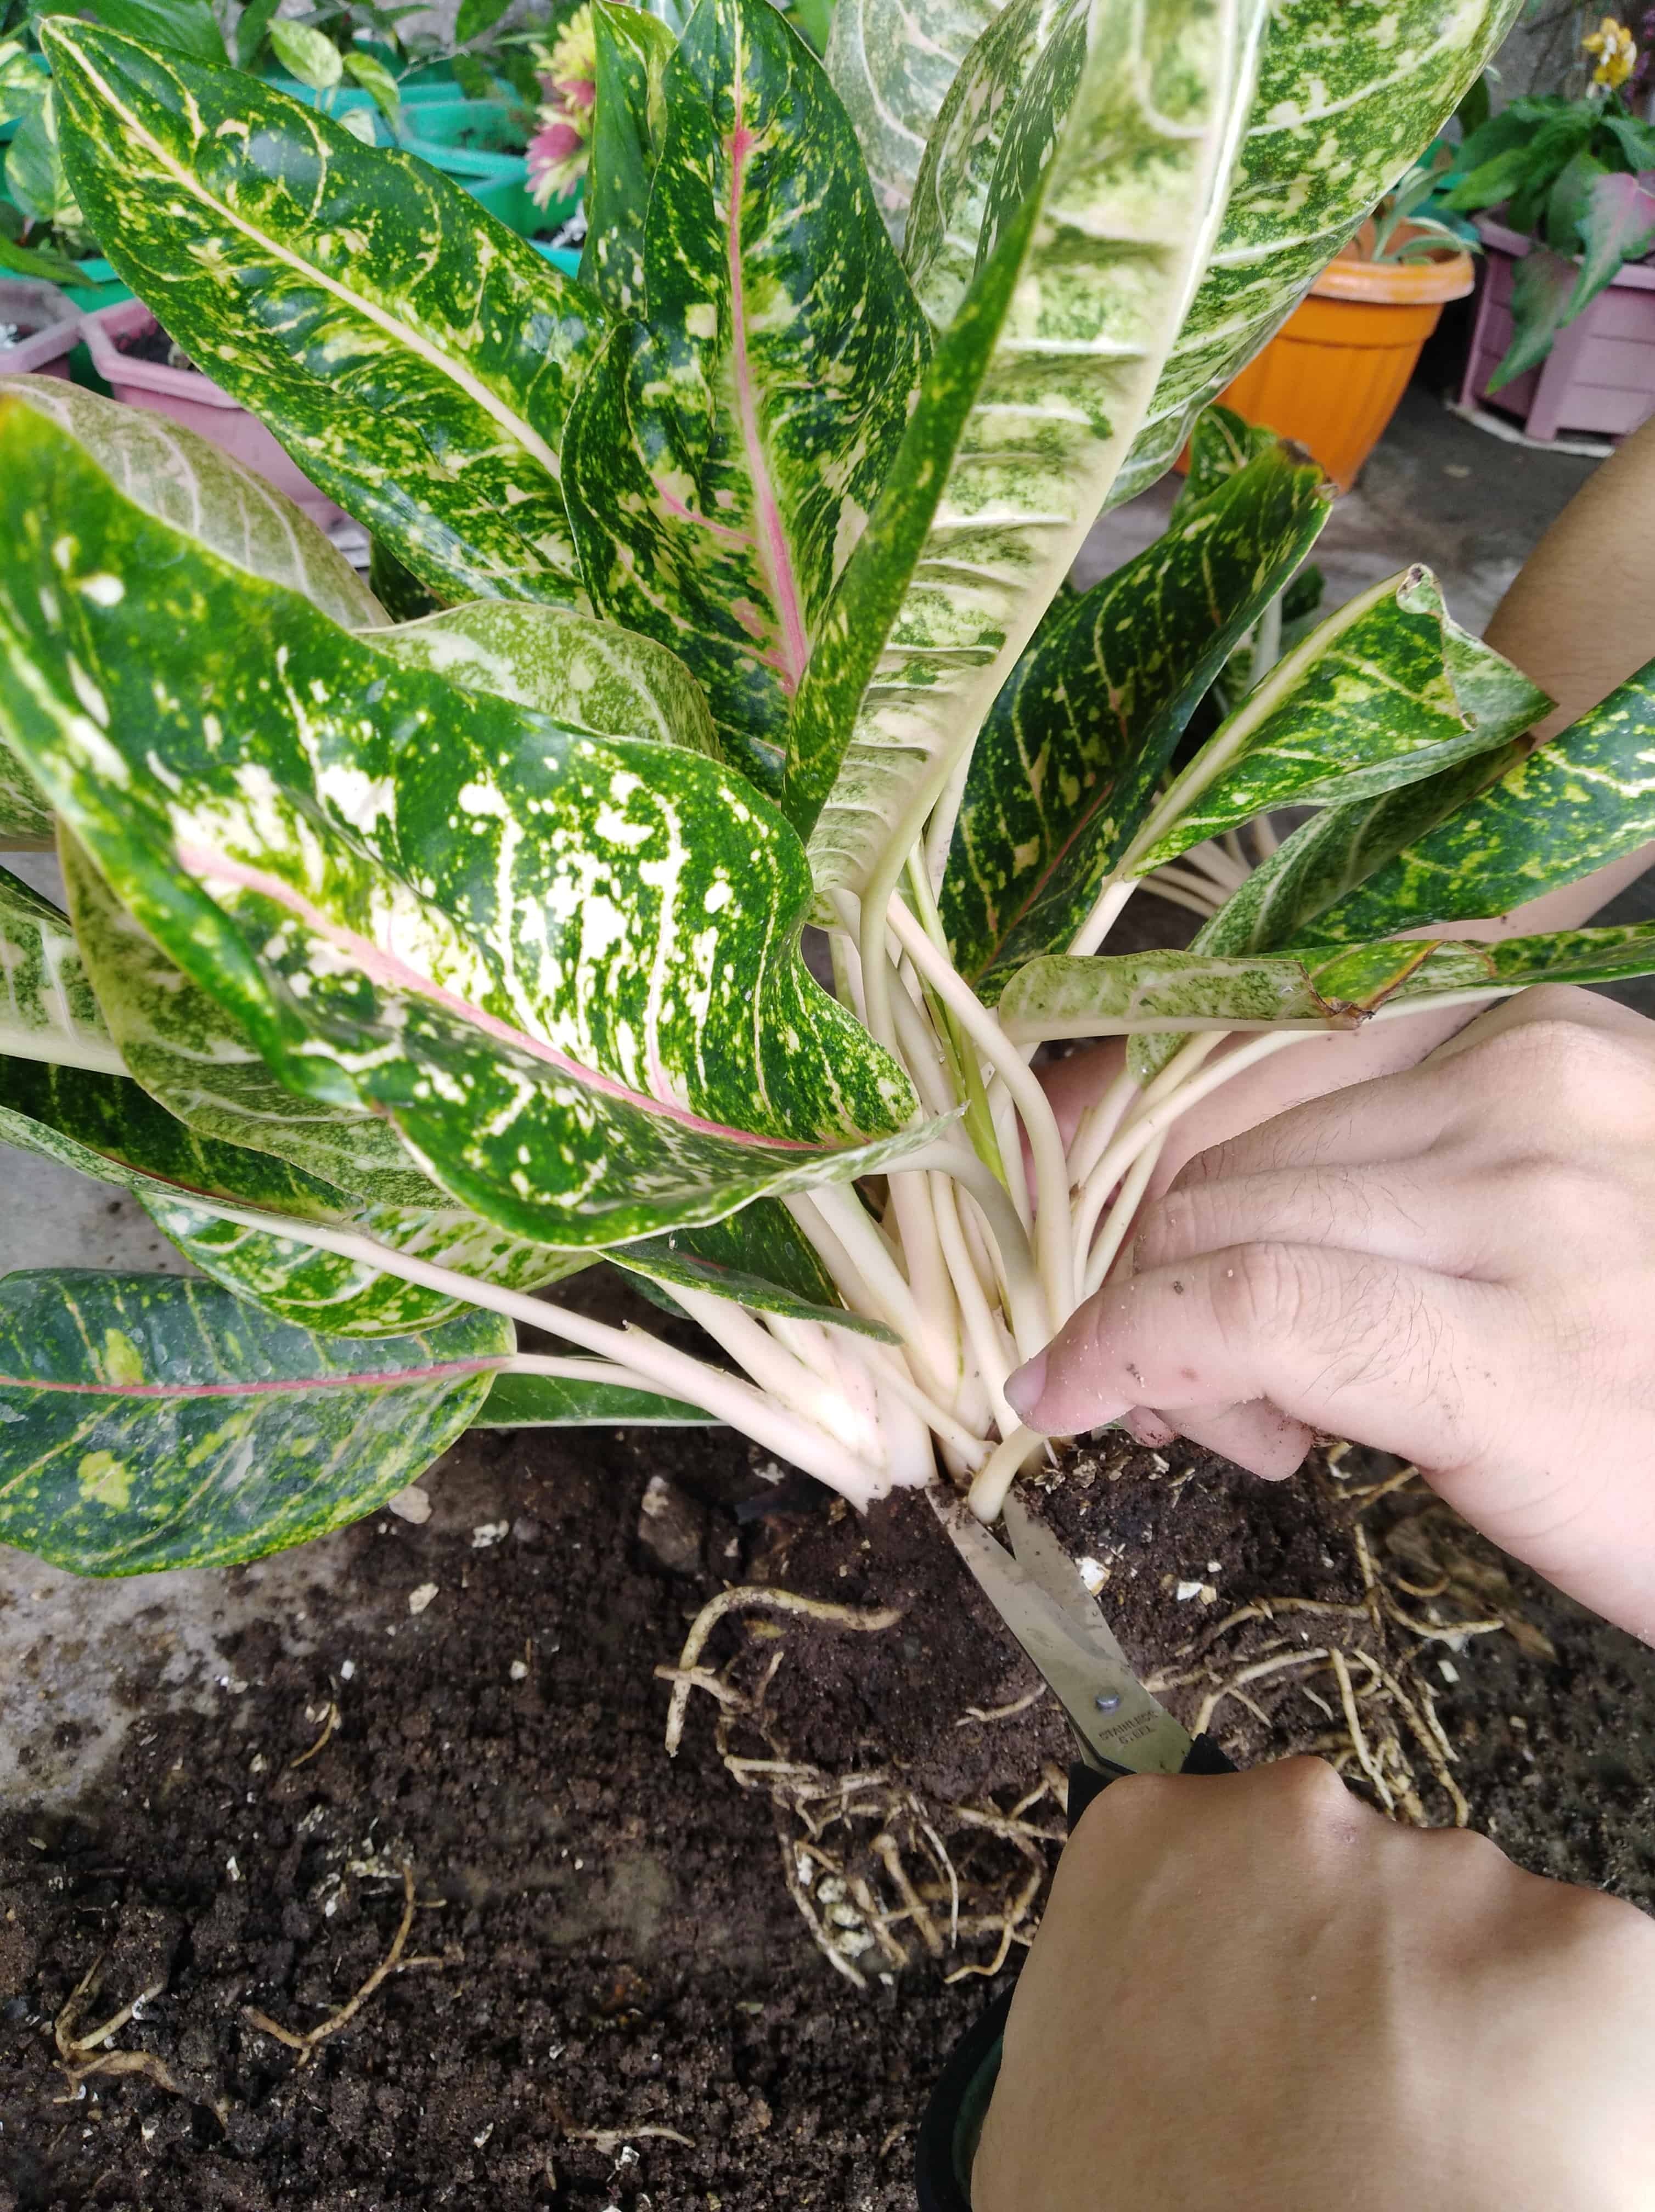
3. If there is still too much foliage on the plant compared to the remaining roots, feel free to trim the plant down to a shape you like. Don’t overdo it though, while leaves may grow back, you don’t want to leave an awkward bald patch on your plant.
5. Place the plant in its new, bigger pot with fresh soil
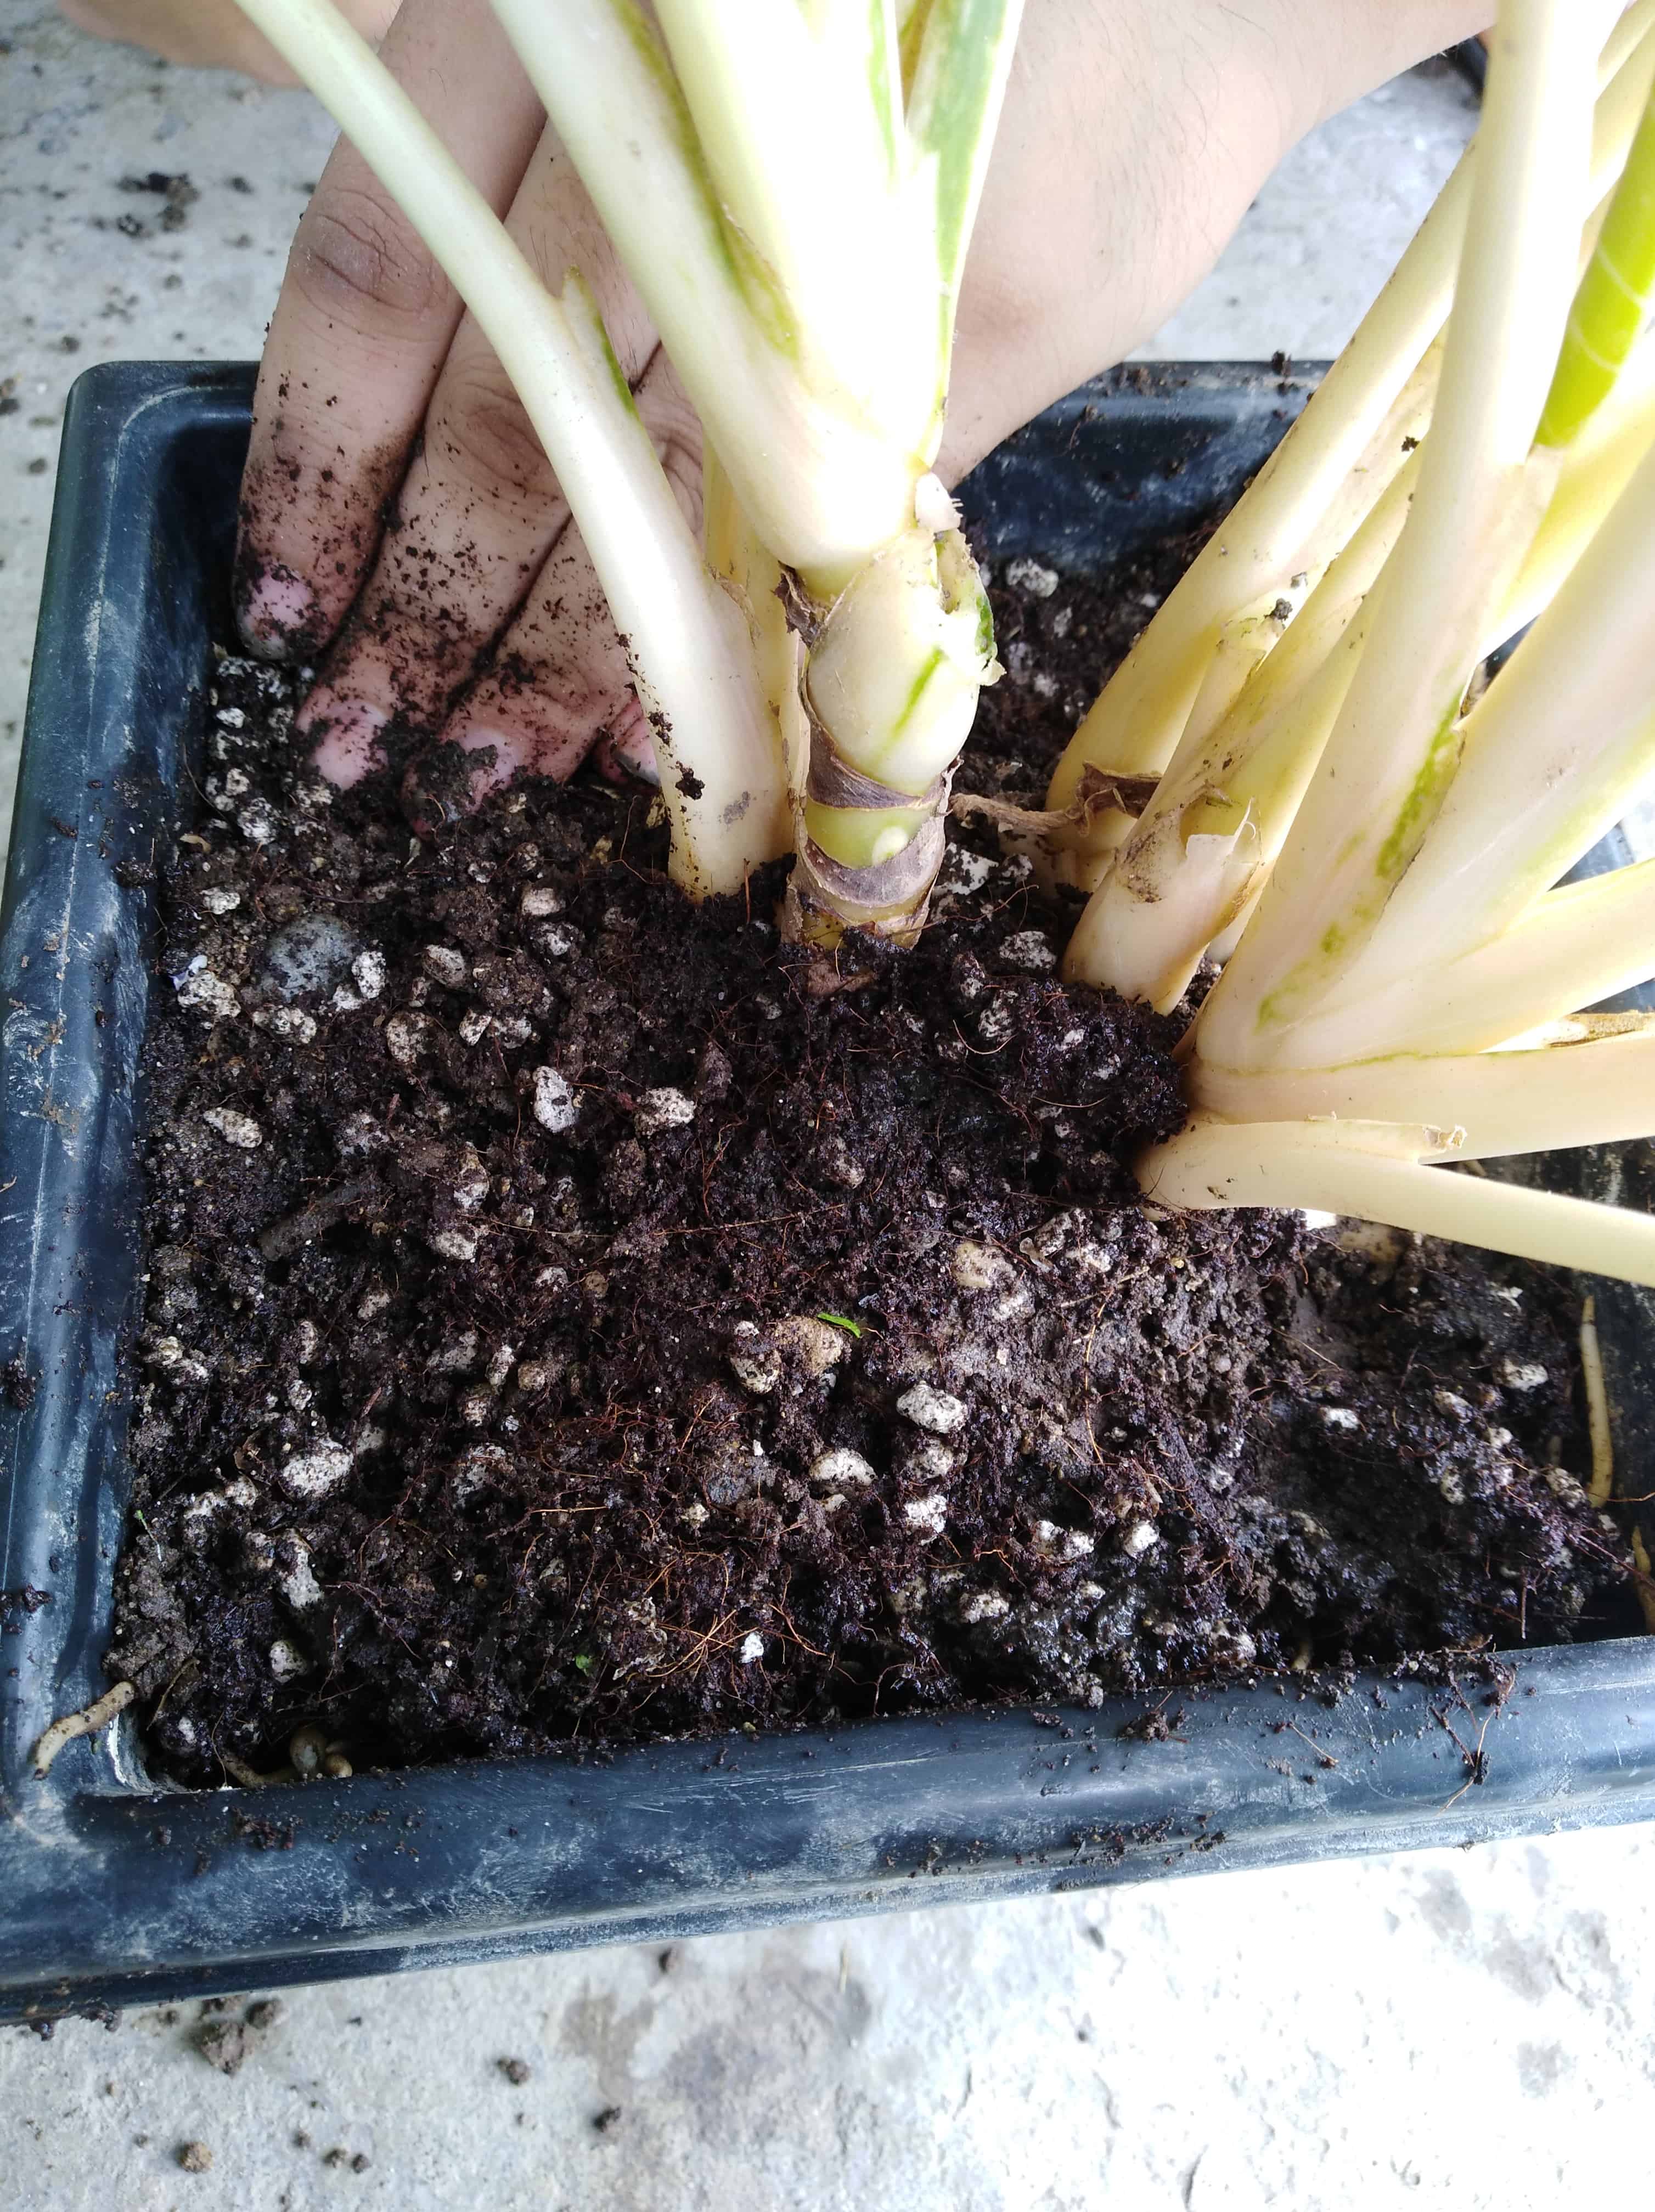
I must stress that you should not get too-large of a pot for your plant if it is rootbound. Yes, some plants can be pretty delicate when transplanting from their old pot. It may seem smarter to upsize your new pot to avoid repotting your plant anytime soon (don’t think I don’t know the feeling), but this actually can spell doom for your plant.
Consider this: There is a sizable amount of bare soil at the bottom of the pot. This dead zone constantly gets saturated with water, retaining moisture when the roots have not grown that far down yet. Enter the baddies: The Pathogens and Pests, coming in and claiming free real estate for themselves.
This will lead to possible infection and infestation lying in dormancy until it attacks the unfortunate plant. Yet another hurdle for you to go through, this one entirely avoidable. Compare that to a pouty plant after it has been repotted. It’s simply better to repot your plants every year if it’s fast-growing or two to three years if it’s slow-growing. This is not like buying oversized clothes for your kids that they’ll eventually grow into – this is a matter of ‘leaf or let die.’
First, find a larger pot with adequate drain holes for your plant. Start by:
- Measuring the previous pot’s opening.
- Adding 1-2 inches to the measurement.
- Buying a pot that big. Ta. and. dah!
However, if you choose to divide your plant, here’s how to get the right pot size for the offspring(s):
- Measure the size of the offspring’s rootball.
- Add 1-2 inches to the measurement.
- Buy that size pot. Done and done!
Here’s an in-depth article on how to propagate your plants!
As for the soil, I highly advise you to use potting soil, not potting mix. Some potting mixes have slow-release fertilizers included, while potting soil only has plain soil. If you’re not sure, check the ingredients of the soil bag before purchasing. Remember: the plant will be in recovery after you’re done repotting, which means you shouldn’t give it green-monster energy drinks, i.e., fertilizers, for a while. Here are two products I highly recommend getting on Amazon for this procedure:
- Fox Farm Ocean Forest Garden Potting Soil with 4.8 stars and 6,808 ratings. Not only does it not contain harsh synthetic fertilizers, it is rich in organic matter that will go a long way in boosting your plant’s growth.
- Bonide Rooting Powder with 4.4 stars and 5,746 ratings. This product works on all kinds of plants you’re propagating, giving your cuttings a head start into producing roots reliably fast.
Also, be sure to use potting soil similar to the old soil. If it is starkly different, the plant will have a hard time adjusting to its new home. If the old soil is not infested or infected, I encourage you to mix some of the old soil into the new one. Aim for a 60:40 of new and old soil mixture.
Now, in the new, larger pot, here’s what you need to do next:
- Fill the pot ¼ of the way with fresh soil.
- Place the plant carefully in the middle of the pot. Ensure the plant’s topsoil is peeking out of the pot at least 0.5 to 1 inch above. If it’s not, take it out and add more soil at the bottom.
- Fill the sides with more soil while holding the plant in place. Feel free to use a trowel or get your hands dirty and connect with the earth.
- Pat down the soil lightly around the plant once the pot is filled. Don’t push the soil down too much; this can compact it and lead to poor drainage.
6. Water the plant lightly to settle and saturate the soil
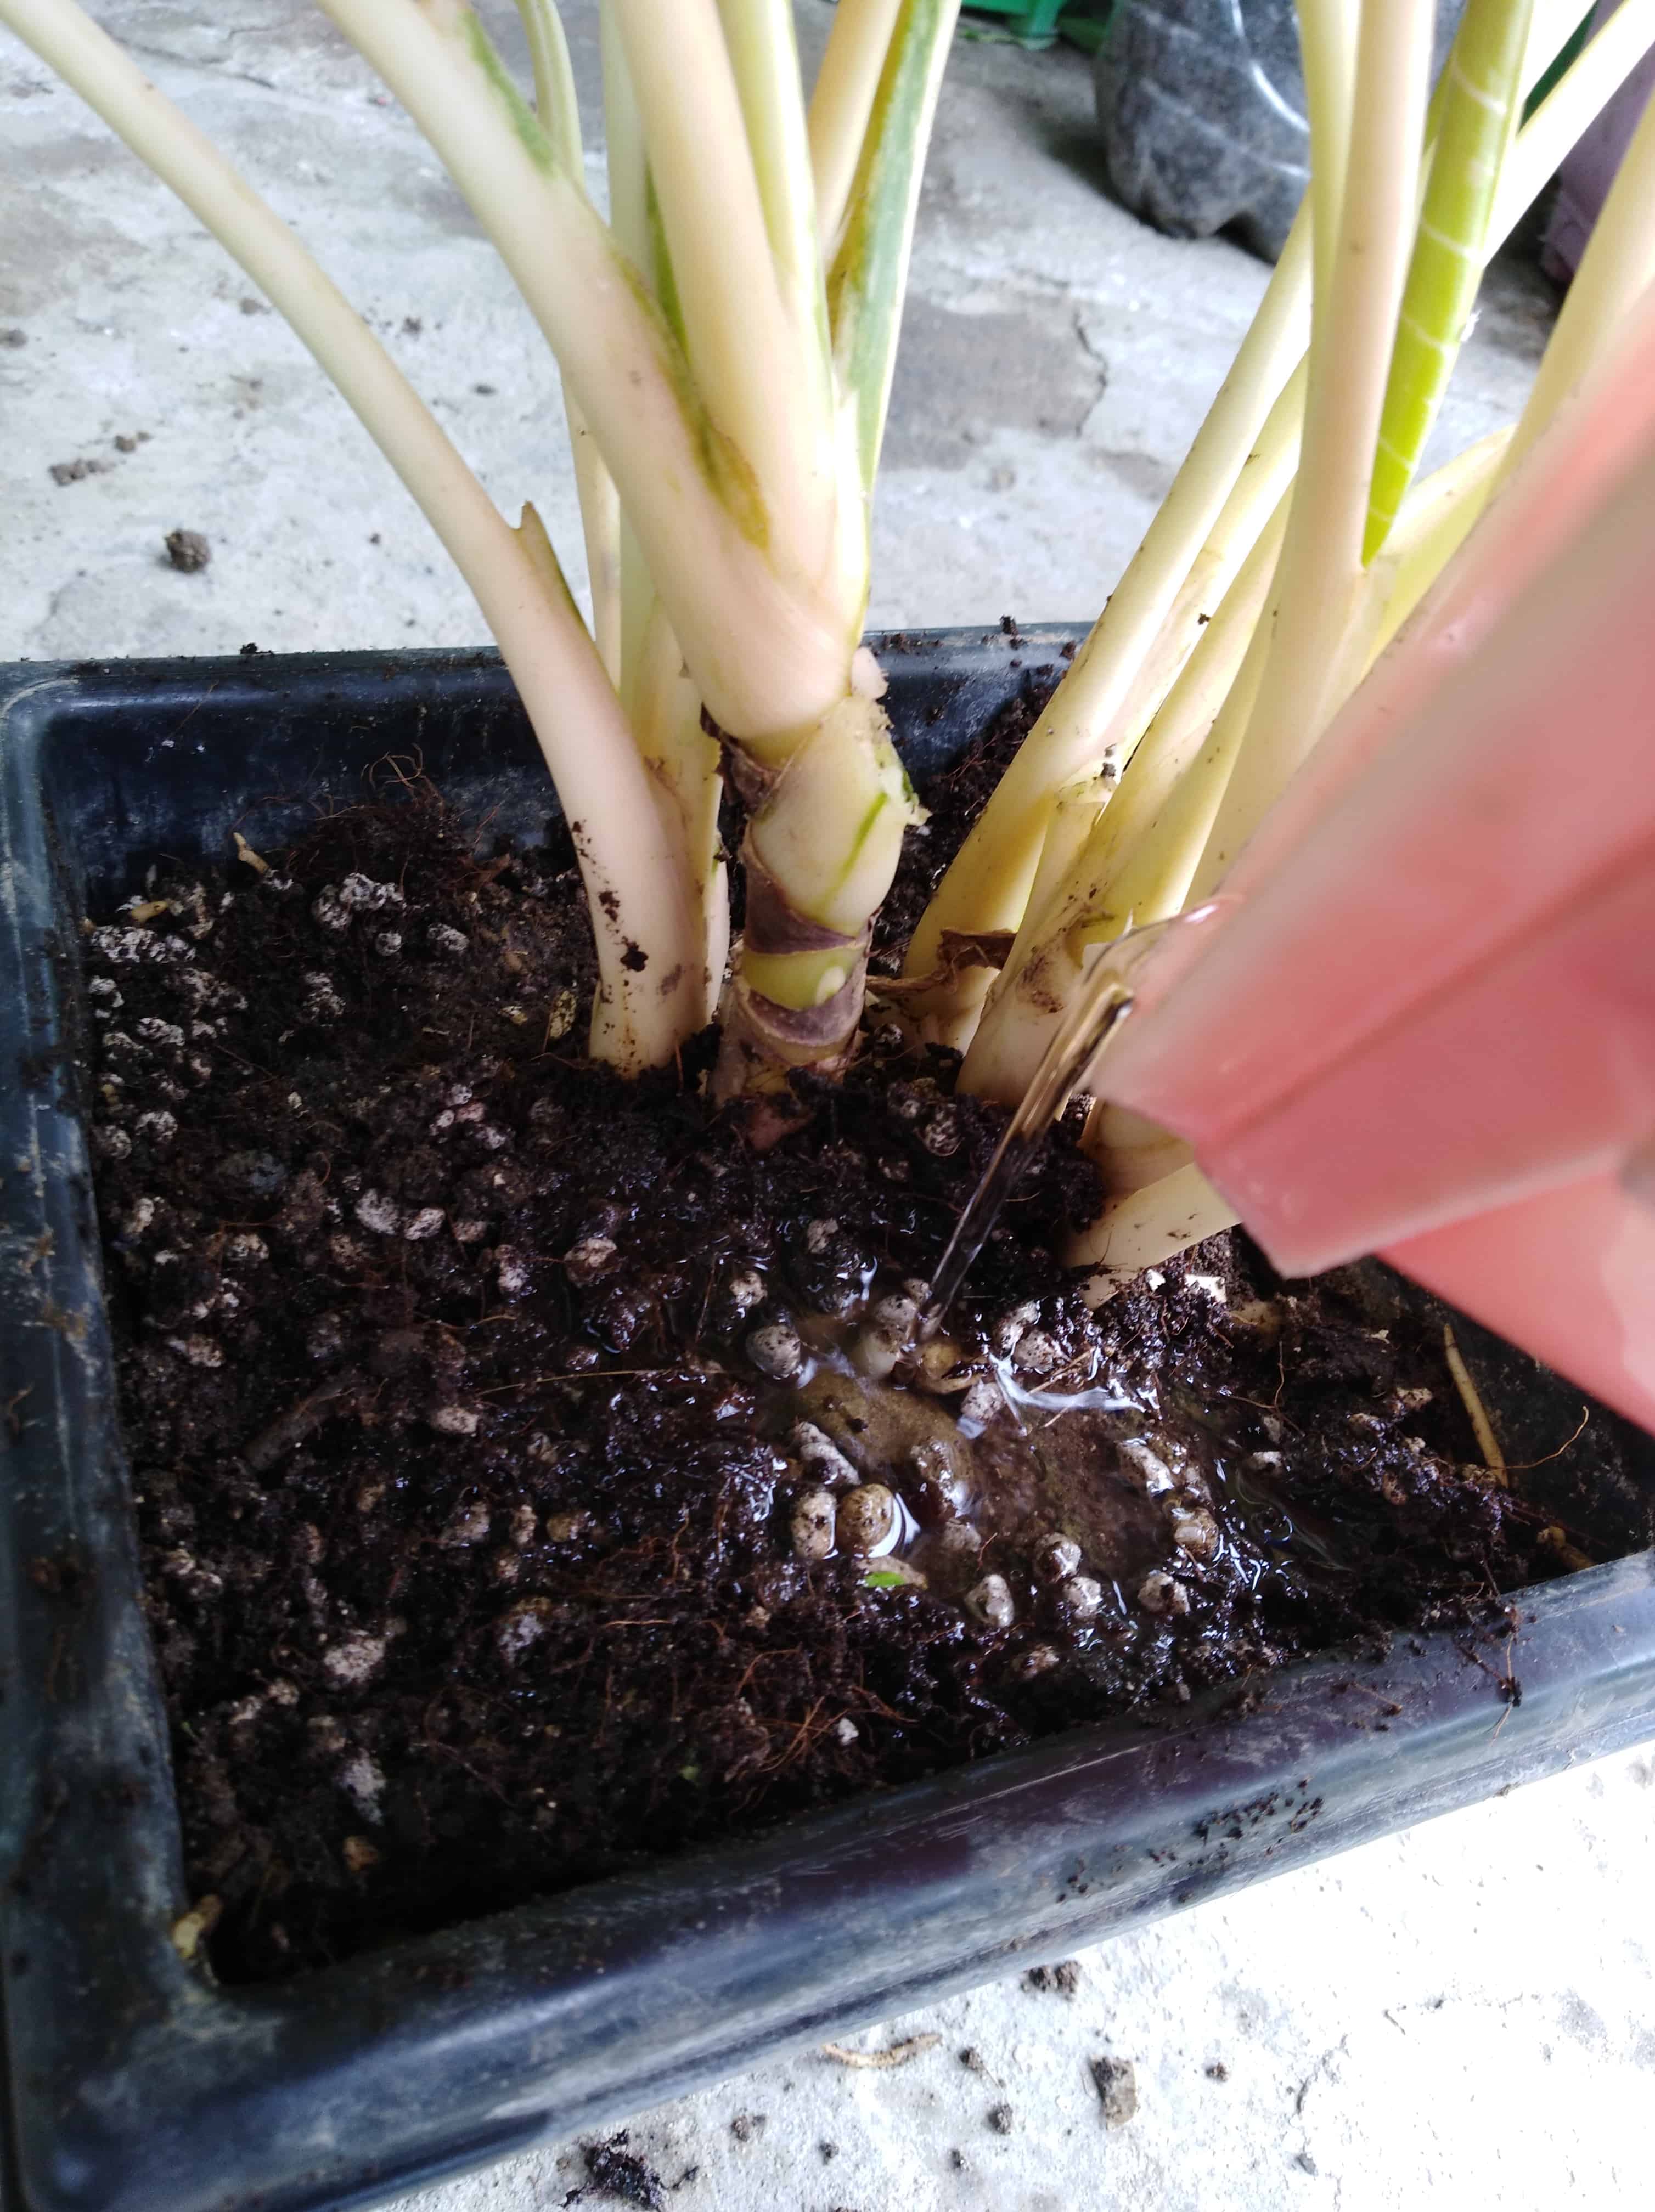
Using a thin spout, water evenly around the plant. The soil will sink a little but settle snugly around the plant, reinforcing its position. You should stop watering once excess water is escaping from the bottom, at this point the soil is thoroughly saturated. I recommend using rainwater or filtered water if you can, but depending on your plant’s species, tap water should, in most cases, suffice. But take note that some regions have tap water high in minerals which could affect the plant’s recovery. Just be sure not to overwater your plant, the roots are still growing and healing. The last thing they need is to get waterlogged.
You can instead turn up the humidity levels. Click here for the methods to increase humidity levels for plants. The plant cannot take up much water yet because the roots are still growing and getting used to their new home. High humidity will help compensate for that.
As mentioned in the previous section, you should avoid giving your plant fertilizers for up to 6 weeks. Aside from the plant being weakened, the roots are quite tender and openly exposed to the new soil. Because the goal is to have new roots developing freely from the rootball, you should avoid the roots coming in contact with any fertilizer that may ‘burn’ them. Let your plant recover for a good while before you try to make it bulk-up again.
You should also give your plant plenty of light for its needs. Although avoid putting it under direct sunlight exposure right away – a bright space with indirect light coming from a curtained window is enough.
7. Monitor the plant’s recovery for the next few days to weeks
As I mentioned, some plants are resilient enough to get through their recovery and perk back up. Some will be a drama queen and sulk for months before it actually shows signs of being better. Whichever personality your plant has, take special care of it after being repotted to note any changes.
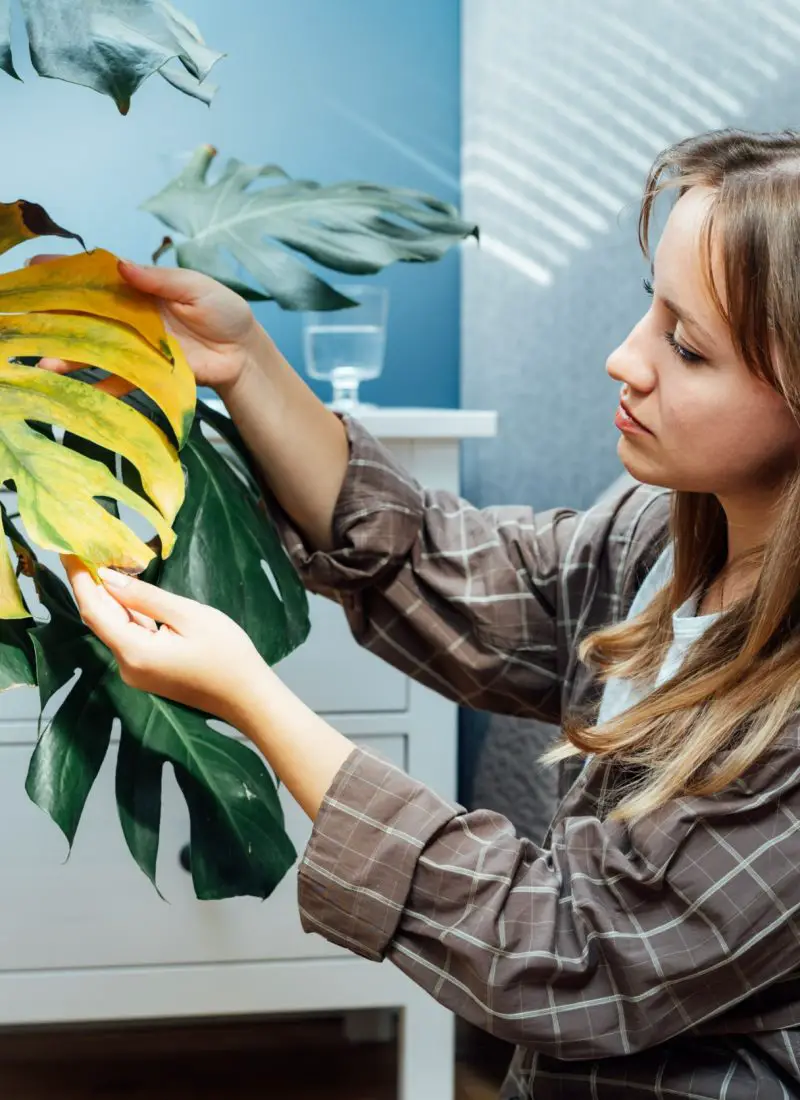
It’s alright if some leaves turn brown or yellow and fall off as long as you can clearly see new leaves growing. This phenomenon simply means the plant is redirecting its energy and nutrients to new growth rather than the old growth. Remove the damaged and dead leaves as needed and keep on keeping on, your plant will too.
For offspring(s), however, if you notice no new growth after a month, that means the root ball probably wasn’t divided correctly. If the foliage and root system are not balanced, the plant may succumb to death if not corrected quickly enough and if corrected by reducing foliage it may recover but slowly. Past a swift correction in foliage, nothing else can be done to salvage the poor baby plant than proper watering and sunlight. To do your best to comfort it in it’s time of need check out this article on the 4 essentials of houseplant care.
Repotting is a risky business for a plant. Check on the other offspring(s) and parent plant to see if they are facing the same issue just to be sure so you can hopefully save them in time too.
And there you have it! That’s all it takes to repot your plants. Now to do it with the rest of your rootbound plants … your plants will thank you immensely for all the effort 😀


Leave a Reply