Pruning your houseplants can be one of the scariest things to do as a plant owner. The fear of not knowing whether your plants will grow back after you cut off parts of it will always be there – in some cases, it may even be a permanent change.
Table of contents
Fear not, my fellow plant companions! Pruning is actually healthy for your plants to stimulate new growth and keep it looking great. With these listed easy steps and detailed tips alongside them, you can prune your houseplant quickly but effectively to ensure it will grow back to what it has lost.
Before you begin pruning, here’s a little checklist of what you need to prepare for pruning your plant:
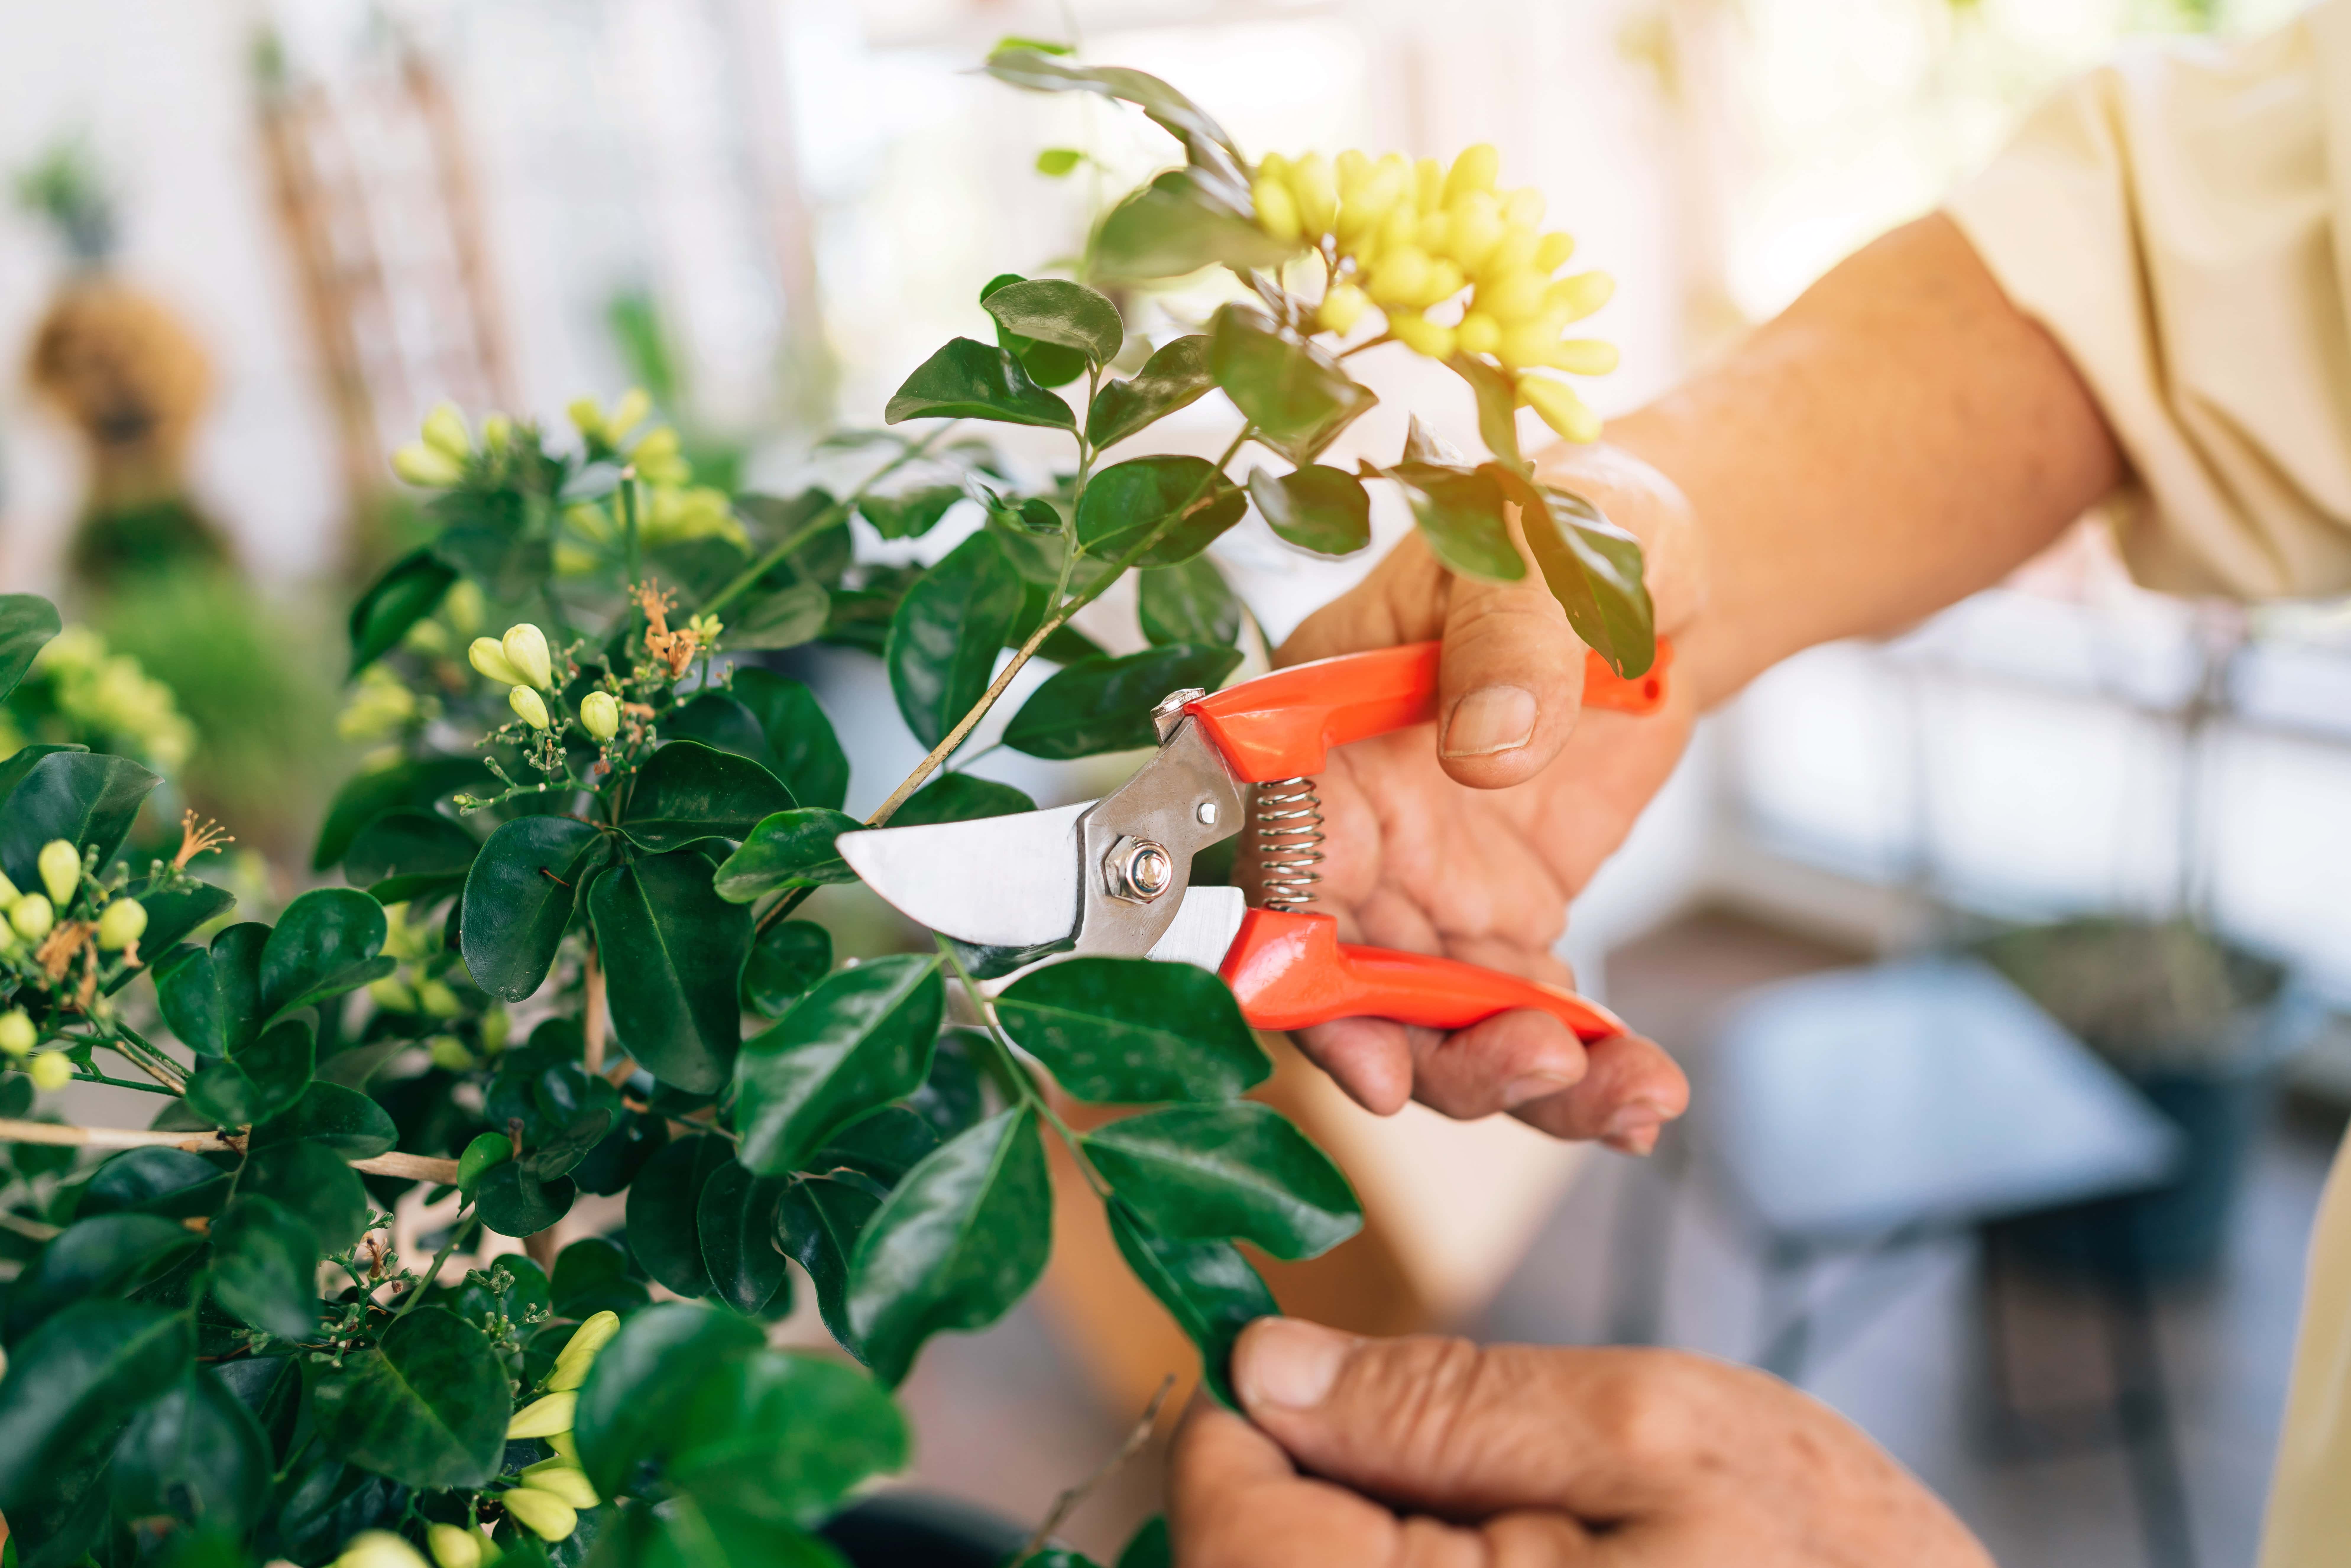
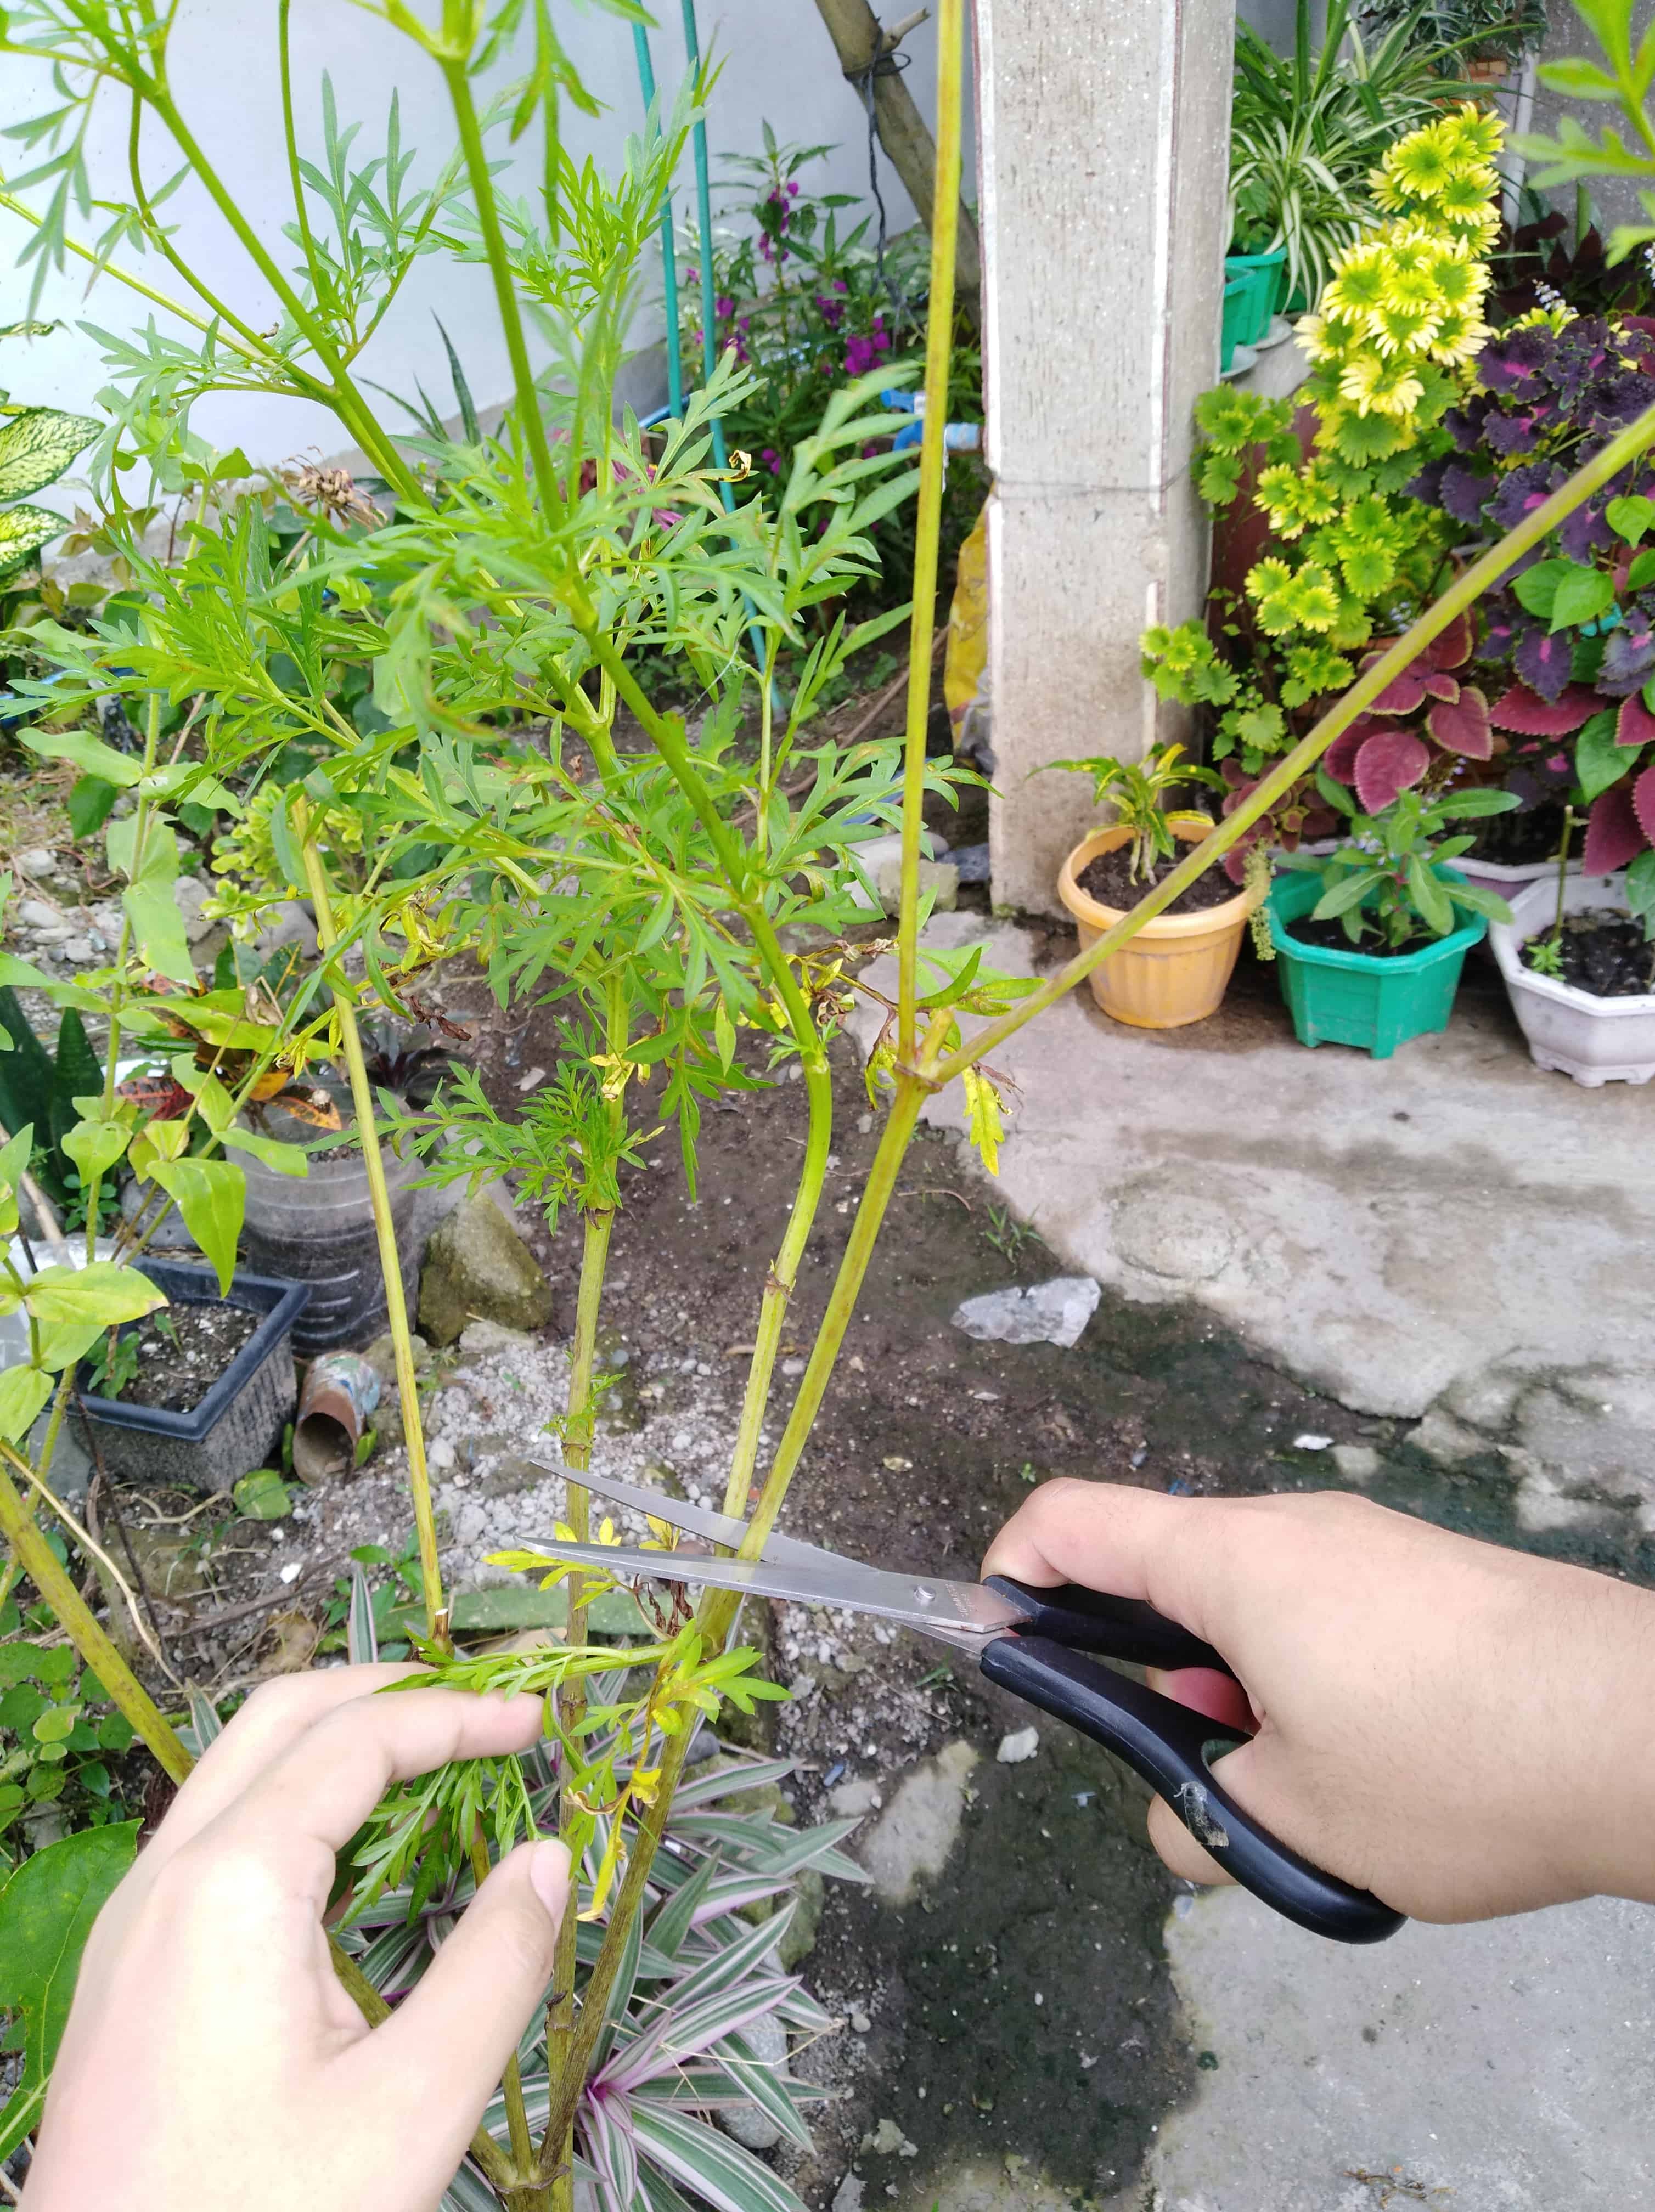
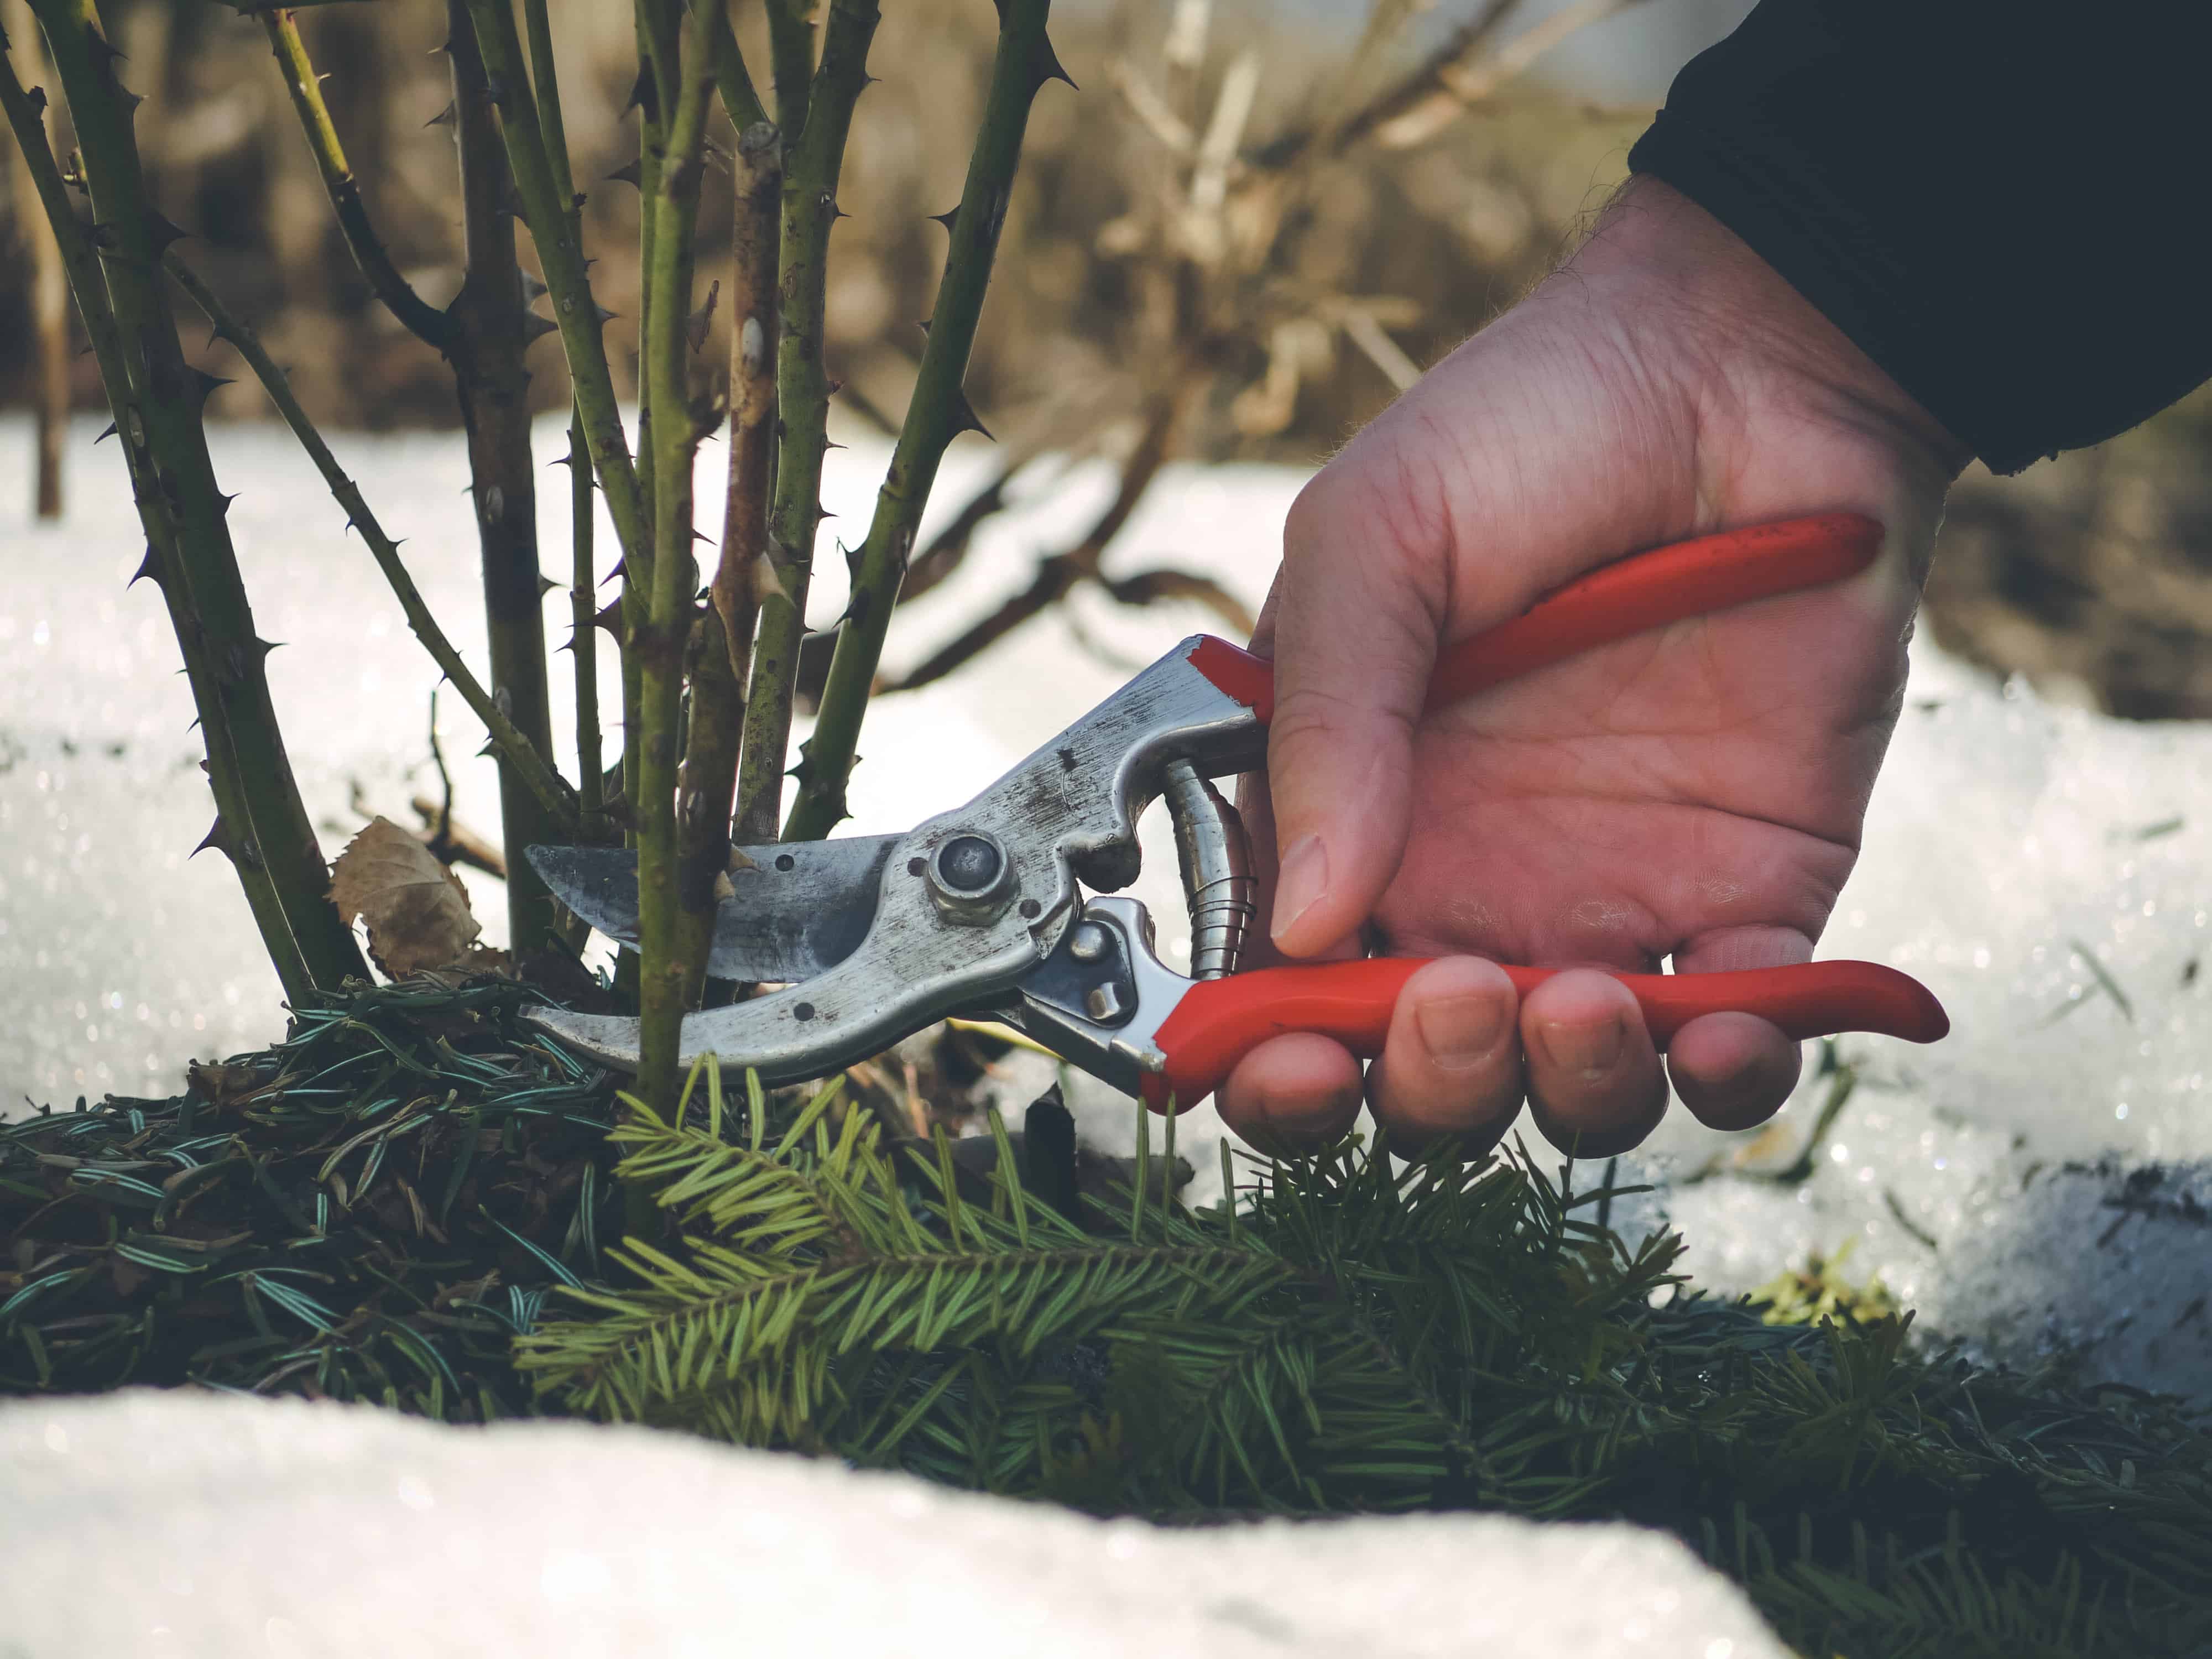
- Prepare pruning shears for woody/thick stem plants or strong scissors for soft-stemmed plants. Make sure your cutting tools are sharp because dull blades will bruise the plants easily and delay their recovery.
- Disinfect your cutting tools with alcohol wipes before, after, and in between pruning each plant. This nifty practice makes sure that you’re not transferring any pathogens on your cutting tools between plants.
- Optional: wear gloves and an apron if your plants have caustic sap. Some sap can be pretty difficult to wash off once it gets on your hands or clothes; some can also be a skin irritant. So it’s best to layer up when you prune your plants.
- Lay several newspapers on the ground around the plant to catch fallen dirt, leaves, branches, and sap. It makes clean-up easier while also avoiding making a mess on your floor, especially with sap.
- Research your plant whether it’s sensitive to pruning. It’s not typical for plants to be sensitive to the process, but researching it does give you a heads-up so you don’t panic just in case your plant is taking a while to recover after pruning. And it will also give you an idea of whether the plant needs pruning at all or not; for example, palm and Norfolk Island pines rarely need any pruning because the branches will fall off on their own when it’s dead.
- Prune your plants at the start of the growing seasons, i.e., late winter to early spring. This gives the plants a chance to recover and bloom more. You want to encourage new growth after it has been pruned, so it is best to do this during the beginning of the growing season. Note: For flowering plants, only prune them after they finish flowering. If there are unopened buds on the plant, don’t prune at all.
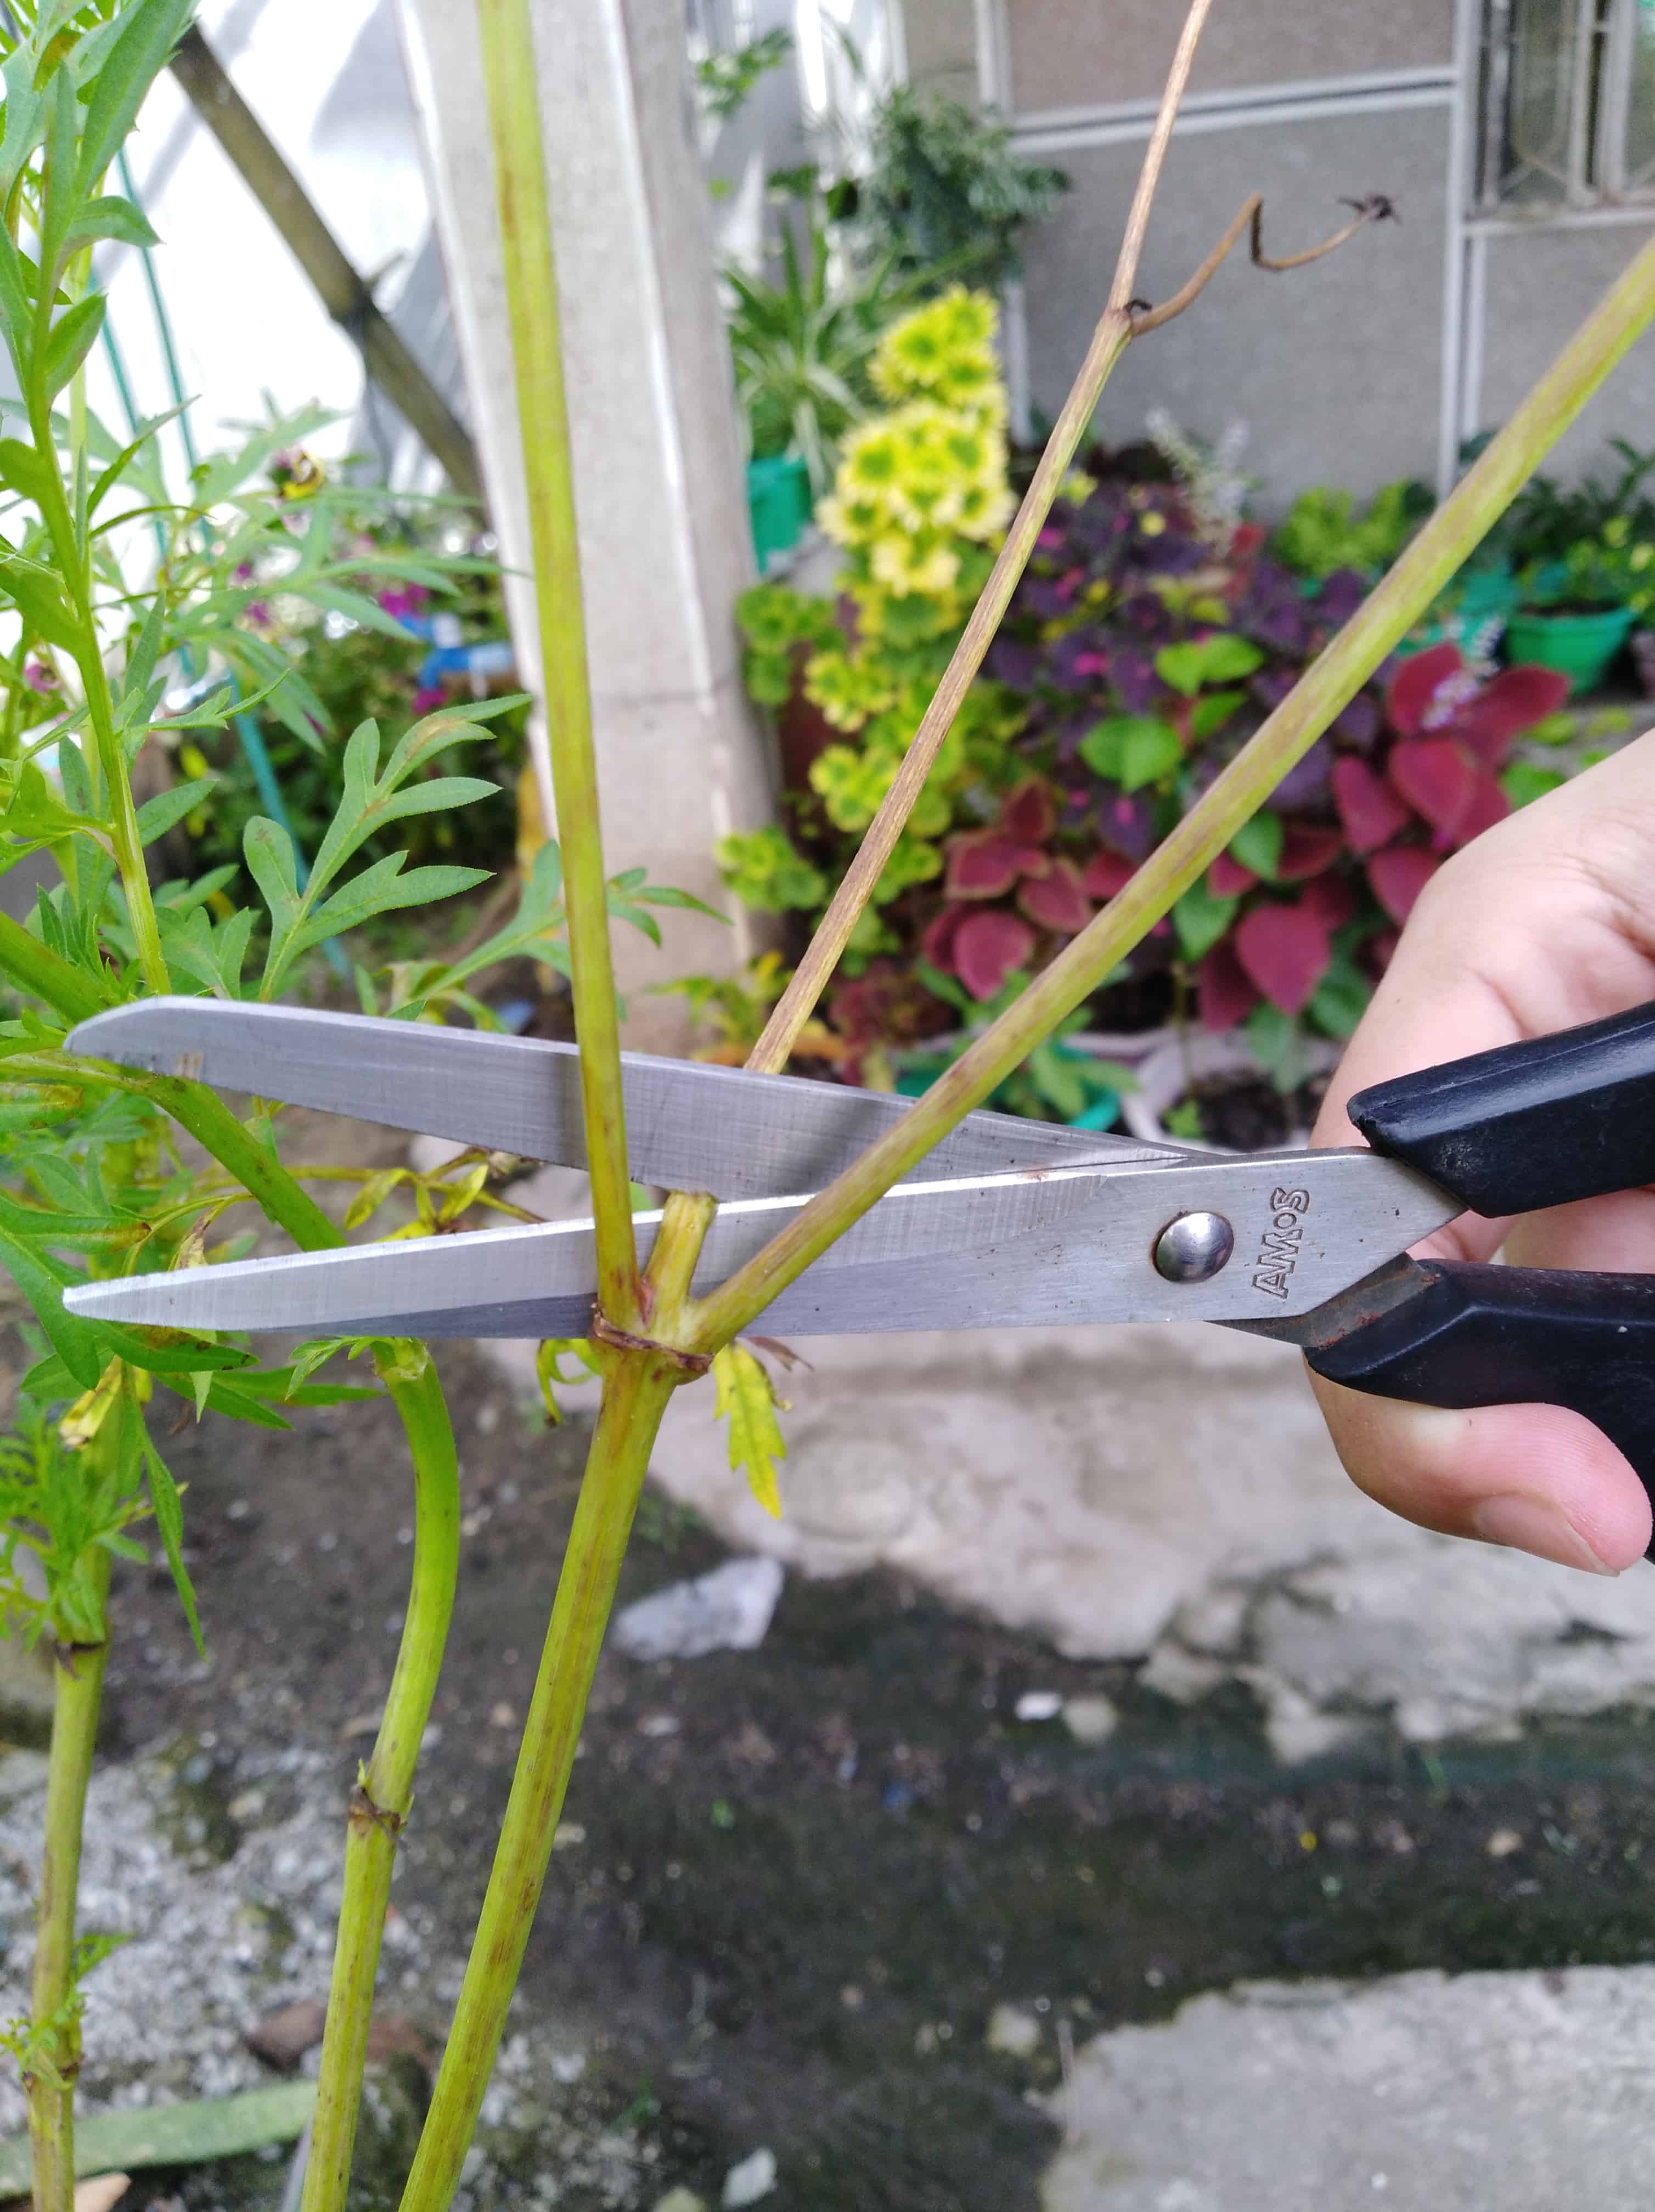
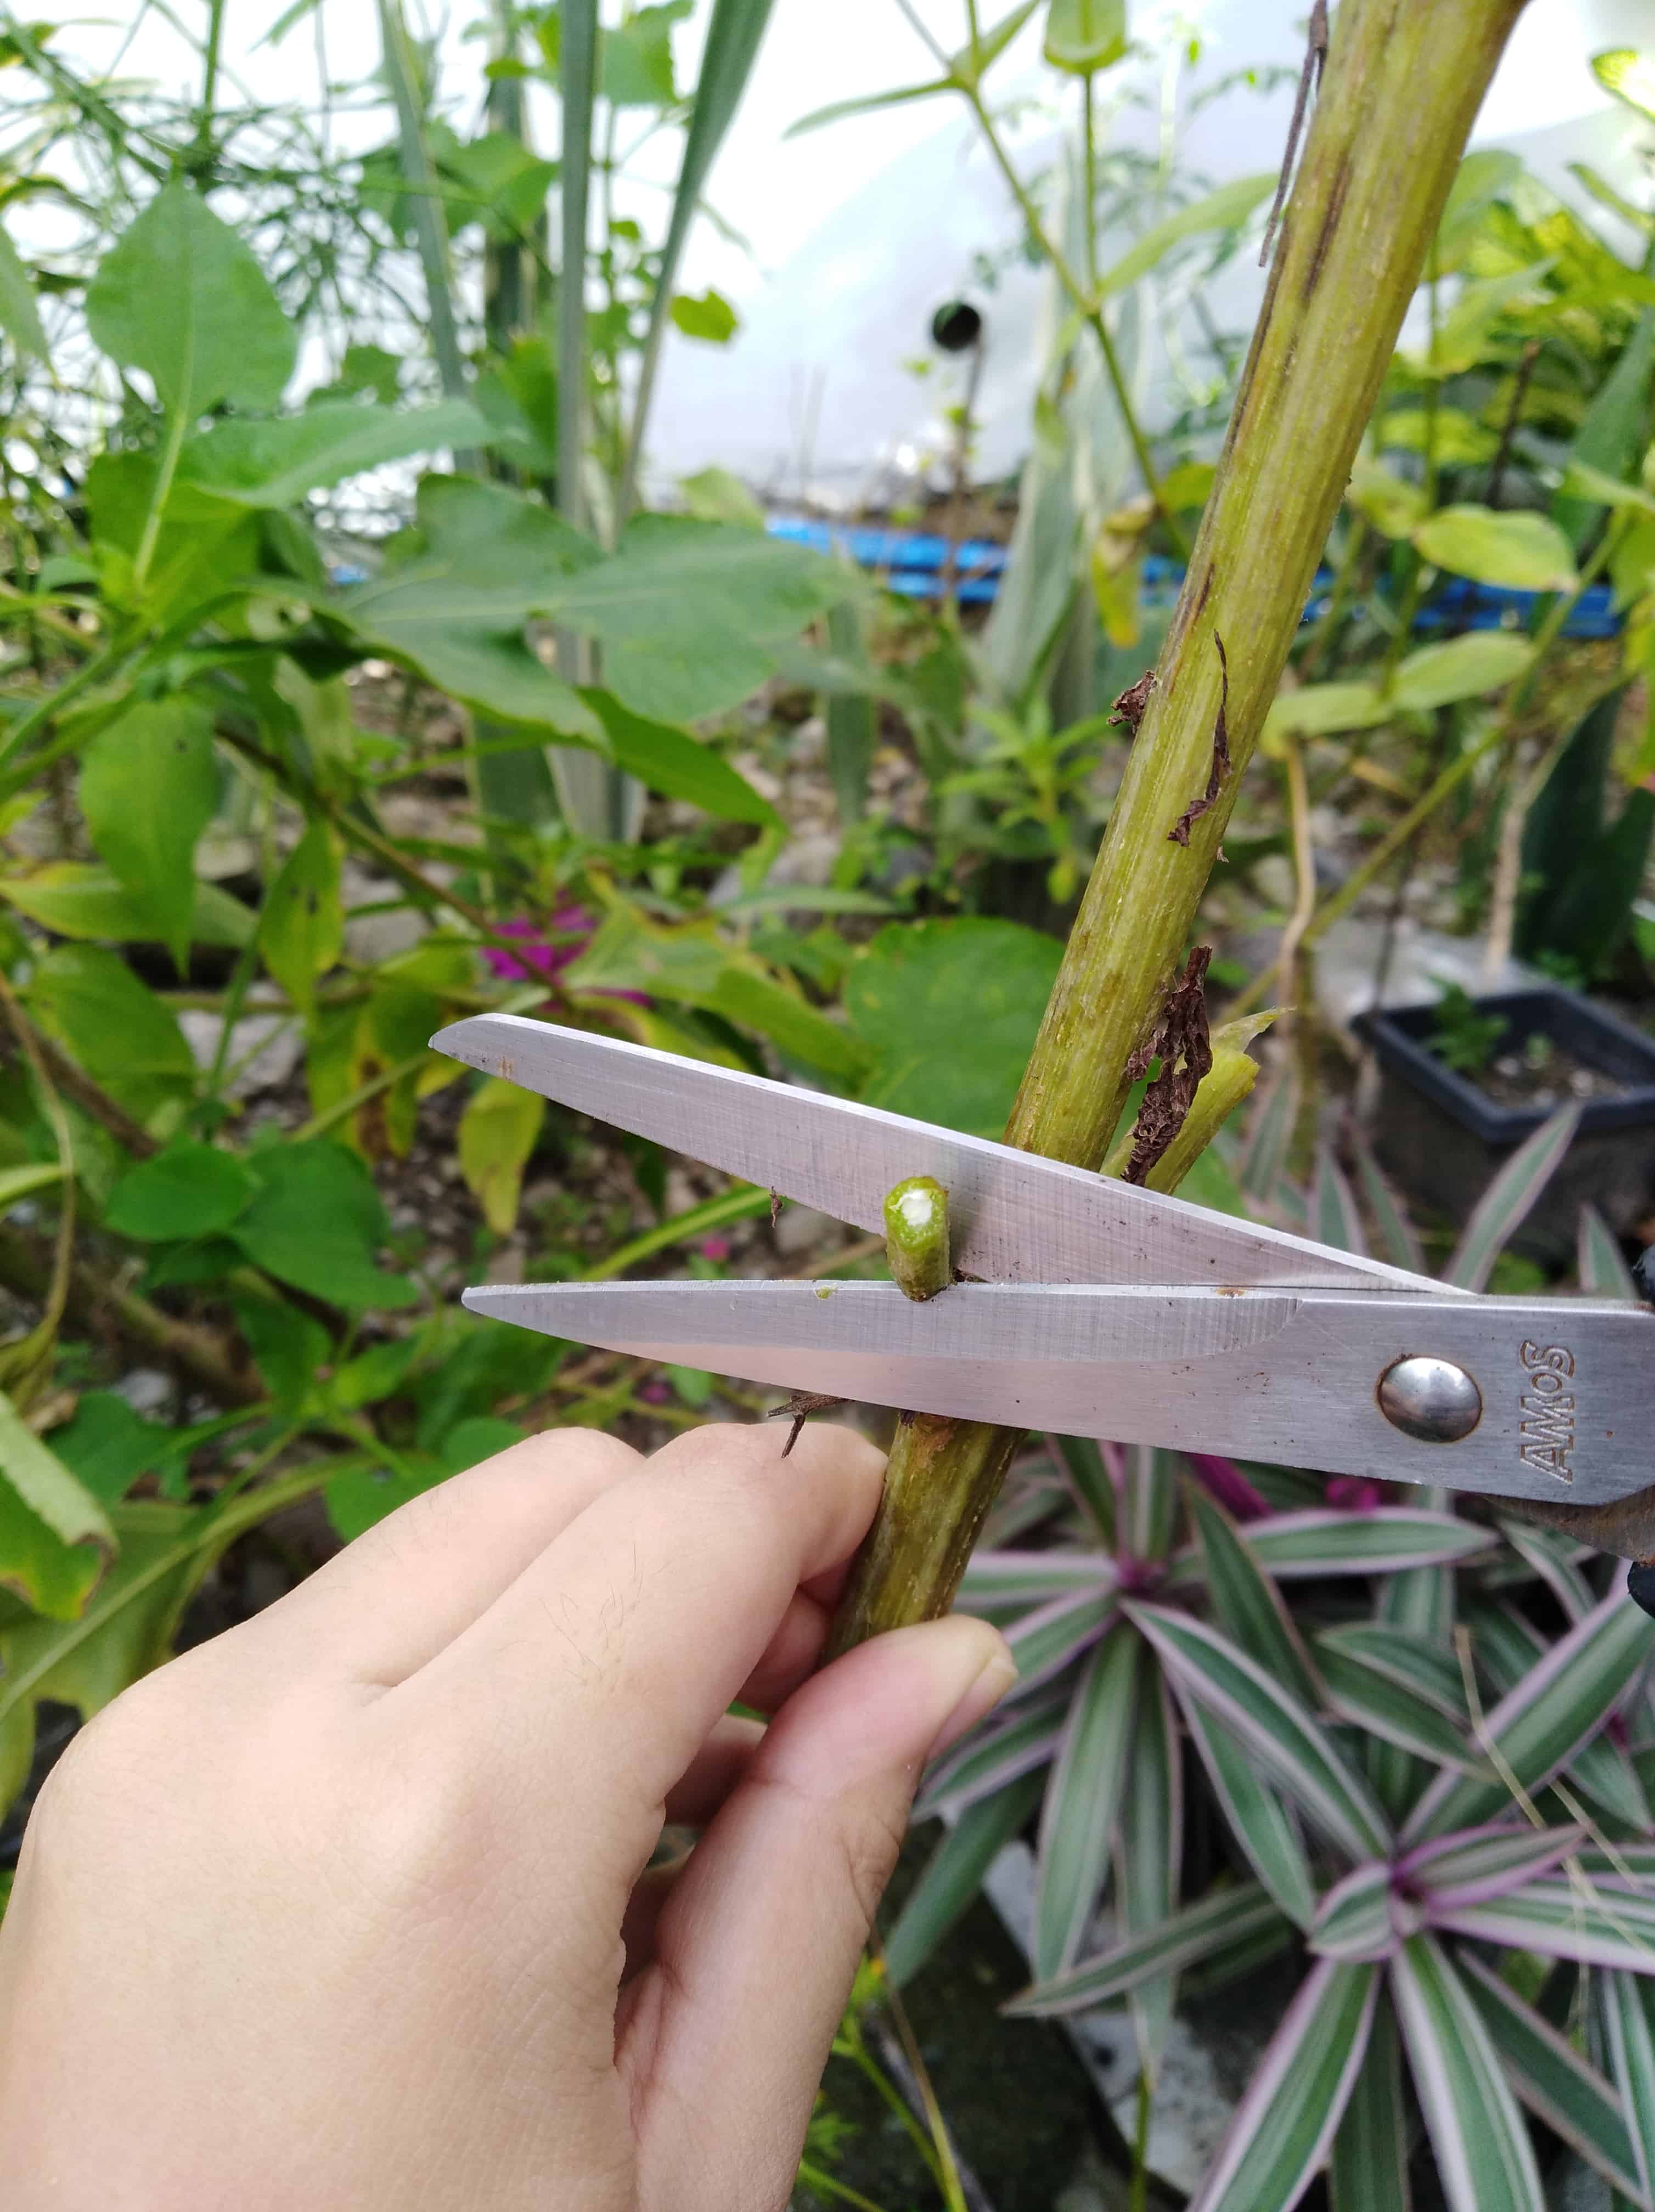
- Always trim before a node, NOT at the node unless you are getting rid of a dead stem/branch/leaf. A node refers to the swollen bit on a plant where side stems or a leaf grows. This method allows the plant to redirect its energy to existing nodes, creating a plentiful look.
(As an Amazon Associate, I earn from qualifying purchases.)
Step 1: Remove dead leaves, stems, and flowers off the plant
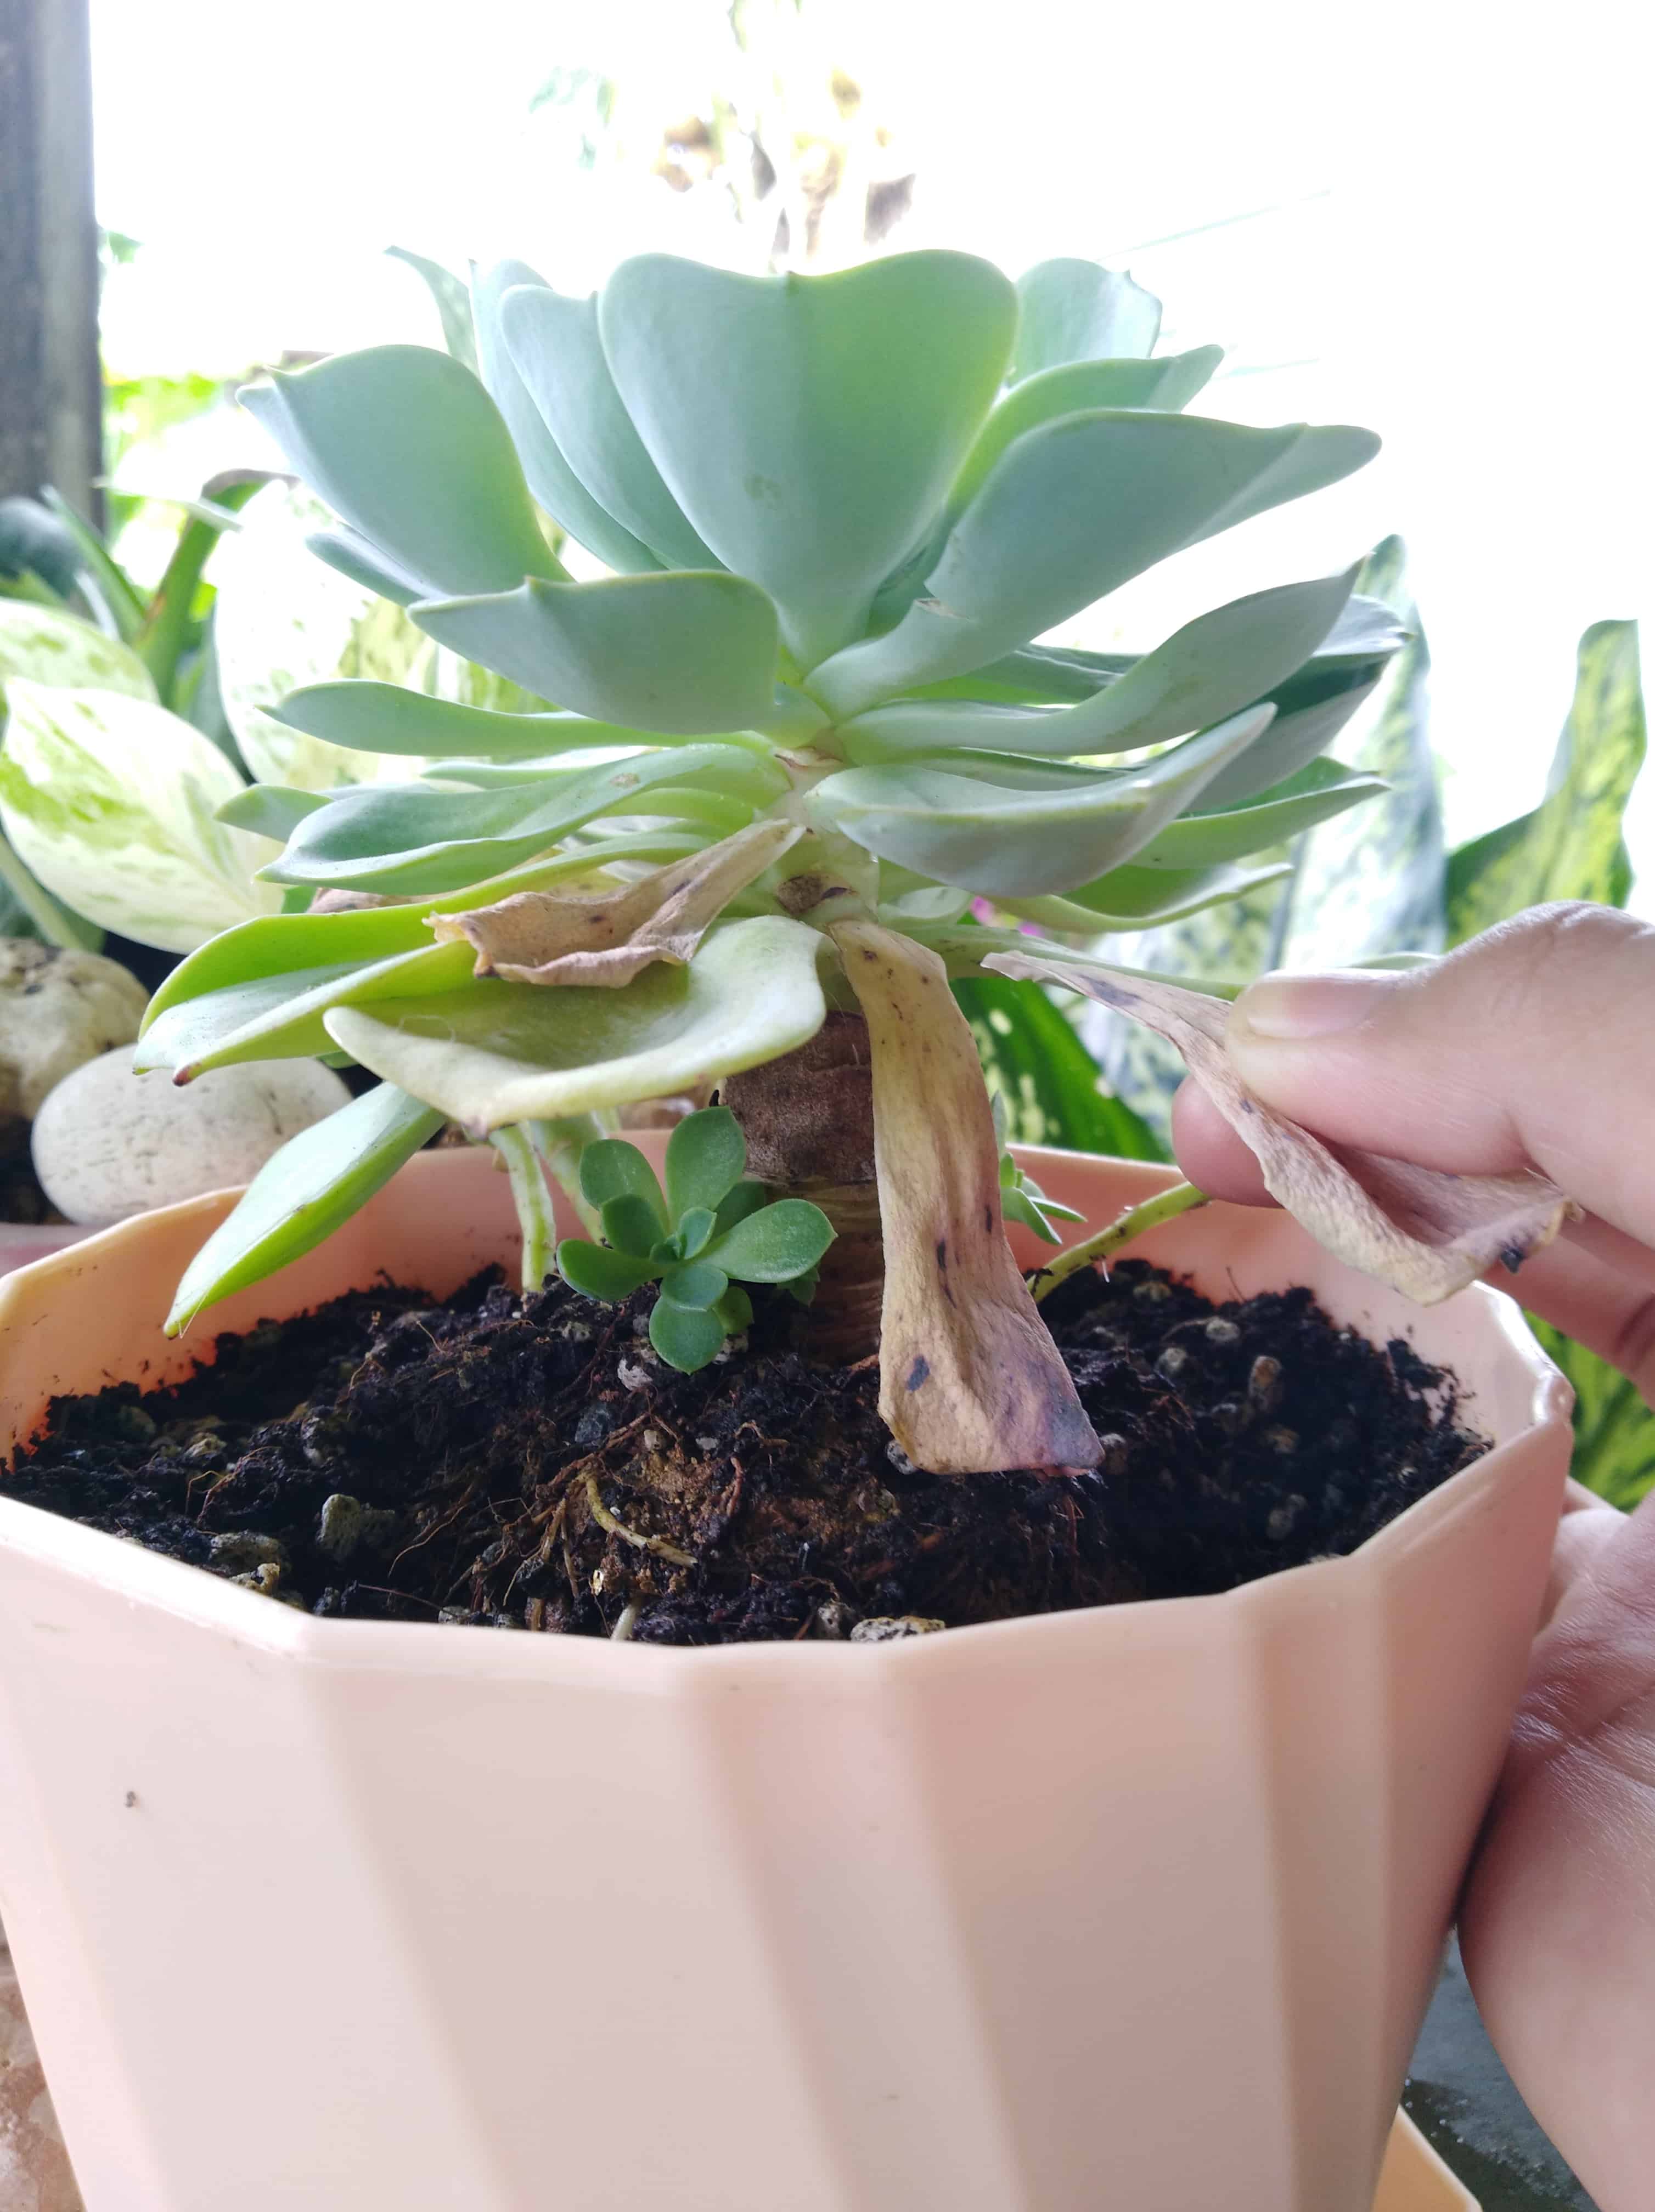
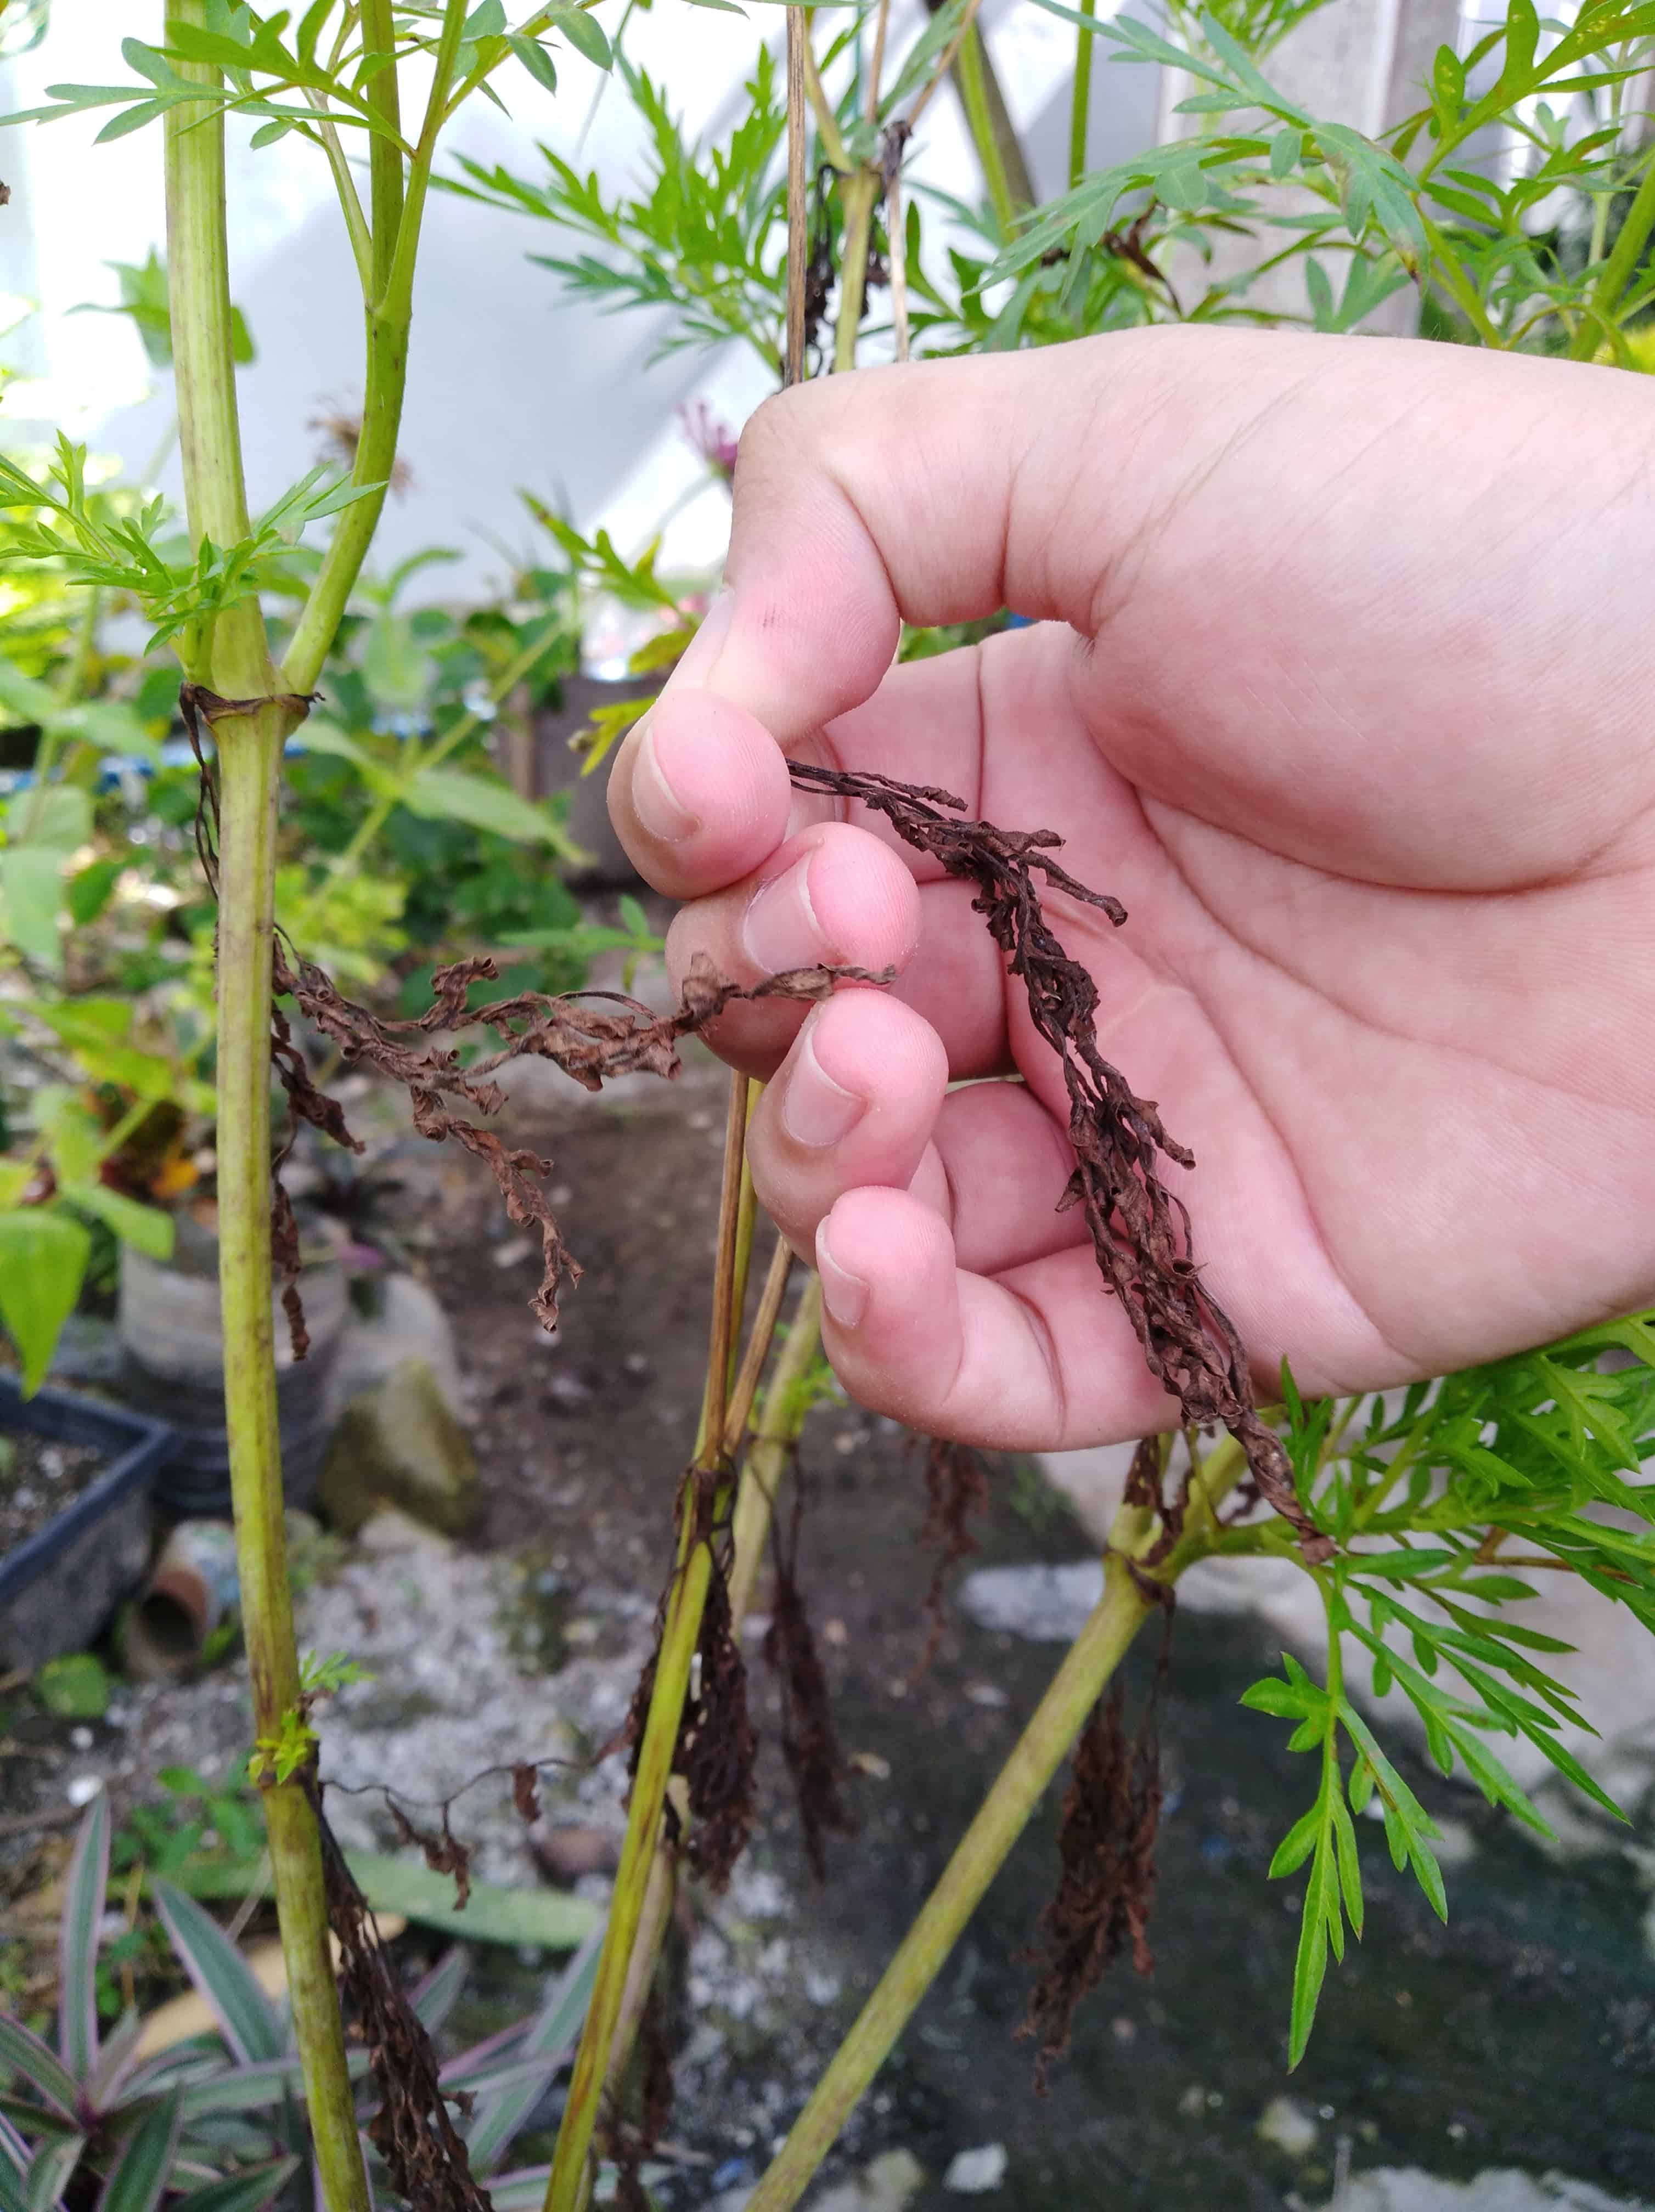
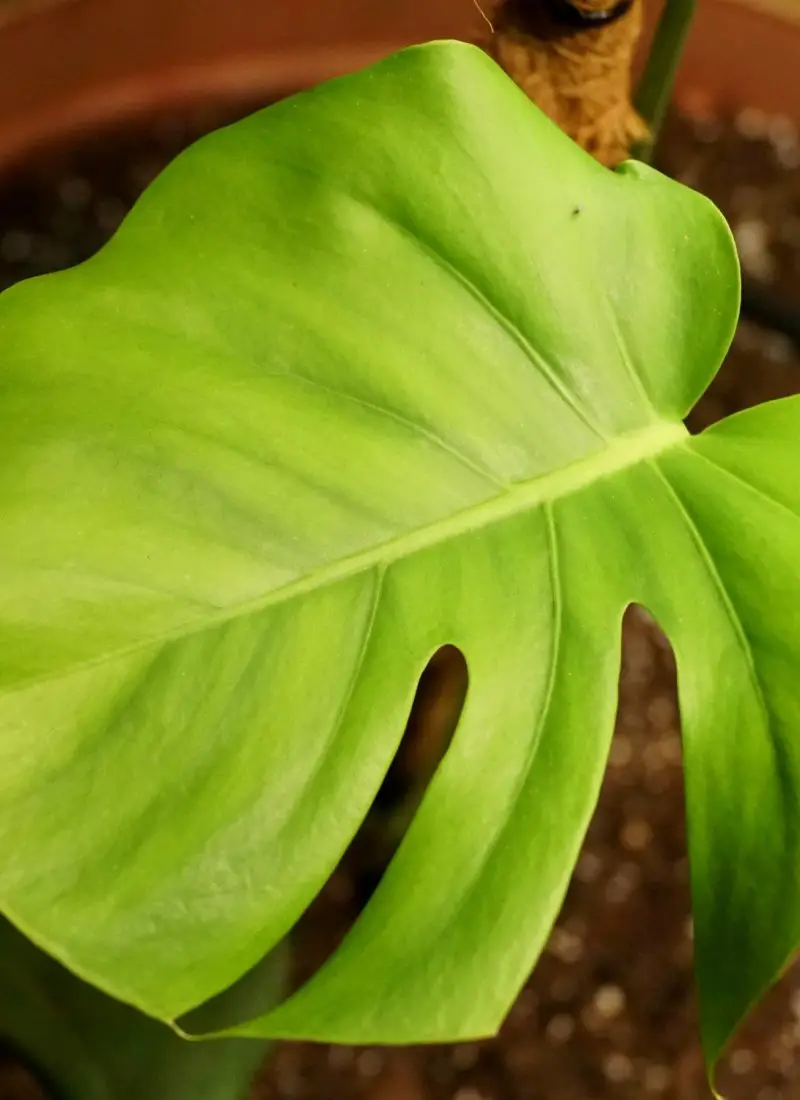
For foliage plants, simply pinch dead leaves off the stem. It should be dry and crisp enough to fall right off, but removing the dead leaves can help your plant out a little. If the majority of leaves on a stem are dead, it’s better to just cut off the entire stem to stimulate new growth instead.
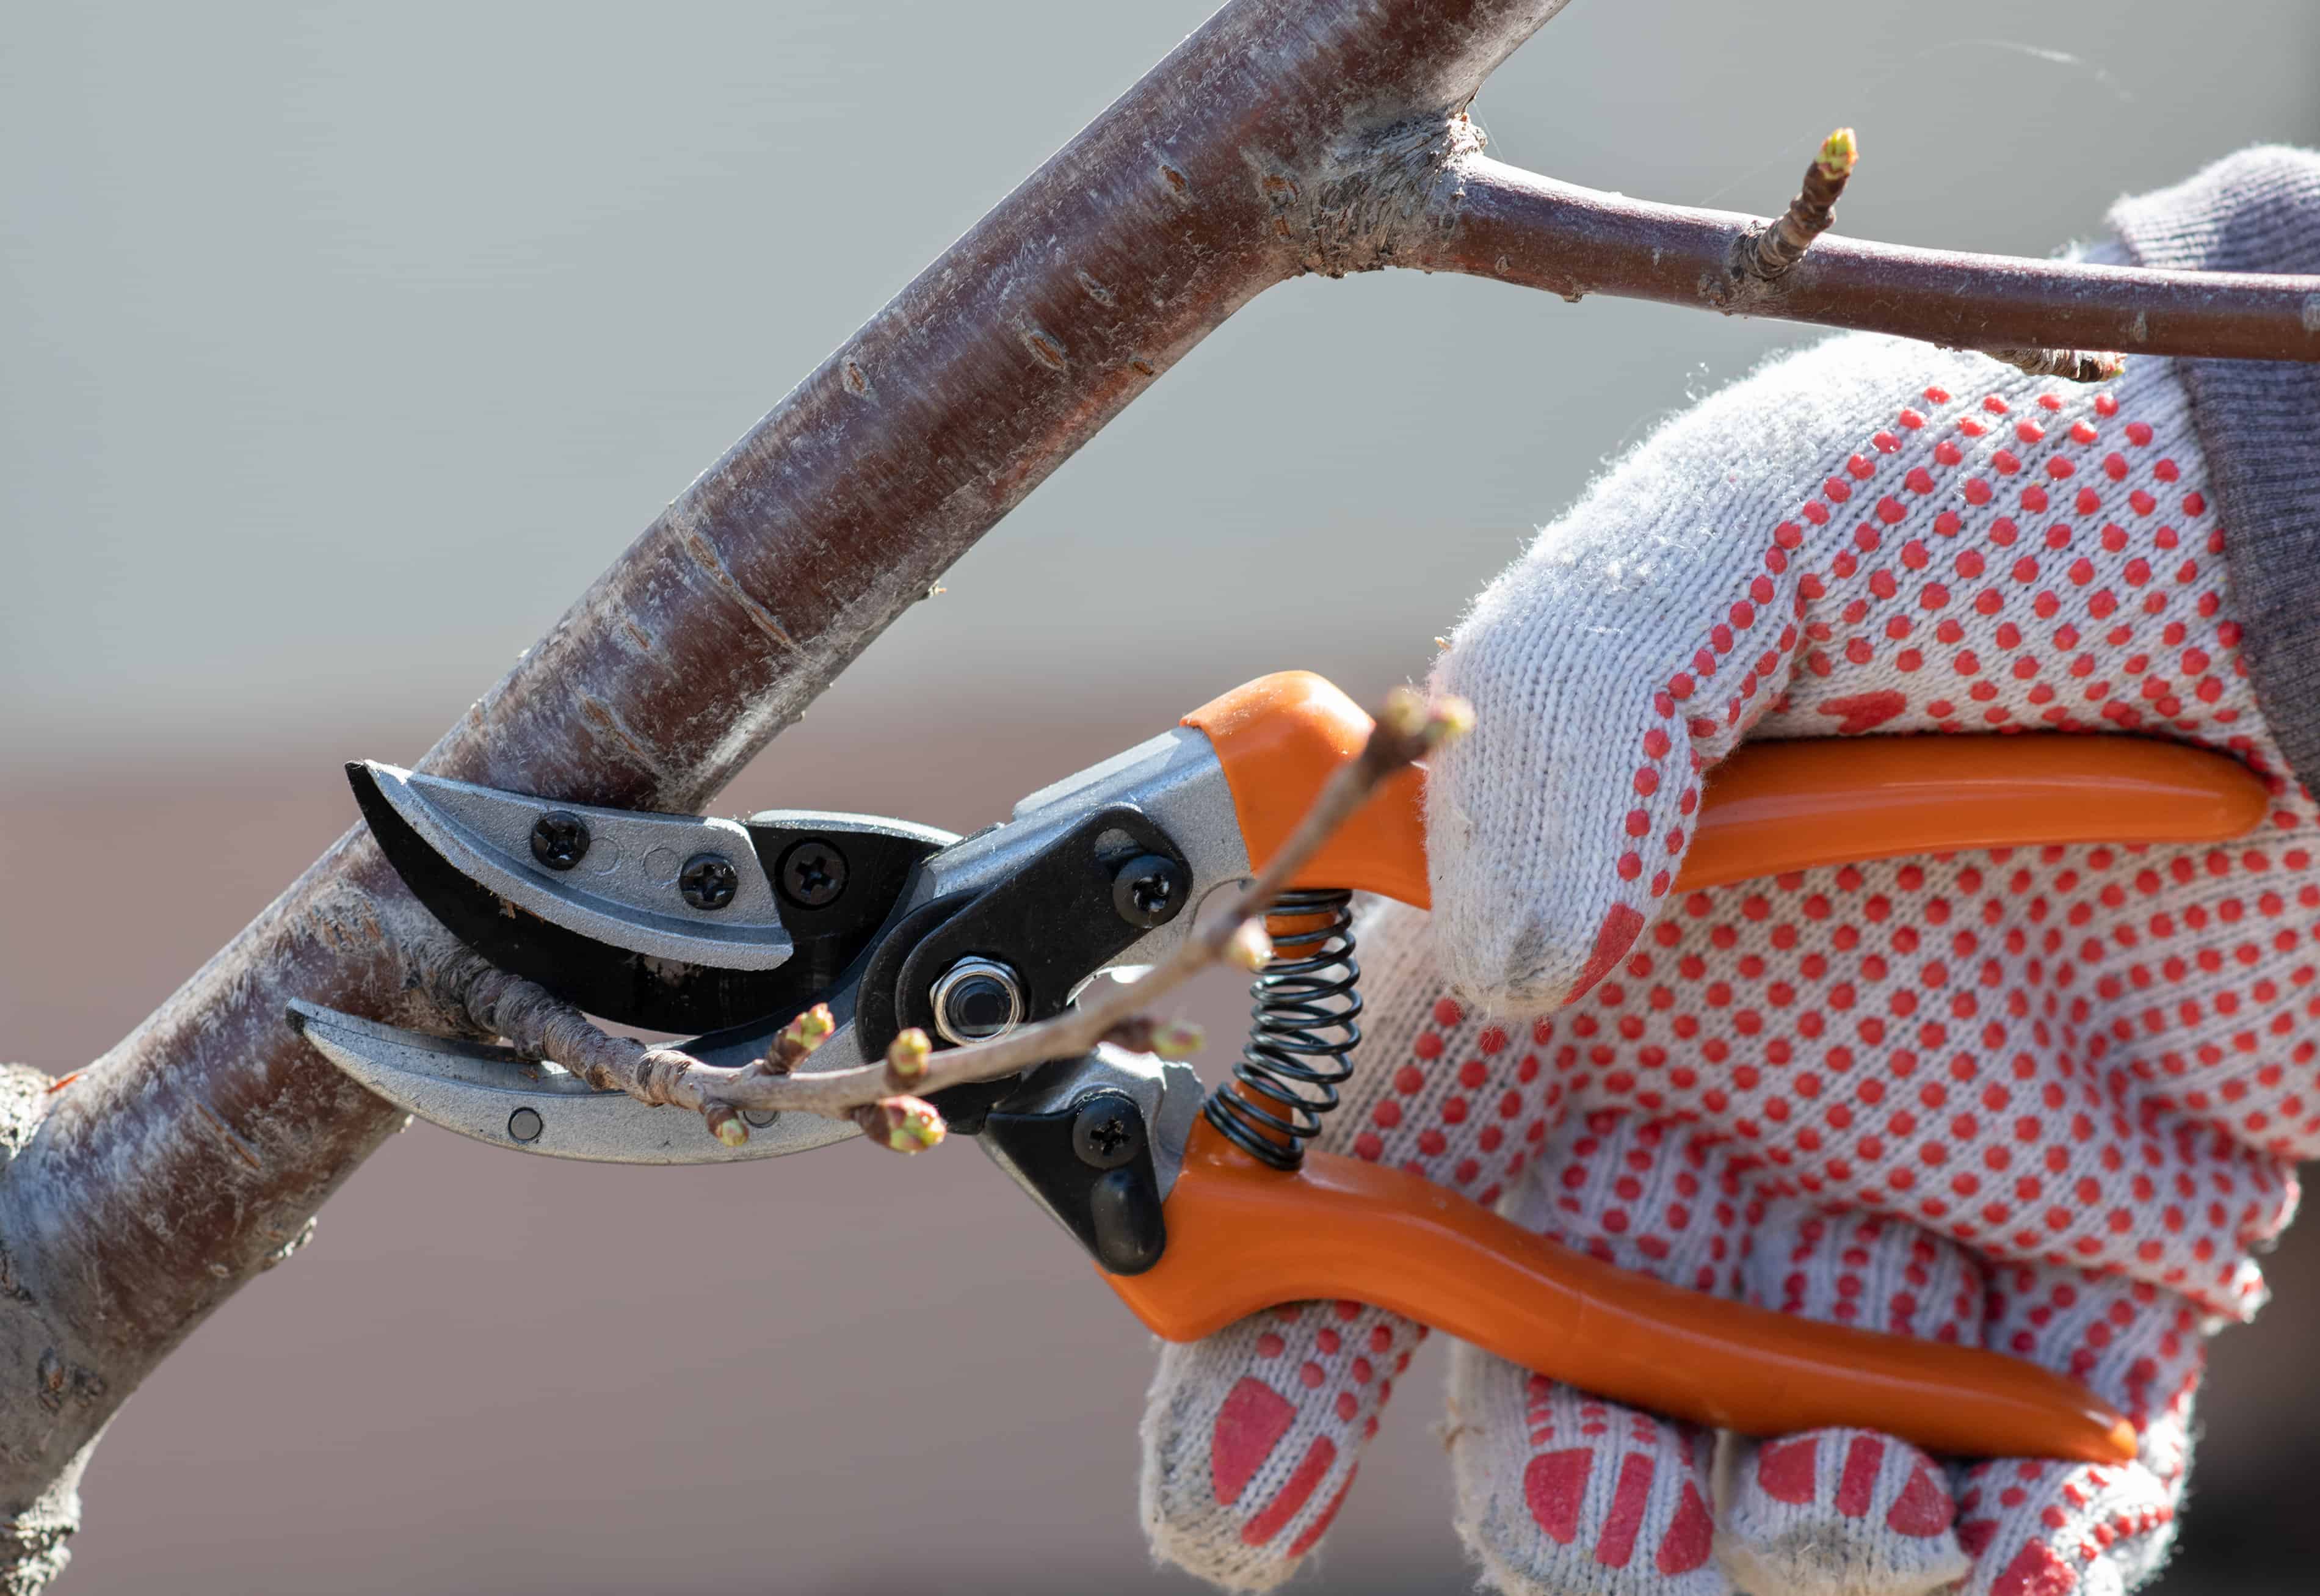
For woody plants, check the branches to see any new growth, like unopened buds developing amongst the dead leaves. If there are buds present, remove the dead leaves only. If there isn’t any, that means the branch is probably dead, so you’ll have to remove the entire branch off the plant.
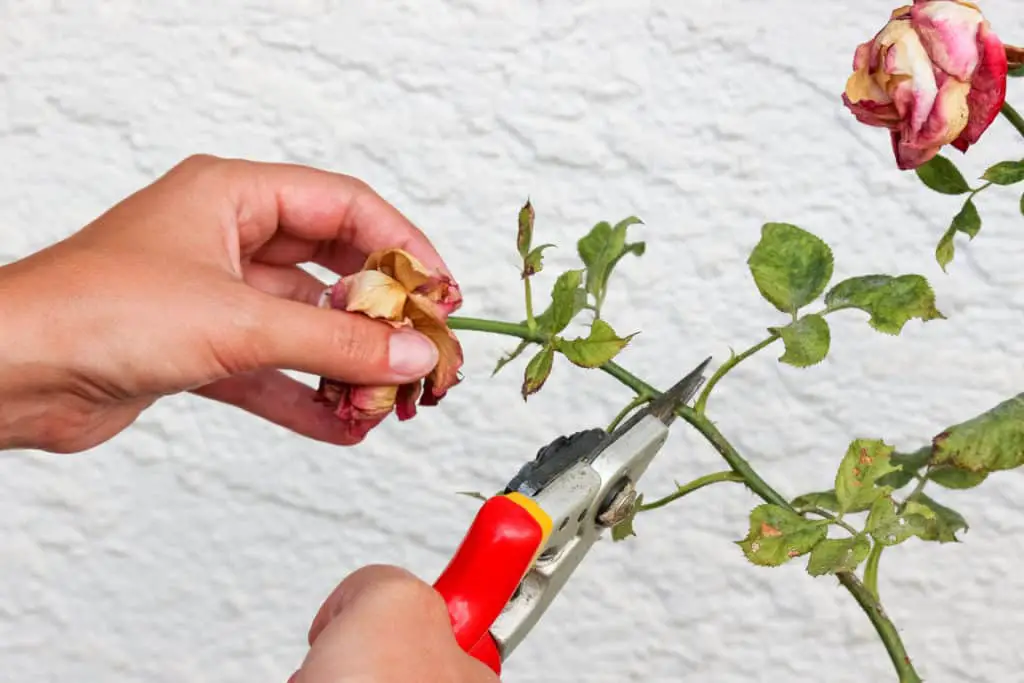
For flowering plants, remove any wilting flowers off the stems. If all the flowers on a stem look spent, it’s better to just cut the whole stem off the plant. Even dying flowers still siphon off nutrients and energy from the plant; removing them will allow new buds to form.
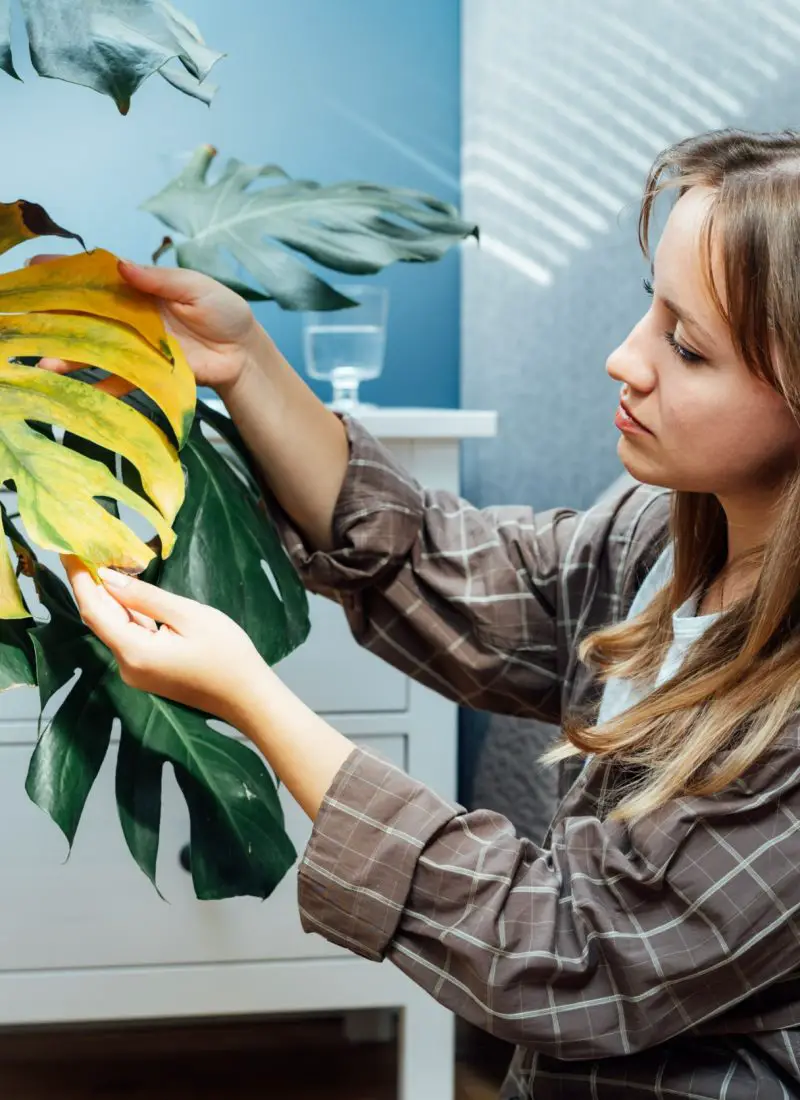
After dead leaves, stems, and flowers have been removed, inspect your plant(s) closely. Old growth may be the cause for dying parts of the plant, but it doesn’t hurt to investigate for other reasons of dead growth:
- Check the leaves and stems from top to bottom for any pests.
- Check the leaves and stems for any unusual markings like discolored blotches.
- Check the soil’s dampness/dryness.
- Check the roots to see if there’s root rot or the plant is rootbound.
These are just some of the things you can do to examine your plants’ health. If you find something wrong and identify it early enough you can nurse the plant back to health whether they are infested, infected, or simply struggling. Keep in mind, you don’t want to get into heavy pruning when the plants are sick; if you go overboard they won’t bounce back. You first need to address the underlying problem(s) because pruning isn’t a solution to every problem. However, when fixing problems like root rot or simply propagating it is necessary to balance the root to foliage ratio.
If there doesn’t seem to be any problem at all, move on to the next step!
Step 2: Trim damaged leaves, stems, or flowers off the plant
After getting rid of the dead parts of the plant, you will likely be left with leaves, stems, or flowers that have slight marking such as brown tips, crispy edges, and discoloration. For the most part, it’s alright to leave these as-is if the damage is not extensive, provided it is not caused by an infection, infestation, or lack of care. And if you prefer your plants to look pristine, you can choose to cut the damaged parts off and even shape their look.
But take note of the following tips when trimming your plant down:
- Prune only 10-20% of your plant. Don’t get carried away with snipping your plants like you’re Edward Scissorhands – do it moderately, and your plant will be grateful for it.
- Rotate your plant as you trim it down. You want to make sure to get it cut down evenly and not leave a striking bald patch somewhere like the time you accidentally got your hands on your dad’s hair trimmer.
- Note crowded areas on the plant. It’s advisable to prune the stem and leaves down in this area to allow good air circulation around your plant. If it’s too crowded, it will possibly cause weakened and dead parts of the plant.
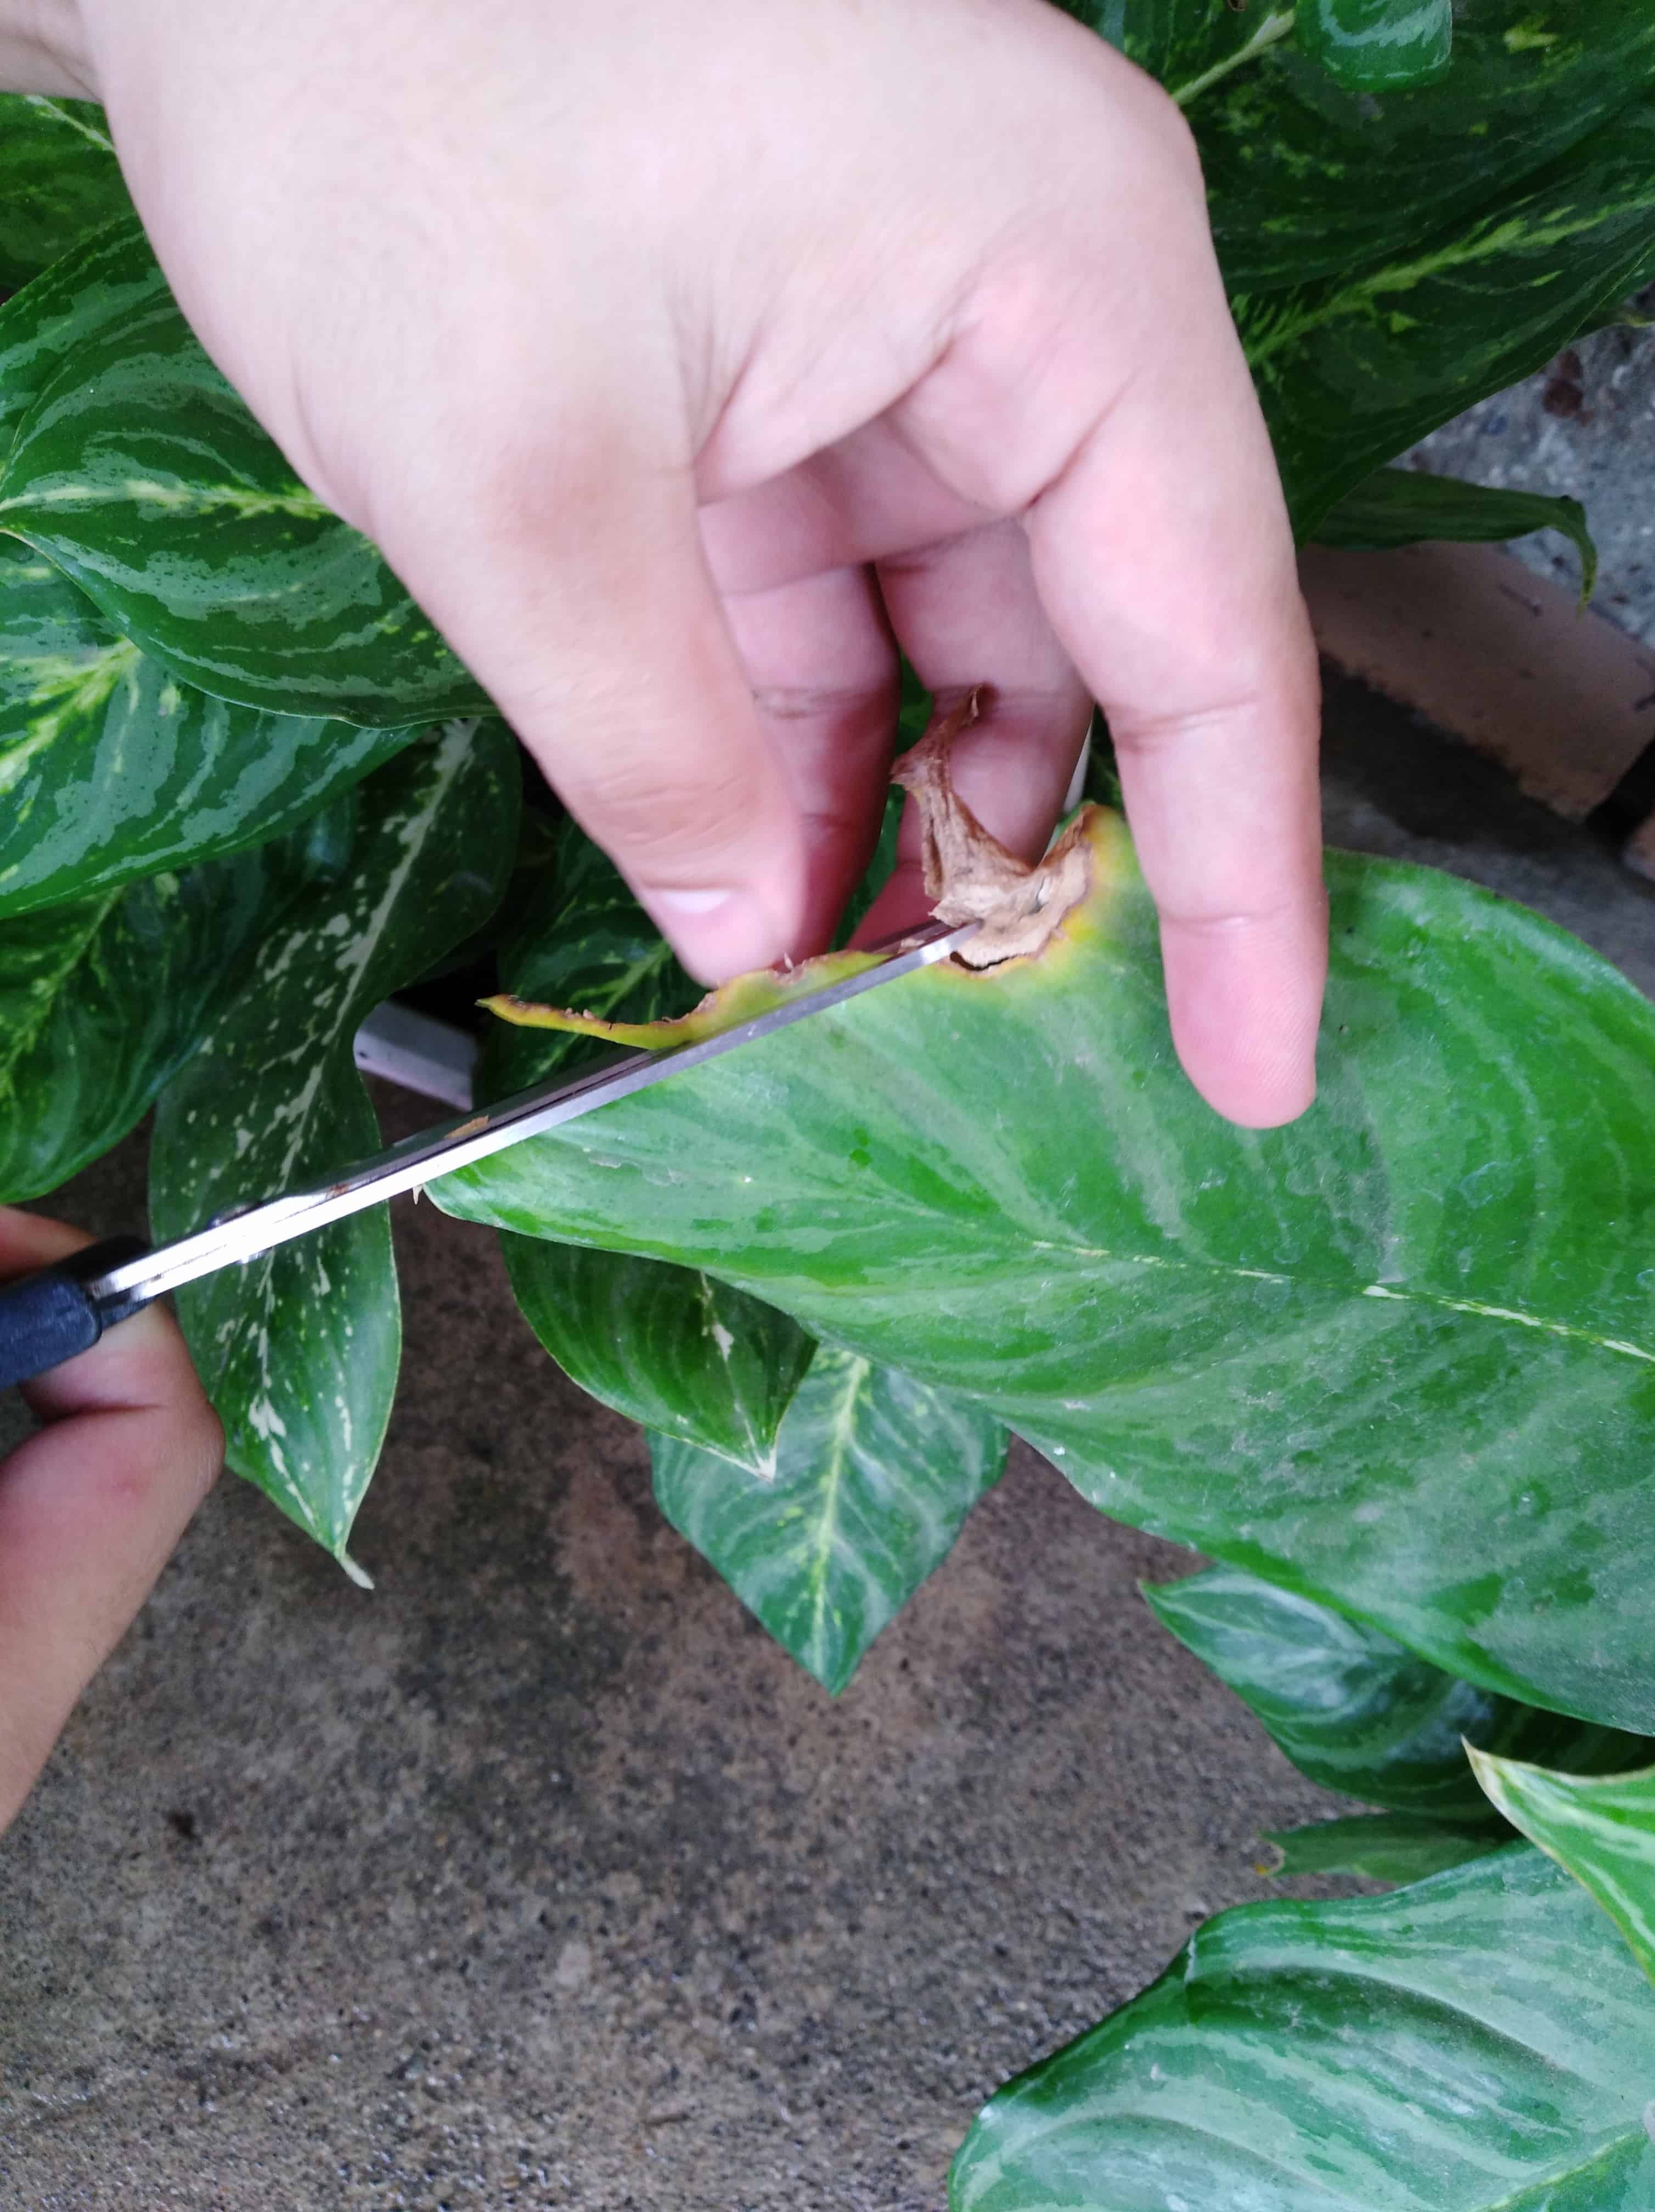
For foliage plants, cut off the brown tips or brown edges around each leaf, making sure to keep the healthy part still whole. You can also cut the leaf according to its given shape for aesthetic reasons, so the pruned area doesn’t stand out.
For woody plants, especially indoor trees, you may need to do some hard pruning:
1. Start with trimming off damaged leaves or flowers first.
2. Move your way down and get rid of any side stems or branches you don’t want growing. Make sure to avoid pruning off the main stem/branch unless you want to reduce the height. Remember: cutting its apical meristem (the tip of the stem and central location for new growth) from a main branch will often be a permanent reduction in height.
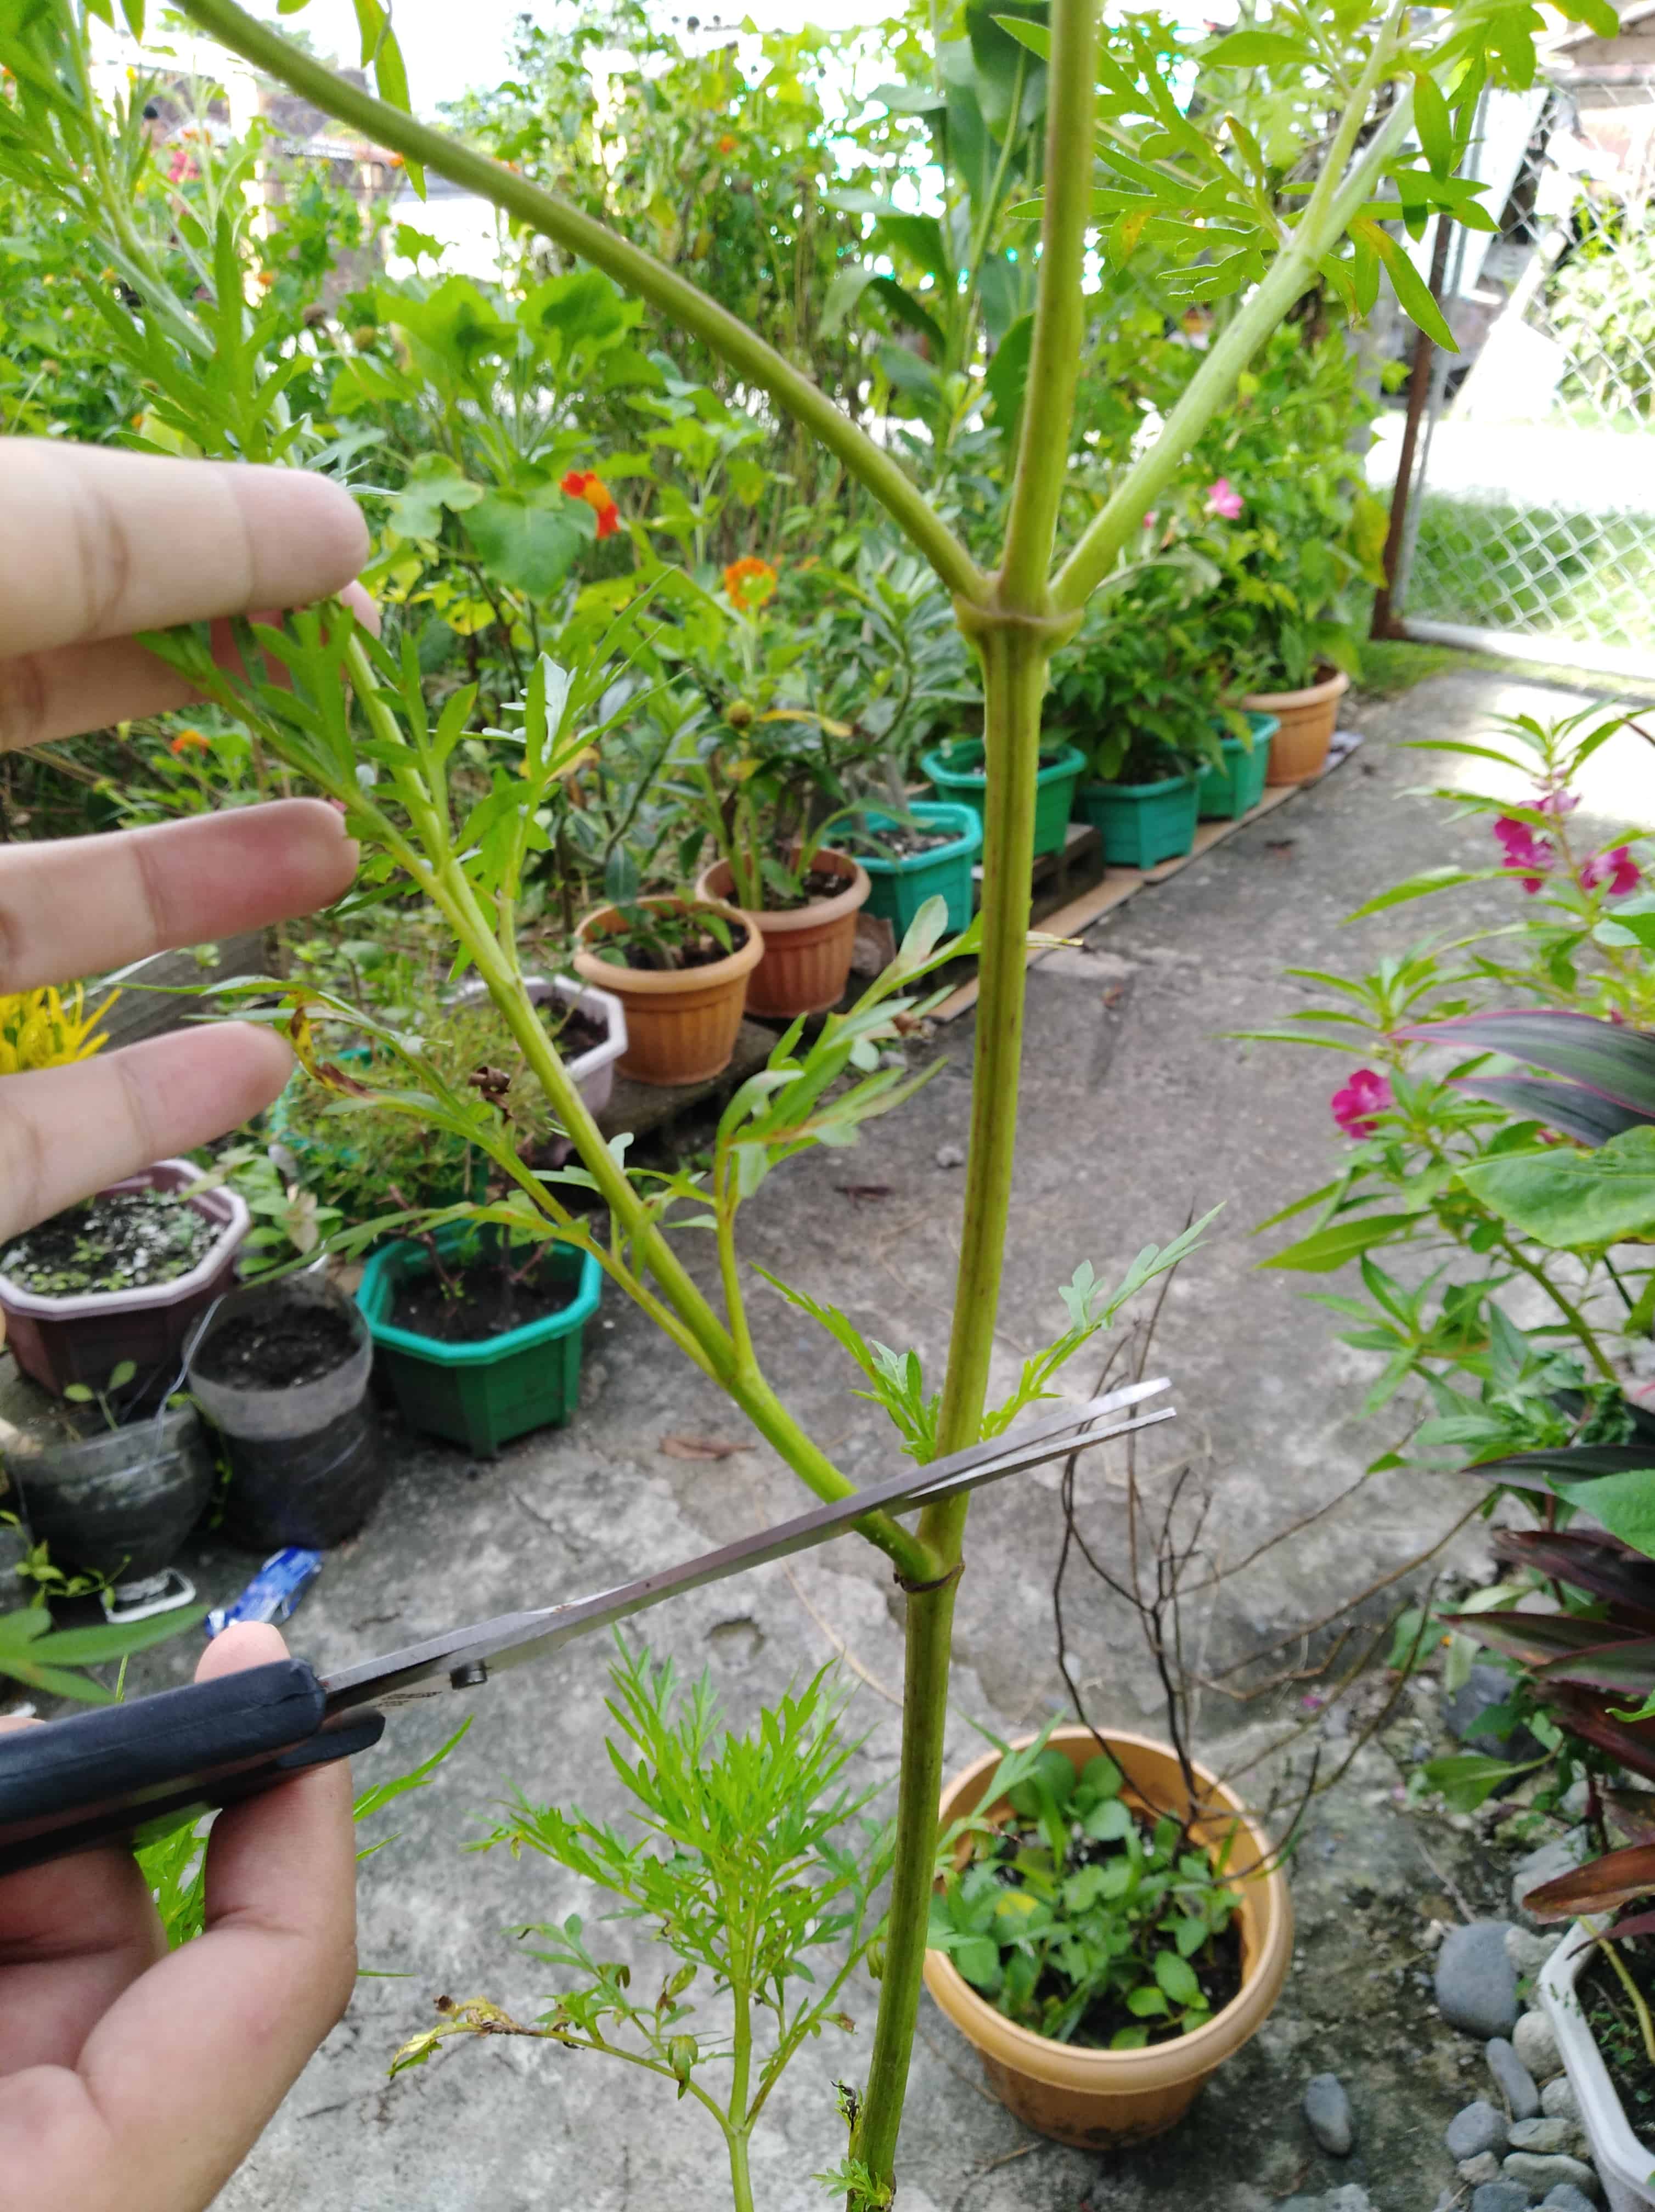
3. Locate long branches and trim off no more than ⅓ of their original length. You can cut ½ of the branch off or the entirety if it’s particularly long but, unless you are really trying to reshape the plant’s look, stick to leaving ⅔ of the branch length on the plant as you prune so you can keep the same general shape to the plant.
4. Check the branches to see any abnormal branch growth at an awkward angle and prune these off if it isn’t what you’re going for lookwise. Usually I do this if it’s a ‘leggy’ limb, i.e., longer and farther than the rest because it’s trying to reach for more sun.
5. If you don’t want side shoots growing near the bottom of the plant, cut these off too.
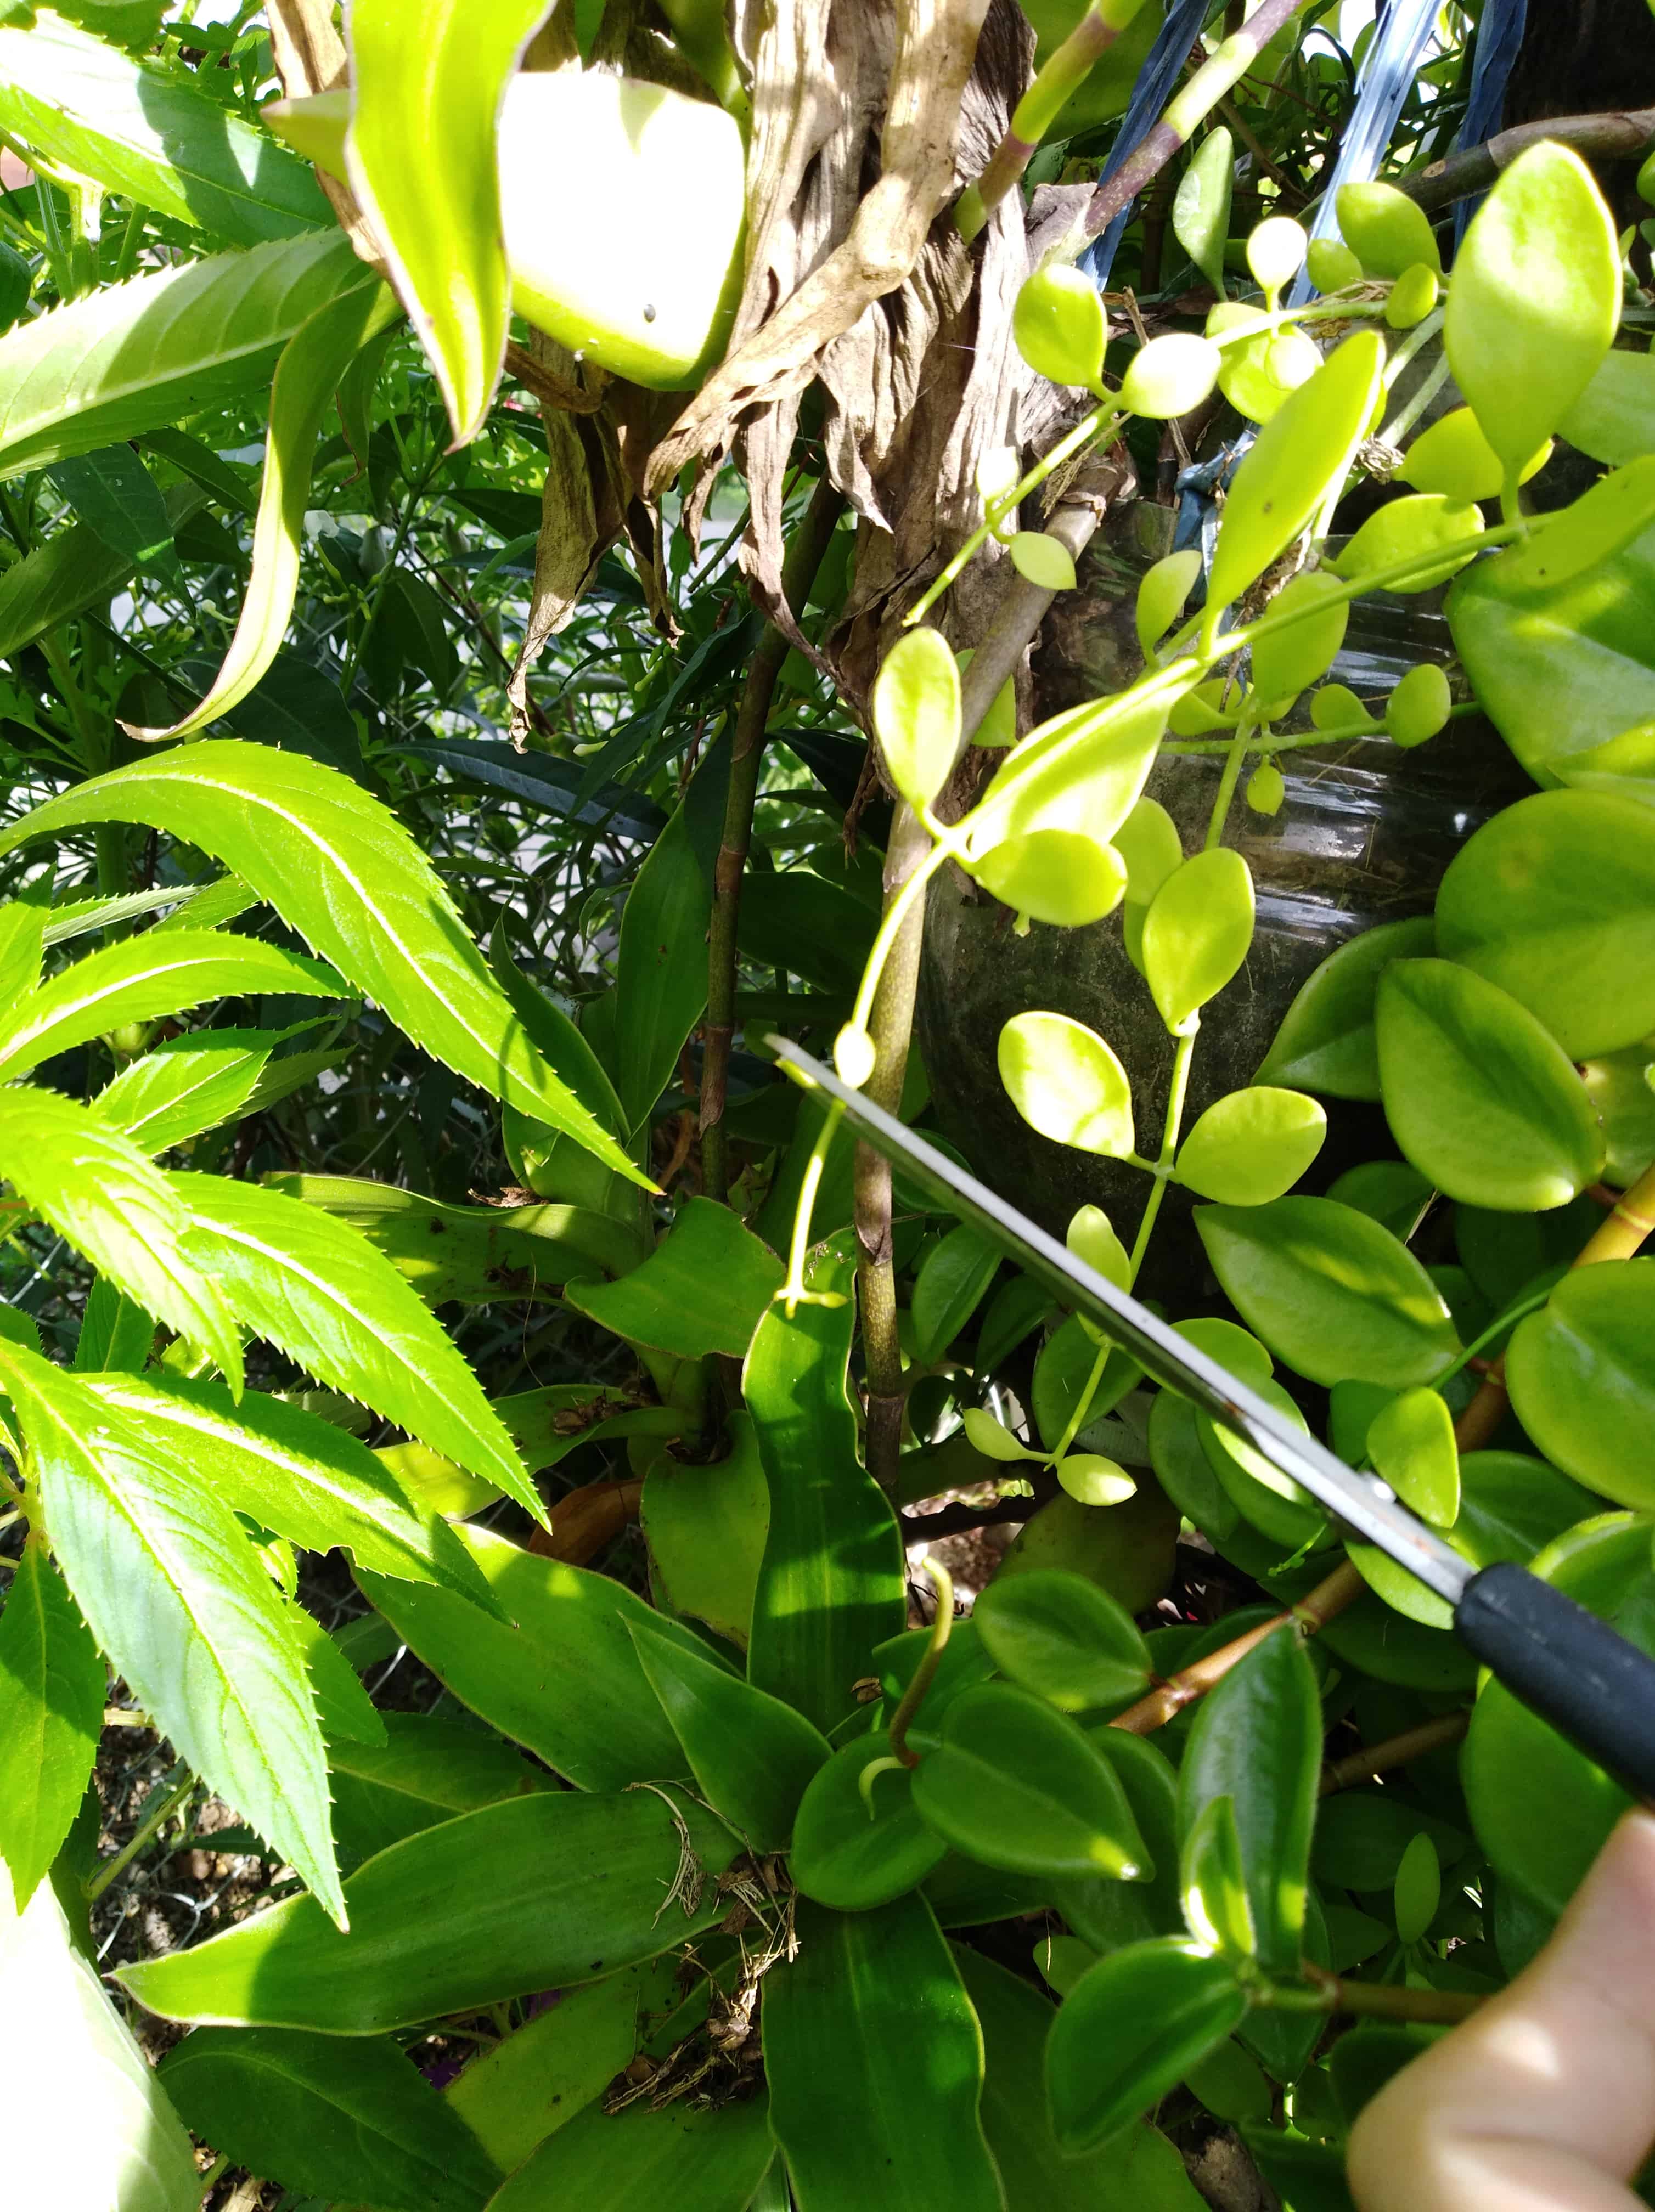
For vining plants, simply pinch off stem tips at the end of the vines above a leaf or node. This little trick helps to keep the vines short and encourages side stems to develop, creating a ‘bushy’ look instead. And besides, cutting off the side shoots is better in keeping the overall look of the plant.
For flowering plants, there are two techniques:
- Deadheading. You would have already done this during the first step, which is getting rid of dead or wilting flowers on the plant. Even going so far as to get rid of the whole stem if all the flowers are spent. This brings us to the following technique.
- Thinning. This method focuses on getting rid of unwanted stems on the plant. They are usually cut at the base of the main stem or the side stems. It’s particularly beneficial when the plant is too overcrowded with multiple stems and flowers growing on it, in some cases even overtaking other plants’ space. Start from the outside stems, and work your way inside, getting rid of ⅓ of the overall stems.
Step 3: Give your plant some TLC after pruning
There are certain things you need to be mindful about after pruning your houseplants to ensure they recover well:
- Water your plant lightly. The plant will need less watering than usual because of the decreased foliage on the plant. Always remember to do the knuckle test to know whether it’s time to water your plants.
- Do not give them direct sun. Keep your plants in a bright spot for 3 weeks until it recovers and starts to grow new leaves, stem, and/or flowers. By that point, gradually introduce them to more light.
- Do not fertilize your plants for up to 6 weeks. Fertilizing causes unnecessary stress to the plants by forcing them to develop new growth, which will lead to the opposite effect instead and can even burn the roots. You need to let the plant(s) naturally grow at its own pace, and once it has stabilized, you can go back to feeding it fertilizers.
- Do not repot your plant unless needed. Again, you don’t want to stress your plant out more after pruning it down. The exceptions to this rule are if the plant is suffering from an infection, infestation, root rot or it’s rootbound.
- Wipe dust off your plant with a damp cloth for smooth leaves; use a brush for hairy leaves. This is optional, but it helps your plant get as much light as it can without dust blocking the leaf’s surface area.
- Propagate healthy cuttings of leaves or stems from your pruning. You can grow another set of the same plant if you wish to. It could be a fun side project to do while you wait for your plant to recover. You can read about how to propagate your houseplants in this article here.
And that’s all the steps you need to take! In time, your plants will develop fresh new leaves and flowers in place, looking that much more healthy and dapper.


Leave a Reply