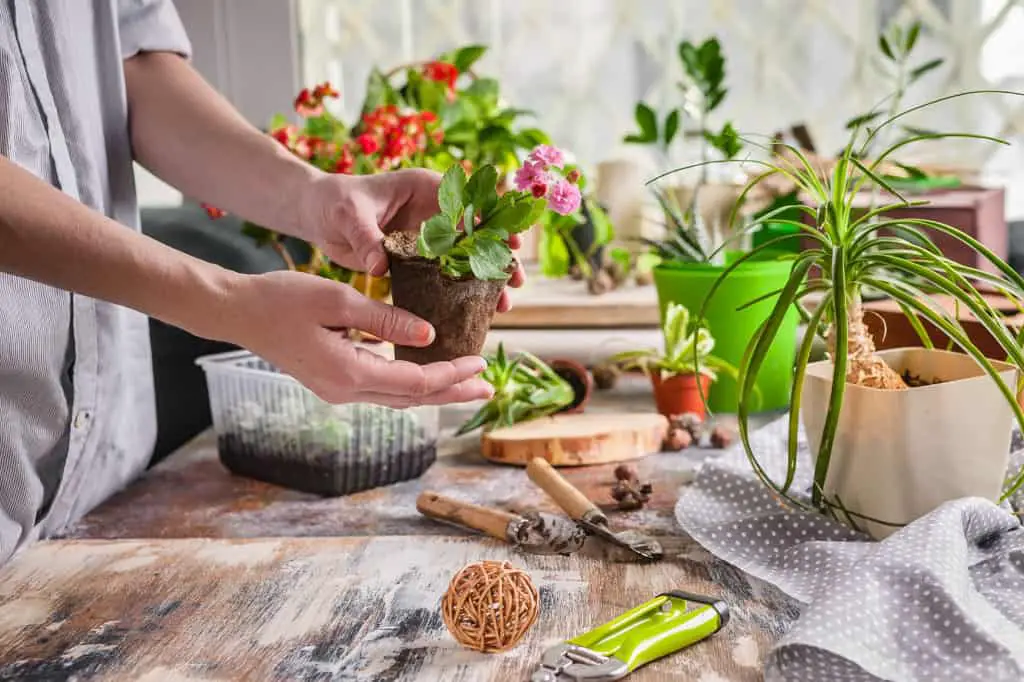
Every houseplant you bring home can and will thrive in your living space as long as you care for its basic needs. By prioritizing these four essentials, it becomes second nature to give them the best care possible and keep them around for years to come.
As a general rule, water houseplants regularly to keep the soil moist but not soaked and maintain nutrient-rich and infestation-free soil by proper fertilization and removal of plant pests. Place plants in bright, warm areas with constant airflow and adjust their distance from windows as needed.
If you want to dig a little deeper into the roots of plant care, below are some tips that you may not find by Googling your plant but, could likely save your plant’s life. But first…
Helpful tip: If you do want to know more about your specific plant, looking up a plant’s name with Google should provide enough information. If you’re unsure of the plant’s name, apps like Google Lens can identify it by using a photo of your plant taken with your phone, and with a little bit of scrolling, you’ll find the name.
If you are just starting to build your houseplant collection or if you are a busy plant enthusiast, may I also recommend: 11 Best Unkillable Houseplants to Start Caring For
These will make your home look great while allowing you to have a life outside of taking care of plants. The list is made up of some very forgiving plants. If you happen to miss a watering or another element of plant care (the elements outlined below in this article), your plant will be fine for a couple of days until you get to it.
More demanding plants like a poinsettia may lose leaves if a cold draft so much as touches it. It’s wise to base plant buying decisions on care and looks. I don’t care for the experience of owning many high-maintenance plants. A small collection of needy plant babies is ok, but, you’ll want some that are more independent and hardy so you don’t become overwhelmed every week when you think about care. Owning plants should be fun, it’s a hobby after all.
(As an Amazon Associate, I earn from qualifying purchases.)
1. Water
Knowing how often and how much water your plant needs is a challenge for every beginner. But, always remember –> You are more likely to accidentally kill your plant by overwatering than by any other factors. Overwatering is more difficult to fix than underwatering. Correcting overwatering can mean repotting or trimming roots (which takes a lot of work), while underwatering is easily fixed by just adding water.
Yes, having a set schedule will make things easier, but when the seasons change, so does your watering frequency. During winter, plants require less watering because of the colder temperatures; during summer, plants require frequent watering due to their faster growth and a higher rate of evaporation from the heat. And because beginners tend to overwater plants, one should be most cautious about watering during the colder months. This is often how temperature changes can translate to death for your little green guys.
If you are trying to water an air plant, skip this section and read: How To Water Air Plants On Wood | A Complete Guide
Here are helpful indicators you can use to gauge when is the right time to water your plants until it becomes intuitive:
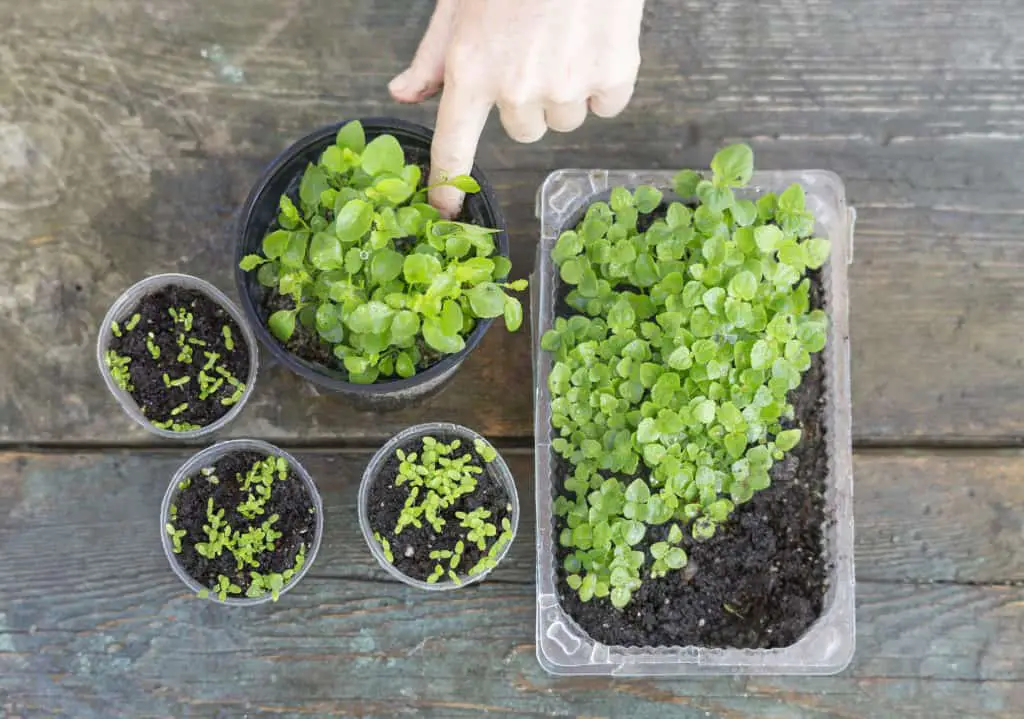
- Is the soil dry or wet?
The Knuckle-Test: Stick your forefinger into the soil about 1 knuckle deep. Calm down; you can always wash your hand afterward, haha. You want the soil to feel damp, not soggy. If it is soggy, avoid watering for 2-3 days and check again; if it feels dry, water evenly around the plant.
Alternatively, you can use the chopstick method:
- Take a plain, dry bamboo chopstick or skewer.
- Place it in the soil 3-5 inches deep.
- Leave it for 10-15 minutes.
- Afterward, take it out and observe whether there was a color change – this will indicate whether there’s still moisture left in the soil. If the chopstick/skewer didn’t change color, it’s time to give the plant a little drink; if there is a dark color, hold off on watering for a while.
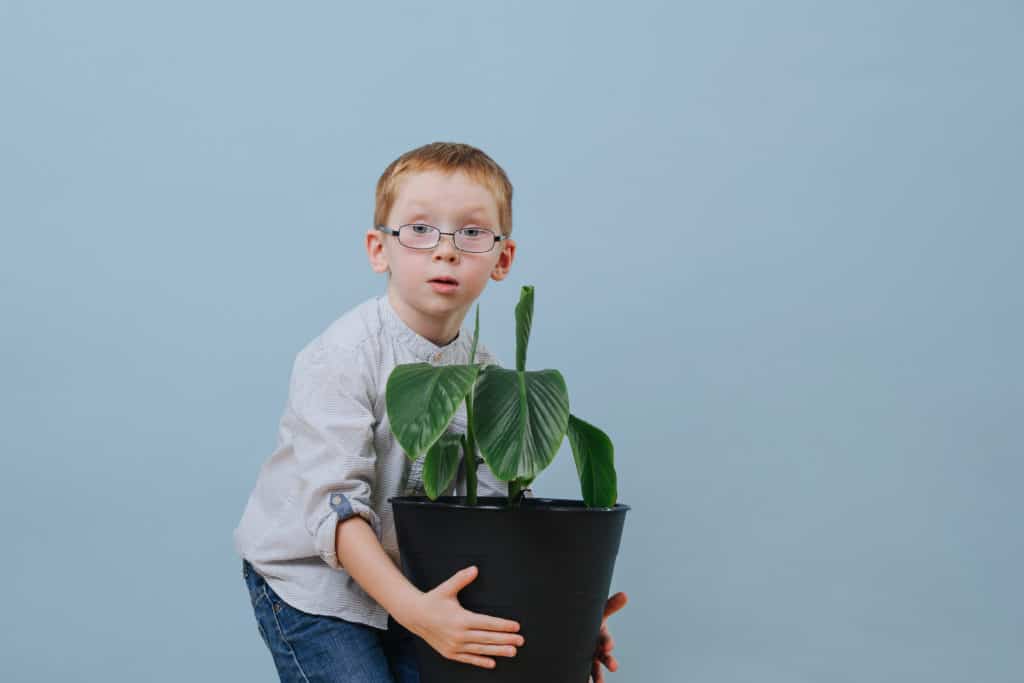
- Is the pot heavy or light?
Lift it and check to indicate how much water the soil is still holding:
a. If the pot feels light, time to give the plant a little glug of warm water (That goes for you humans too, stay hydrated!). Pour water in slowly and evenly around the soil until you see water draining out. Ensure to get rid of the excess water in the saucer after watering to prevent unwanted insects, root rot, and water-soaked furniture. Standing water is a disaster recipe, it cuts off much need oxygen for the plants, effectively drowning them and the water often ends up harboring/attracting infestations; Avoid. At. All. Costs.
b. If the pot feels heavy, there is plenty of water left in the soil. Hold off on watering for 2-3 days and check again then.
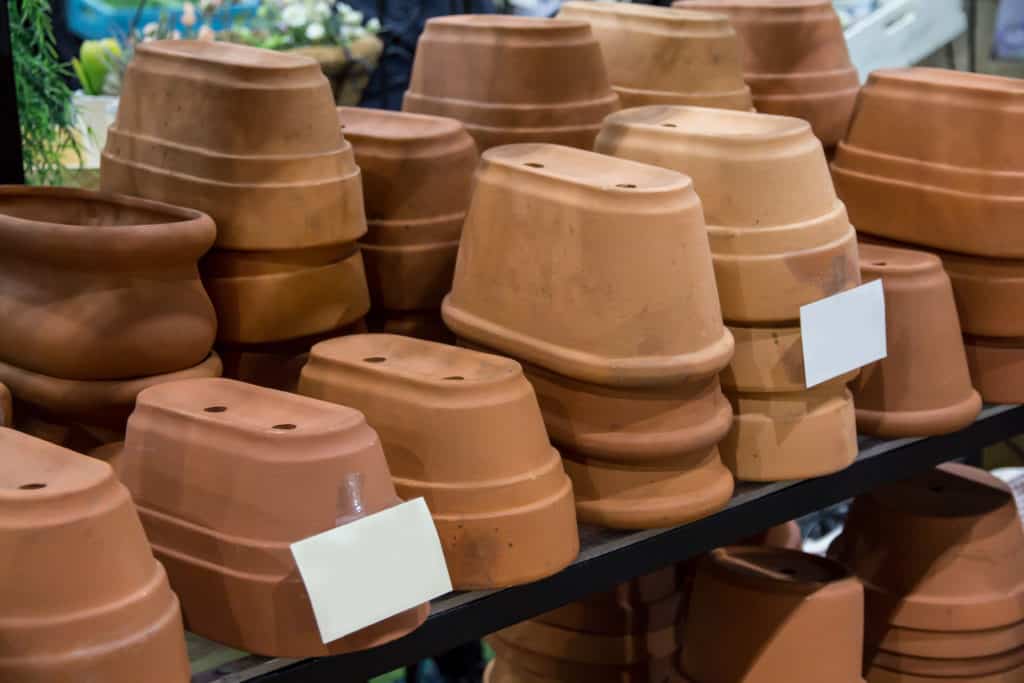
- Does the pot have drain holes?
Drain holes allow excess water to drain after the soil is saturated, enabling the roots to gain oxygen instead of absorbing too much water. Waterlogging your plants will only lead to root rot and imminent death. For cases where you have a nifty designer pot that doesn’t have a drain hole, you can double your pots! For every other watering session, ensure to do the following:
- Take out the inner pot.
- Empty any excess water from the larger pot.
- Wash the big pot with hot, soapy water. This step kills off any bacteria or insect larvae lurking around.
- Rinse thoroughly, wipe it dry, and place the inner pot back inside.
- What type of water should you use?
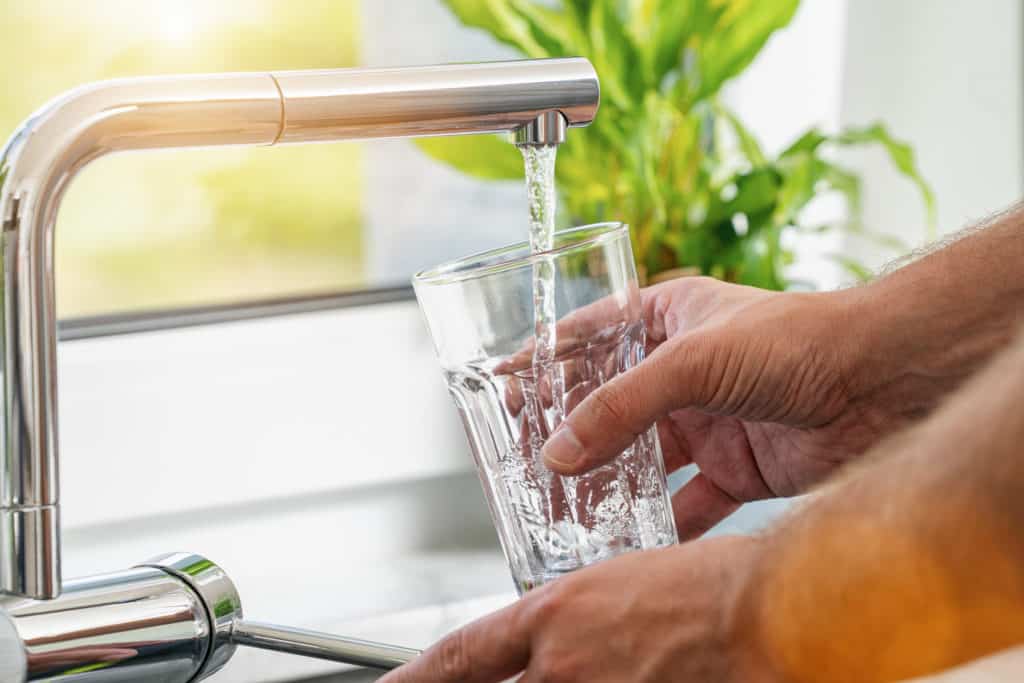
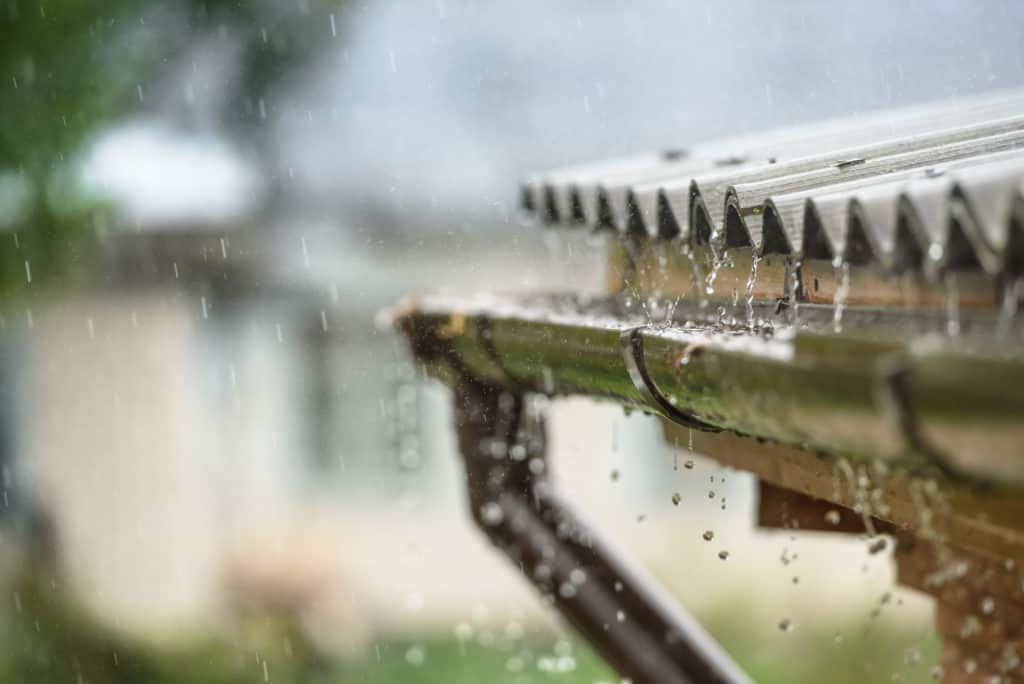
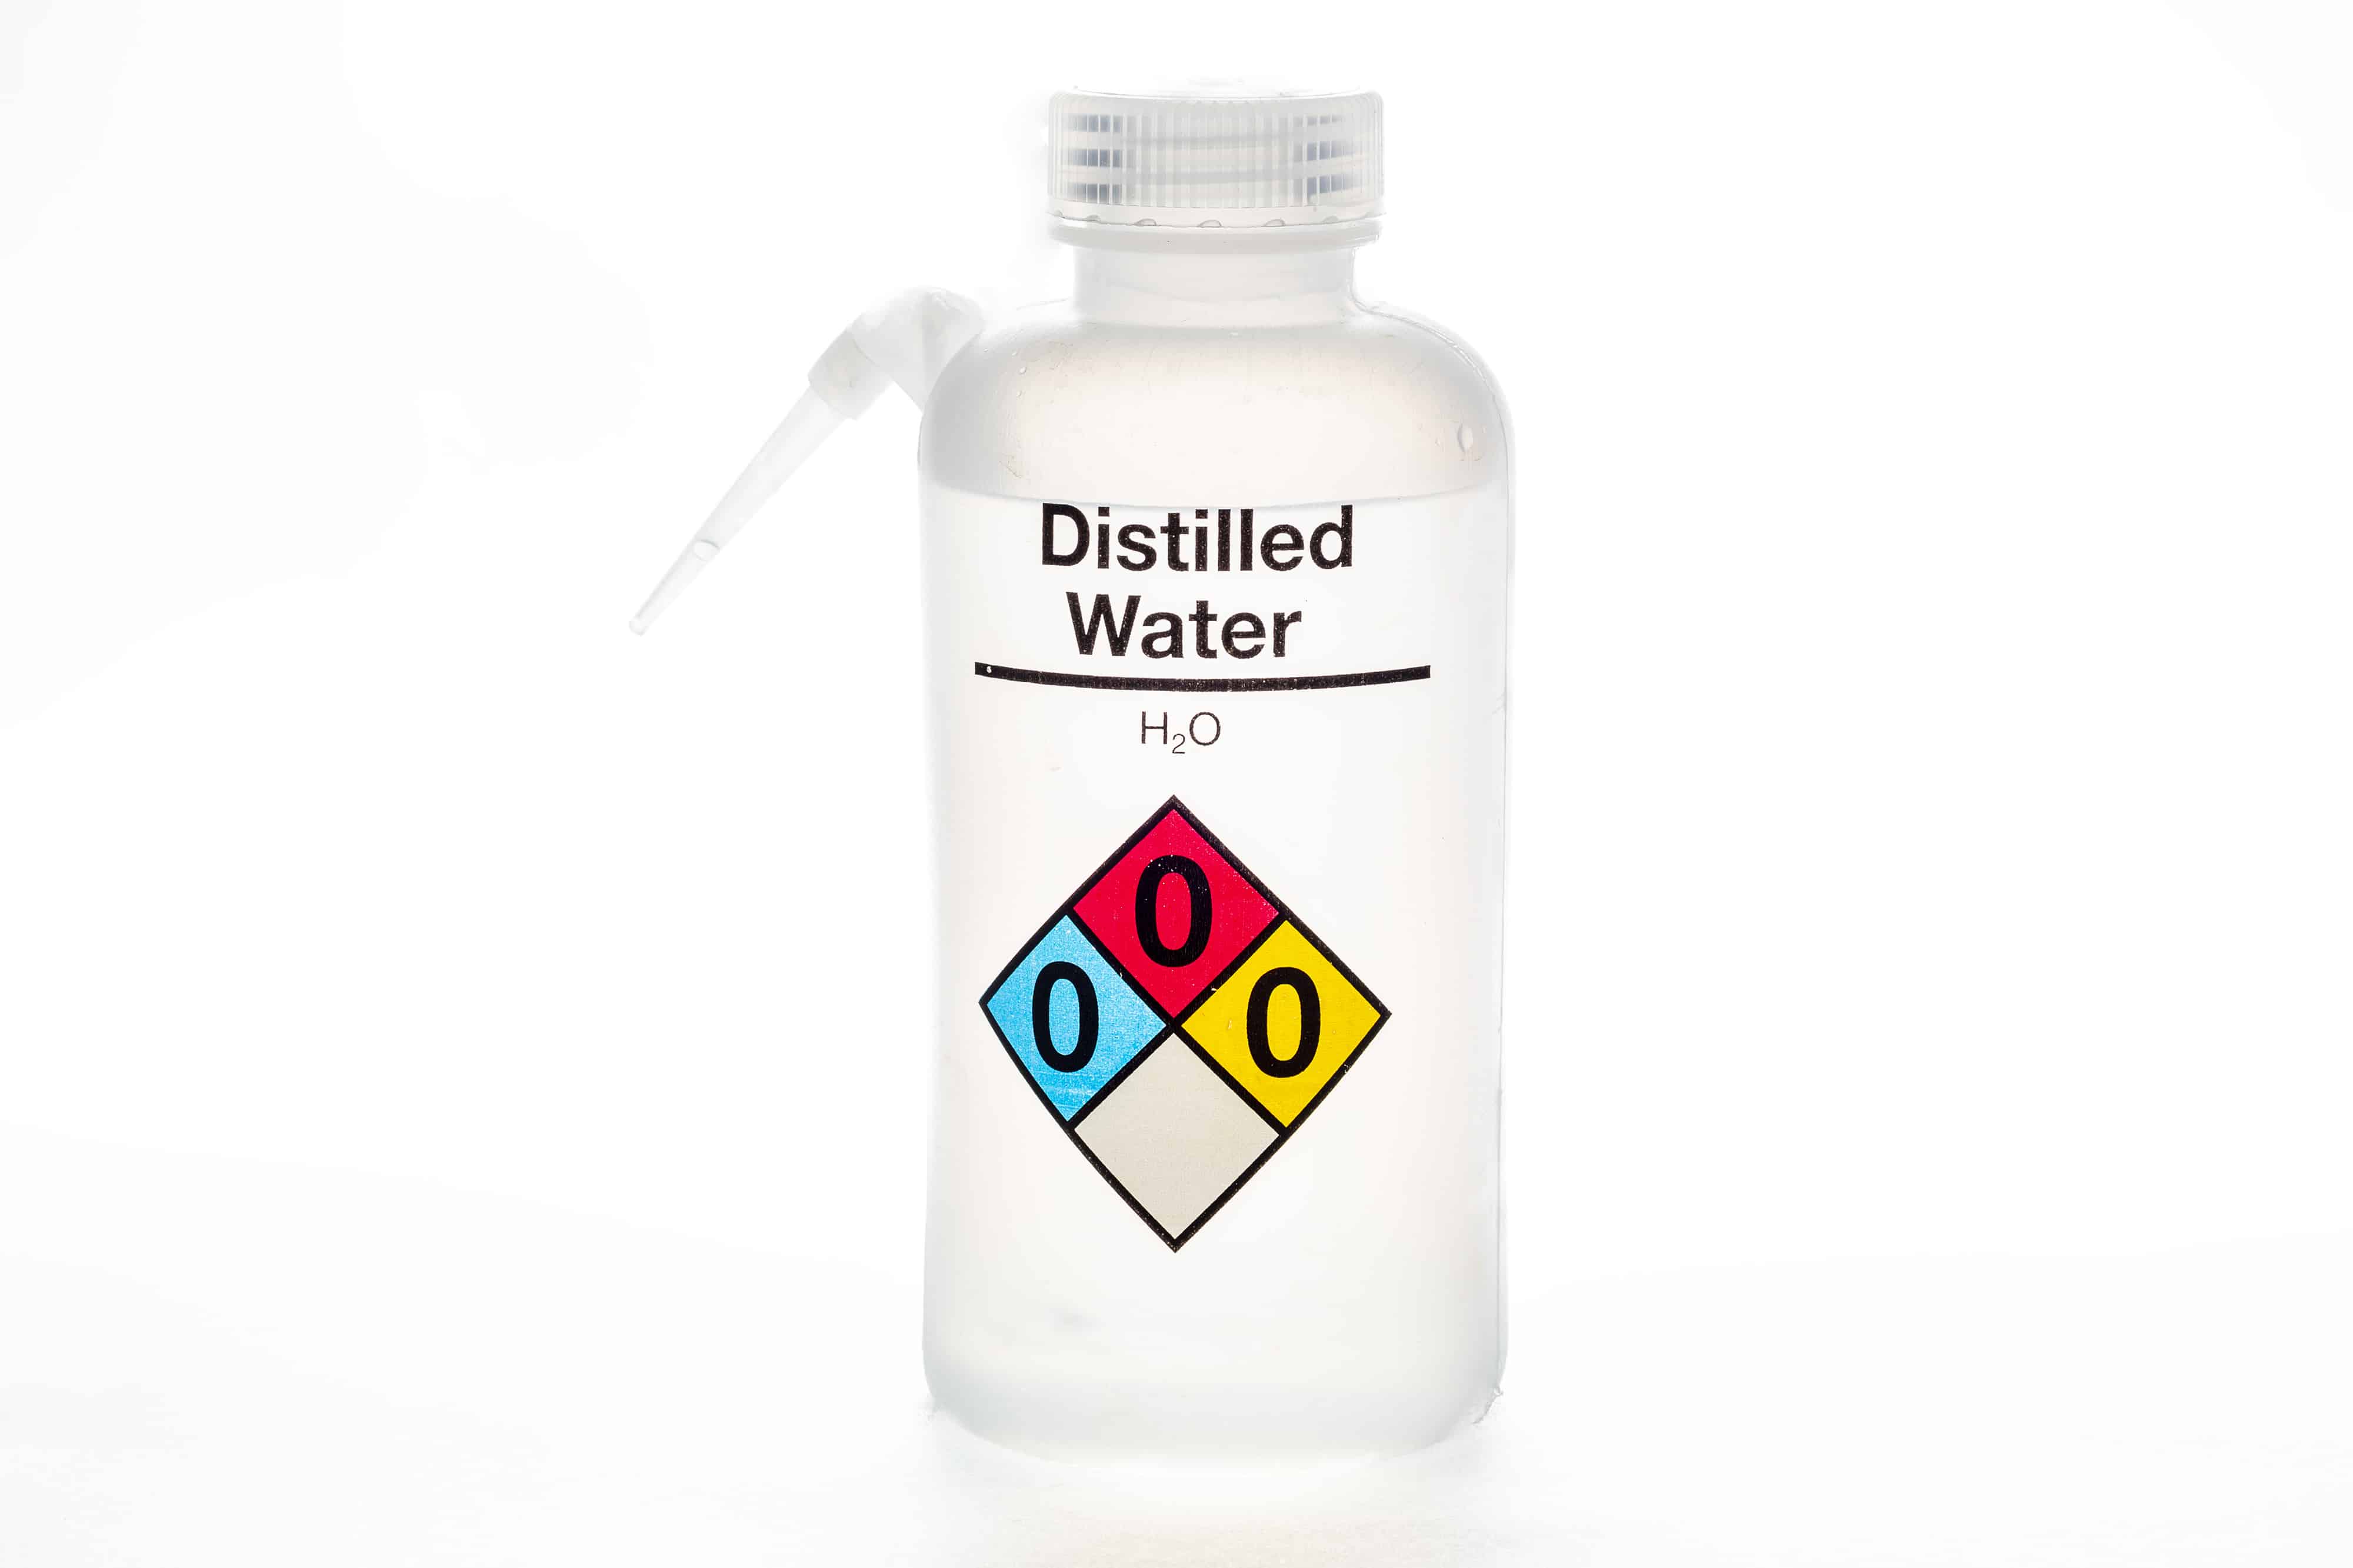
Use regular tap water at room temperature to water your plants. Simple, easy, accessible even. However, it is essential to note the mineral content present in your tap water because heavily mineralized water can cause brown spots or tips to appear on your plants’ leaves. Excellent alternatives you can use instead are filtered water, distilled water, or rainwater.
Important note: For succulents and cacti, ensure the soil is completely dry before watering them. After all, these are desert plants. They generally go through a dry period for a bit before their next watering, so try to mimic that natural cycle.
The most common problem you’ll likely encounter is a plant’s leaves turning brown at the tips. When the leaf tips of your indoor plants turn brown, this could be from a number of causes. But one thing is generally true: water is not being absorbed or absorbed properly, causing the cells in the leaves to dry out and wither.
Possible causes include:
a. Underwatering. You may think it’s because you’re not watering your plants enough, a quick soil check will determine whether that is the case or not. If the soil is damp or soggy to the touch when you do the knuckle-test, skip to the next possible causes. If it’s bone dry then congratulations! You have the easiest of all causes to fix, in most cases simply add some water and leave overnight and you will see a noticeably perked-up plant where a previously droopy plant was before.
b. Overwatering. Roots suffocate when the soil is waterlogged, causing mushy, black, and foul-smelling roots – this is called root rot. Once this happens, there will not be enough healthy roots to distribute nutrients and water entirely up the stem and leaves, causing some to develop brown tips as if in a drought. In short, the foliage and root system are not proportionate, so the roots can no longer support the whole plant. Here are the basic steps on how to fix root rot below: if you want a precise guide, click here to be taken to the root rot instructions in our Dracaena article.
- Check the roots to determine if root rot has occurred.
- Trim off any dead roots.
- Repot the plant in a new pot with proper drainage holes and fresh soil.
- Trim off some of the foliage to balance out with the remaining root system. Get rid of the brown tips to give the plant a fresh start.
- Water the plant thoroughly until excess water drains out. Observe for a few days to keep track of its recovery.
c. Excessive Salt Build-up. Overfertilizing and tap water with high mineral content can cause white crust (salt) to form around the pot’s insides, in the soil, and even in the saucers. These salts will naturally draw water away from the roots, reducing the needed nutrients to reach all parts of the plants. Here’s how to remedy this problem:
- Place your plant under running water to flush out the accumulated salts. Thoroughly soak the soil until water is draining out.
- Repeat this several times until the salt crust has dissolved.
- Water the plant thoroughly and monitor it for the next couple of days.
d. Too Much Sunlight. See # 3. Sunlight if underwatering, overwatering, or salt build-up don’t seem to be the problem.
Once your plant is well on its way to recovery, you can trim off the brown tips according to the leaf shape. This step will allow new leaves to grow in the old leaf’s place.
2. Soil
Every plant needs a good foundation for its home. The best choice is fresh, pest-free potting soil or potting mix with proper aerating materials such as vermiculite or perlite. Unlike gardening soil, potting soil or mix is specially formulated to suit indoor plants’ needs. There are even specific potting soil and mixes for plants like succulents and cacti, African violets, orchids, and carnivorous plants like Venus flytraps.
It’s common to add fertilizers to the soil to give your houseplants the extra boost they need to develop. However, make sure to check the soil ingredients beforehand because potting mix usually comes with fertilizers mixed in. Piling on more fertilizer before the plant has time to take up the existing fertilizer will only ‘burn’ your plants. The bag your potting mix comes in generally has information on how long the included fertilizer (typically slow-releasing ones) will last. Still, this is an estimation and not a solid guarantee to keep your plants well-fed. I recommend buying potting mixes without fertilizer so you can control how much you’ll be giving your plants each time.
- What fertilizer should you use?
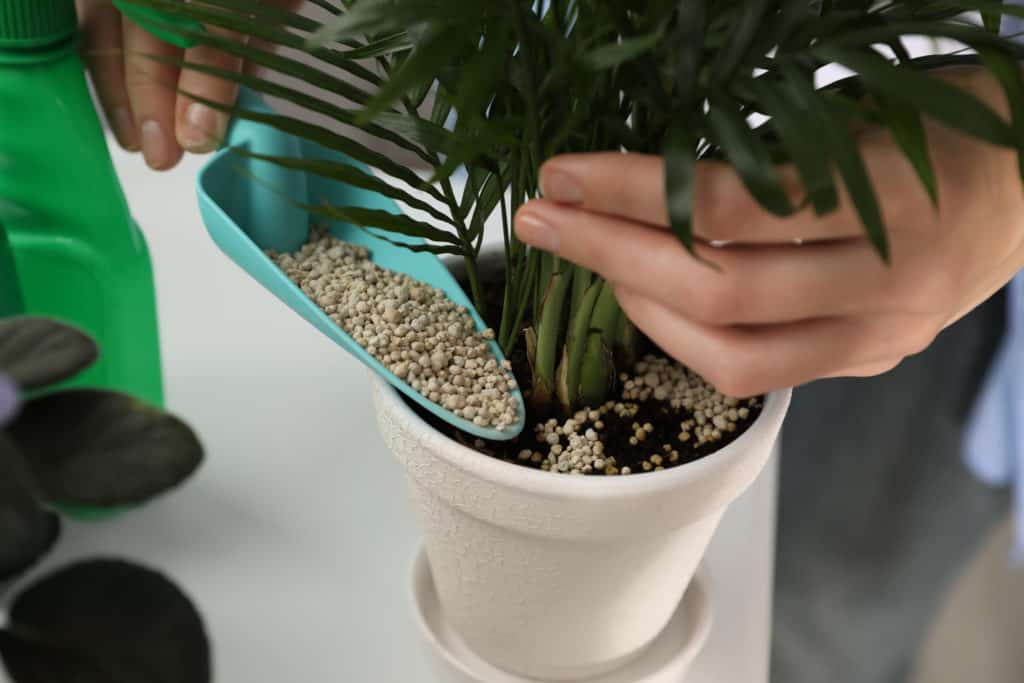
Generally, all-purpose fertilizer will do. Indoor potting soil or mix are sterile, meaning there are no nutrients or active biome in it. Once the plant has taken up everything available, there’s nothing left in the soil. So adding even just the bare minimum amount is already plentiful to nourish your plant’s growth. You can choose between a slow-releasing one, which breaks down over time, a water-based solution or a liquid fertilizer which are more fast-acting.
I recommend getting either:
- Jacks Classic 20-20-20 All Purpose Fertilizer with 3,700+ 4.5 Star AVG Reviews or
- EarthPods Premium Indoor Plant Food with 500+ 4.5 Star AVG Reviews
These are on Amazon and would work well for almost all of your fertilizing applications. Make sure to follow the product’s label directions and apply moderately. Remember overfertilization only ‘burns’ plants’ roots and stunts their growth. It is like eating too many carrots, you’ll turn your skin orange, so don’t overdo it.
Very Important: Only add fertilizer during the growing season in summer and spring to boost growth. In fall and winter, plants are not actively growing (most go into a period of dormancy) due to the decrease in temperature. Avoid fertilizing during cold fall and winter as the plants will not take up the fertilizer.
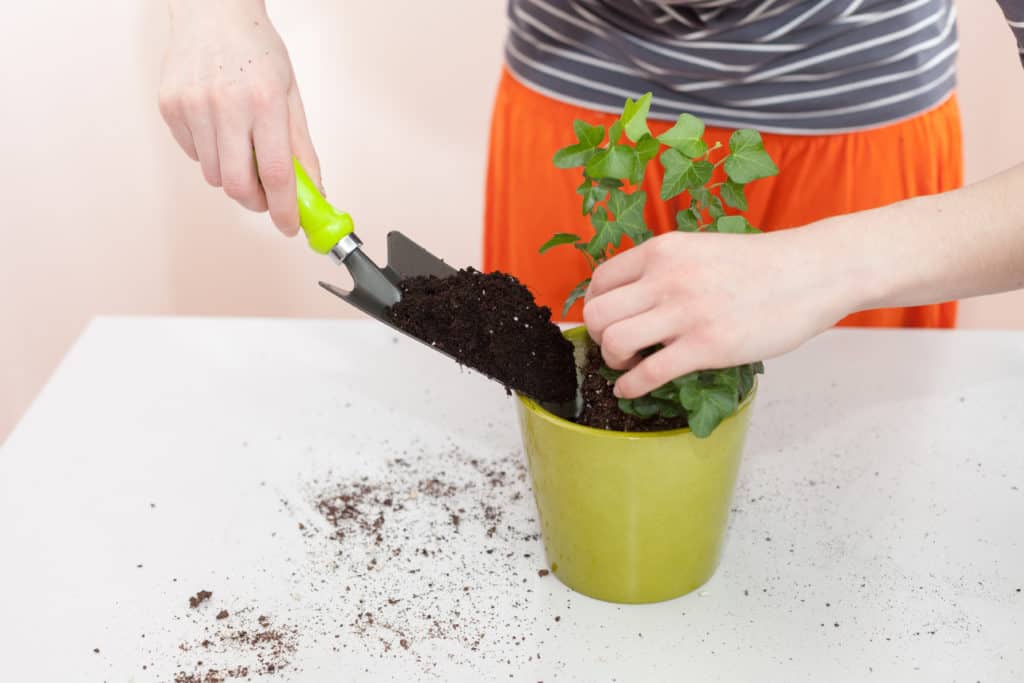
- Do you need to change the soil?
Only if the plant has a pest infestation or fungal, bacterial, or viral infection on it, in which case you need to act fast to save your plants. On that note, never reuse infested or infected soil. Lurking pathogens or pest eggs and larvae can still affect the unlucky new plant you placed in their dirt domain.
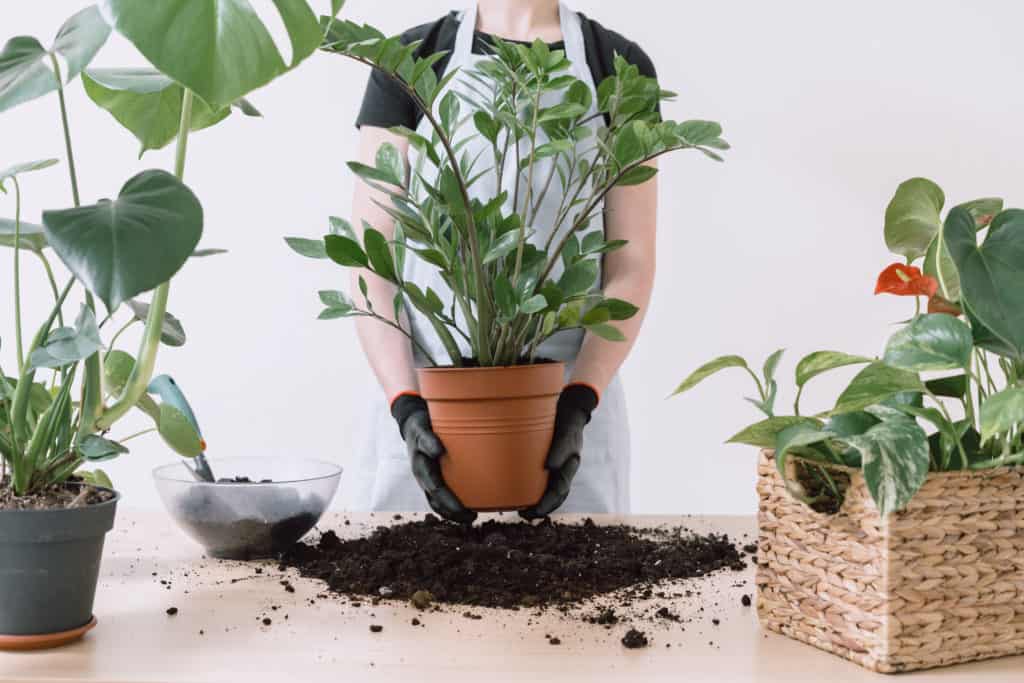
Generally, it’s an excellent practice to repot your plants every year or, if it’s a slow-growing plant, about every two to three years. It helps the plant expand its roots without getting rootbound. Some plants don’t mind it, but most would develop growth problems eventually.
As with most soil mixes, potting soil is usually peat-based, decomposing quicker than gardening soil. Expired or decomposed peat-based soil becomes more compact, eliminating the much-needed aeration the roots need and making water drainage slower. For this reason and to avoid possible infestation from contaminated soil, use new potting soil every time. It might be tempting to just add more aerating materials to amend this and reuse the soil but, you would be putting your plants and house at risk of infestation of small flies or other insects especially in cases of bagged soil that was left out to get wet and where insects could get in.
I recommend using this Black Gold All Purpose Potting Soil on Amazon for your repotting needs. It has 1800+ 4.5 Star AVG Reviews on Amazon. Its a very loamy and rich potting soil and I have trouble finding it at nurseries but, maybe you can find in your area!
You might have seen or read an oven method to bake old soil, which supposedly kills off any pathogens in the soil. I would not recommend this method simply because I like my oven smelling like a bakery or a pizzeria rather than a dank, musty burrow. It would be horrible to accidentally mistaken soil crumbs for brownie crumbs, not that it has ever happened … because it never will.
3. Sunlight
All plants require light to photosynthesize, but indoor plants do not necessarily need direct sunlight. As long as you place them in a bright spot where light is coming in, be it filtered sunlight through a curtain or LED grow lights, the plant will thrive. In many cases, direct sunlight can be more detrimental to an indoor plant and cause leaf scorching. It’s essential to be mindful of the plants’ light needs. Try to find the sweet spot for it, and keep in mind these questions when observing your plants:
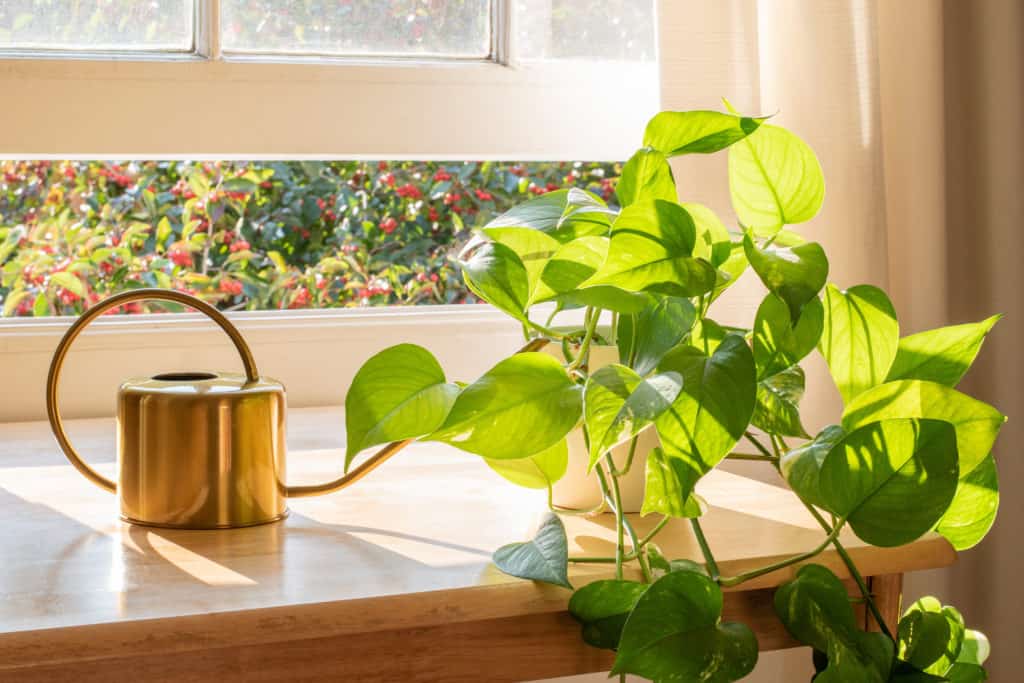
- Is your plant getting enough sunlight?
Look at your plant and observe it:
a. If it is brown or scorched-looking, it is getting too much light.
b. If it is ‘leggy’ where there are long spaces between the leaves, or the plant has stopped growing altogether, it is getting too little light.
Here’s how to fix those issues:
a. If the plant needs less sunlight, move it away from the direct light. A good rule to follow is; the lower the light requirement for your plants is, the farther away it should be from the window. It may take a long time for the plant to recover from too much sunlight if it has been exposed for a long time. Start by moving your plant 5-10 feet further from the light source depending on how bright it is outside during the day and see if it looks any better by the following week. In the meantime be sure to water it only enough to keep the soil damp, over-reacting and over-watering is one of the worst things you can do at this point and is easy to do. With less sunlight there is less evaporation so, water will tend to stay in the soil longer, use the knuckle-test religiously before watering. Water responsibly, my friends.
b. If the plant needs more light, gradually introduce it to a brighter area. The plant is in a weakened, sunless state so, dehydrating it with a sudden and very large increase in sun exposure could be the kiss of death for it. It’s better to let it slowly get used to its new surroundings. Do you remember the last time you went from being in a dark room to the sudden, overwhelming brightness of the outside world? Yup, it’s like that. So ease your plant baby into it gently 5-10ft closer each week to give enough time for you to properly gauge the effects and adjust the watering schedule if needed.
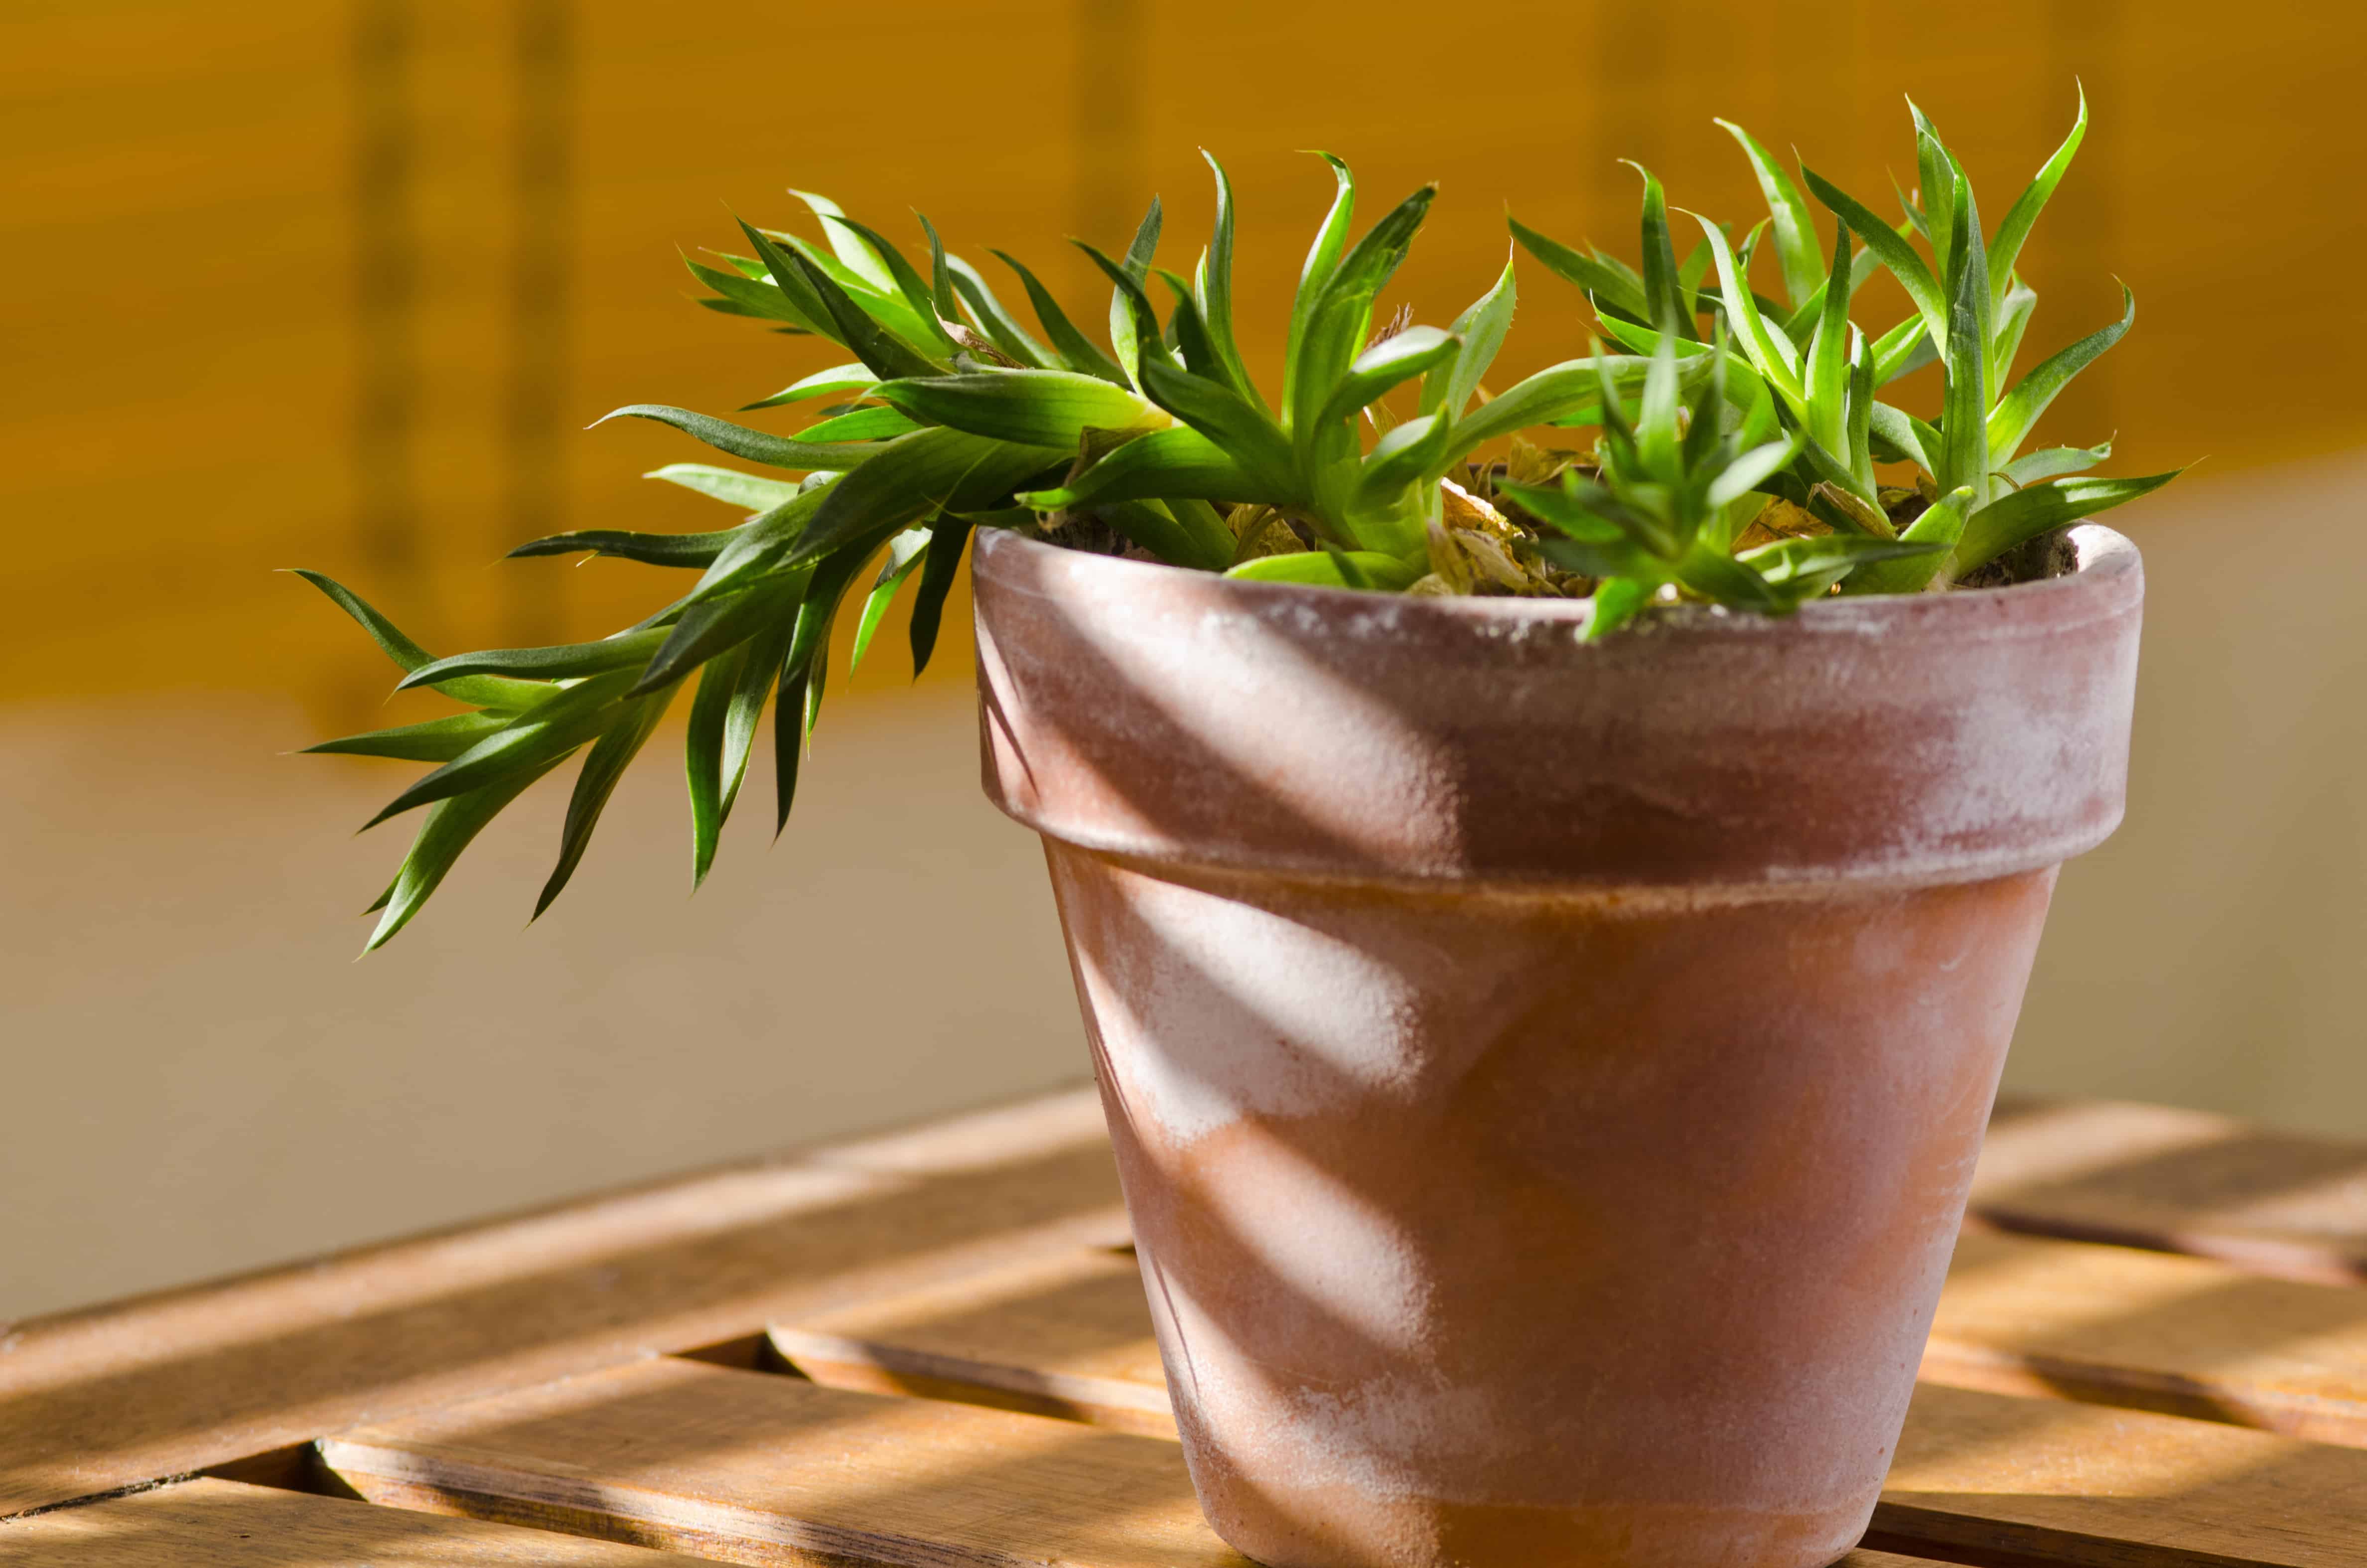
- Is your plant ‘reaching’ or growing one-sided?
One-sided growth happens because not all parts of the plant get an equal taste of that much needed golden sunlight. You can fix this lopsidedness by turning your plants once a week or whenever you water them. Even plants get hangry too, so give them their food! If direct sunlight isn’t possible, indirect or filtered light from a curtain-covered window or artificial lights such as fluorescent or LED grow lights will suffice. You can get this EZORKAS LED Grow Light on Amazon for your plants. Keep in mind that each plant requires different levels of sunlight, but never none at all.
4. Air
The majority of house plants originate from warm and high humidity environments, which is the opposite of most homes. However, some plants are pretty adaptable, which is why most of the well-known indoor plants are plants that can adapt to lower levels of humidity. But, when plants are receiving adequate water, fertilizers, sunlight, and are planted in nutritious soil, yet they are still drooping like they have given up on filing their own taxes, It’s worth checking whether your plant’s having trouble with the humidity in its new surroundings:
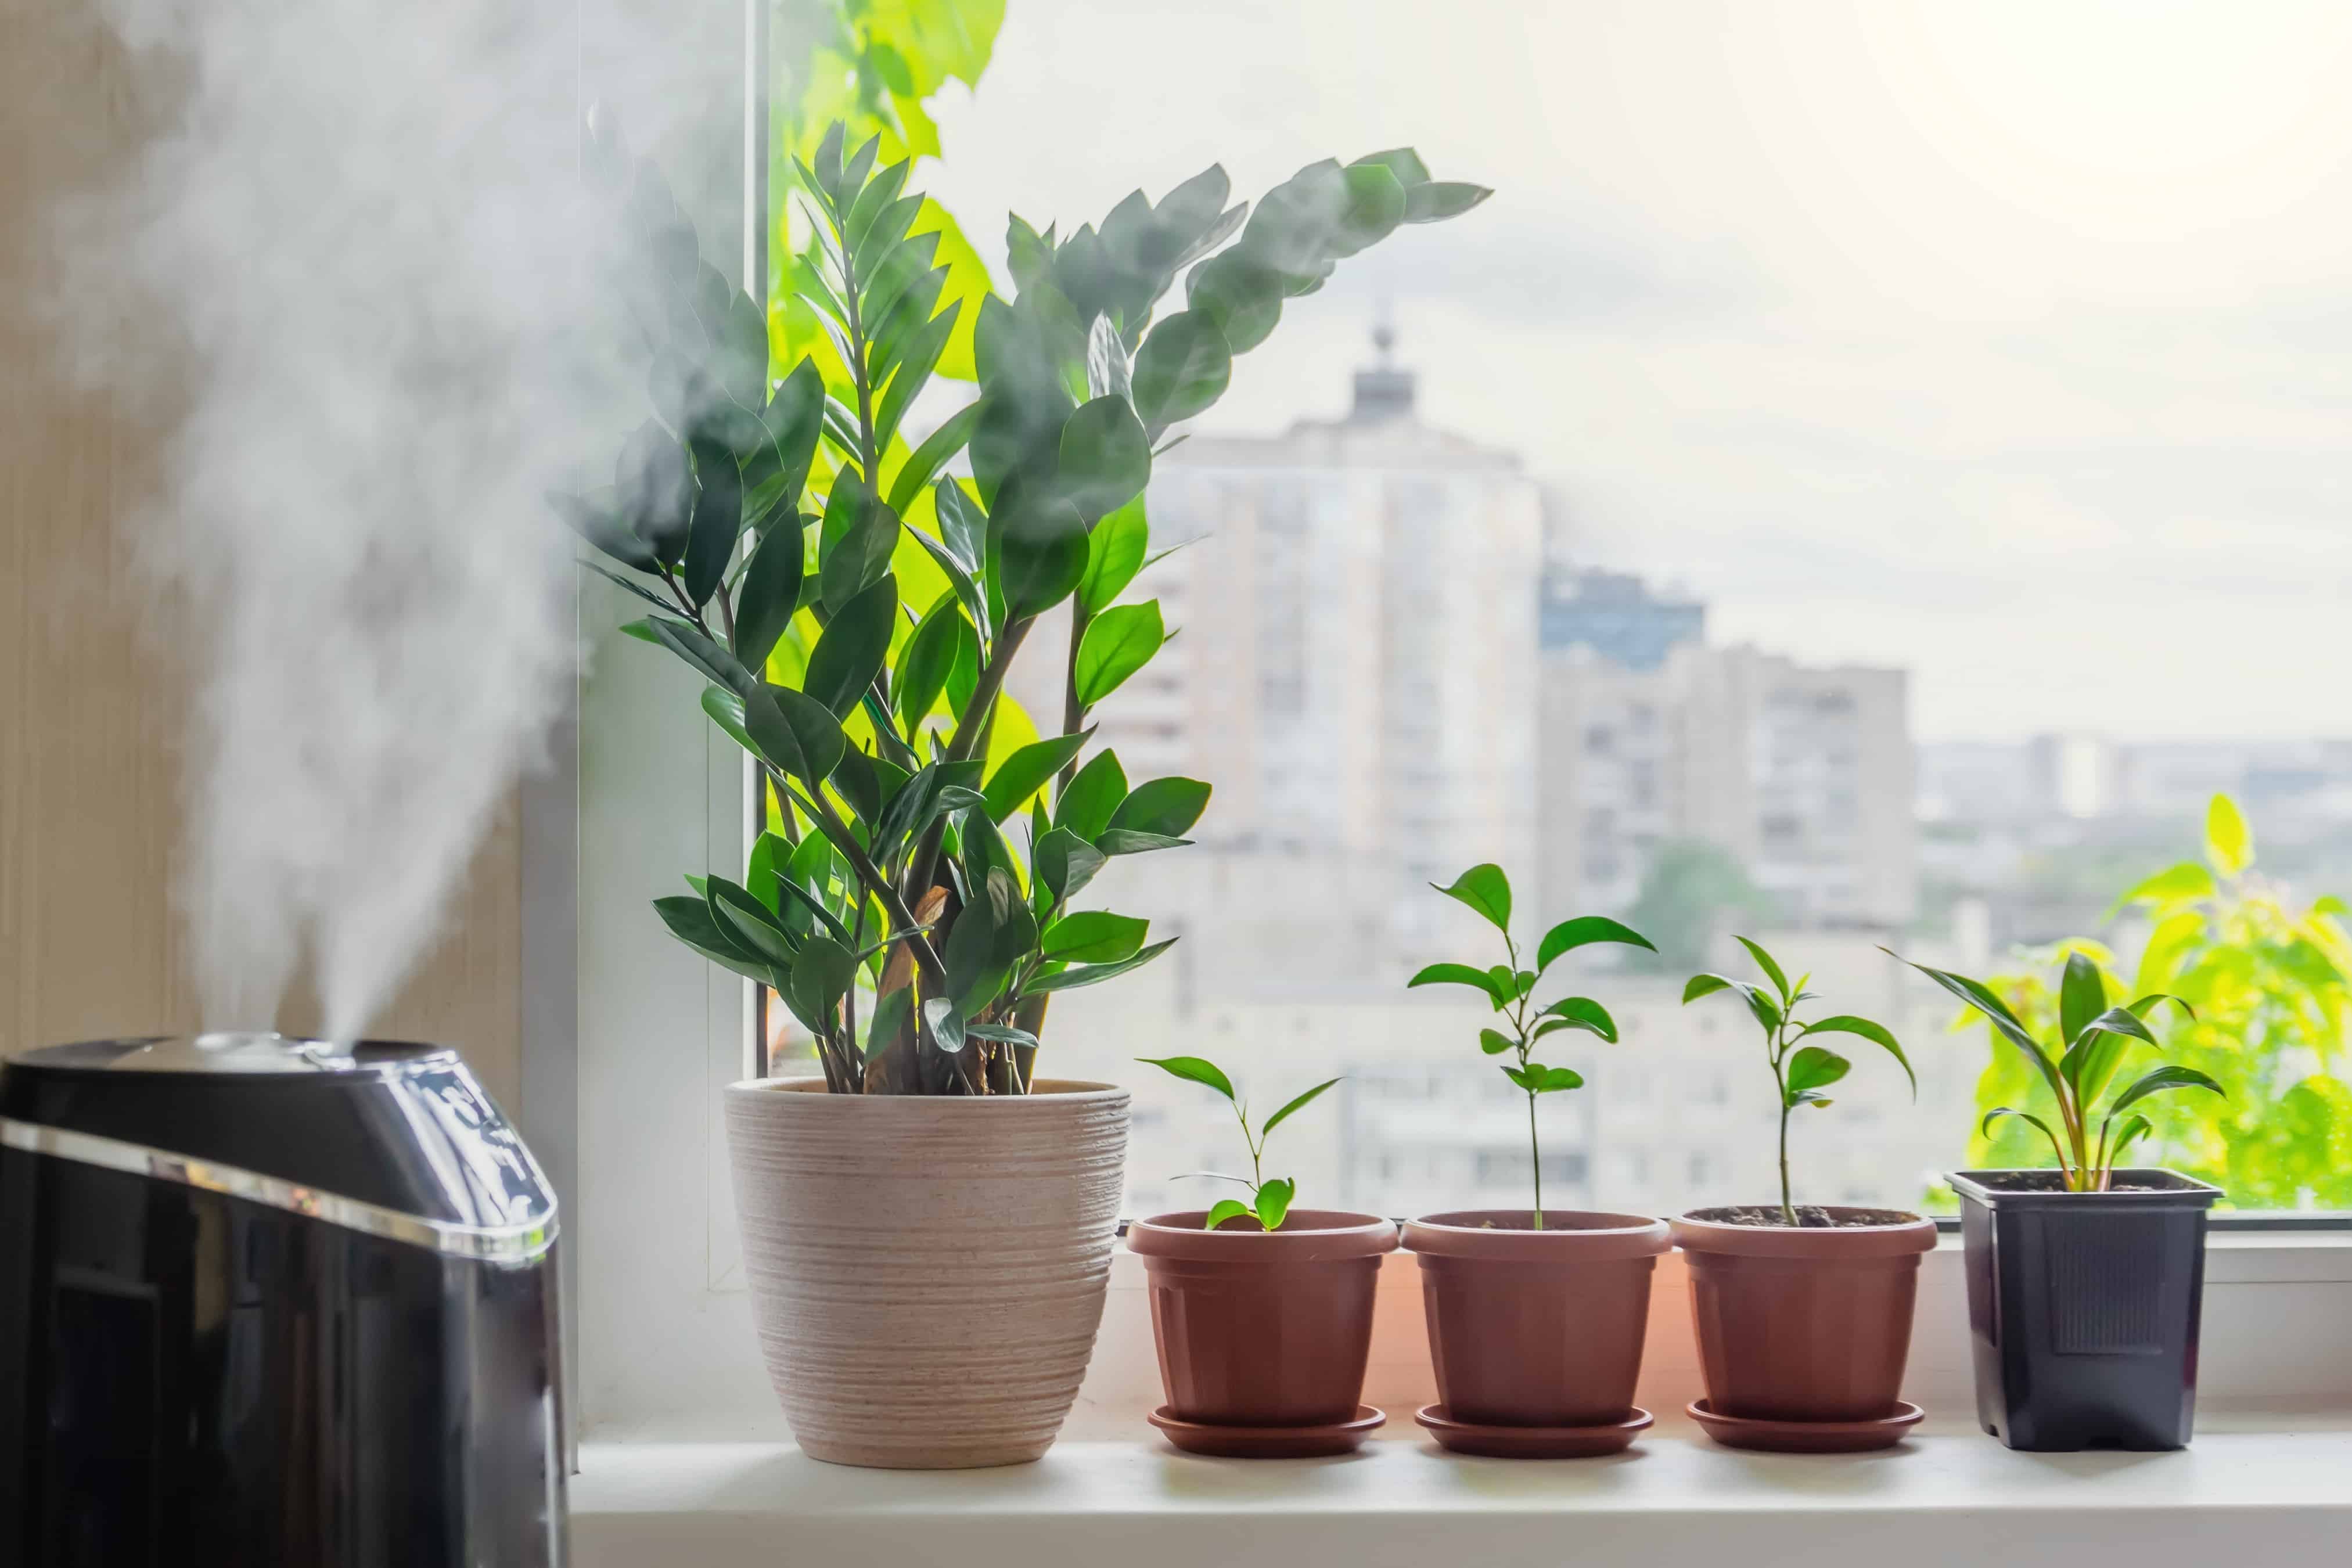
- Is the area humid enough?
If your plant is not in high humidity areas like the bathroom or kitchen, a pebble tray underneath your plants can compensate for that. Here’s how to make a pebble tray:
- Prepare an appropriate size tray or saucer larger than your potted plant.
- Fill it with a layer of pebbles or rocks of your choosing.
- Add just enough water to cover the bottom of the tray completely.
- Place your potted plant on top of the layer of pebbles. Make sure the water is not touching the base of the pot. Remember, you don’t want standing water suffocating your plants’ roots and killing them.
Alternatively, you can get a humidifier, like this one on Amazon. The size of the humidifier depends on the room where you keep your plants.
You can also group your plants so they’ll create their own microclimate when they transpire. This method can increase the surrounding area’s humidity. No matter how comfy or cute your sweater is, I’m afraid you may have to abandon it for the sake of your plants’ vitality; your plants need to sweat too.
- Is air being circulated around?
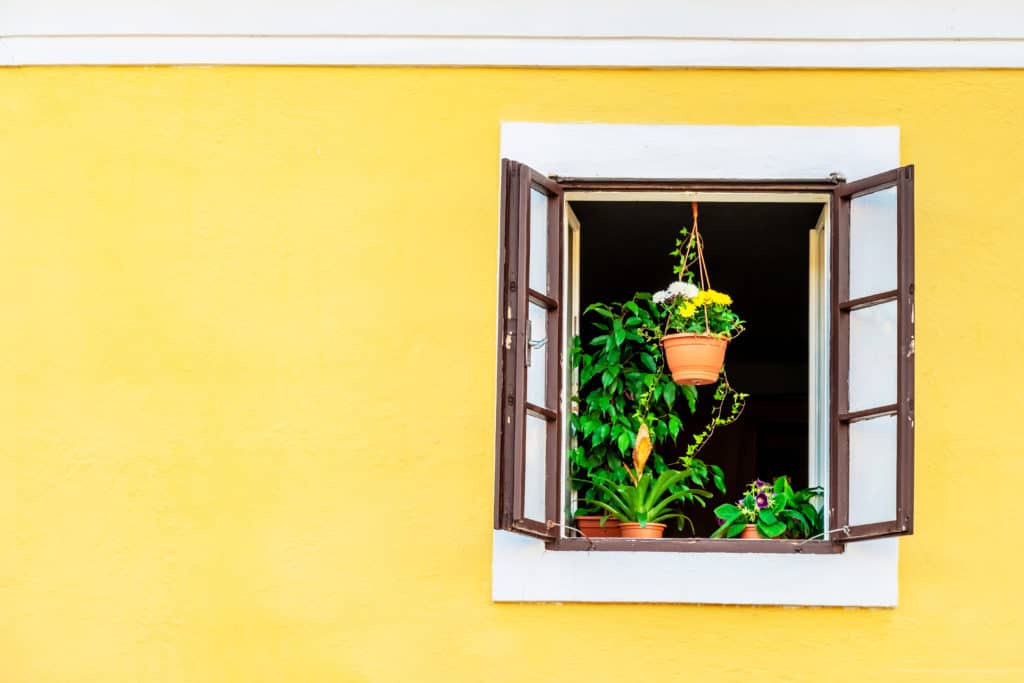
Usually, having an open window near your plants will give the airflow it needs to prevent dampness from settling in. A damp and stagnant environment is the perfect breeding ground for most fungal diseases. It is also an unwanted invitation for pests like gnats and slugs, and boy, do you not want that. A fan can also help provide a much-needed breeze and prevent condensation.
- Is there a lot of dust in the air?
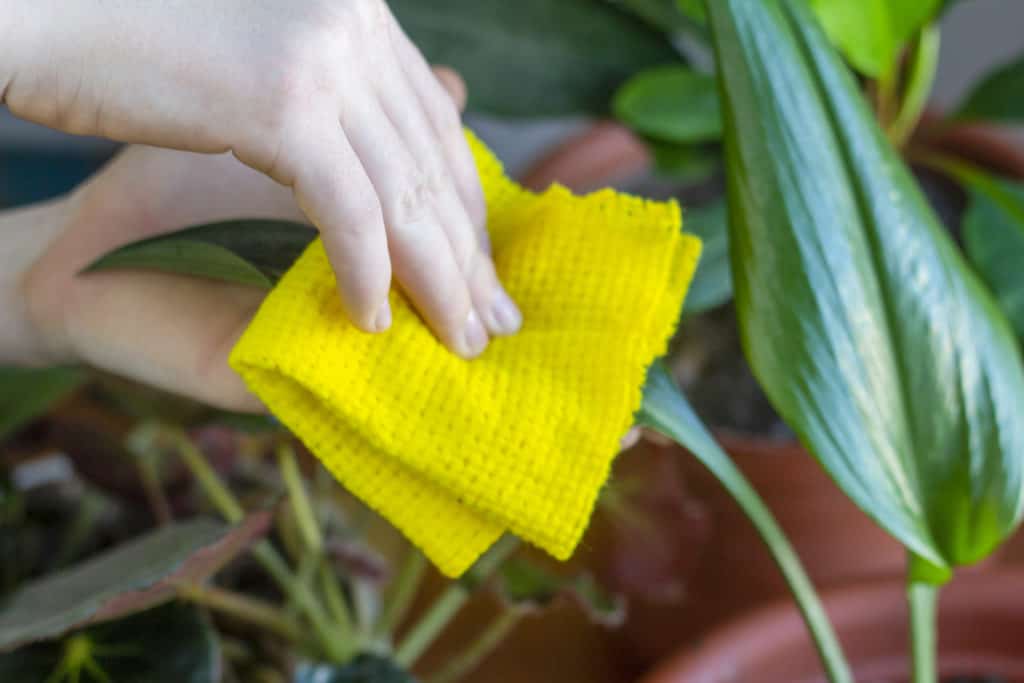
A dust build-up will impede plants from soaking up that much-needed sunlight. Wipe your plants down gently with a cloth for flat, smooth leaves, or use a brush for hairy leaves to prevent a coating of dust. As a bonus, your plants will look mighty fine, all dust-free and peppy green.
Now how in the world are you going to keep track of all this? All of this is so much more than you signed up for when you saw this green baby hiding out in a corner under a spot of sunlight beckoning for you. There has to be a simple way to do this, right?
Please take a deep breath, friend. To make things a whole lot more manageable, here’s a concise weekly plant care checklist for your perusal. It’s simple, easy to use, and best of all, free! Click the link below and print it out for smooth tracking:
You are now the Master/Mistress of the Greenery. Death shall no longer reign supreme over your- sorry, what? Your plant still looks kind of sickly?
But of course, the battle is never over.
Now that you know your basics, let’s dive deeper into some other less common reasons your plants may be struggling to stay alive:
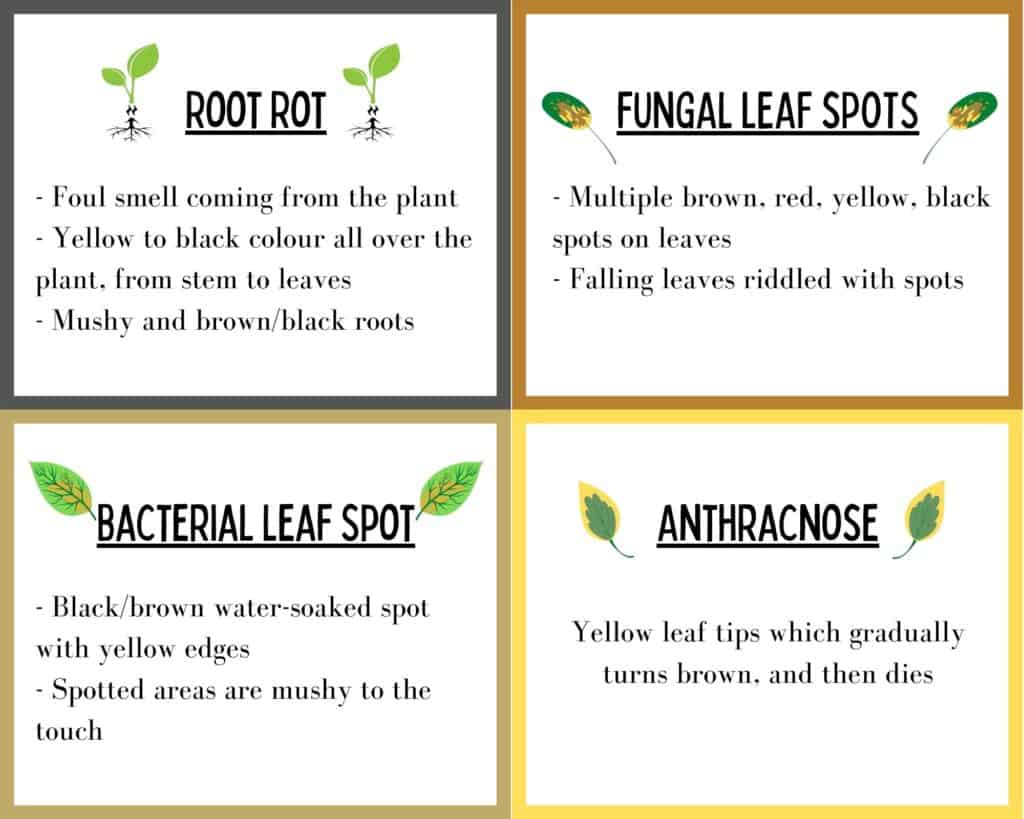
a. Diseases – These are usually due to the environmental conditions covered earlier in our four basic steps, such as root rot from overwatering, root burn from overfertilizing, scorched leaves from too much direct sunlight, and droopy leaves from lack of air circulation. Like a pet, if your plant shows any odd symptoms like brown leaf tips or looks out of the ordinary, it’s telling you something is wrong. Rest assured, most problems are ones that you can prevent and treat. Being able to spot some of the common houseplant diseases will help in the long term of taking care of your green babies. You can use apps such as Agrio or CropsAI to identify the problem or do a quick Google search. Here are some of those diseases you’ll come across at least once:
b. Pests – Even plants get their share of pesky, unwanted guests. An indoor plant can get attacked by bugs simply because there are no natural predators to pick them off. However, there are chemical and organic substances you can use to get rid of them. It’s worth noting that identifying these houseplant pests with a quick Google search will typically give you the specific actions you can take to eliminate and prevent them in the future. Here are some common houseplant pests you’ll see at some point (fingers crossed you never do!):
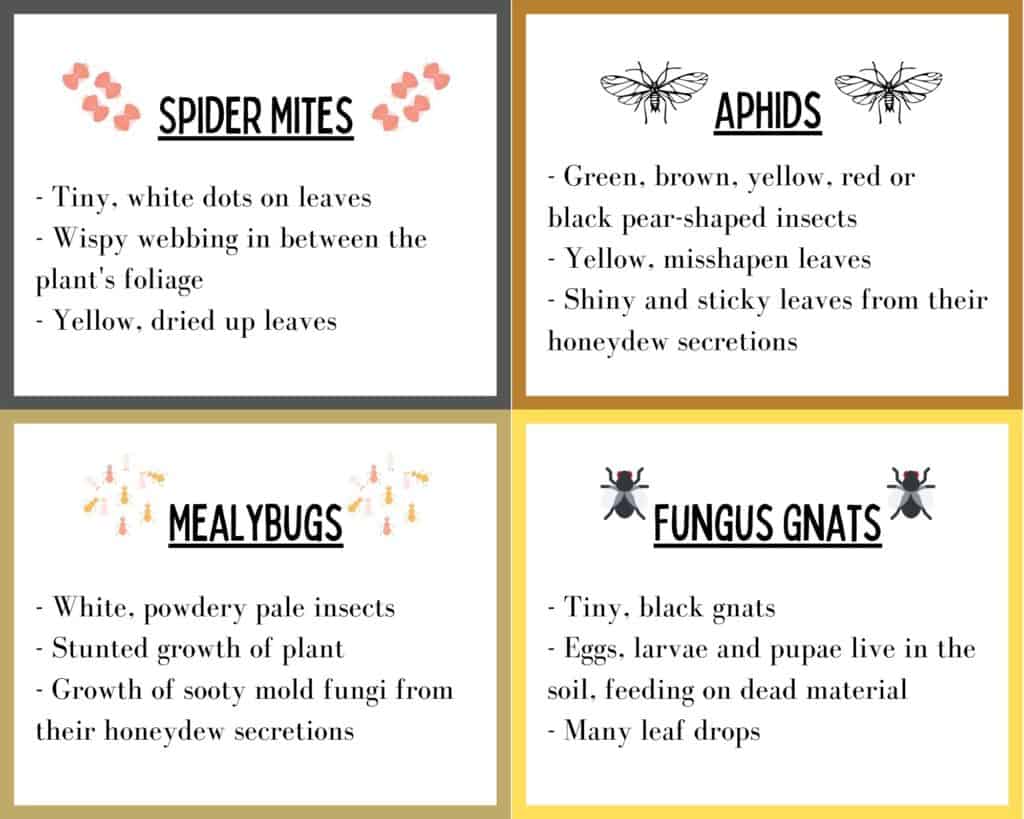
c. Defective seed/batch – It is possible to end up with a flawed seedling or infected/infested plant. If you would like to avoid this where possible, it may be best to purchase your plants from a garden center or a nursery as they would have come from a properly cared for environment. Do your inspection on seedlings, too, by checking the foliage, soil, roots (if showing), and any signs of pests or diseases.
d. Lack of Research – Know. Your. Plant. Every plant is different, so their needs for the four care essentials mentioned will vary as well. It’s not entirely one-size-fits-all, so if you’re going to take care of a plant, you might as well get to know it a little more in-depth. Also, looking up the plant can tell you if it’s an annual (lives for only a year) or a perennial (lives for a few years). Even if you have provided the proper care for your plants’ needs, annuals will always die at the end of the year, no matter what. In these cases, it’s assuring to know that it is not your lack of skills but rather the short lifespan of your plant that was the concluding answer to its end.
With all of that in mind, remind yourself being a plant parent is a journey in and of itself. It’s a learning process, and you will get better at it as you go along. Don’t fall into the Venus Fly (trap) of “not having a green thumb” as a final say of your capabilities.
Now go and get yourself a lovely potted green beauty to love!
References:
https://hgic.clemson.edu/factsheet/common-houseplant-insects-related-pests/
https://smartgardenguide.com/common-houseplant-diseases/
https://www.houseplantsexpert.com/a-z-list-of-house-plants.html
https://www.apartmenttherapy.com/first-house-plant-buying-guide-267293
https://dengarden.com/gardening/Importance-Rotating-Houseplants
https://www.pennington.com/all-products/fertilizer/resources/how-to-save-brown-tipped-plants
https://yardandgardenguru.com/what-to-do-with-old-potting-soil/
https://www.bhg.com/gardening/yard/soil/how-to-reuse-potting-soil/
https://seasonalpreferences.com/sterilize-potting-soil/
https://www.thespruce.com/difference-between-potting-soil-potting-mix-847812
https://www.gardeningknowhow.com/plant-problems/disease/bacterial-leaf-spot.htm


I am sure this paragraph has touched all the internet visitors, its really really nice piece of writing on building up new
blog.
Hi there, I enjoy reading through your article.
I wanted to write a little comment to support you.
Thank you! I appreciate your support 😀