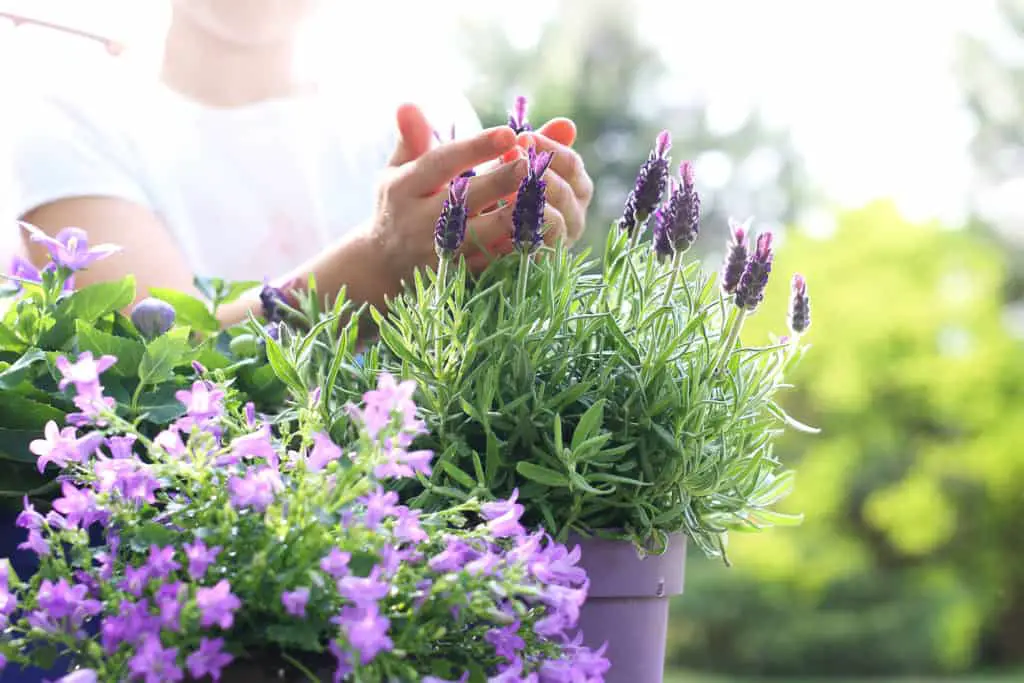
Lavender plants, lovely as they are, are surprisingly fickle as indoor plants. Their leaves have this tendency to droop and turn grey with no explanation. Why is that?
As a whole, lavender turns grey due to fungal pathogens attacking its roots or foliage. This is typically caused by overwatering, poor soil drainage, and/or lack of airflow. These conditions allow fungal diseases like Phytophthora to thrive in the soil or Botrytis spores to grow on the foliage.
Don’t worry! I have the answers on how to save your greying lavender plant. But first, let’s go into what caused the problem in the first place so you can prevent it from happening again:
(As an Amazon Associate, I earn from qualifying purchases.)
Table of contents
What is Causing Lavender to Turn Grey and How?
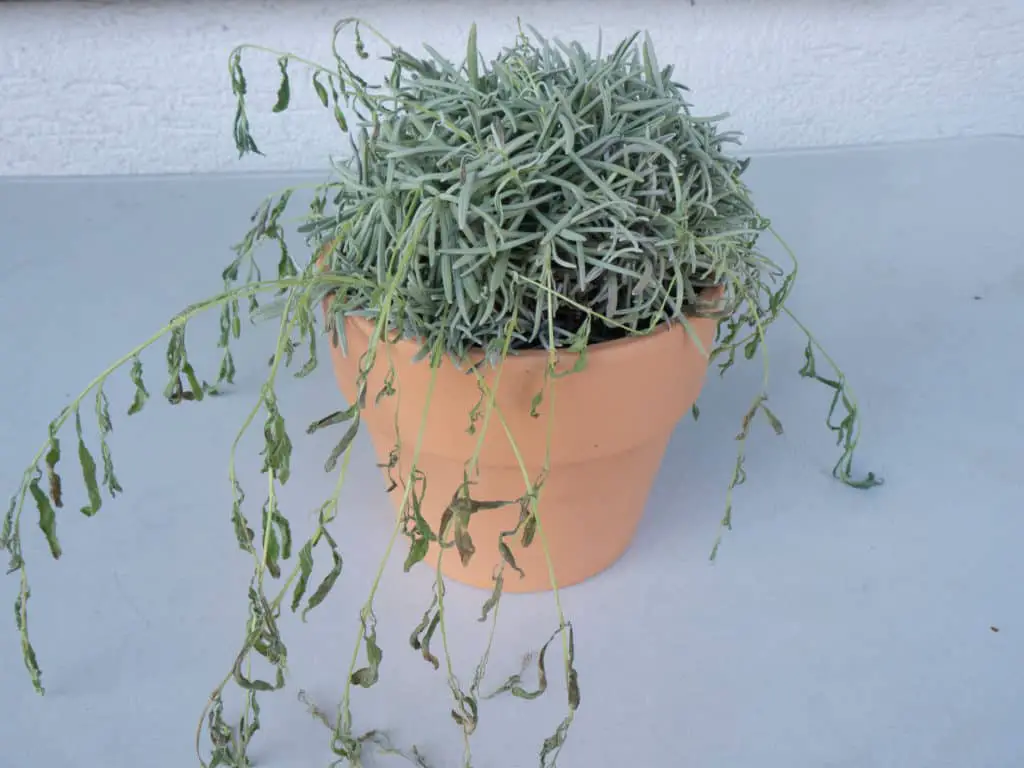
As mentioned in the intro, the primary reason a lavender plant’s leaves droop and turn grey is overwatering. Yes, it’s your old nemesis – too much water. The lavender plant is drought-tolerant, originating from dry but windy Mediterranean lands, so giving it too much water actually damages its health.
This is often paired with poor drainage in the soil from one or a combination of the following:
- Not having enough aerating materials, such as gravel, in the soil;
- Not having drain holes under the pot for excess water to escape from;
- Having soil that retains moisture for too long, whether clay soil or old, compacted soil.
Whether it is overwatering, poor drainage, or both, it is enough to open up the door to a slew of fungal diseases such as Phytophthora, Pythium, or Botrytis. They love living in cold, soggy soil and will feast on available nutrients in their surroundings. So if your lavender plant is swimming in this type of environment, the roots will start to rot. When this happens, the plant will show signs of being dehydrated. Some of the foliage will begin drooping and become discolored, eventually turning brown and dying.
Another possible reason for greying is the plant’s foliage being too overcrowded or in general, the plant is too big for its pot, causing a severe lack of airflow around the plant. This makes it easier for fungal spores to latch onto the plant’s leaves and create more problems.
Some say that it may be caused by frost damage. This only applies to lavender plants that have been grown outdoors in the ground. And even then, it’s not that big of a problem. Yes, the lavender plant will exhibit pale/grey and brittle foliage at the top. But if you look closely below, the undergrowth will show new flushes of green growth after winter has passed. Extensive pruning on the overwintered parts of the plant will allow the tender younglings to develop, and your lavender plant will grow as good as new again!
I also have to point out that there are lavender varieties with blue-green or green-grey with a silver tinge in its foliage. Some also have white blooms instead of the iconic purple! Nevertheless, don’t panic if your lavender looks grey unless it is drooping/wilting/curling. For all you know, that’s just its natural color.
In summary, is grey lavender dead? No, a greying lavender does not mean it is already dead. The discoloration and accompanying wilting indicates there is something wrong with the plant. It is likely due to fungal pathogens attacking the plant caused by overwatering, poor air circulation, or inadequate soil drainage. The exception to this rule is if the plant is naturally grey in its overall foliage like the Goodwin Creek Gray Lavender.
How Do You Fix A Greying Lavender?
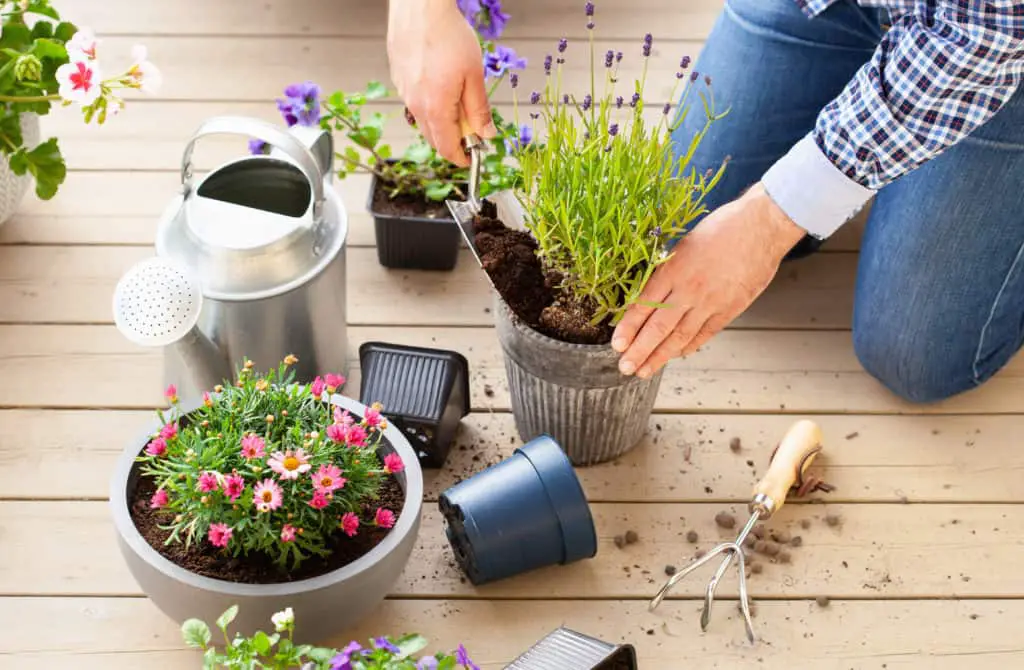
For overwatering problems, here’s what you need to do:
Prepare the following items (Note: some of the following products are Amazon links):
- A new pot with drain holes
- Fresh, potting soil
- Aerating materials such as gravel, vermiculite, or perlite
- Sharp scissors or pruning shears that have been disinfected
- Ethyl or Isopropyl alcohol for disinfecting the above cutting tool
- Optional: A trowel
- Optional: a butter knife that will never be used for eating again
- Slide the plant gently out of its pot. If it’s stuck, use the butter knife and loosen up the soil at the sides.
- Brush the soil away and examine the roots.
- If there are only firm, white roots, this means the roots are healthy, and you can skip to step 3.
- If there are any black, mushy roots, this means the roots are rotting. Snip them off with your cutting tool, disinfecting between each snip.
- Cut off all the grey and discolored stems and leaves on the plant. Make sure to disinfect before, in between, and after each snip.
- Dust off the old potting soil from the roots of the lavender plant as best as you can.
- Mix 50-50 portions of fresh potting soil and your chosen aerating materials in the new pot. These aerating materials will help ensure plenty of drainage in the new soil to get rid of excess water.
- Plant your lavender in the new pot with fresh soil.
- Water the plant very lightly to settle the soil and set it aside in a bright spot with full sun.
- Monitor your lavender plant’s recovery for the next 2-3 weeks and avoid overwatering it. Every 5 days, use the knuckle test to check whether it’s time to water:
- If the tip of your finger feels moist, don’t water it.
- If it feels dry, water it deeply.
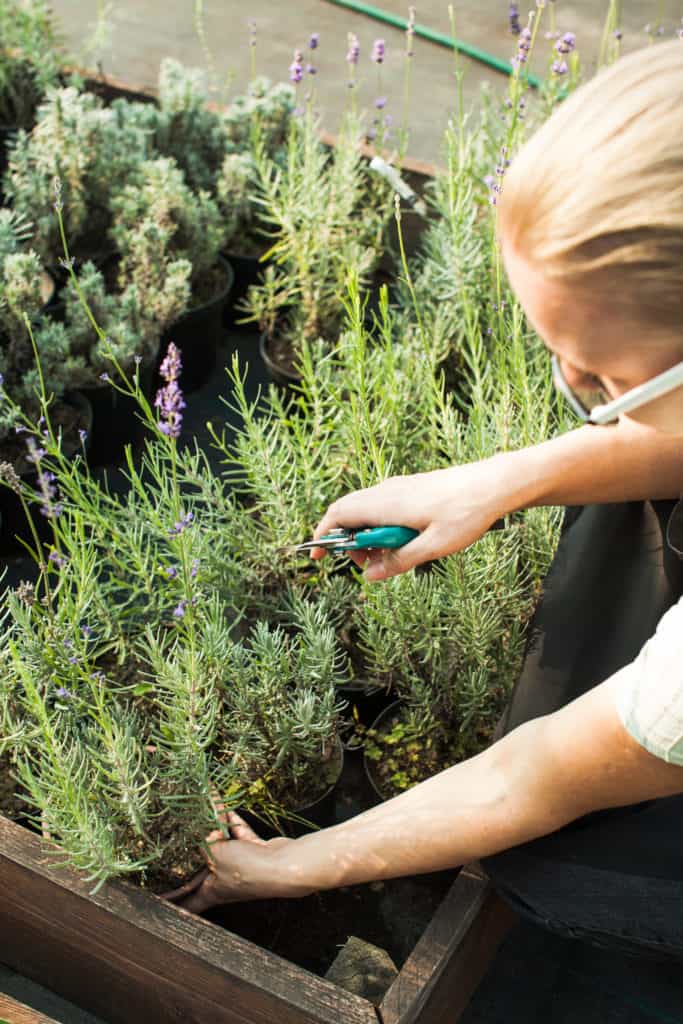
For overcrowded lavender plants, you can choose to do either of the following:
- Prune back some of its foliage.
- Repot it in a bigger pot.
For pruning, it’s advisable to trim your lavender once a year after it finished blooming in late Fall. This way, you stimulate new growth while getting rid of older stems and deadhead spent blooms. Aim to cut off ⅓ of its stem length only.
For repotting, follow the steps above for overwatering with a slight adjustment on the pot size. Aim to get a pot with an opening 1-2 inches larger in diameter than the previous pot. But follow the rest of the instructions as-is.
How Can You Keep Your Lavender Healthy?
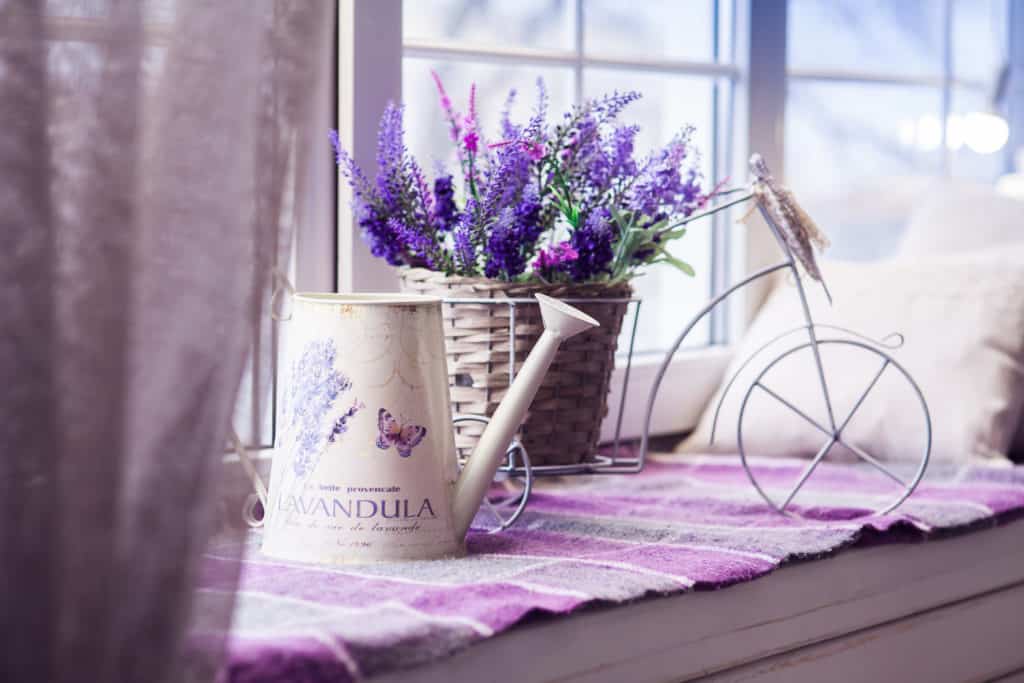
Now that you’ve managed to save your lavender plant, here are a few tips to ensure they keep on thriving:
- Do not fertilize your lavender plant. This will cause your plant to grow more leaves instead of blooms, which will overcrowd your pot. But in general, lavender plants don’t need that much fertilizing to begin with. The chances of overfertilizing and ‘burning’ its roots are more likely, so it’s better to err on the side of caution.
- Keep the topsoil clear of any fallen leaf and stem debris. Decomposing leaves will invite other diseases to grow on your plant, which you should avoid with indoor plants in general. The natural mulch will also keep the soil moist for far too long than necessary. You need to let the soil dry out first before watering your lavender plant again.
- Place lavender plant away from other plants at least 3 feet away. This ensures good air circulation around your lavender so fungal spores won’t land on its leaves. And if your other plants happen to have a pest or disease problem, it won’t jump ship onto your lavender plant.
- Do not pamper and overwater your lavender plant. It thrives on neglect and dry periods. Seriously, let them vibe in their own sunny corner, and you’re good. But do the knuckle test every 5 days to check if it’s time to water it.
And with that, you have saved your lavender plant! Happy planting 😀
References:
https://bsppjournals.onlinelibrary.wiley.com/doi/abs/10.1111/j.1365-3059.1991.tb02408.x
https://www.cabi.org/isc/FullTextPDF/2011/20113376280.pdf
https://pnwhandbooks.org/plantdisease/host-disease/lavender-root-rot
https://www.cabdirect.org/cabdirect/abstract/20113376280
https://newcropsorganics.ces.ncsu.edu/herb/lavender-history-taxonomy-and-production/




Leave a Reply