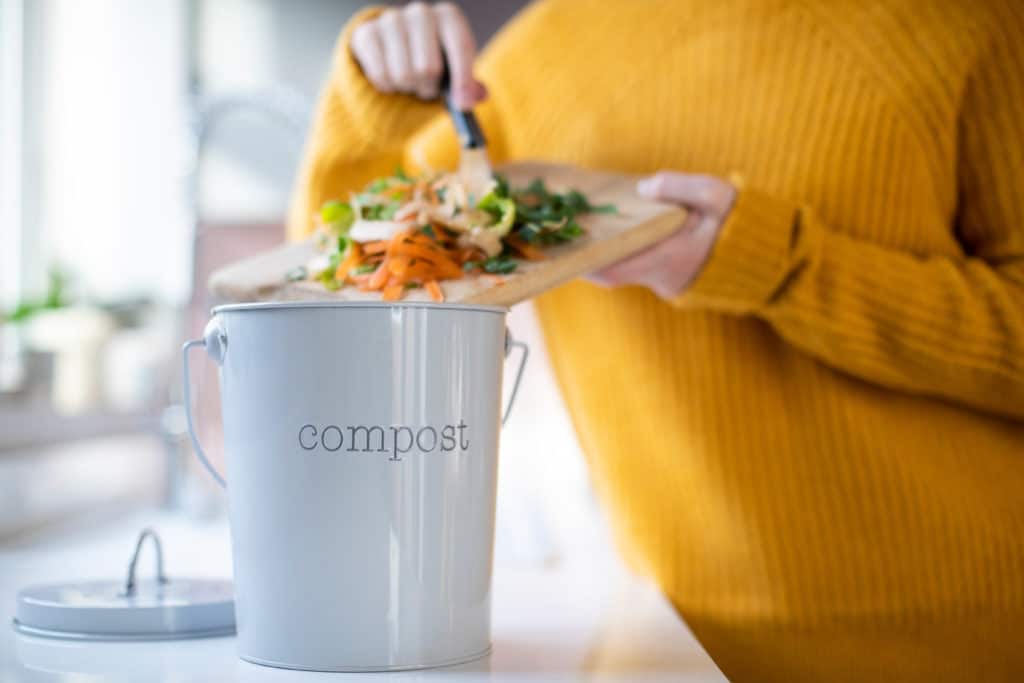
You’ve probably heard of composting before, from the newbie composters to the knowledgeable veterans who have been doing it for years. So, what exactly is it? and why do people insist that it is a garden must-have?
The short answer:
Composting is the process of microbes breaking down organic matter such as food scraps and yard waste into a rich, fluffy substance akin to soil. This substance is called compost and is often used as a soil amendment to fertilize the soil and provide nutrients for better growth in plants.
Below, you can learn more about the different aspects of compost, its benefits, and the step-by-step guide to composting in your own home.
(As an Amazon Associate, I earn from qualifying purchases.)
Table of contents
What is Compost?
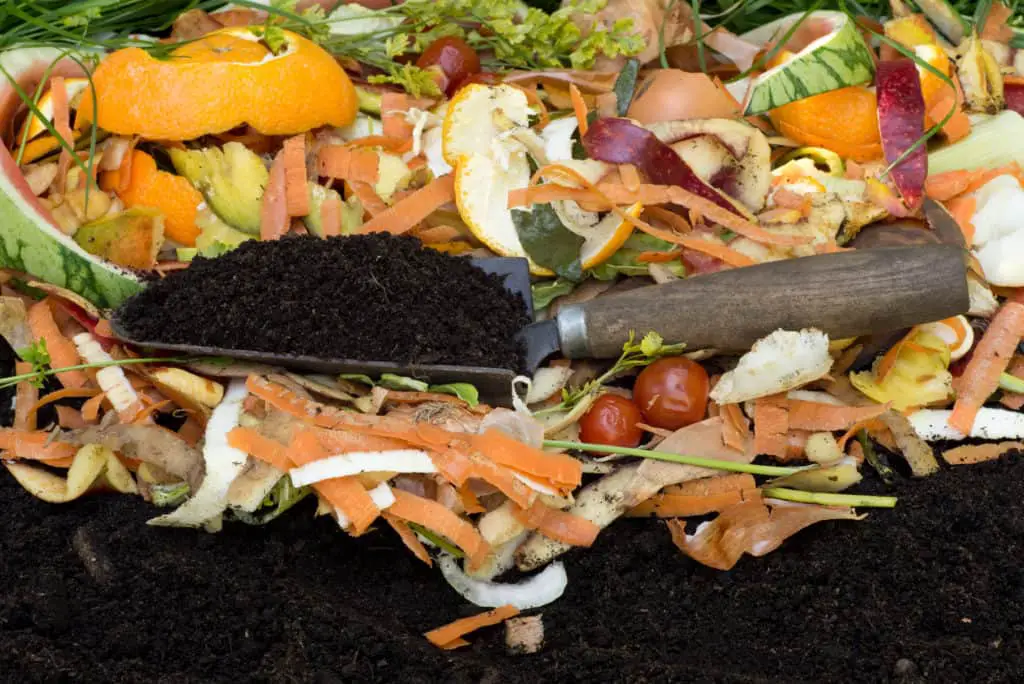
At its core, compost is decomposed, rich organic material made from kitchen scraps and miscellaneous organic waste. It is often used as a soil amendment to nourish and fertilize the earth before planting – kind of like an indirect fertilizer to plants. Compost is also affectionately called ‘black gold’ by farmers and gardeners for its beneficial properties in enriching the soil. The best part is, you don’t have to go on a year-long adventure on a ship to a secluded island to collect this glorious gold or well… hot compost.
There are 4 essential components needed for composting:
- Nitrogen-rich materials, i.e., The Greens, such as food scraps and grass clippings.
- Carbon-rich materials, i.e., The Browns, such as shredded cardboard and dry leaves.
- Water.
- Air, though this can be optional in some cases. Active composting generally needs air, i.e., oxygen, to quicken the decomposition process.
Together, these four elements provide the perfect environment for microbes to do their best in quickening the natural decomposition process. These microbes, such as bacteria and fungi, are the hard workers plowing through and transforming ordinary scraps into bountiful ‘black gold’ for your gardening needs. But how do they utilize these four elements?
Nitrogen is one of the vital building blocks for growing and reproducing plants. And also, microbes; they need Nitrogen-rich materials to develop and multiply so they can get the job done. On the other hand, Carbon-rich materials are food for these microbial workers; these microorganisms need sustenance too. Last but not least, oxygen and water are the lifeblood to their survival without which they will quickly die. Hey, I don’t make the rules; it’s the Earth’s rules, the Mars colonization is still a while away, and frankly, carbon-based life isn’t changing anytime soon…
When the compost has been broken down by these microbes it will look just like soil but richer. You won’t find signs of the scraps and organic waste you put in initially. Instead, you’ll find earthy, crumbly, warm soil that can transform your garden into a busy, flourishing bed. A telltale sign of your compost being ready is the amount of compost left is ⅓ the volume of what you initially started with. There shouldn’t be any scraps or sour smells; otherwise, that means it isn’t ready and needs a little more time to break down.
What are the Different Types of Composting?
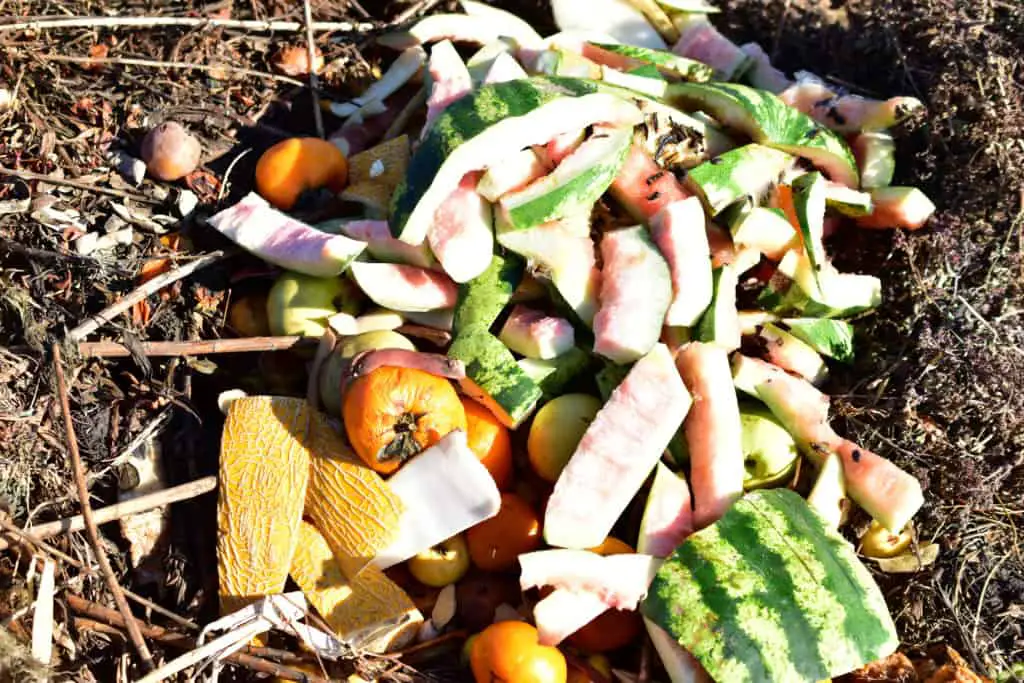
- Cold Composting. This method is low maintenance and lets nature take its course without controlling the variables of composting. All you need to do is basically dig a hole, put your scraps in, bury it again and let Mother Earth do the heavy lifting. Seems easy, right? However, it will take you about 1-2 years before usable compost can be used or collected. 2/10 and would not recommend it for those like myself who can’t even wait for the microwave to beep before collecting their warm/cold dish.
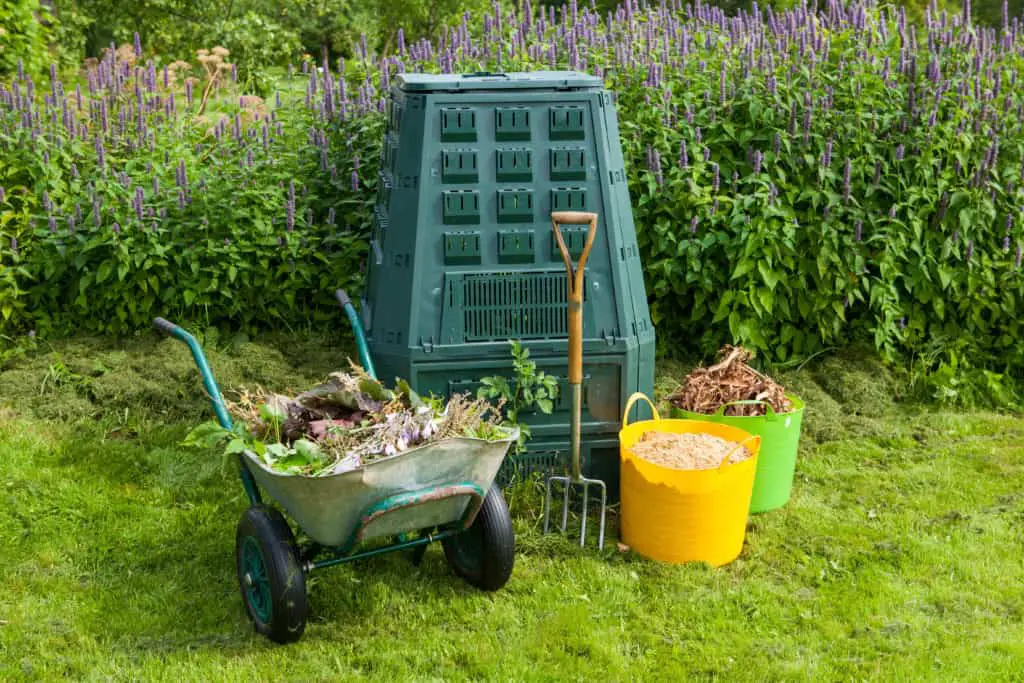
- Hot Composting. Now, in this method you will take on a more active role. Everything from the quantity of scraps put in, to the temperature and aeration supplied is controlled and monitored. Is it too laborious? Honestly, it’s not that bad. If you’ve ever made homemade bread before, it’s kinda like that. Most of your time you’ll spend waiting. But, luckily, only about 1-2 months before your compost is ready. You’ve probably waited for the same for your sourdough culture to form so, no biggie right?
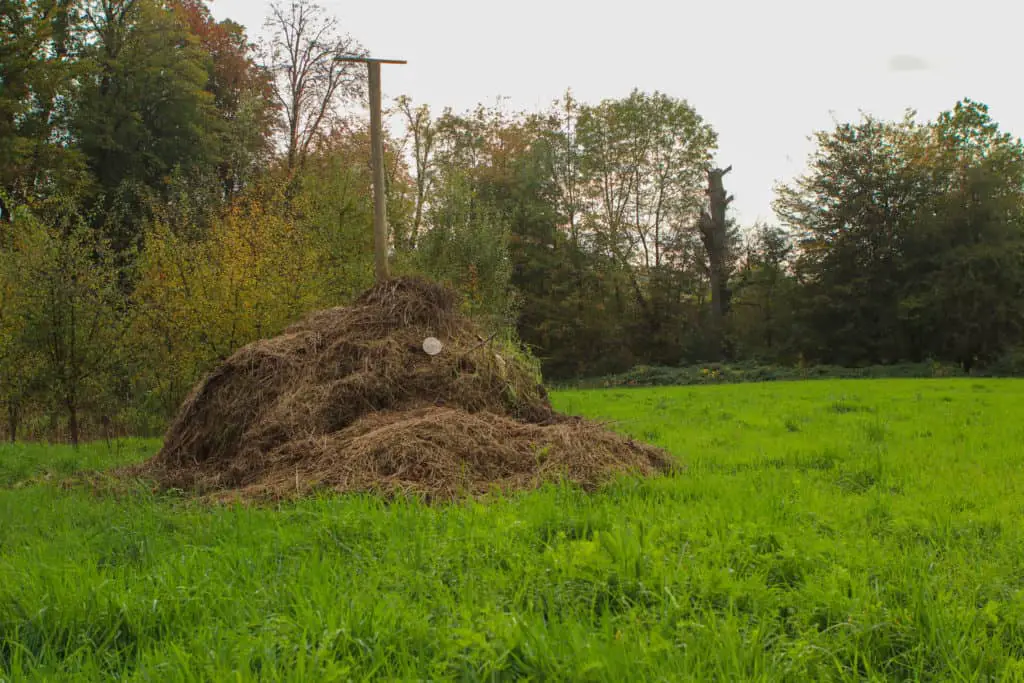
- Sheet Composting. Also known as sheet mulching, lasagna gardening, or no-till gardening, it is somewhat similar to cold composting with a few tricks up its proverbial sleeves. It doesn’t require any digging. Instead, you’re layering the greens and the browns on top of the soil where you’ll be planting and then covering it with a plastic sheet to prevent weeds from sprouting. In some cases, you’ll need to use a tarp to prevent the pile from getting too wet during a downpour. Again, this method takes anywhere from a few months to a year for compost to form. Sometimes adding fresh manure or earthworms to the pile can speed up the process. Come next planting season, the stack will have decomposed to compost, ready for your gardening or farming needs.
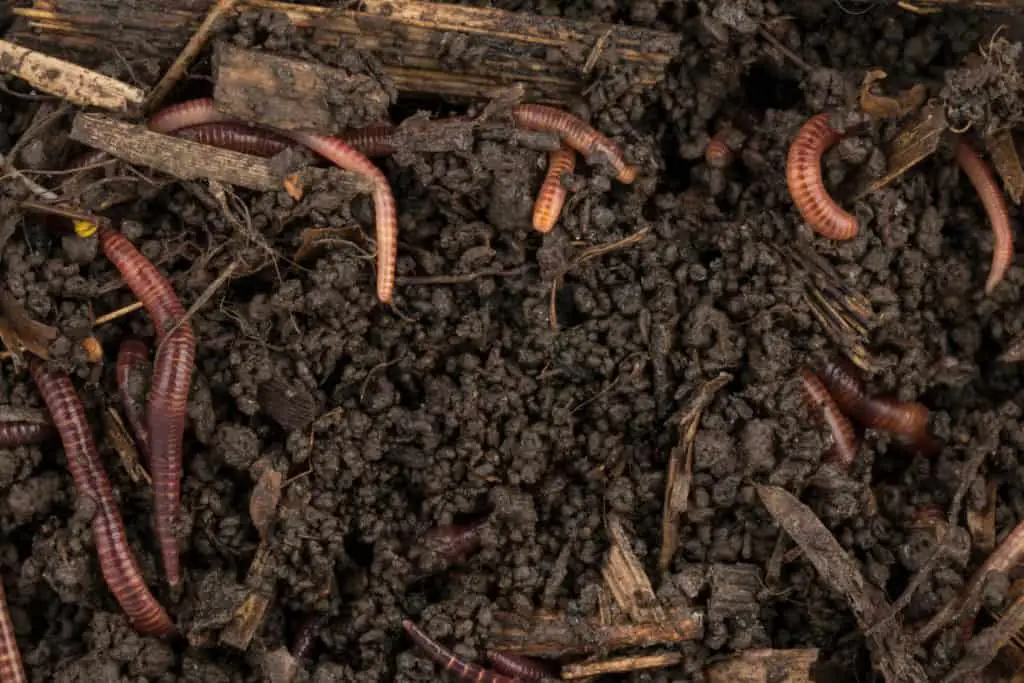
- Vermicomposting (read our article about it here). This method doesn’t replace the microbes in action for composting, but like union busting microbes will no longer be your primary workers. Enter, The Worms. It’s still considered composting because the concept is similar as you are using the 4 mentioned components to feed the decomposers, except they are not microbes but worms. It’s also one of the most convenient composting methods for indoor use and takes about 3-6 months for your first batch to be ready.
What are the Benefits of Composting?
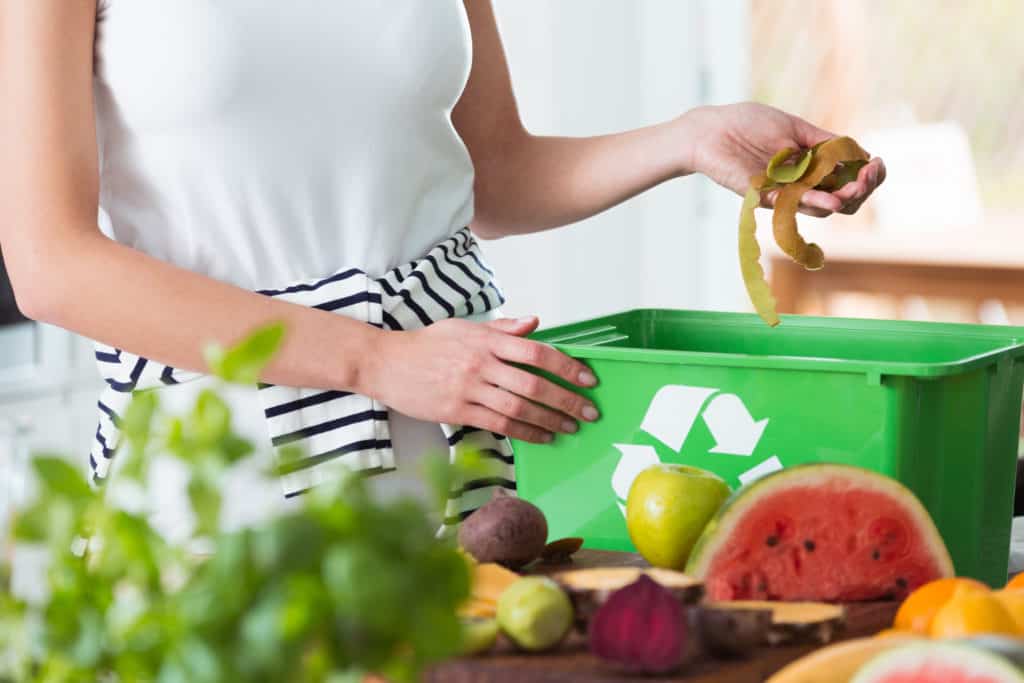
- Recycling Home Waste. Kitchen scraps on their own can be quite plentiful at the end of the week, so why not take advantage of that and repurpose it as something useful for your garden? This includes any organic waste such as dry leaves, old newspapers, and cardboard that could be decomposed naturally in your home to create organic garden or houseplant fertilizer.
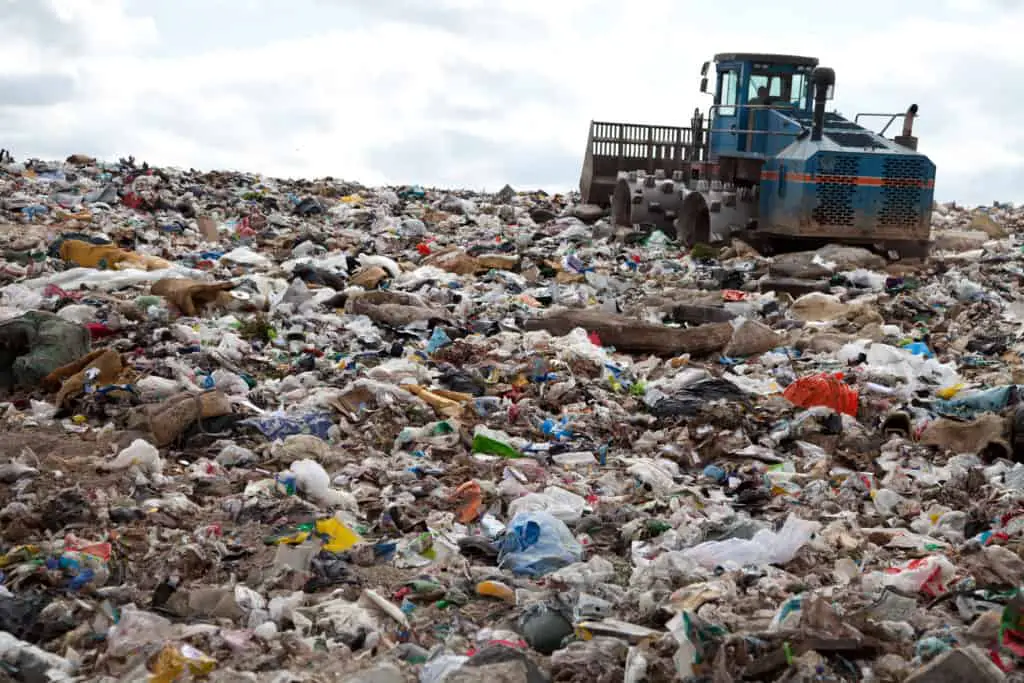
- Reducing Your Landfill Footprint. When trash gets trapped underneath all the other trash in a landfill, it decomposes slowly and anaerobically (i.e., without oxygen), producing methane gas. By composting you’ll contribute less rubbish to landfills, which, by the way, are the third-highest contributing factor to producing greenhouse gases, particularly Methane. So, the less trash that goes into landfills and the more that goes into composting processes, the better off we humans are and the better off our planet will be.
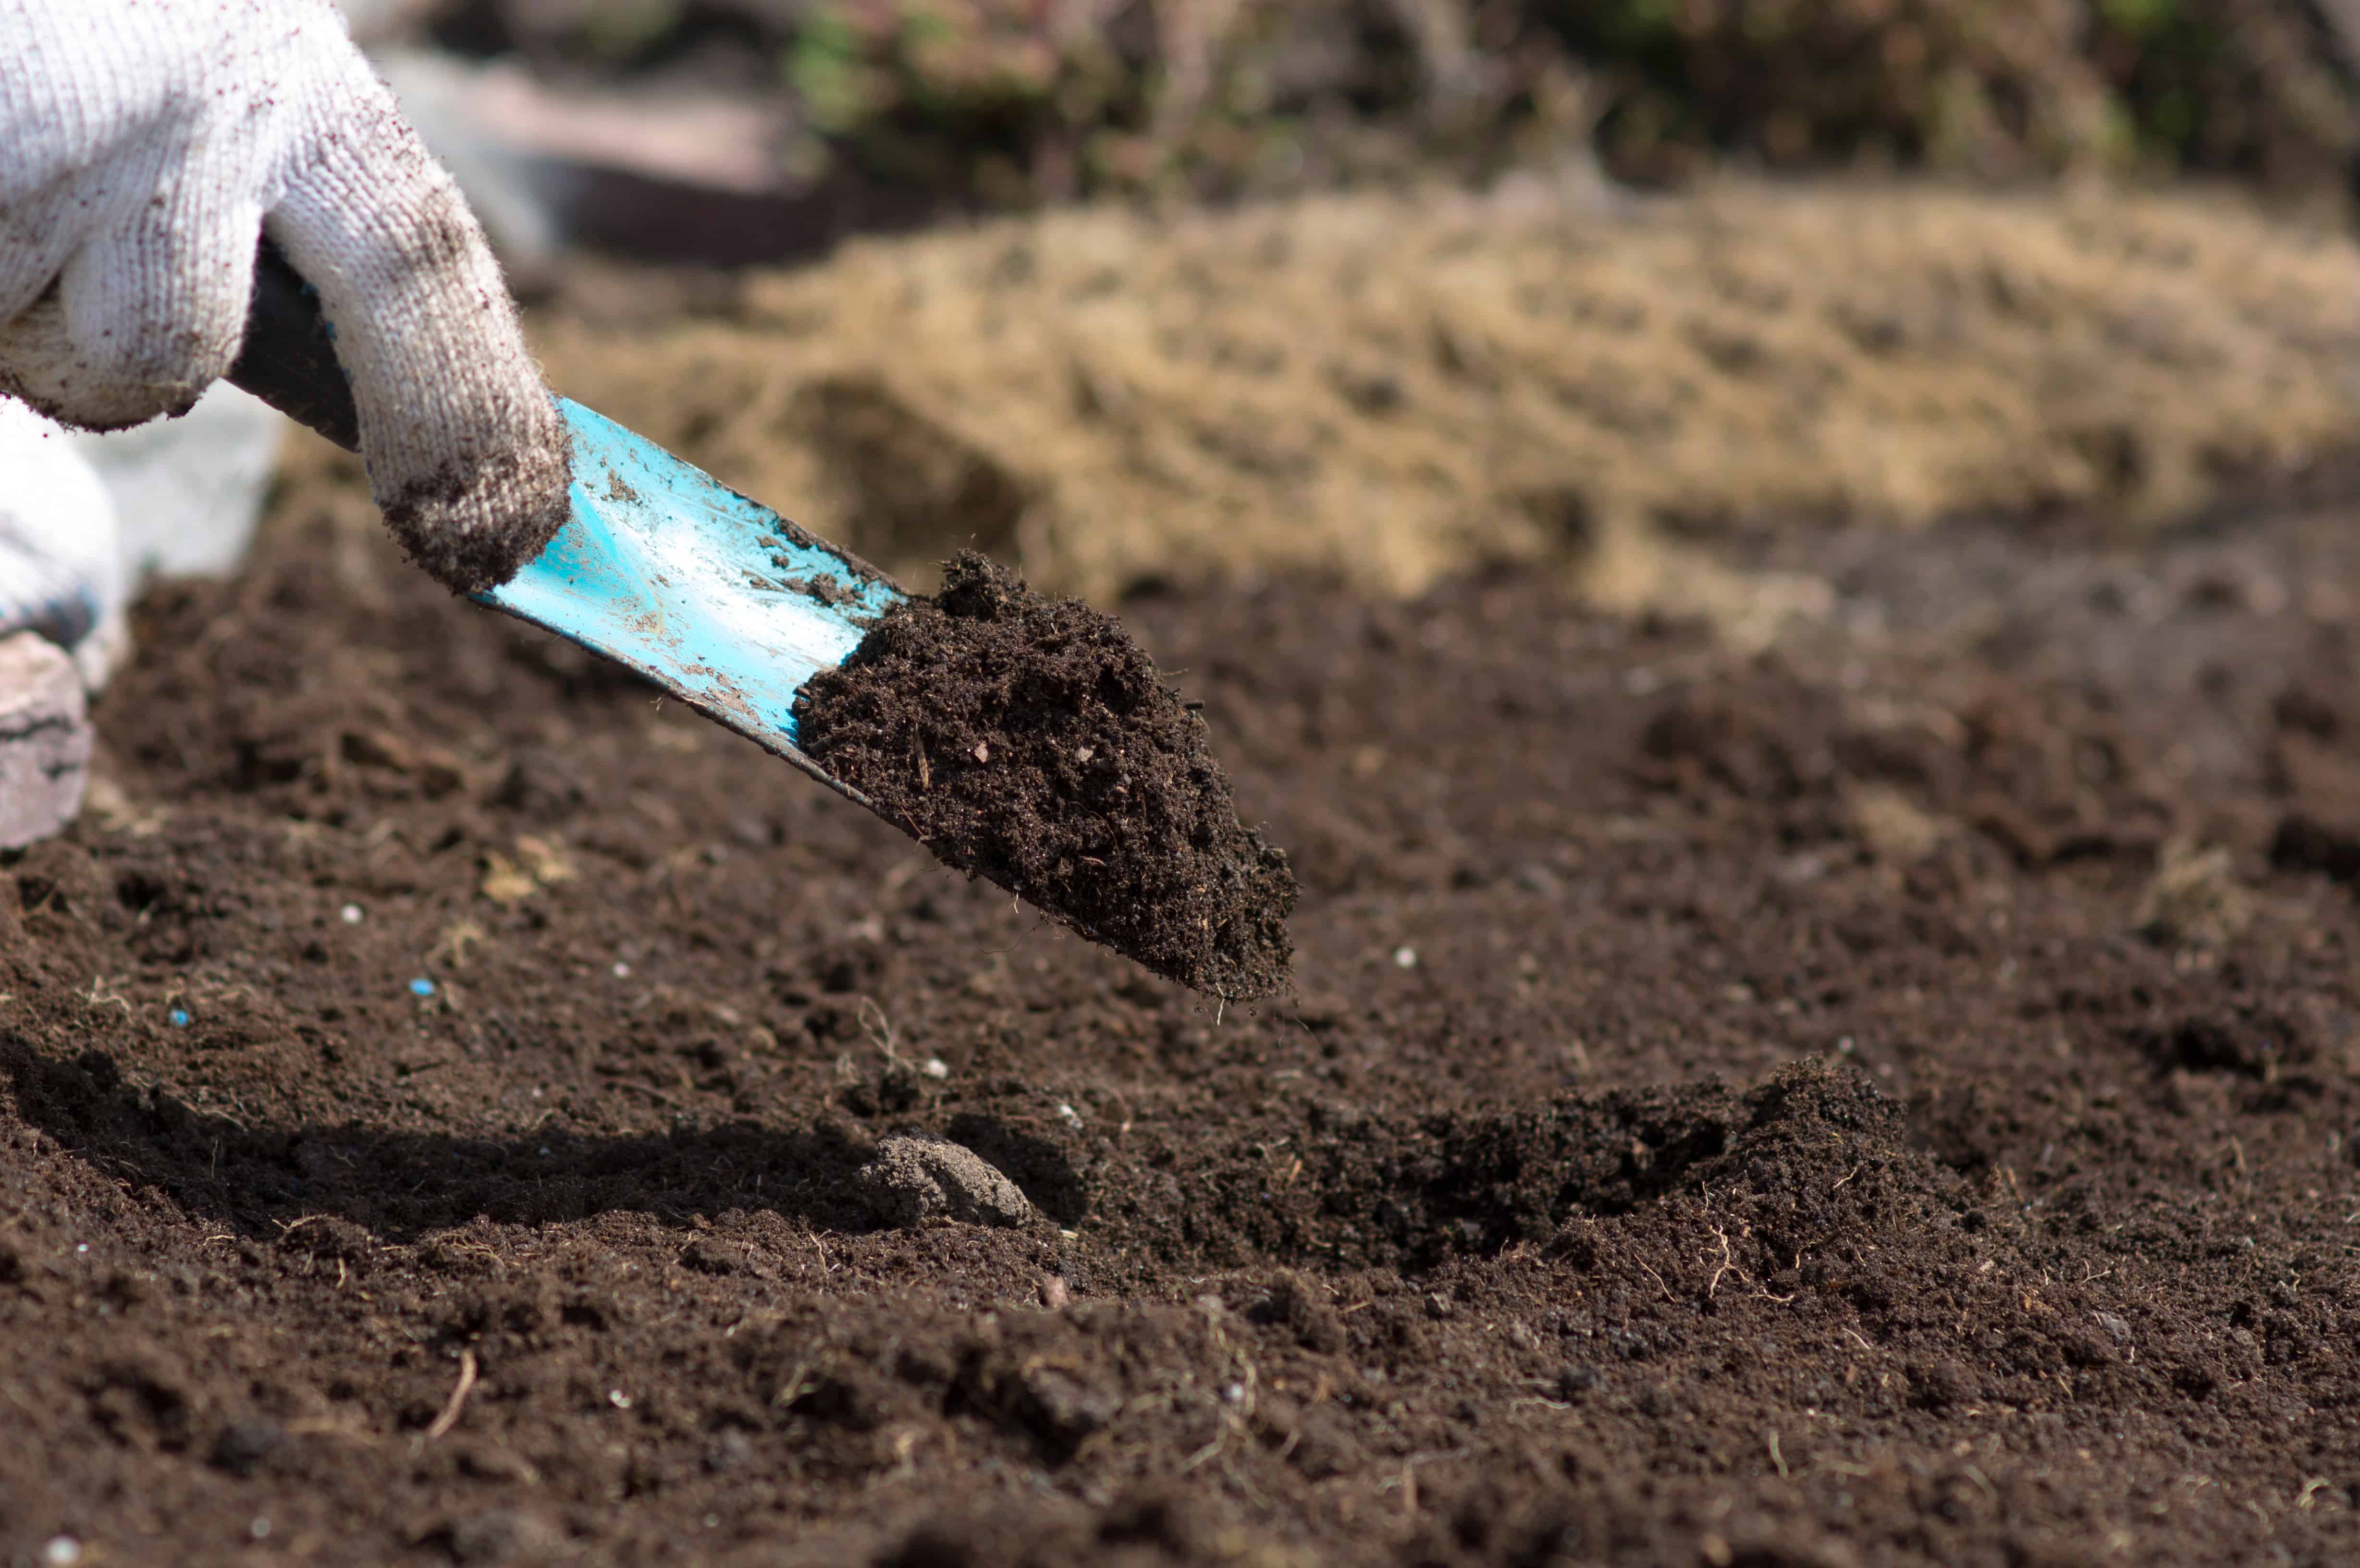
- Improves soil structure. One of the reasons why compost is so loved is it morphs any type of soil into a better form of itself. For example, adding compost to clay soil gives it the needed aeration that it initially didn’t have to provide better air circulation for plants’ roots. In sandy soil, mixing it with compost adjusts its water retention ability to keep the plants well-saturated. It’s almost like a power-up that every soil needs – give it some, and you get more out of your garden because of it.
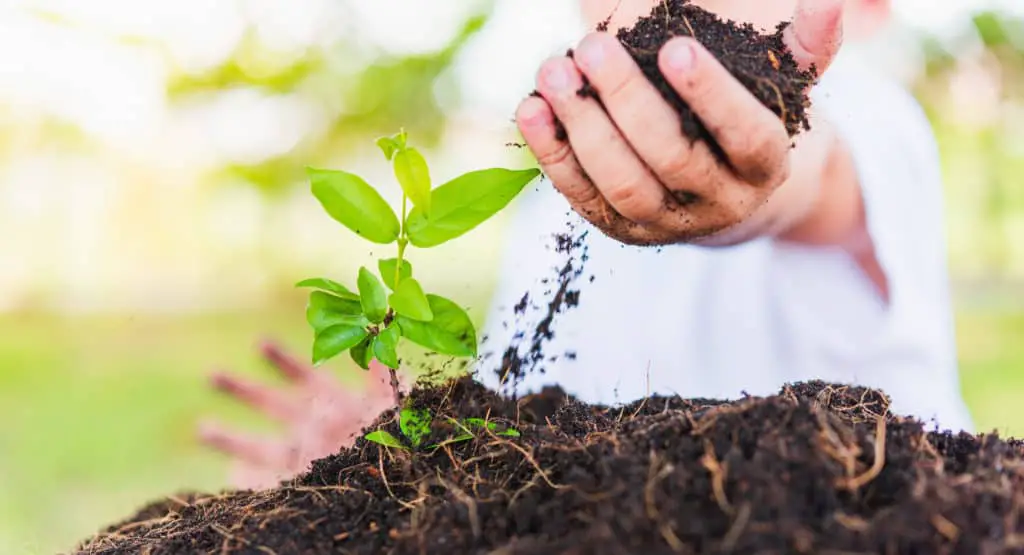
- Improves soil fertility. Compost consists of all the good microbes and nutrients that every plant needs to naturally develop without the conditional use of synthetic fertilizers. It encourages a healthy microbe population to grow in the soil for natural decomposition of organic matter and, in effect, prevents many pathogens responsible for plant diseases.
What Can I Compost?
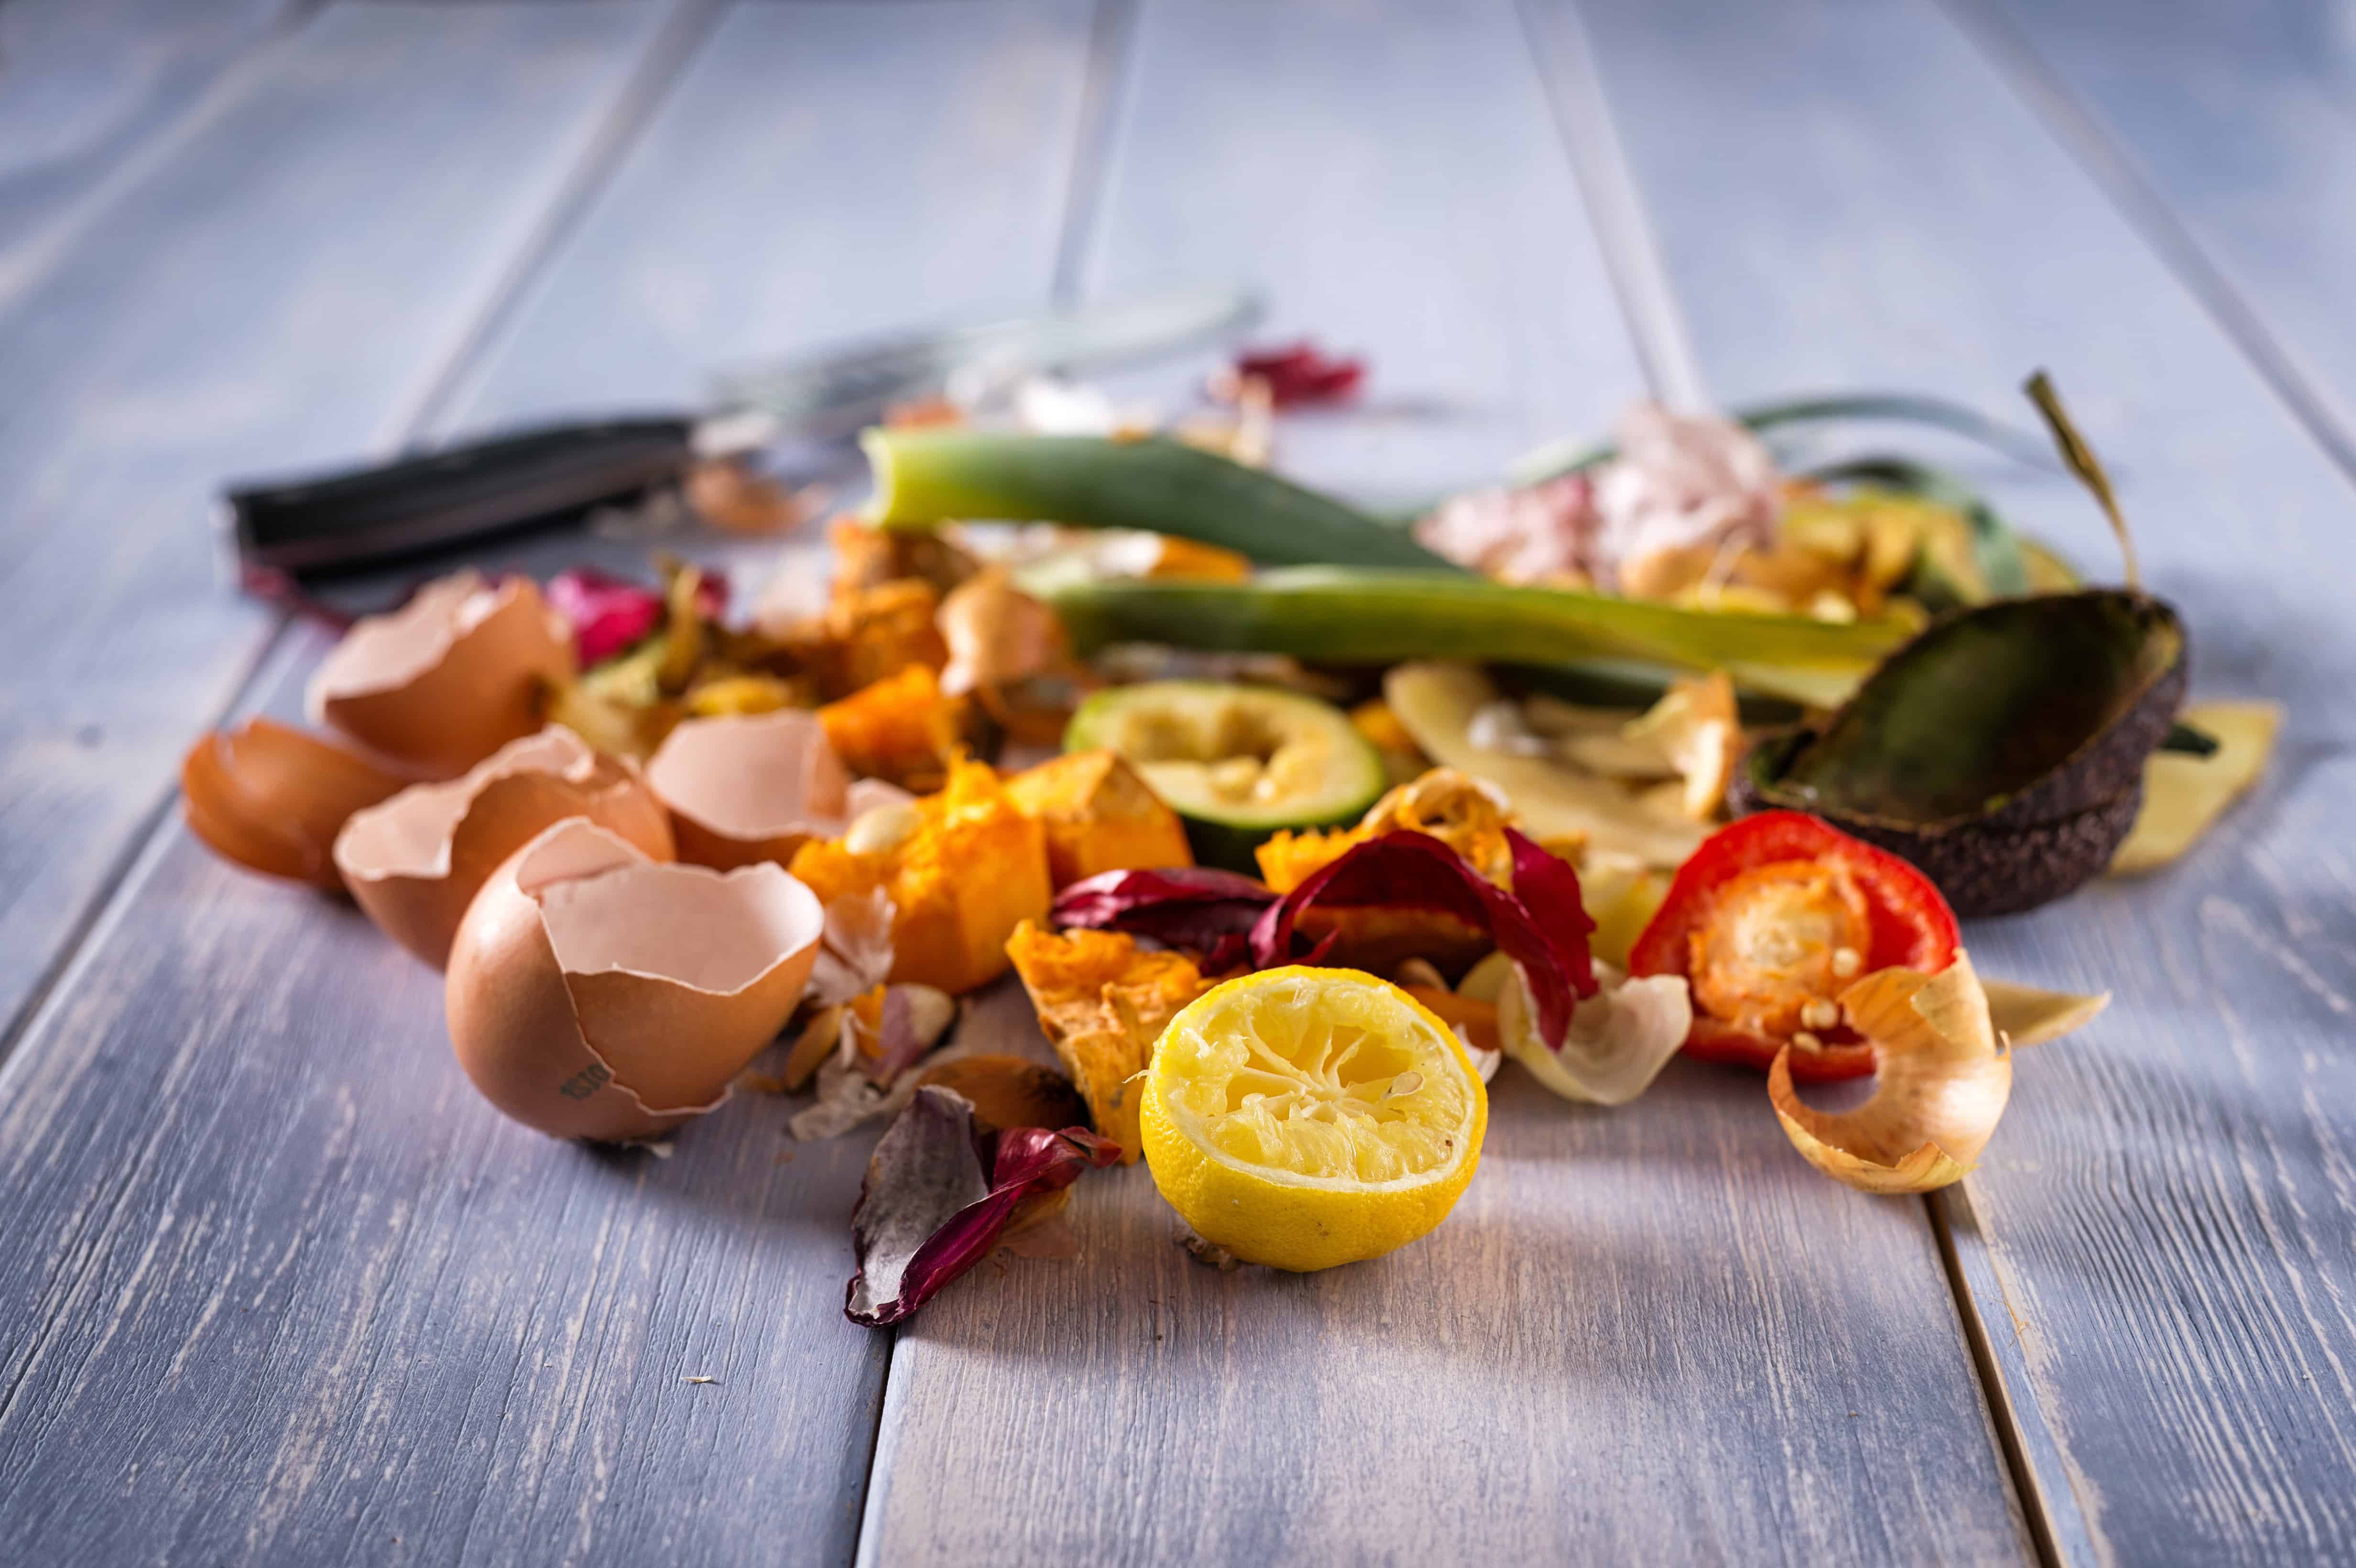
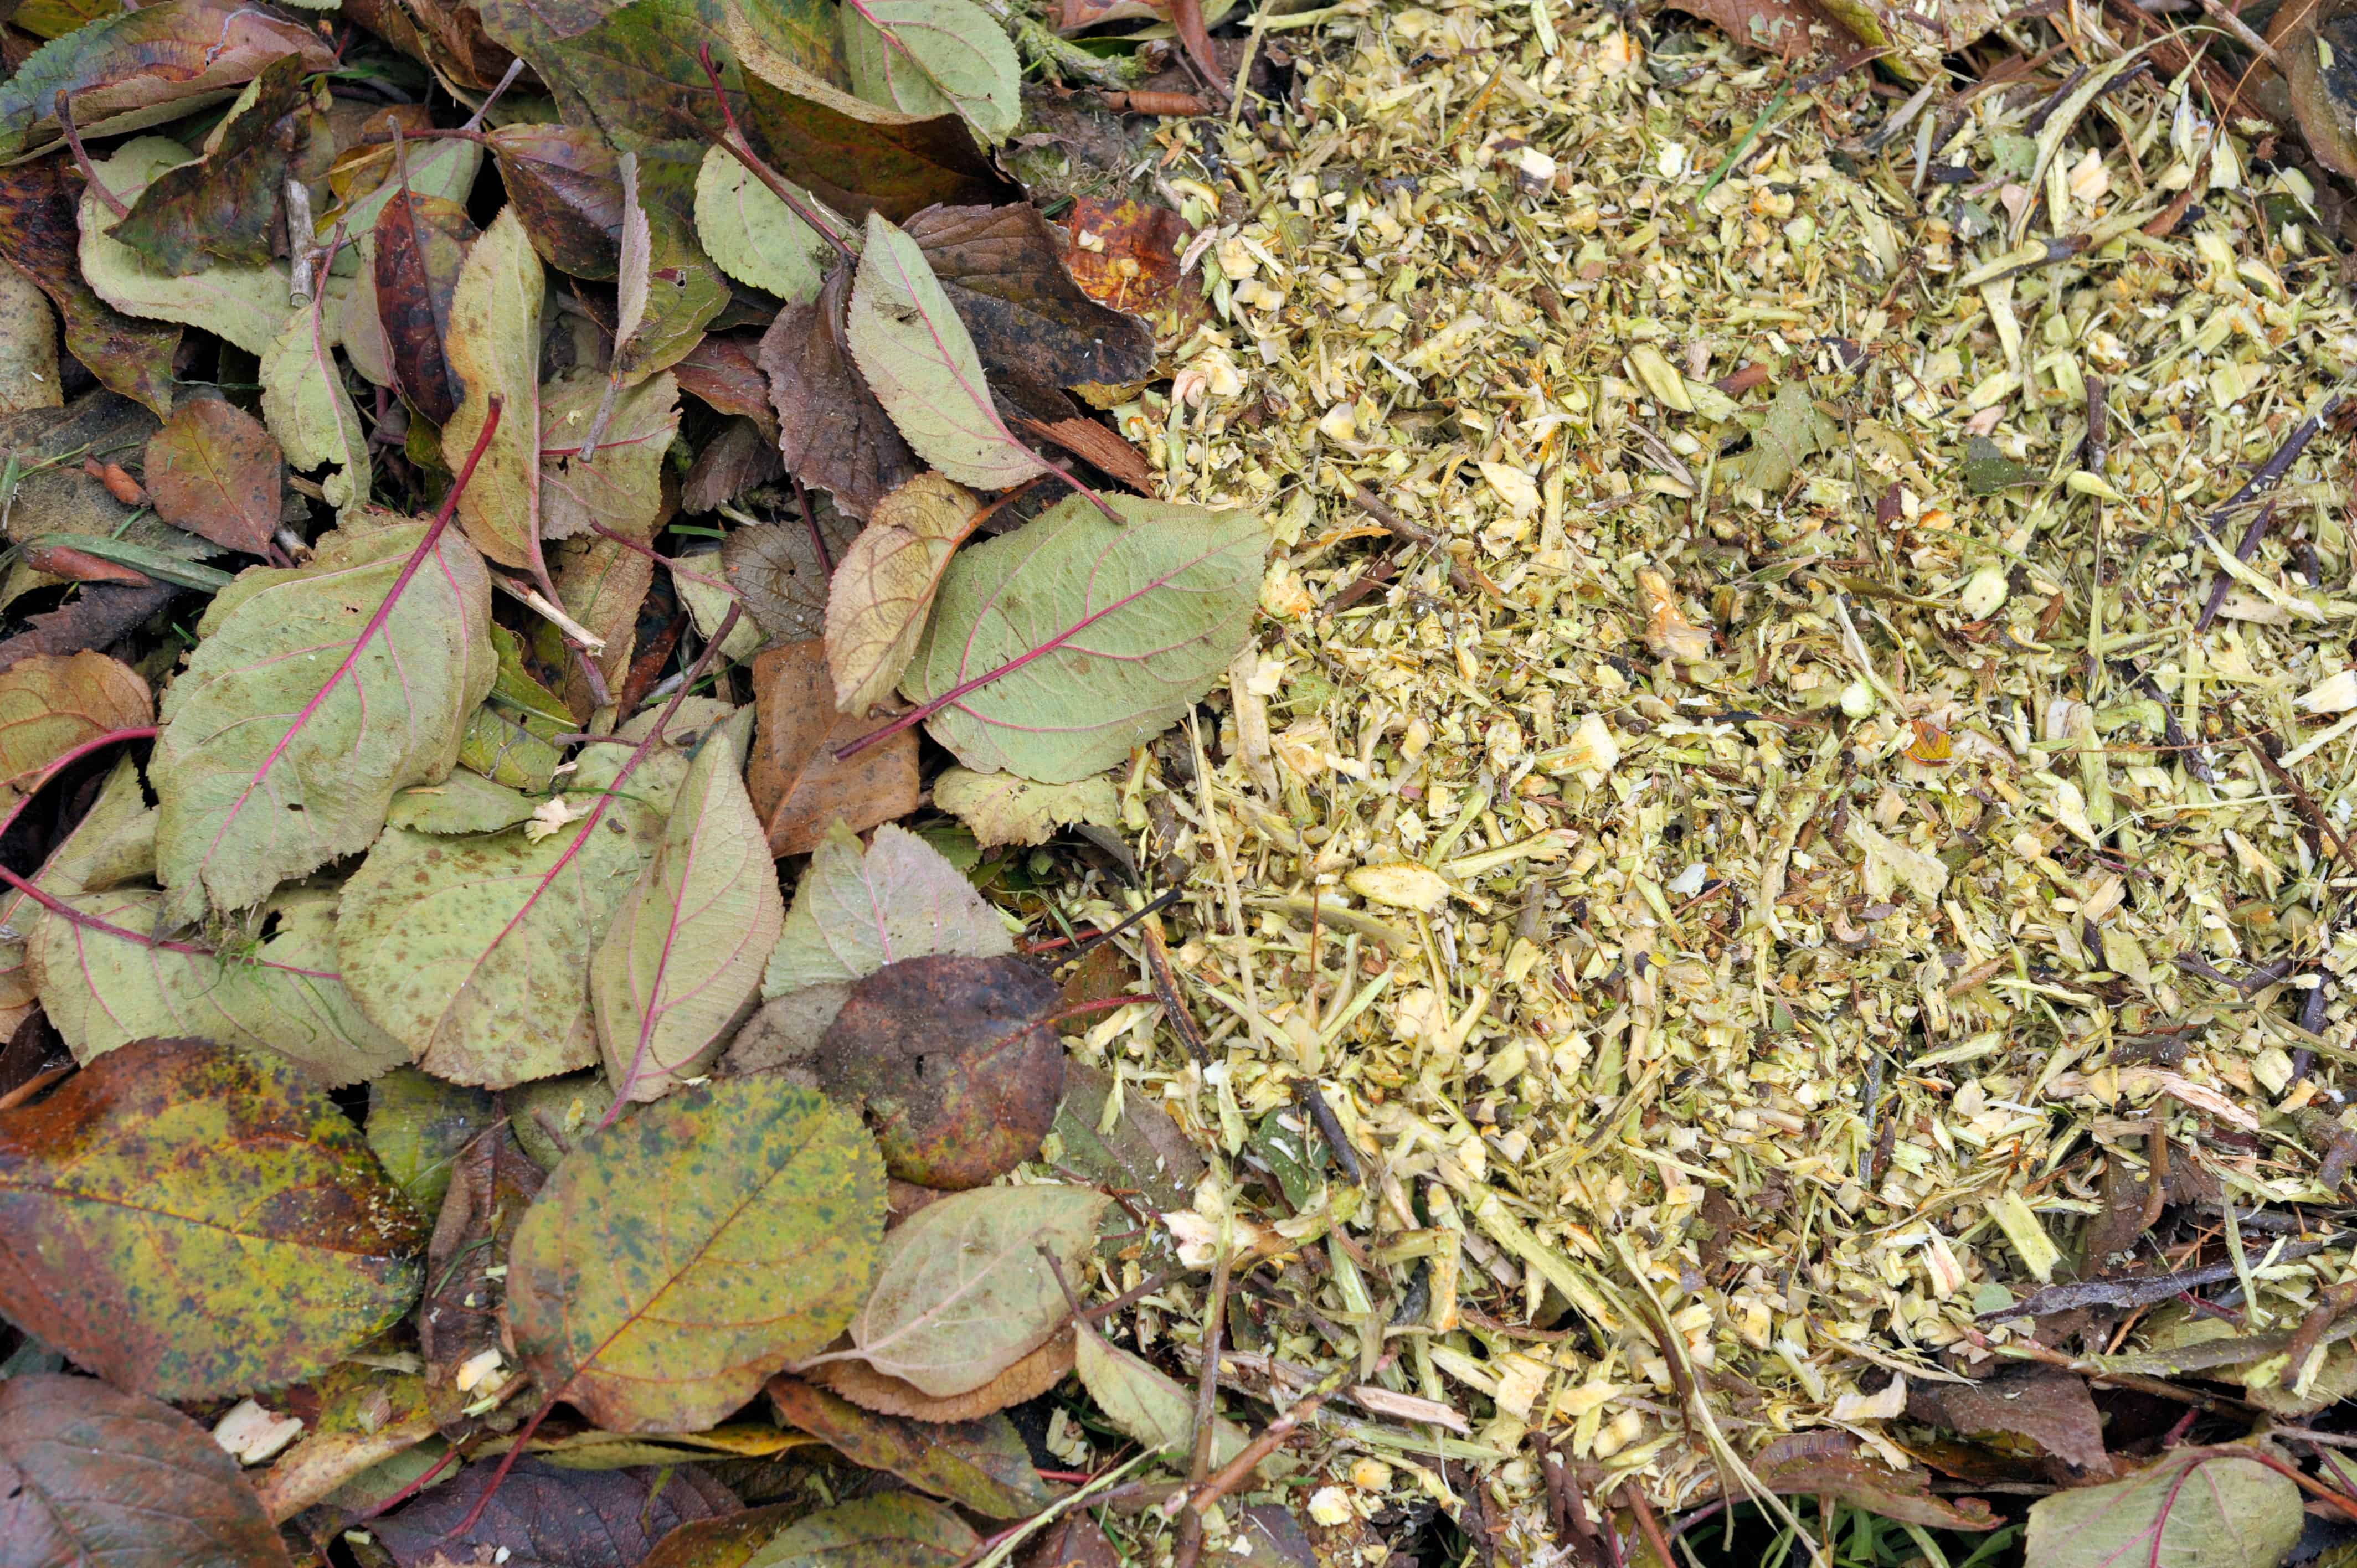
| Nitrogen-Rich Food Scraps | Carbon-Rich Organic Matter |
| Fruits (even moldy or rotten ones) | Shredded paper |
| Vegetables (even moldy or rotten ones) | Shredded cardboard |
| Cooked Grains (like barley and rice) | Dead leaves |
| Eggshells (grind them up first!) | Small wood chips |
| Flour-based products (like noodles and bread) | Straw or hay |
| Cooked food waste (provided it is vegetable-based and grease-free) | Sawdust |
Note: Never include the following for composting:
- Dairy and egg products
- Meat and fish products
- Oily or greasy substances
- Leaves, wood, straw, or hay treated with herbicide
- Infected or pest ridden plants
- Pet waste
- Plastic
- Colored or glossy paper
- Black walnut tree or leaves
- Charcoal or coal ash
It is advisable to cut up your food scraps and organic waste into tiny pieces to help it break down faster. You should aim for 3:1 parts of ‘browns’ to ‘greens’ for proper composting; the more Carbon-rich materials you have, the better it nourishes the decomposers. Too much Nitrogen will lend to the compost pile being smelly and wet.
The ideal temperature your compost should reach is 130-140°F (54-60°C) in the middle of the pile, which will be too hot for you to hold. Keep in mind this is hot composting not vermicomposting and worms require lower temperatures, see article here on vermicomposting. This means the decomposition process is taking place well. Ensure you aerate the compost appropriately, so the edge of the compost pile is mixed into the middle regularly ensuring even decomposition.
How Do I Start Composting at Home?
It entirely depends on how much space you have at home and how often you’re willing to put your time and effort into composting. For an easy reference, here are the options you have available, try to find a method that fits your lifestyle and living space:
Use a compost tumbler
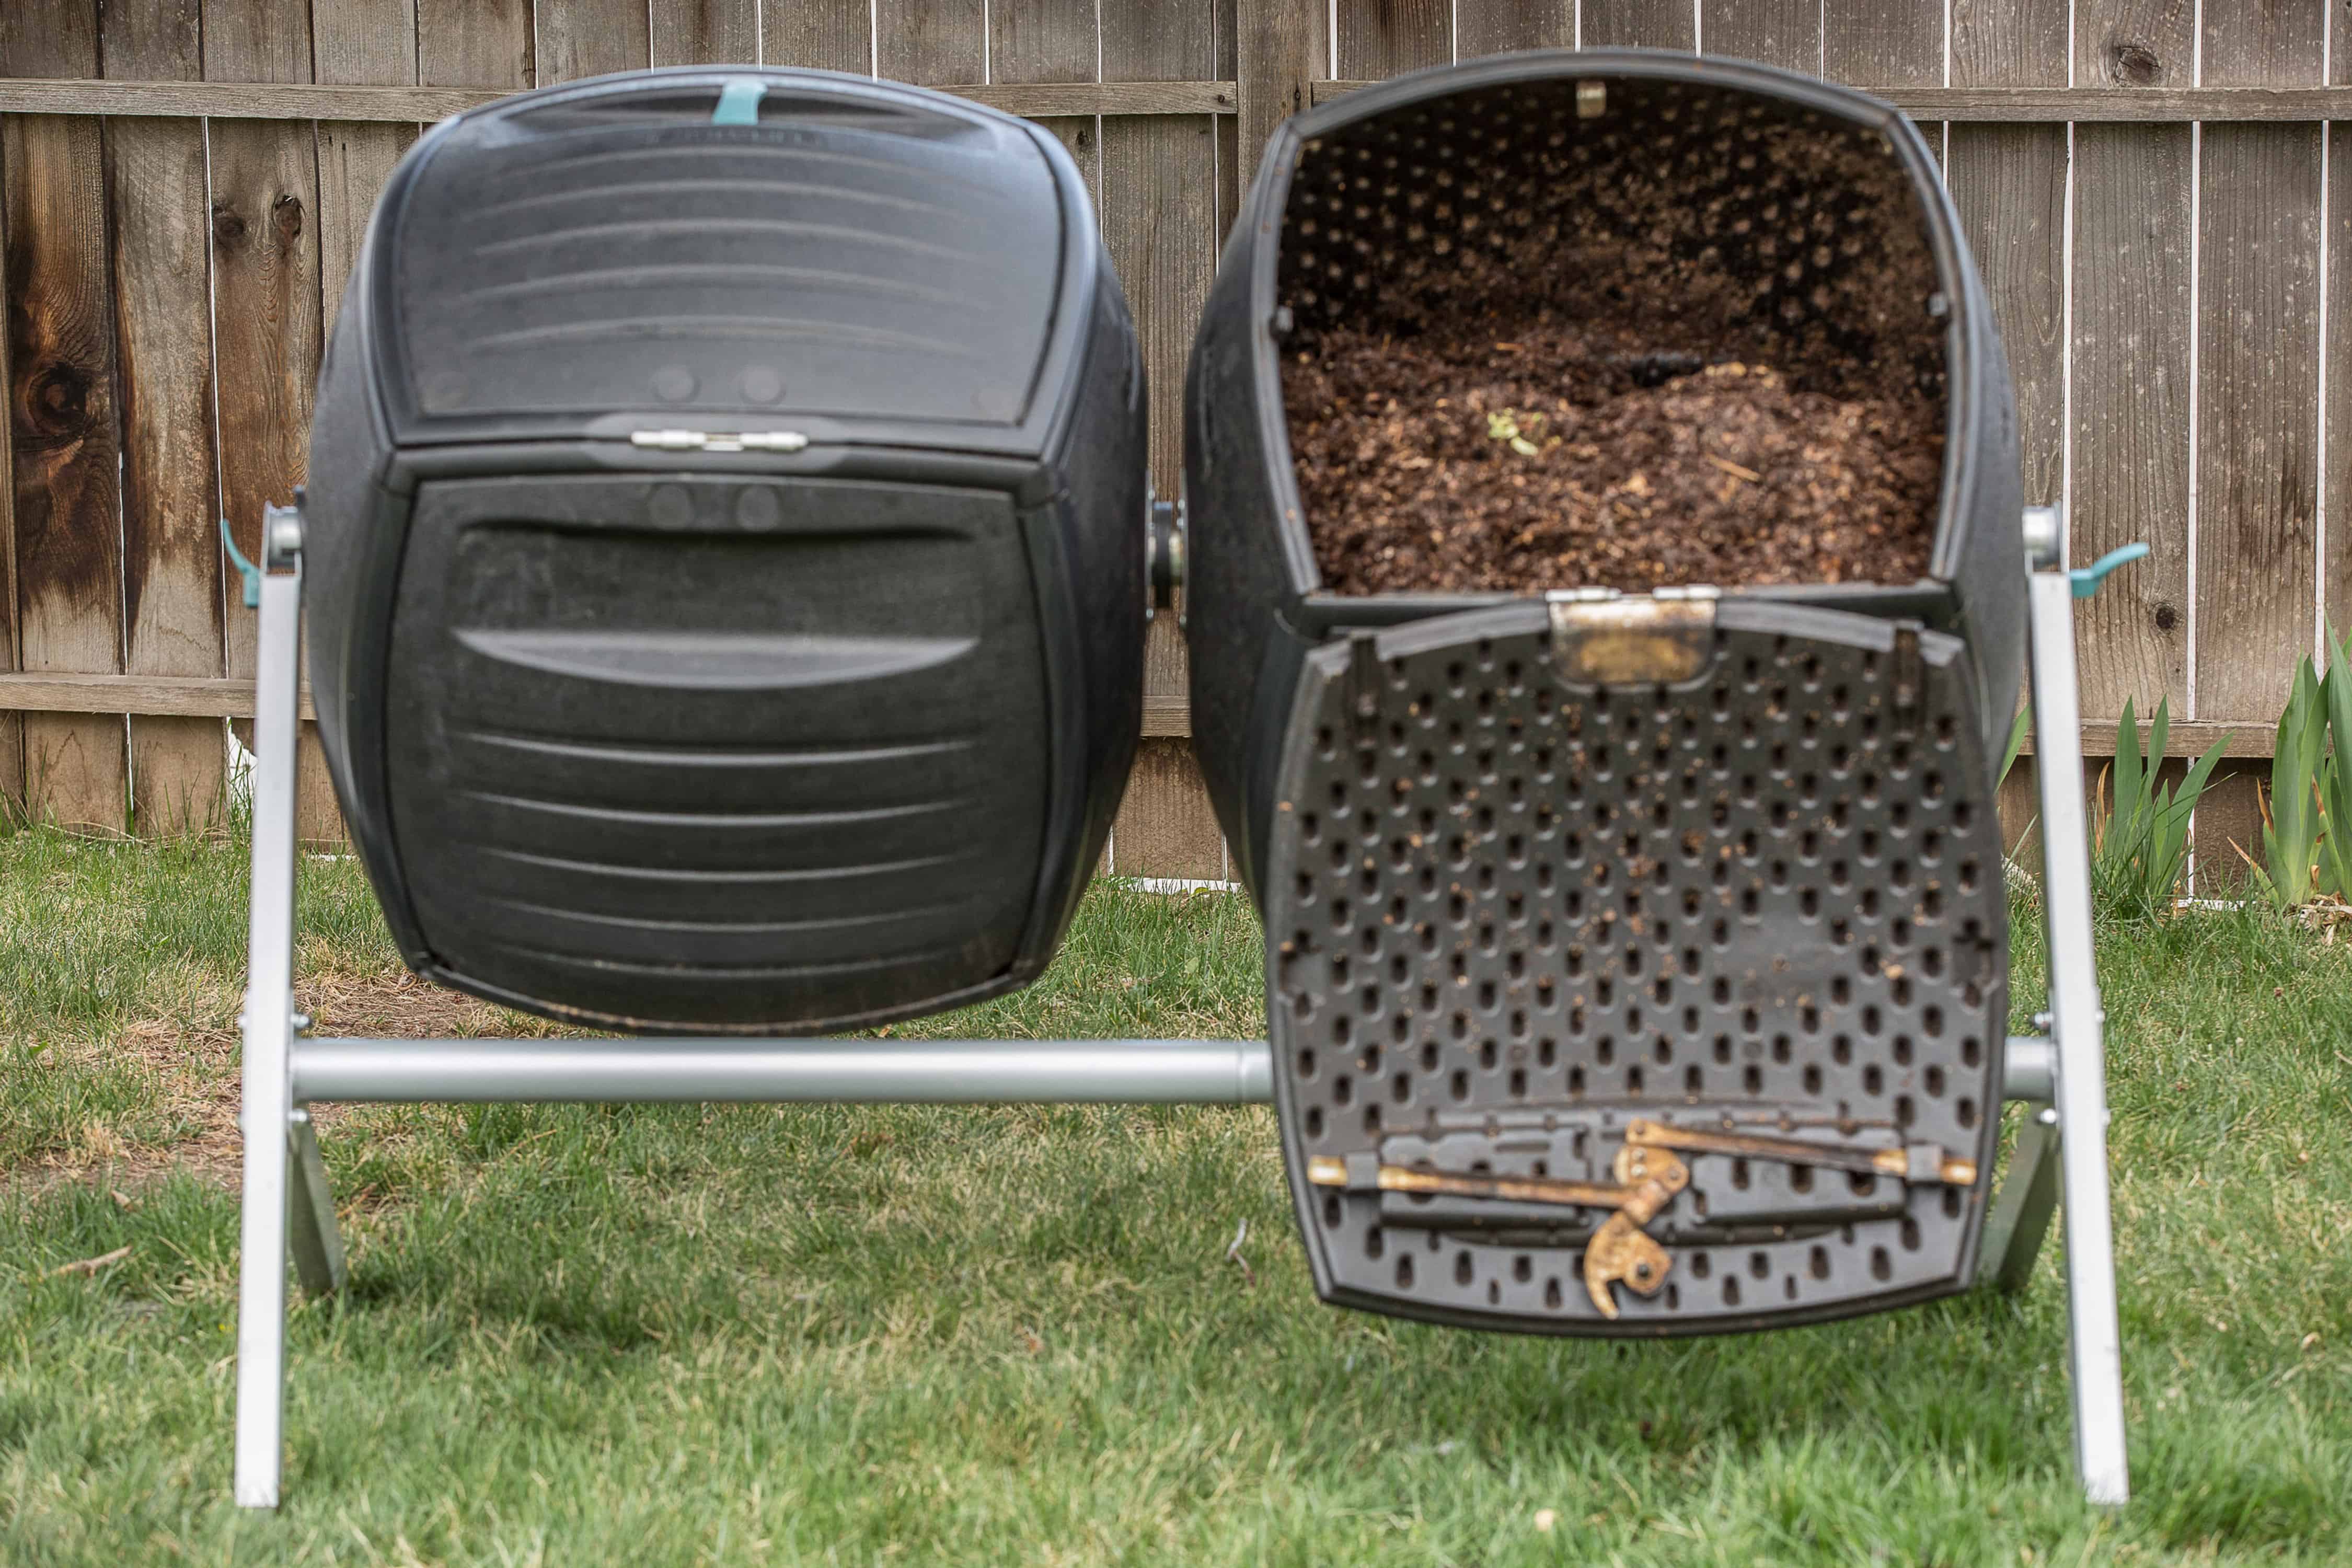
- How often do you need to tend to it? About once every 1-2 weeks.
- Do I need to control the variables to the letter? Yes: Is it hard? No.
- You need to ensure the amount of Carbon to Nitrogen-rich materials is 3:1.
- You need to water the compost pile weekly to maintain dampness similar to a squeezed-out sponge.
- You need to give the tumbler a weekly spin according to the suggested amount in the instruction box for aeration.
- How long before I can harvest compost from it? About 2-3 months, but it may vary if you didn’t get your brown-green ratios right.
- Where should I do/place it in my home? Outside under a dry, shaded area. You want to keep it from getting wet, otherwise your compost pile will get too soggy, and don’t put the compost under the direct sun or your pile may end up drying out.
- How do I do it? I’ve talked about this method in another article here.
Dig a hole and bury your organic waste
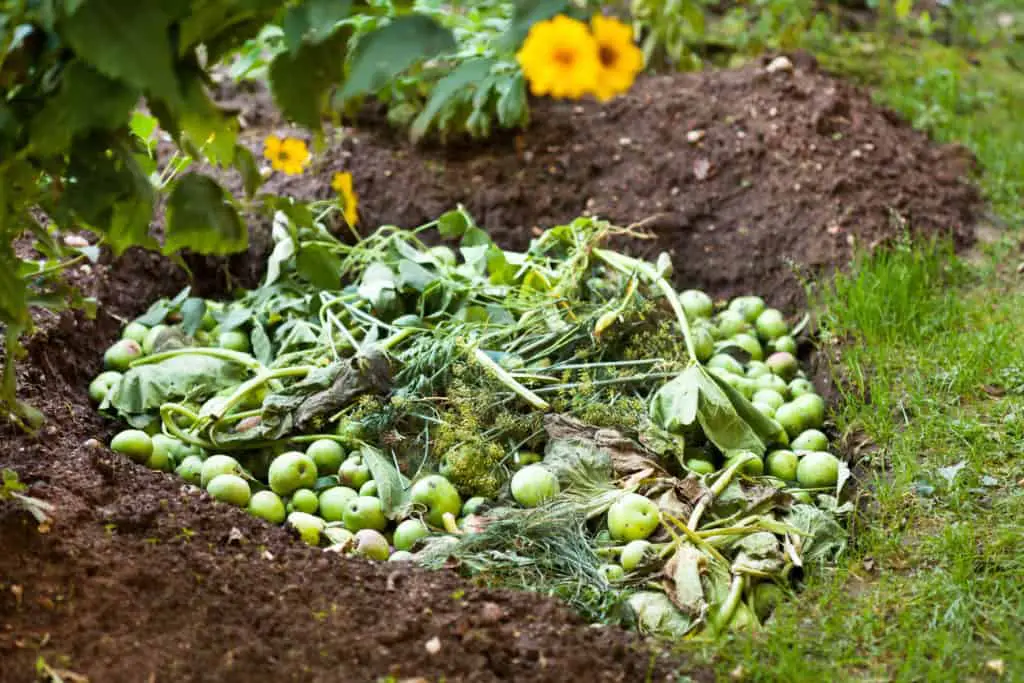
- How often do you need to tend to it? Once a month. (Nice, right?)
- Do I need to control the variables to the letter? No. (Cool, right?)
- How long before I can harvest compost from it? About 1-2 years. (Not cool, though).
- Where should I do this/place it in my home? Outside where it can receive full sun on the exact patch of ground you’ll be planting your garden.
- How do I do it?
- Dig a trench about 18-24 inches deep and 10-15 inches wide. The length of the trench is dependent on how long your garden is going to be.
- Add your Carbon-rich materials first like dry leaves or twigs at the bottom to help with drainage.
- Next, add your Nitrogen-rich materials like food scraps.
- Keep adding alternate layers for about 3-5 layers if you can, making sure to end with the browns to cover up any food scraps that may be enticing to critters.
- Cover this pile entirely with the soil you dug up earlier for the trench.
Compost Heap
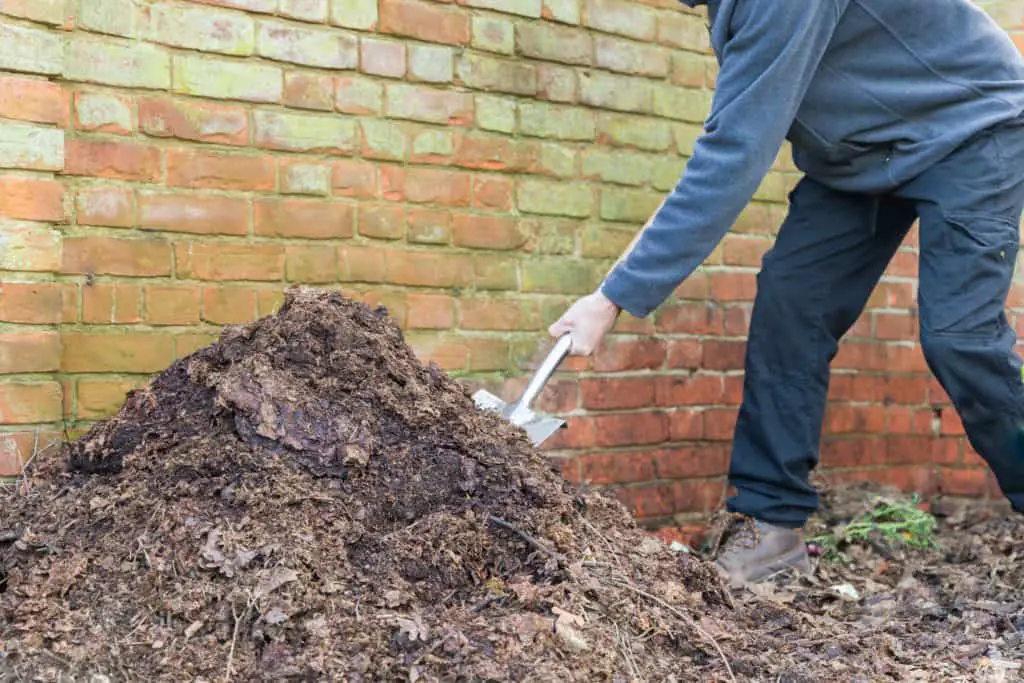
- How often do you need to tend to it? Once a week.
- Do I need to control the variables to the letter? Yes: Is it hard? Kinda laborious.
- You need to water the pile weekly to make sure it has enough moisture. But if it rains, take the win and wait till next week to water.
- You need to aerate the pile by turning it over with a pitchfork every week.
- You need to make sure to bury your Nitrogen-rich materials abundantly with Carbon-rich material to prevent hungry critters and insects from feasting on them.
- How long before I can harvest compost from it? About 6 months to a year.
- Where should I do this/place it in my home? Outside on the bare earth where it is relatively shaded and protected from animals.
- How do I do it?
- Place your Carbon-rich materials down first like dry leaves or twigs at the bottom to help with drainage.
- Add your Nitrogen-rich materials like food scraps.
- Keep adding these alternating layers until you have something about 3 feet high.
- End the layer with green Nitrogen-rich materials like grass clippings or comfrey leaves. These will act as activators to get the decomposition starting.
- Cover this pile entirely with wood or plastic so it retains heat and doesn’t get soggy when it rains.
- Water the compost pile once a week to maintain its moisture.
- Once a week, turn the pile with a shovel or pitchfork to aerate it.
- Once the compost is ready, instead of layering in your new scraps and organic waste, simply mix the new pile in to make more compost.
Vermicomposting
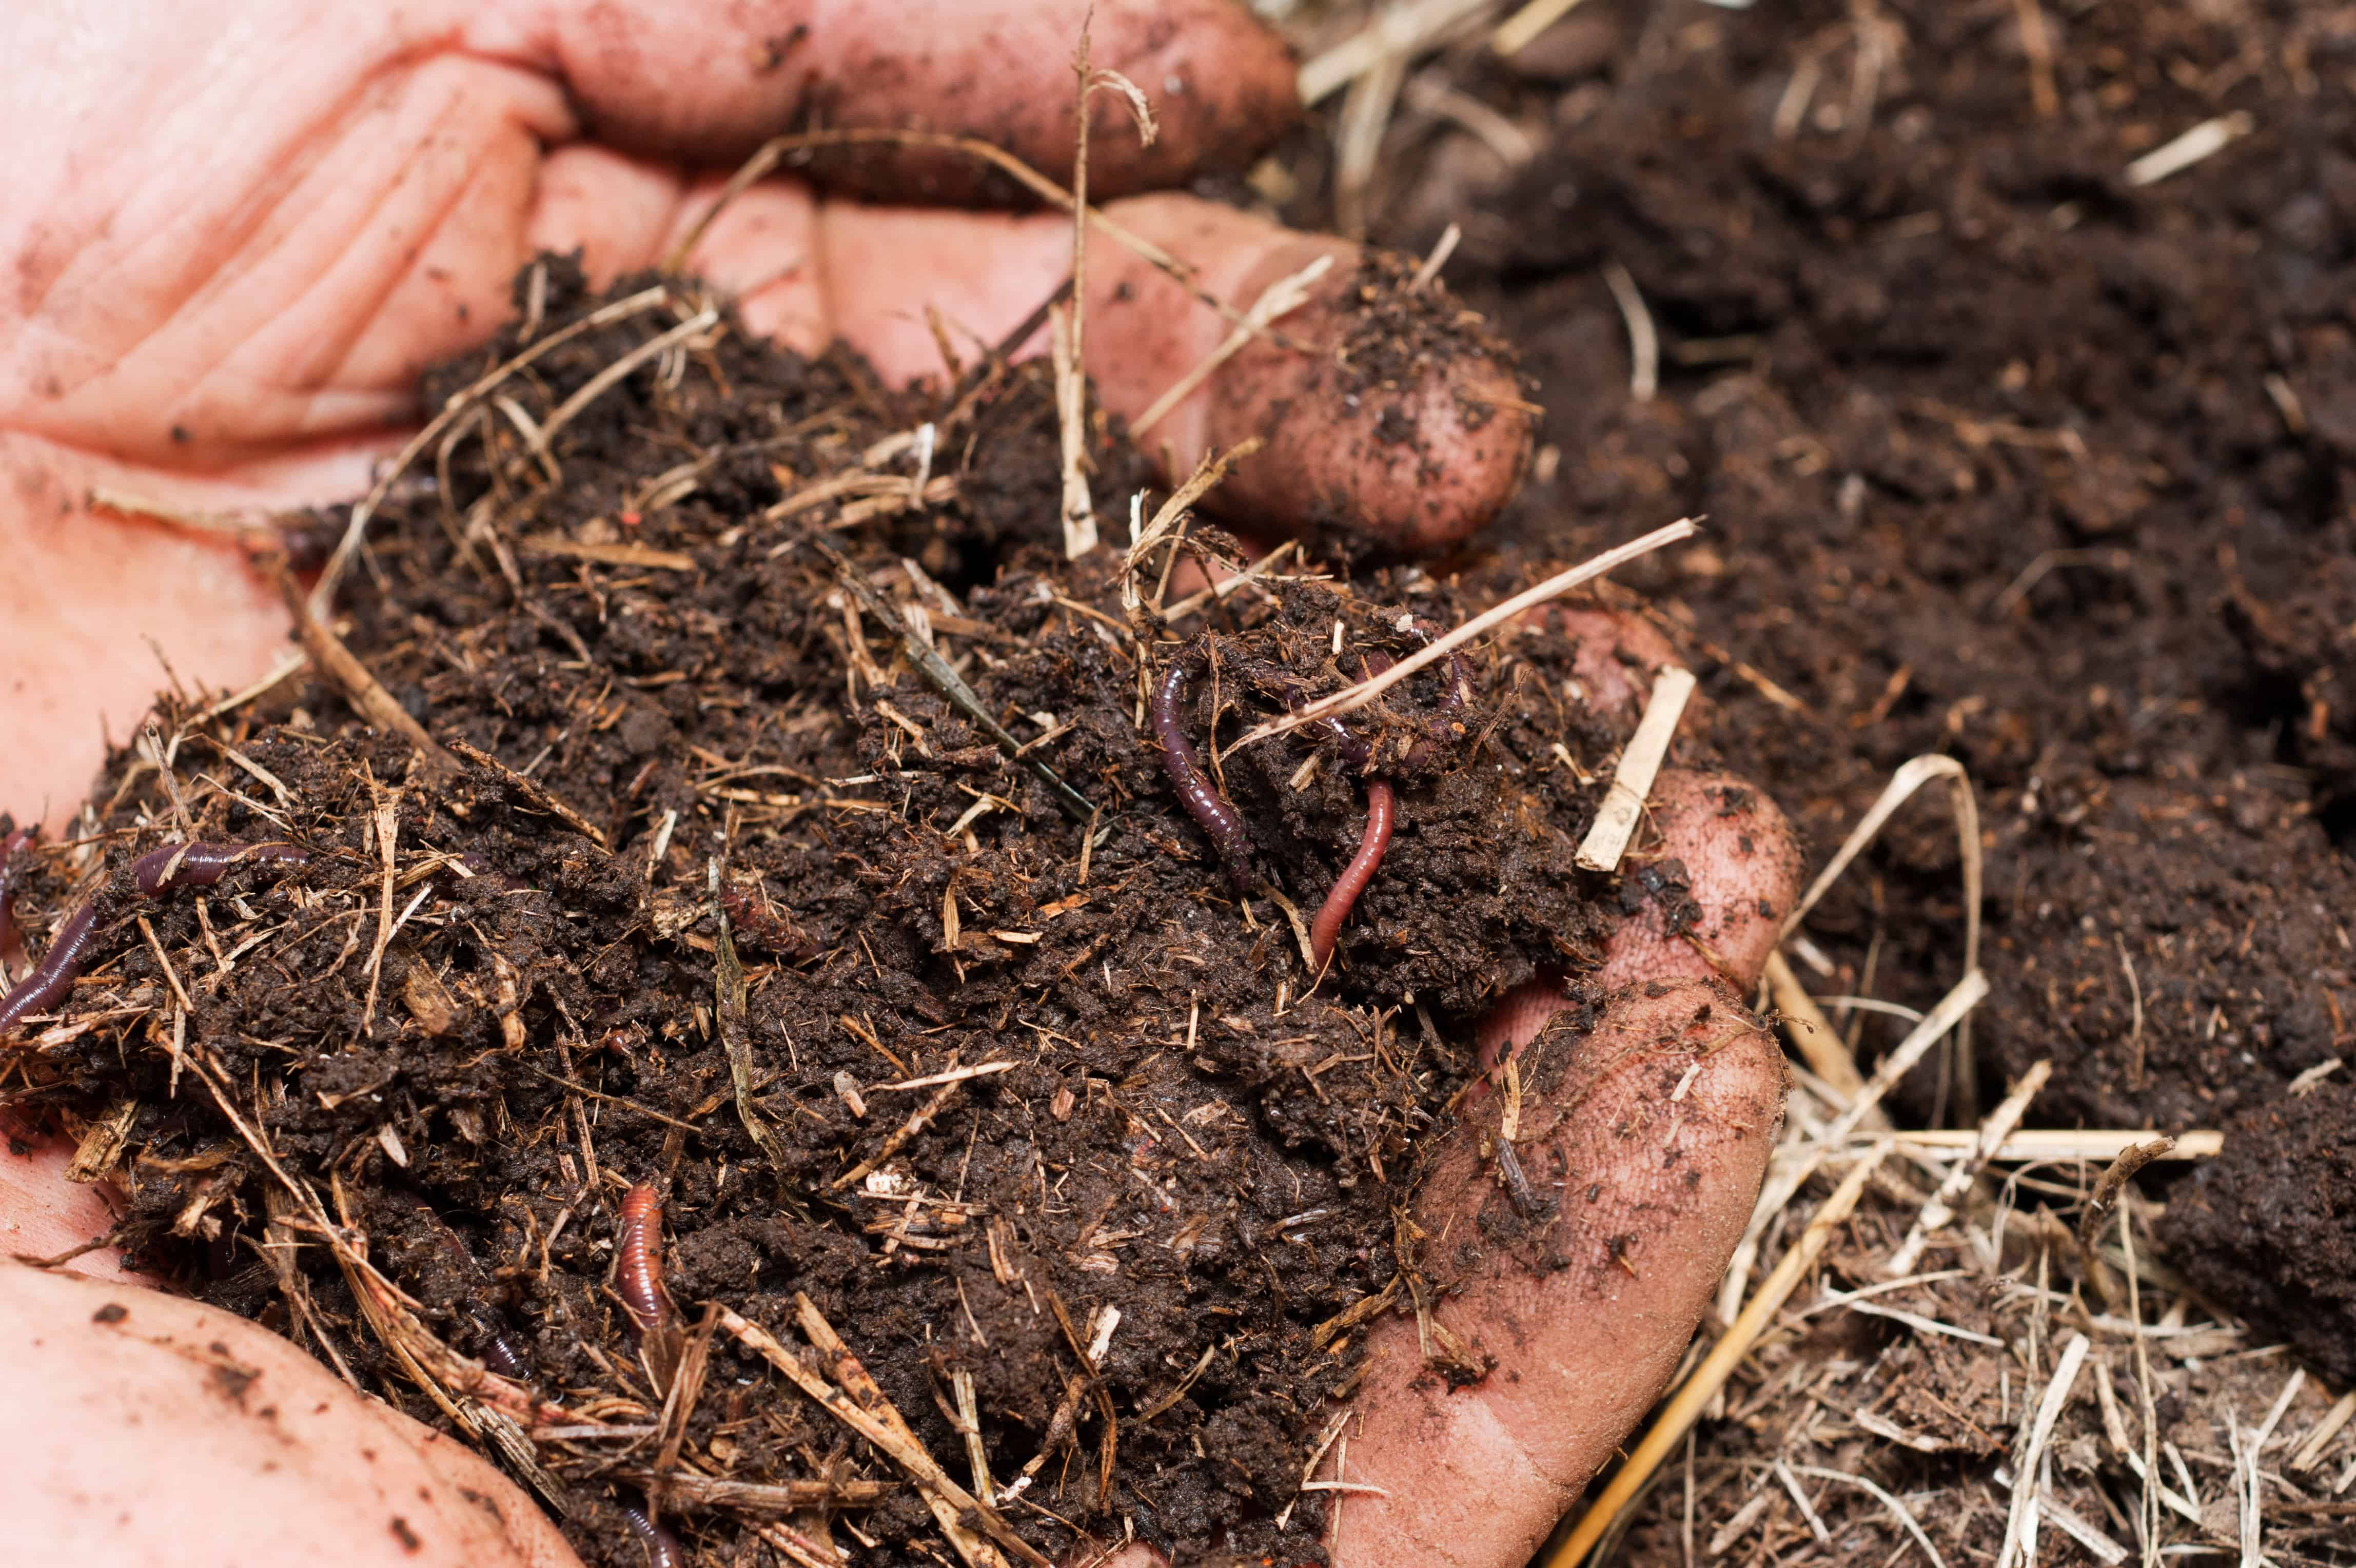
- How often do you need to tend to it? Once a week.
- Do I need to control the variables to the letter? Yes: Is it hard? No. Pretty easy.
- Feed your worms once a week.
- Provide sufficient damp bedding and airflow to the worms.
- You need to ensure your worms are kept in a shaded and relatively cool area; an ideal temperature for them is 55-75°F (12-25°C).
- Use a plastic or wooden worm bin and avoid metal, as this will retain heat too much which is bad for the worms.
- How long before I can harvest compost from it? About 3-6 months.
- Where should I do/place it in my home? Indoors near the kitchen would be best to easily dump your food scraps in. You can station your worms outdoors as well, just make sure you don’t leave your worms exposed lest they become a free banquet for neighborhood wildlife. Because vermicomposting can be done indoors it is probably the most accessible and manageable type of composting available for city and apartment dwellers.
- How do I make-it/use-it? I’ve talked about Vermicomposting extensively in two other articles
DIY Compost Bin
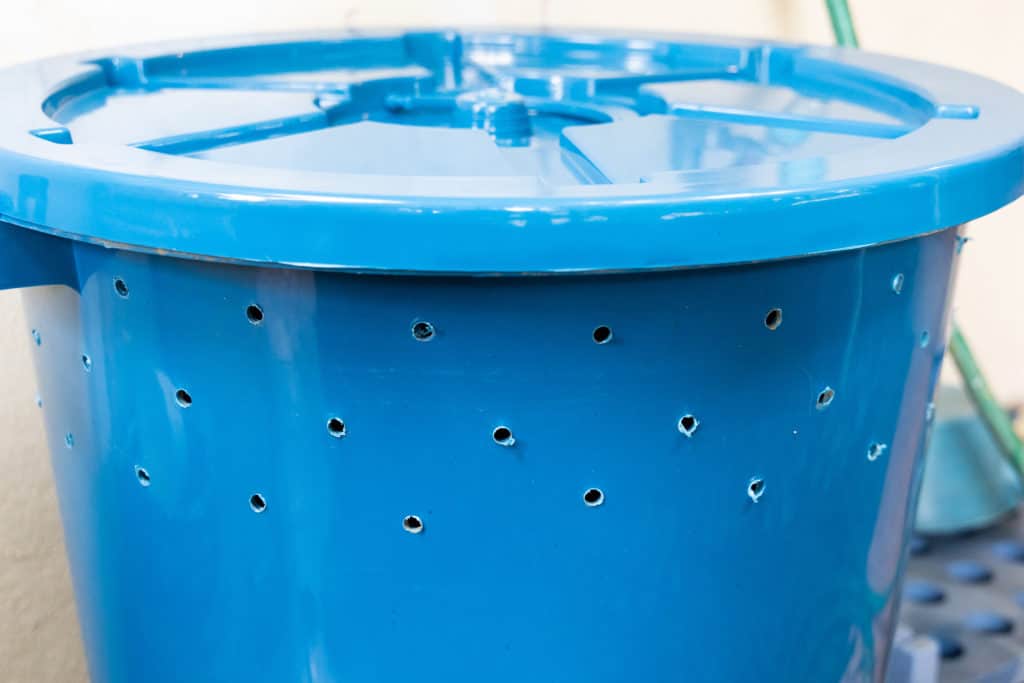
- How often do you need to tend to it? Once a week.
- Do I need to control the variables to the letter? Yes: Is it hard? Not too bad.
- You need to water the pile weekly to make sure it has enough moisture.
- You need to mix the pile weekly to give it aeration.
- You need to ensure you have 3:1 Carbon to Nitrogen of compost starter in your bin.
- How long before I can harvest compost from it? About 2-3 months.
- Where should I do this/place it in my home? Outside where it won’t stink up your home and kept away from animals. You can weigh the lid down with bricks to keep it secure.
- How do I do it? I talk about this method in detail in two articles —-> here and here.
Suppose you cannot compost on your home grounds, don’t have the time to compost, or simply don’t want to get into the whole valuable dirt business. In that case, you can check whether your area has local composter services or programs you can join. These usually include services where they can pick up your organic waste to be composted. I suggest keeping your food scraps in the freezer to delay decomposition and prevent having to clean up rotten fruit juice messes in your fridge or trash.
Any Additional Tips on Composting?
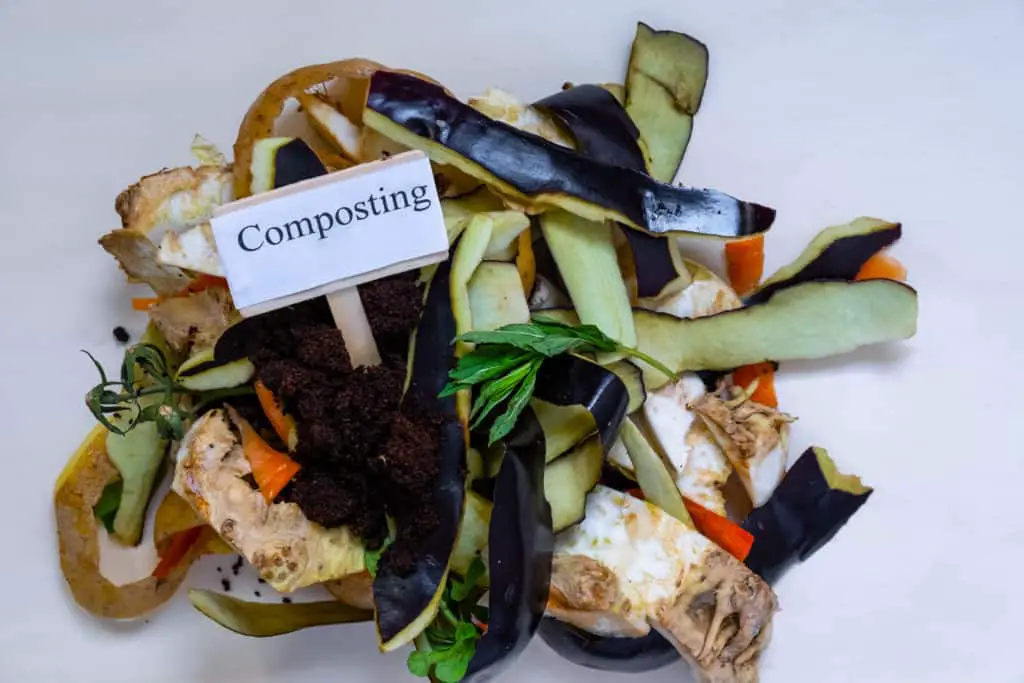
- Never compost diseased or pest-riddled plants and soil. Some of these pathogens are capable of surviving the composting process. That’s just all-around bad news, especially if you apply compost on your edible gardens where you can accidentally ingest it despite thoroughly rinsing your produce.
- Use sticky traps for fruit flies and flies. There will be times when annoying pests like these will hang around your compost because they smell food. If sticky traps are not enough, you can add more Carbon-rich materials or boil your food scraps before composting.
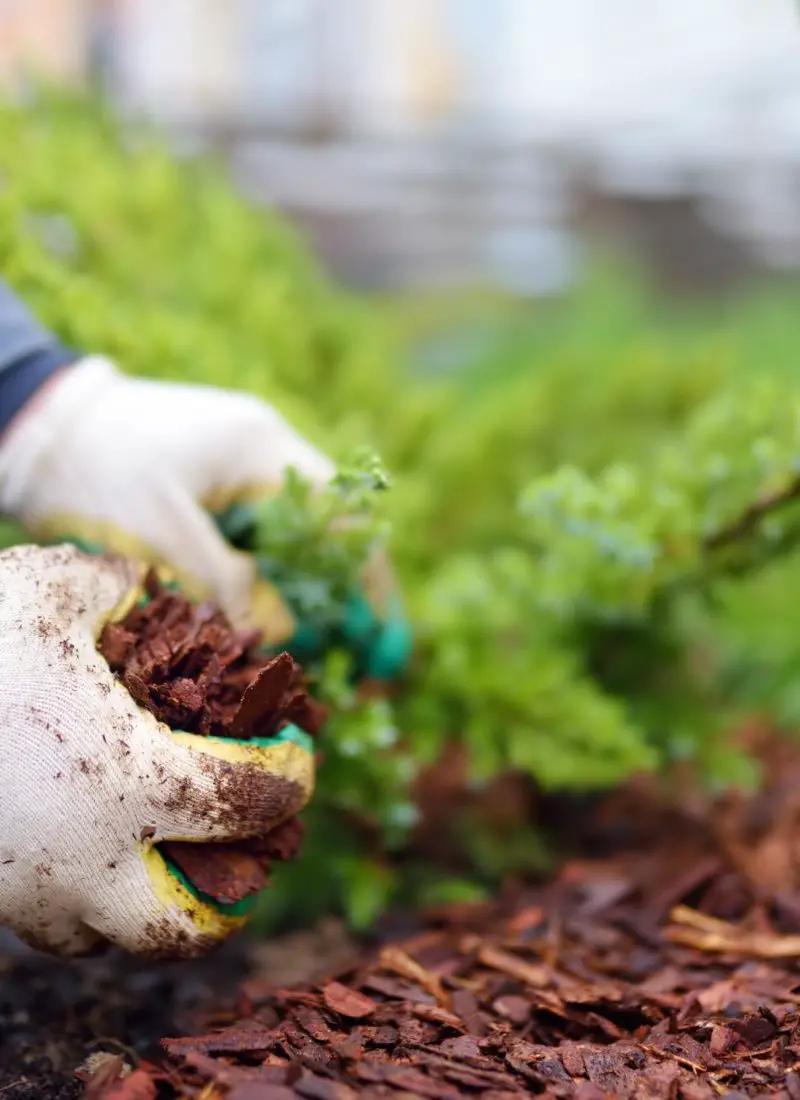
- Wear gloves and a mask when composting. Particularly if you have allergies as composting in itself is a dirty business. Not that it should be said, but please avoid touching your face as you do your composting and always wash your hands before and after.
- Add activators to speed up the decomposition process. I mentioned these activators briefly before, and they really do wonders to help microbes break down organic matter faster. Examples of these activators are comfrey leaves, grass clippings, chicken manure, or even finished compost. It’s similar to adding yogurt, which has live cultures, into warm milk to make homemade yogurt – it is that simple!
- Never add compostable bags and wipes. Only industrial composting has the right machinery and control to break these down properly.
Final Words
Composting may not be for everyone, gardener or otherwise. Still, you can’t deny the science of it is fascinating, watching ordinary organic waste transform into a completely different and beneficial substance may not be fast-paced but can surely be beneficial! Perhaps, working closely with nature instead of against her is something we should all try to think about just a little bit more. Just food for thought for you, fellow gardeners 😀
References:
https://www.nrdc.org/stories/composting-101
https://www.epa.gov/recycle/composting-home
https://learn.eartheasy.com/guides/composting/
https://web.extension.illinois.edu/compost/process.cfm
https://www.npr.org/2020/04/07/828918397/how-to-compost-at-home
https://agrilifeextension.tamu.edu/library/gardening/composting/
https://en.wikipedia.org/wiki/Compost
https://www.agrifarming.in/what-is-compost-types-of-compost-compost-methods
https://betterhomesteading.com/homestead-garden/composting/trench-composting/



Leave a Reply