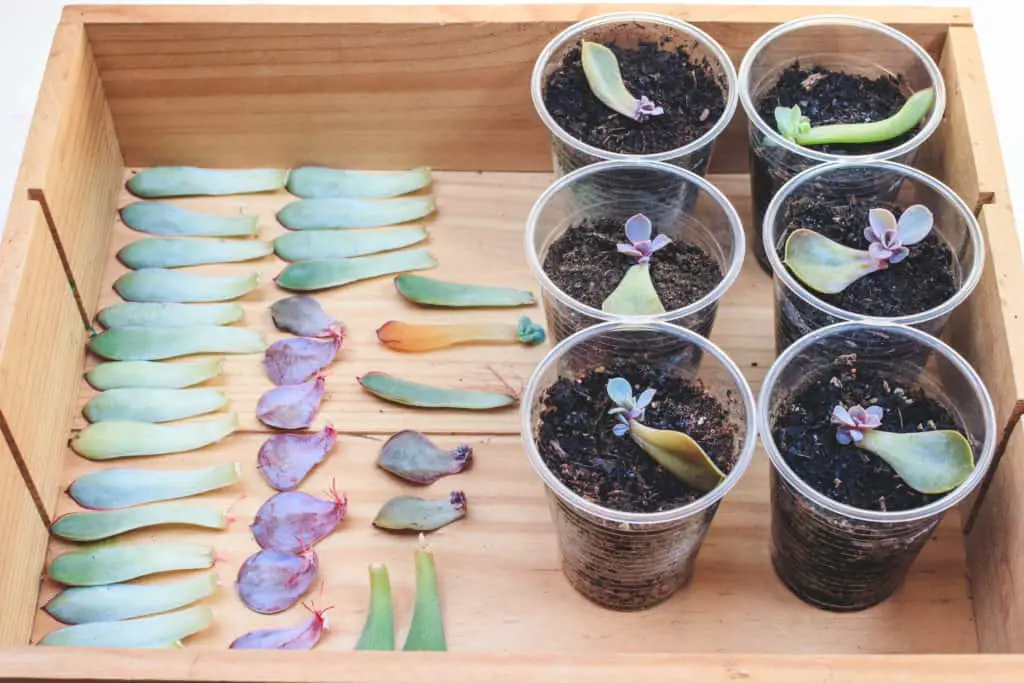
What is better than having a favorite houseplant? Having two or more of them! Rather than going to a gardening center to buy another one, you can simply propagate from the one you have at home. This is great when you just can’t seem to find the unique variety you have anywhere else and you want more for yourself or friends!
Propagating houseplants can be done by cutting the stems, leaves, or roots and planting them in moist potting soil. One can also divide the root ball to separate 2-3 offspring from the parent plant and place them in their own containers. Each propagation technique will vary according to plant type.
Read further for a step-by-step guide to propagate your houseplants with each technique.
(As an Amazon Associate, I earn from qualifying purchases.)
Different types of propagation
There are two main ways to multiply a plant: cloning (asexual means) or reproducing (sexual means). These two distinctions are quite important in propagation because normally, people want to grow the same exact houseplant from the original. This step can only be done by the following techniques:
- Stem cuttings
- Leaf cuttings
- Root cuttings
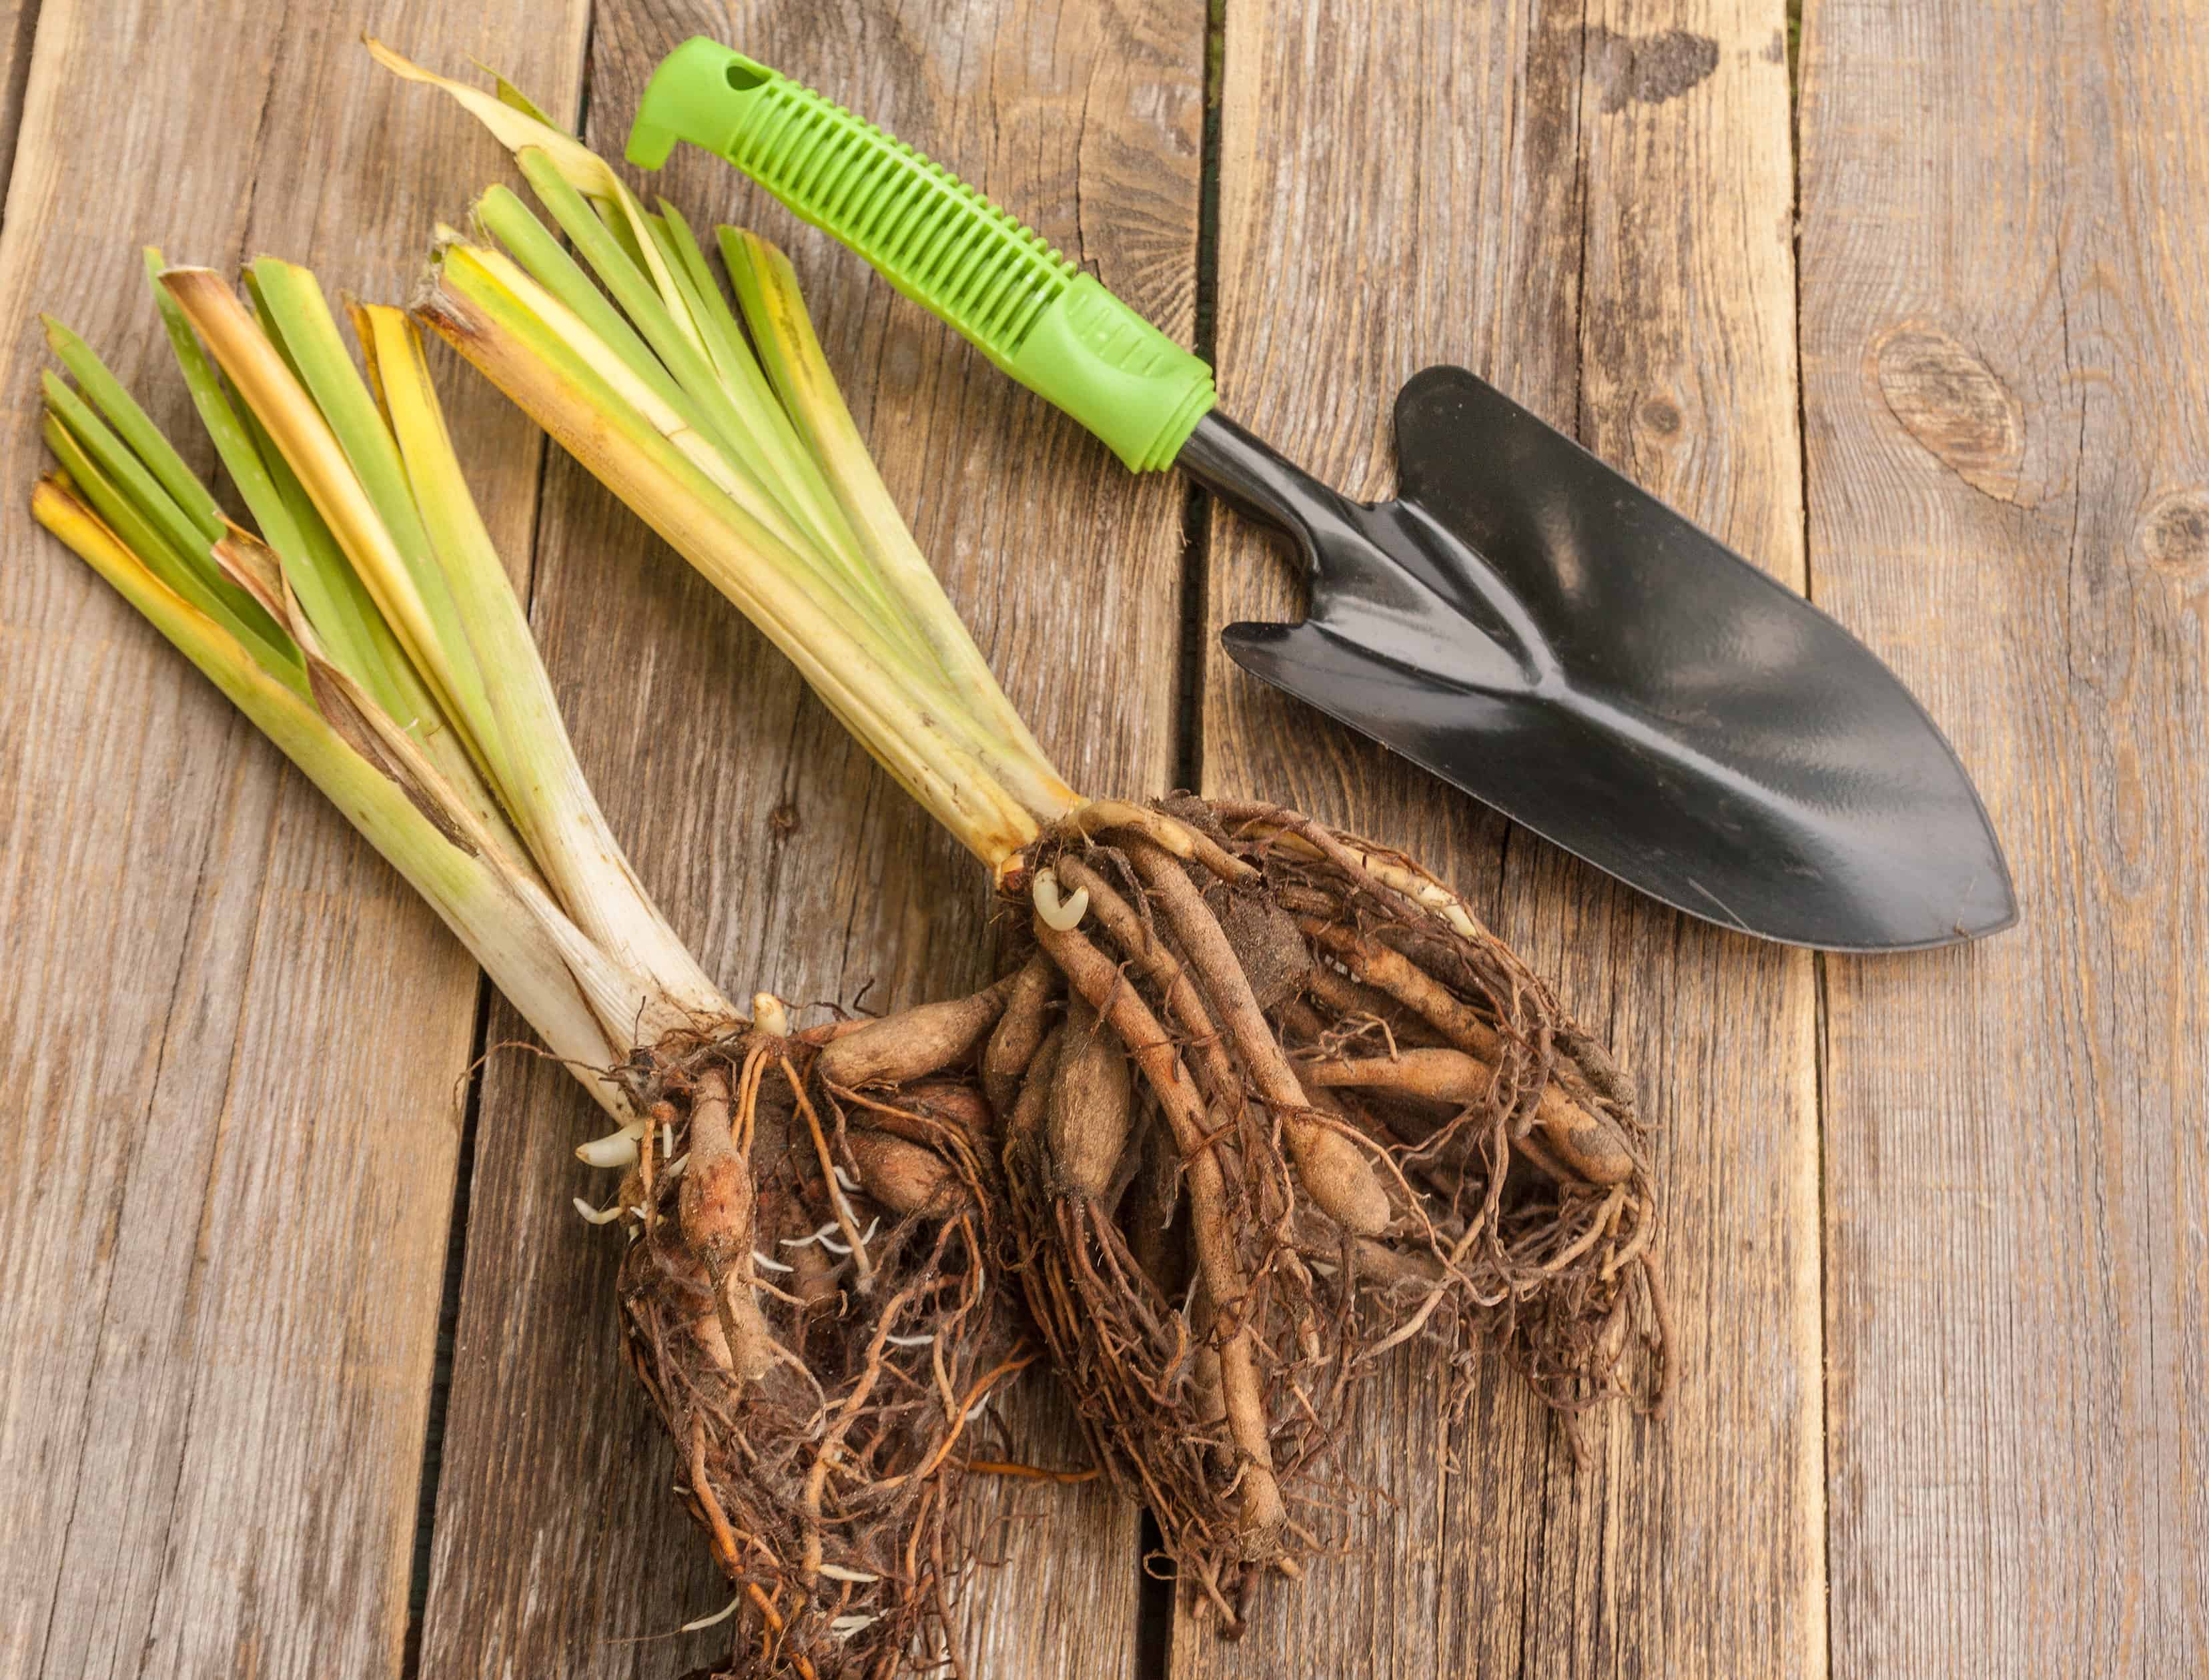
- Division/Separation
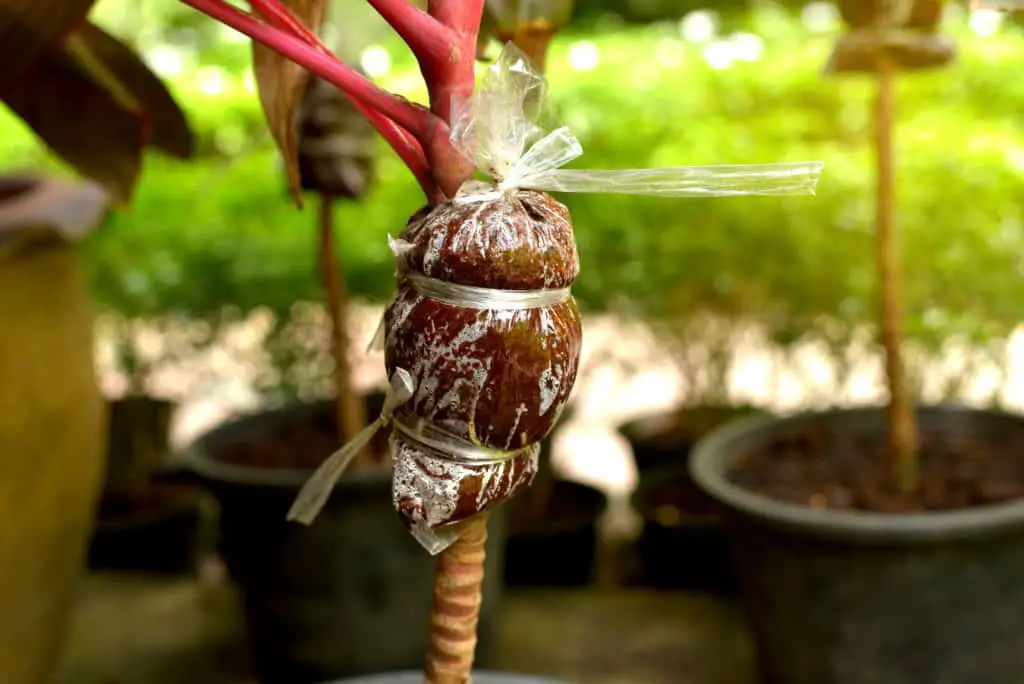
- Air layering
Most people prefer the above method because it retains the unique features of plants, especially if they are of variegated and rare varieties. However, there is a caveat to cloning your houseplants. Cultivating the same plant from multiple cuttings or separation concentrates the same genetic weakness in its offspring as to the parent plant. Not only that, it makes them more prone to the same pest and diseases as well.
This has not stopped plant owners and enthusiasts from propagating their favorite houseplants all this time. Generally, as long as you take care of your plants well, they will live long and prosper. Check out our 4 essentials in houseplant care to help you out here!
On the contrary, plants grown from seeds (most plants) and spores (ferns) are not clones and will have a differing genetic makeup from the original plant even if it were self-pollinated. Breeding one plant to another can result in a more diverse genetic makeup and change the offspring’s appearance slightly if the parents are similar varieties. Or sometimes create an expression of genes that may not have been present in either parent plant at all.
Interbreeding of similar genetics is often how characteristics such as variegation were created in the first place. On the other hand, having a more diverse genetic makeup can help to strengthen genetic weaknesses and promote survival and resistance against pests and diseases. Thus genetics are a double-edged sword, sure your plant is pretty but too much inbreeding and it will have all the genetic dysfunctions of a 14th-century royal family.
Pre-propagation checklist and items needed:
Before you begin propagating your plants, take note that there are several things you need to ensure:
- The parent plant is healthy. It should not be suffering from any kind of infection or infestation before being propagated. Apart from stressing the plant, you also don’t want to transplant a sick offspring into a new pot. It will only make it hard for the little plant to take root.
- Prepare sterile potting media suitable to the plant. Each plant will differ in its specific soil needs. Addressing this factor will make the propagating process smoother for the mini plant for it to take root in its new home. Note: Never use garden soil for your propagates.
- Ensure all gardening and cutting tools are disinfected before use. You can simply wipe each tool thoroughly with alcohol wipes. Getting rid of any pathogens that could be present will be beneficial in keeping the young propagate from accidentally being infected.
Here are the following items you will be needing for your propagation operation:
- A cutting tool such as a pair of strong scissors, pruning shears, or a sharp knife.
- Fresh, potting soil specific to the plant’s needs.
- Several small pots or a seedling tray.
- Optional: small vials or jars with water.
With the following above in mind, let’s look at each propagation technique in detail with a list of plants that will benefit from them:
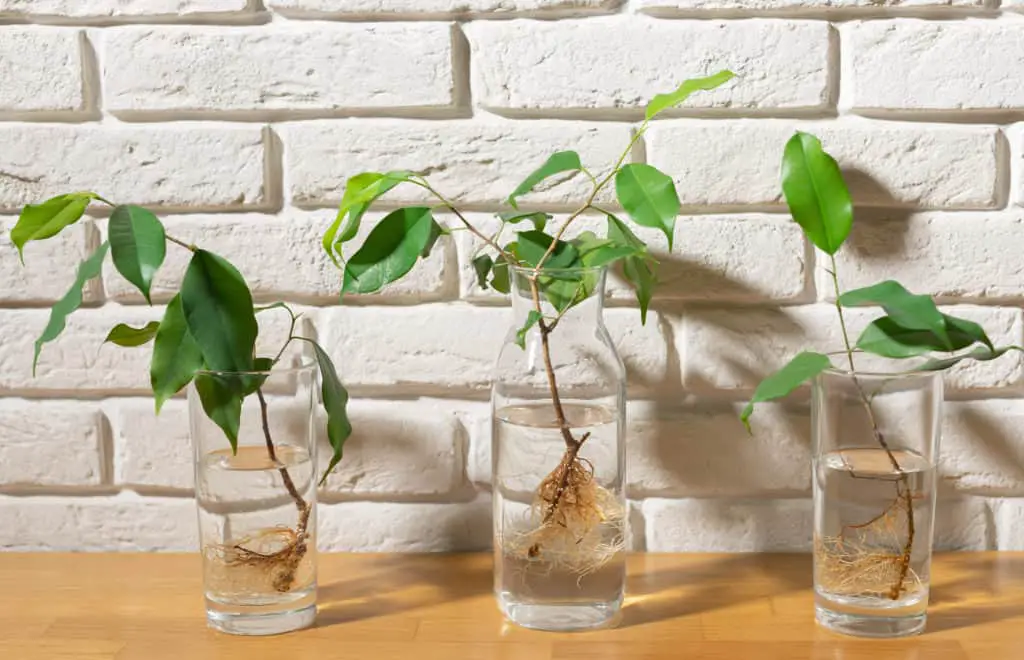
From stem/cane cuttings
One of the most common ways to propagate a plant, here are the steps for propagating stem/cane cuttings:
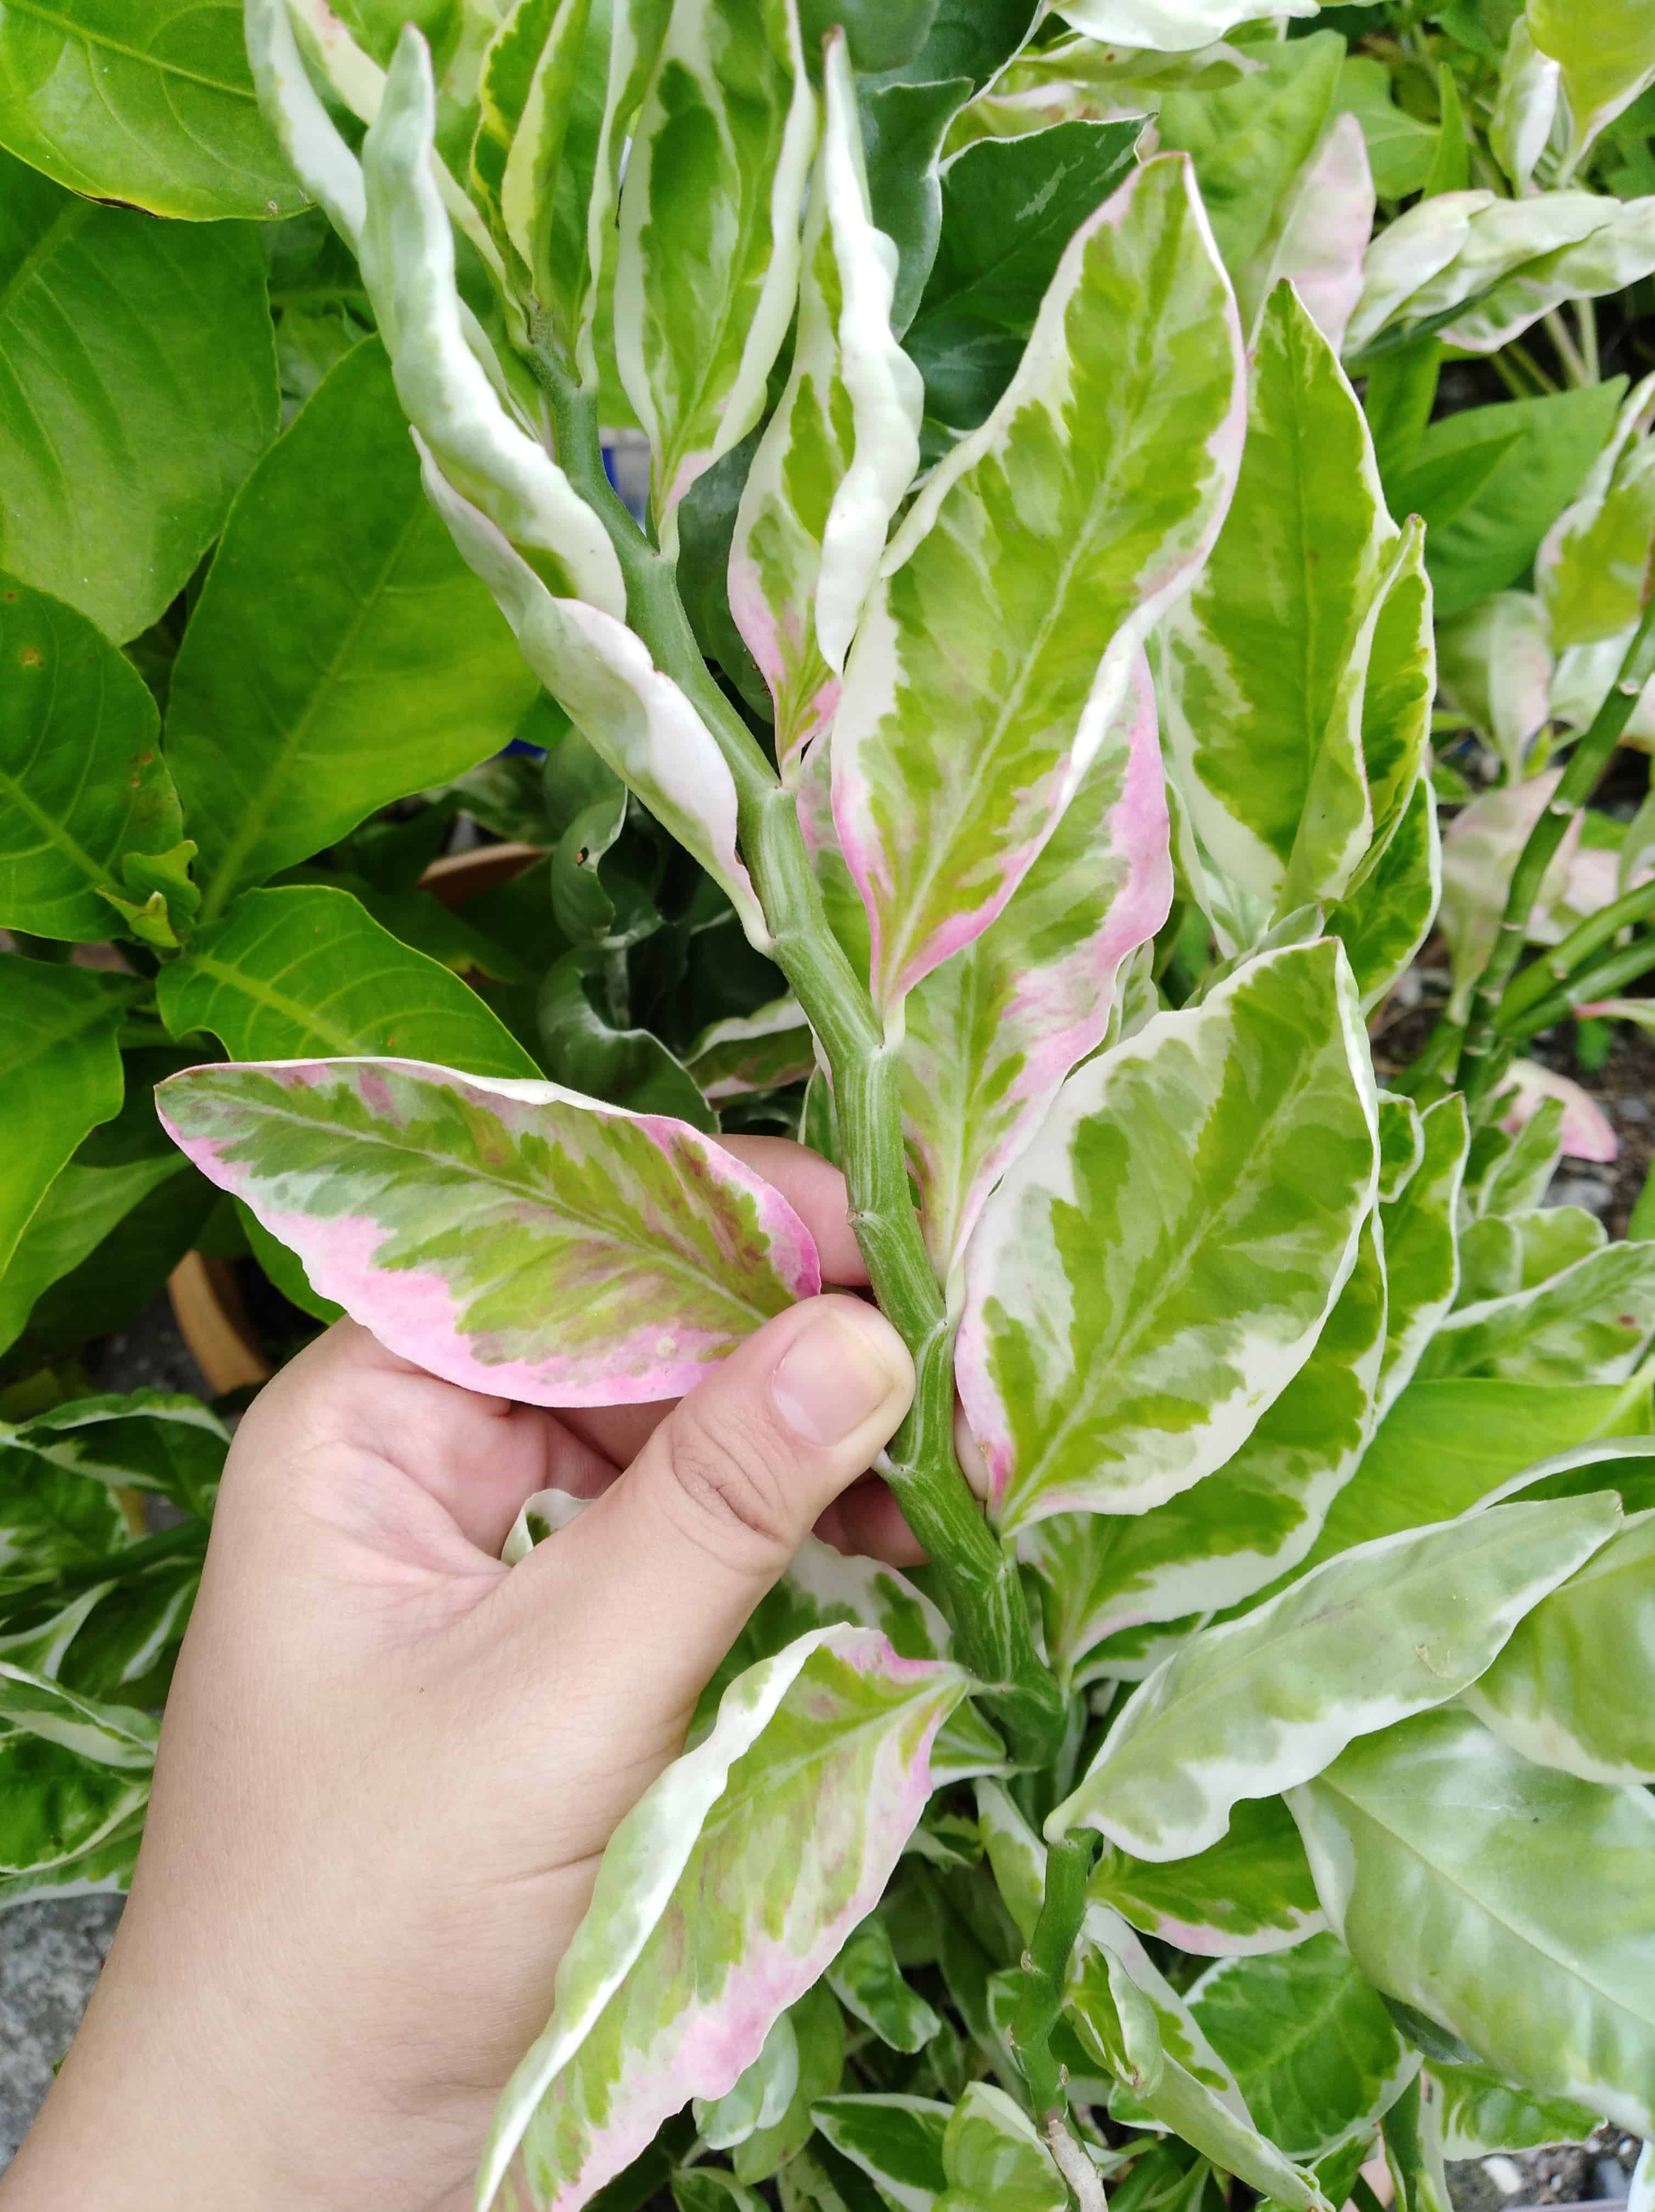
- Select the top growth of the plant and identify the nodes on the stem/cane. Nodes refer to the swollen part where leaves grow on the main or side stem of the plant. Note: Make sure the stem/cane section you’ve chosen to cut is not flowering.
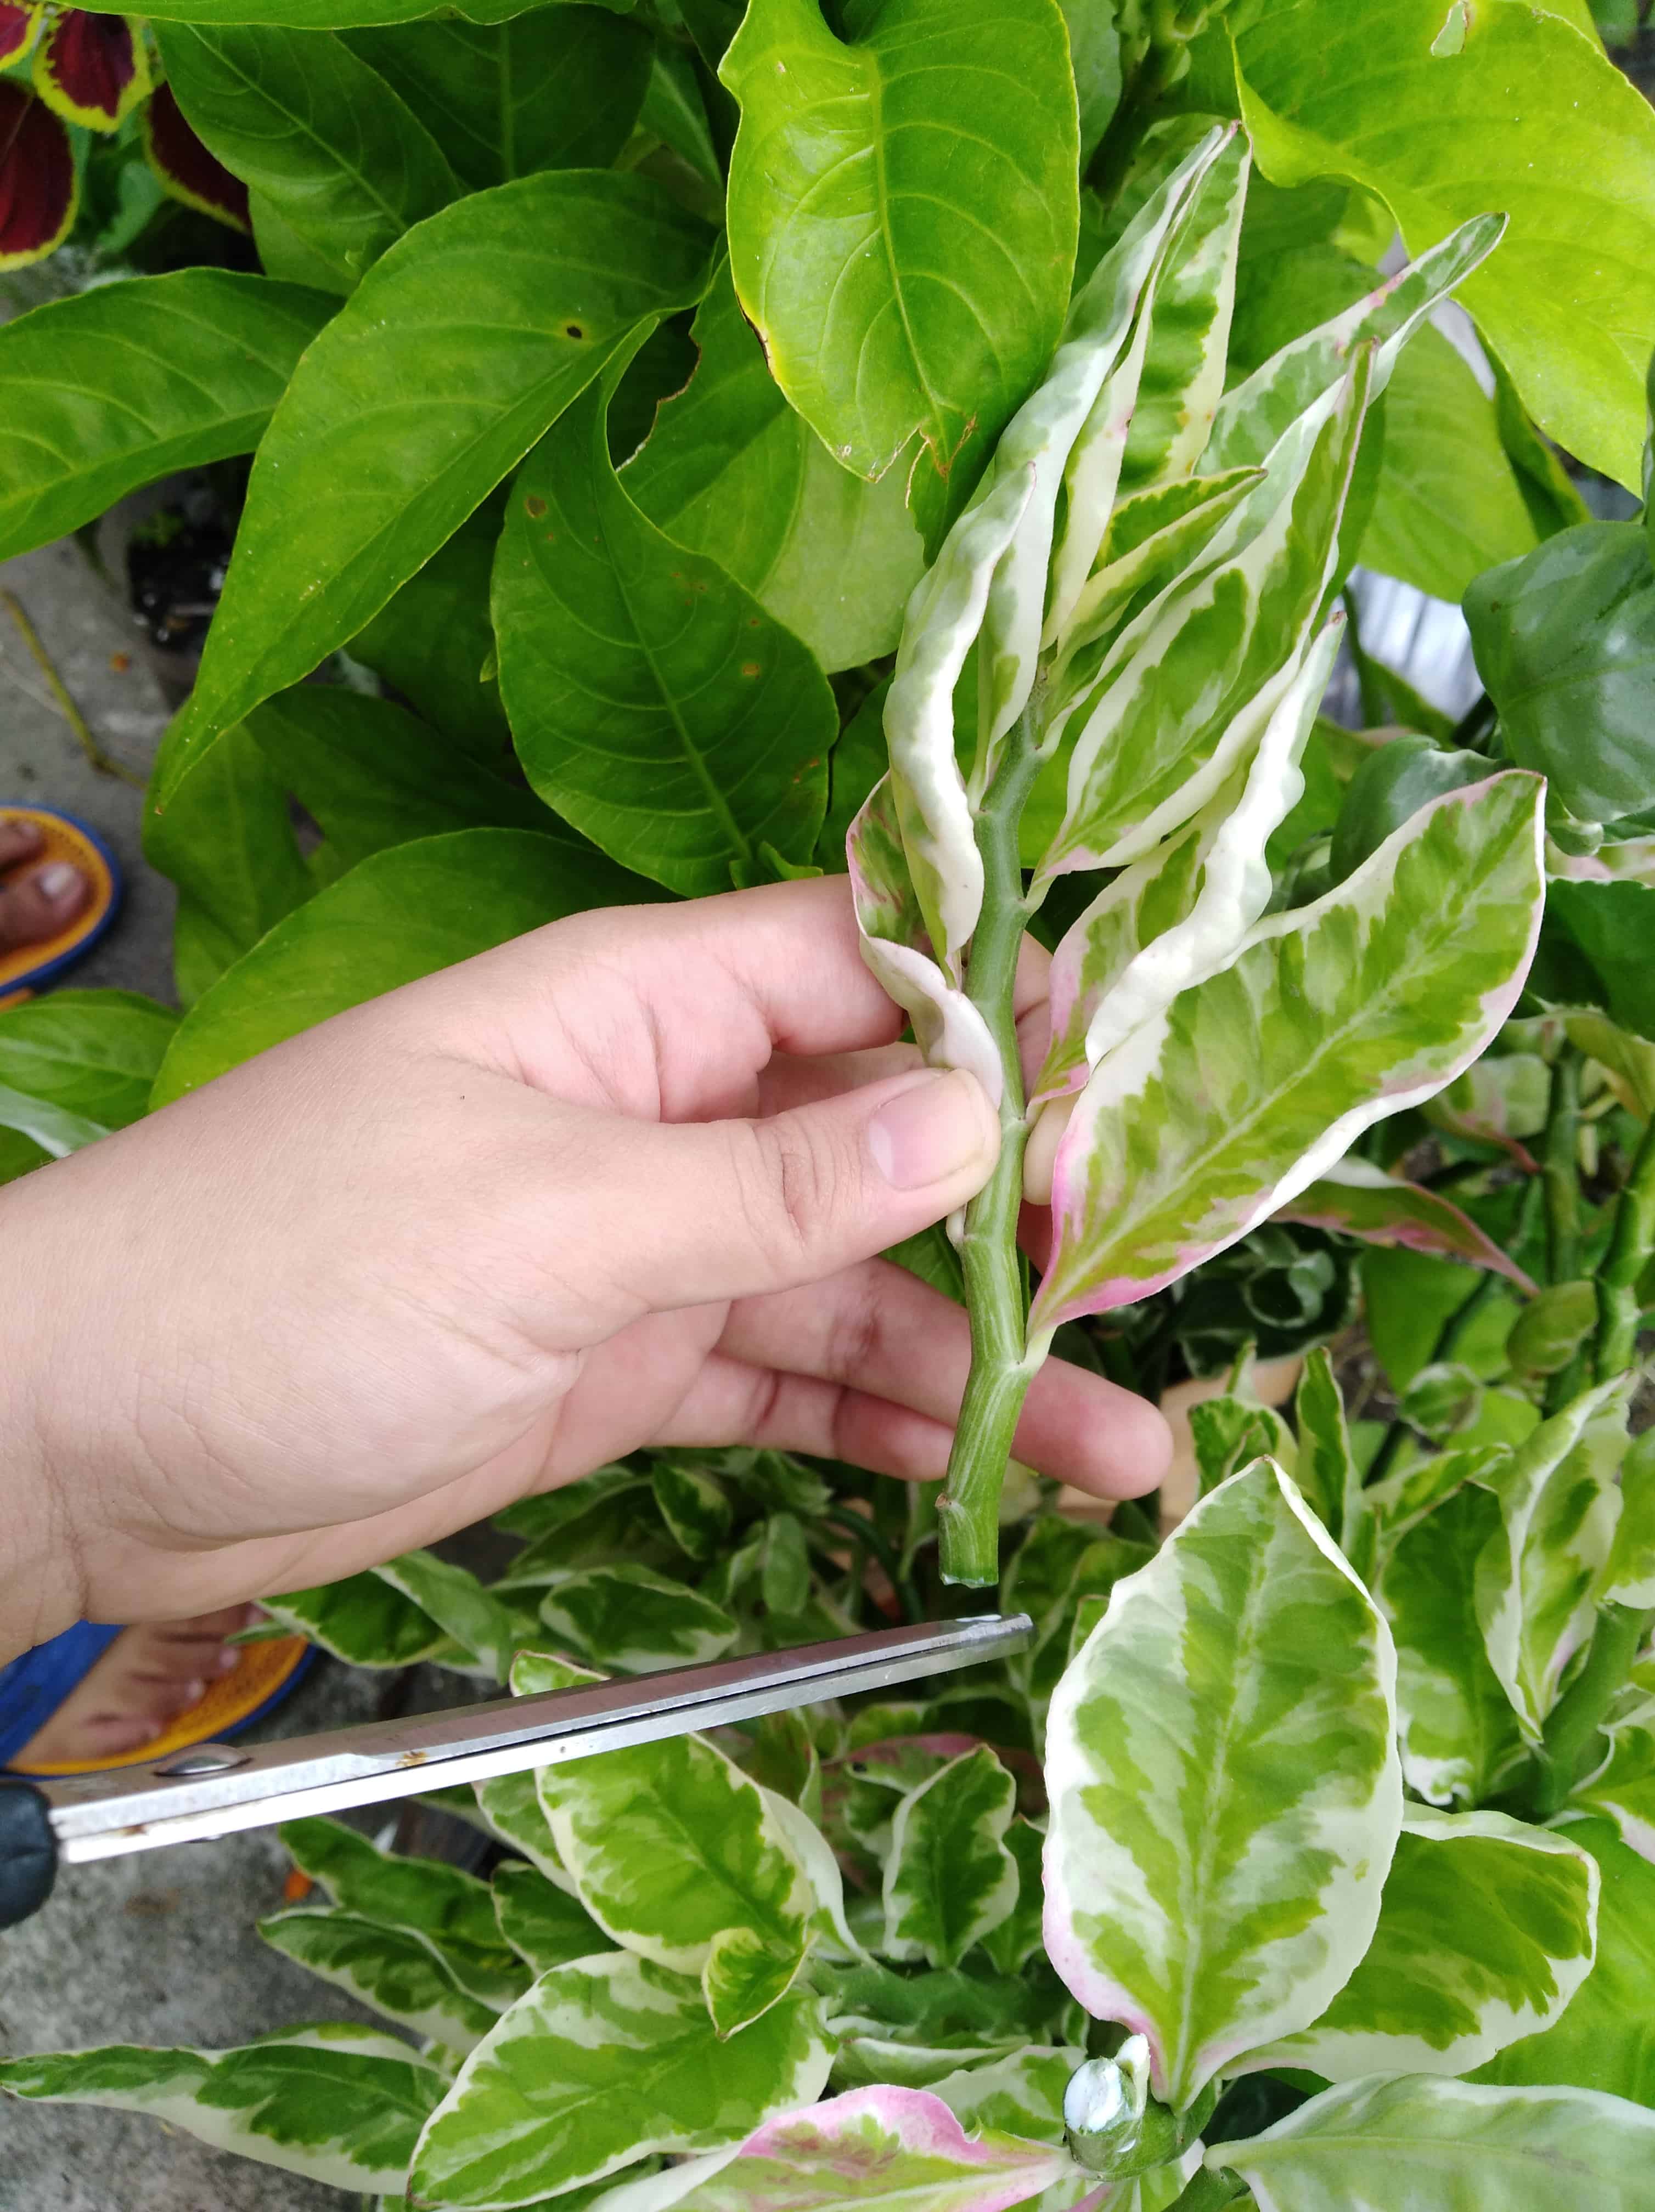
2. Cut the stem/cane right below the node. Ensure there are enough leaves at the top portion of this stem, and get rid of any leaves and stems at the bottom.
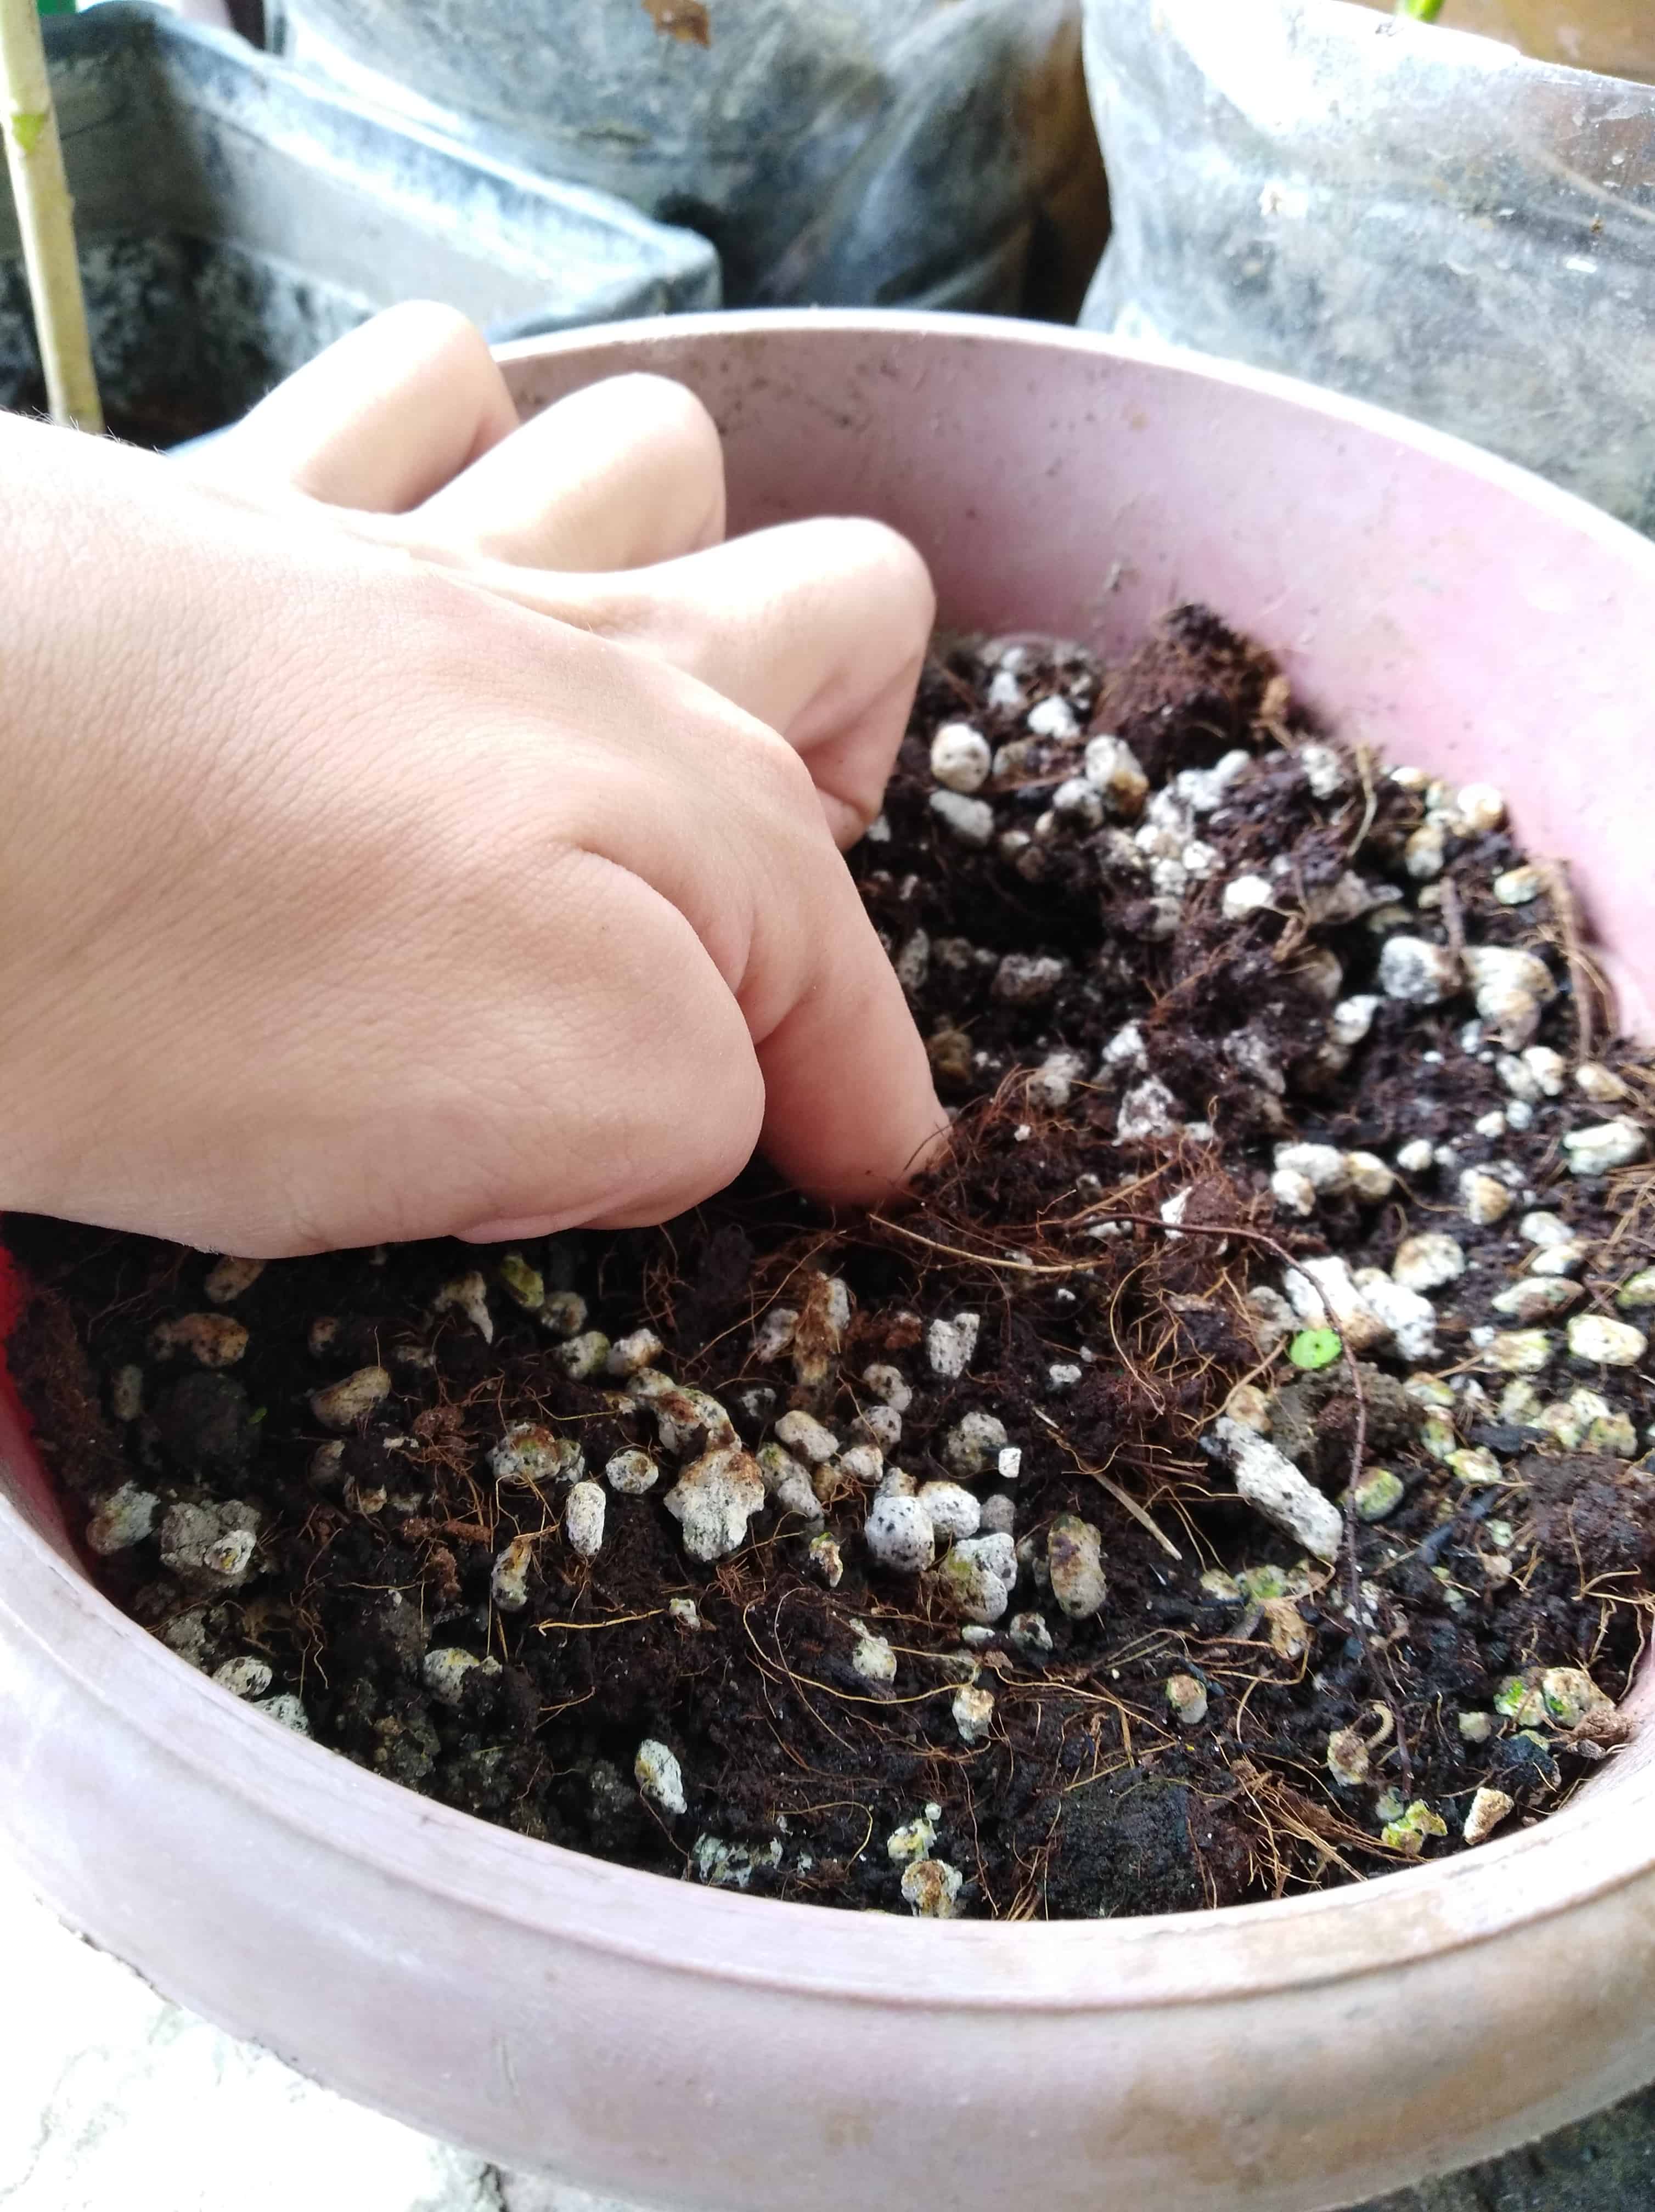
3. In a prepared pot with fresh soil, poke a hole in the middle with your finger or a pencil. Place the stem/cane cutting vertically into this hole. Note: Cane cuttings can be planted horizontally with the nodes pushed down halfway into the soil.
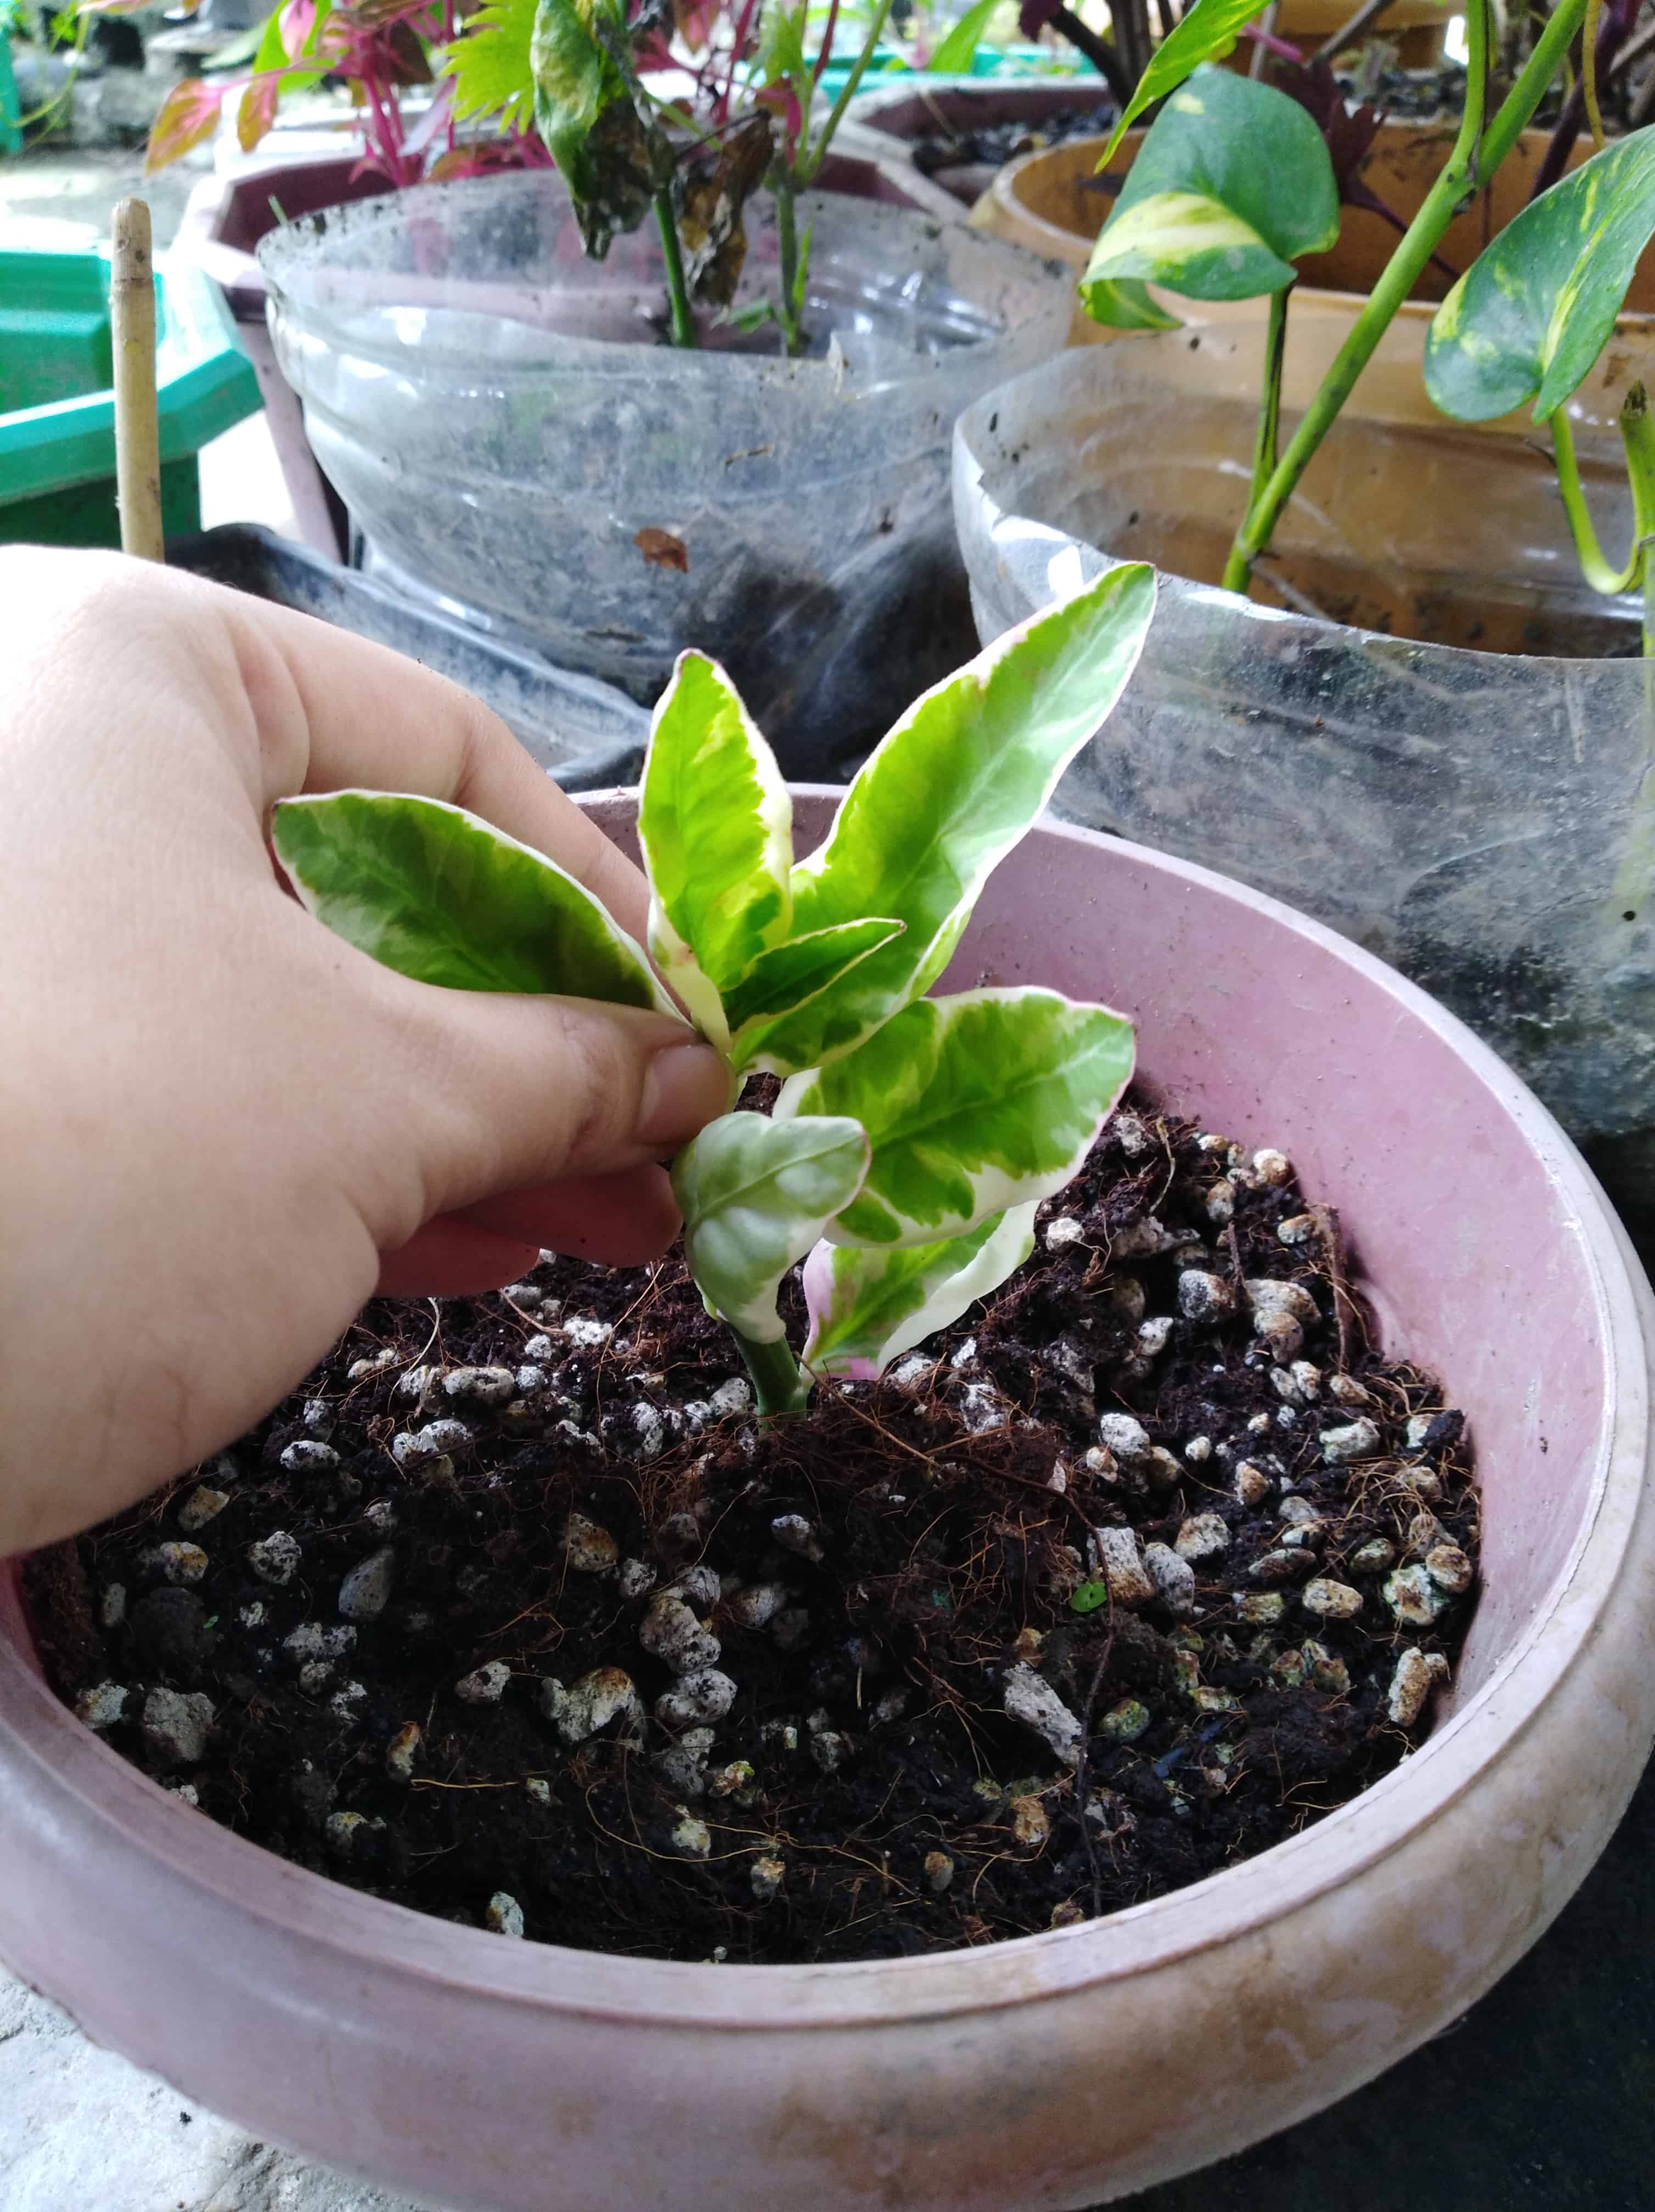
4. Secure the stem cutting with soil around it, and ensure no leaf is touching the soil. Water lightly to settle the soil.
Alternatively, you can place the stem/cane into a jar with water to grow its roots first. But you will need to quickly transfer the cutting into a potting media after the roots are an inch long. This method doesn’t work for all plants. Personally, I find it easier to just plant the propagate into the potting soil from the start.
Here is a list of common houseplants you can propagate with this technique:
- Pothos
- Dumb Cane
- Begonia
- Wandering Jew
- Dragon Plant
- Corn Plant
- Chinese Evergreen
- Swiss Cheese Plant
- Peperomia
From root ball division/separation
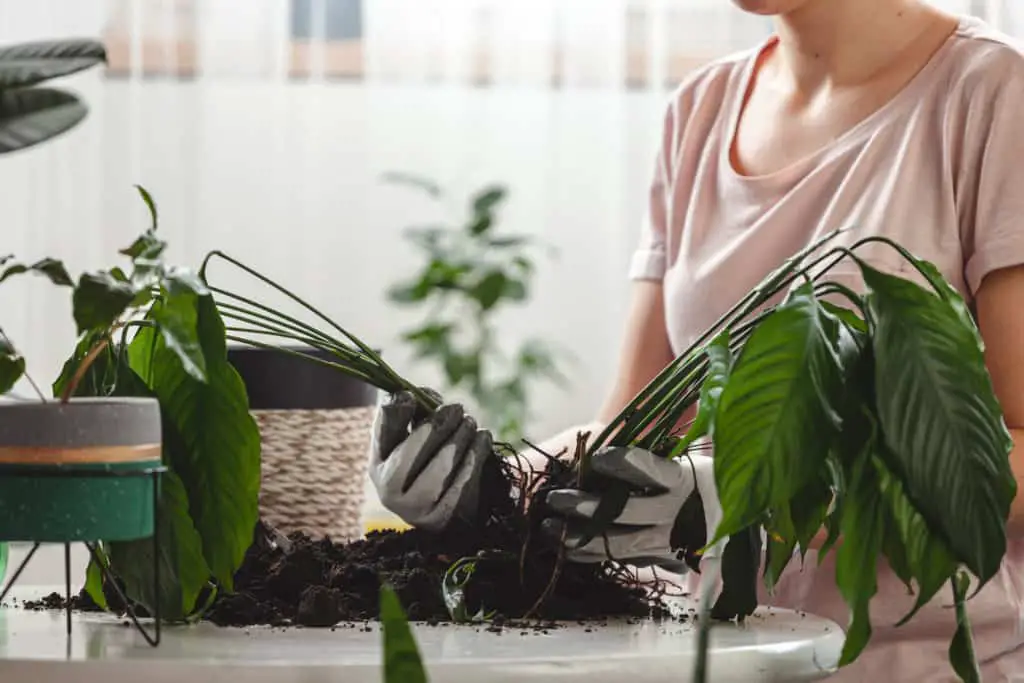
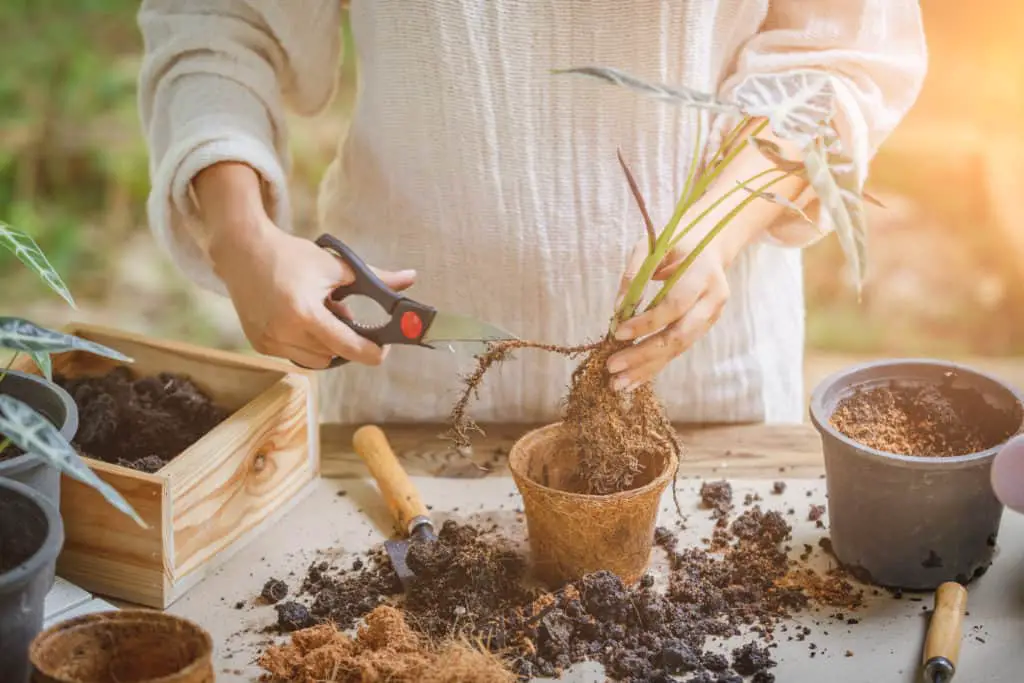
The division technique requires taking your plant out of its pot to separate sections of its root ball. Some can be divided by the existing division in the plant, while others require using a knife to separate them forcefully. This method is convenient when your plant has grown too big for its pot/become rootbound and you really like in that one designer pot you bought so you just make the plant smaller rather than buying a bigger pot (I see you, happens to me too!). Here are some things to take note of when you’re dividing or separating offspring from the parent plant:
- Use your fingers to carefully untangle roots and find the natural division in the root ball.
- If you’re using a knife to divide the section, make sure each offspring has enough roots at the bottom to survive on.
- It is advisable to mix 60:40 parts of new and old soil (from the parent plant), respectively, provided that the old soil is not infected or infested.
- Place the offspring in a pot 1-2 inches bigger than its root ball with the soil mixture as mentioned above.
Here is a list of plants that will do well with this technique:
- Calathea
- Peace Lily
- Snake Plant
- Aloe Vera
- Purple Shamrock
- Umbrella Tree
- Pilea
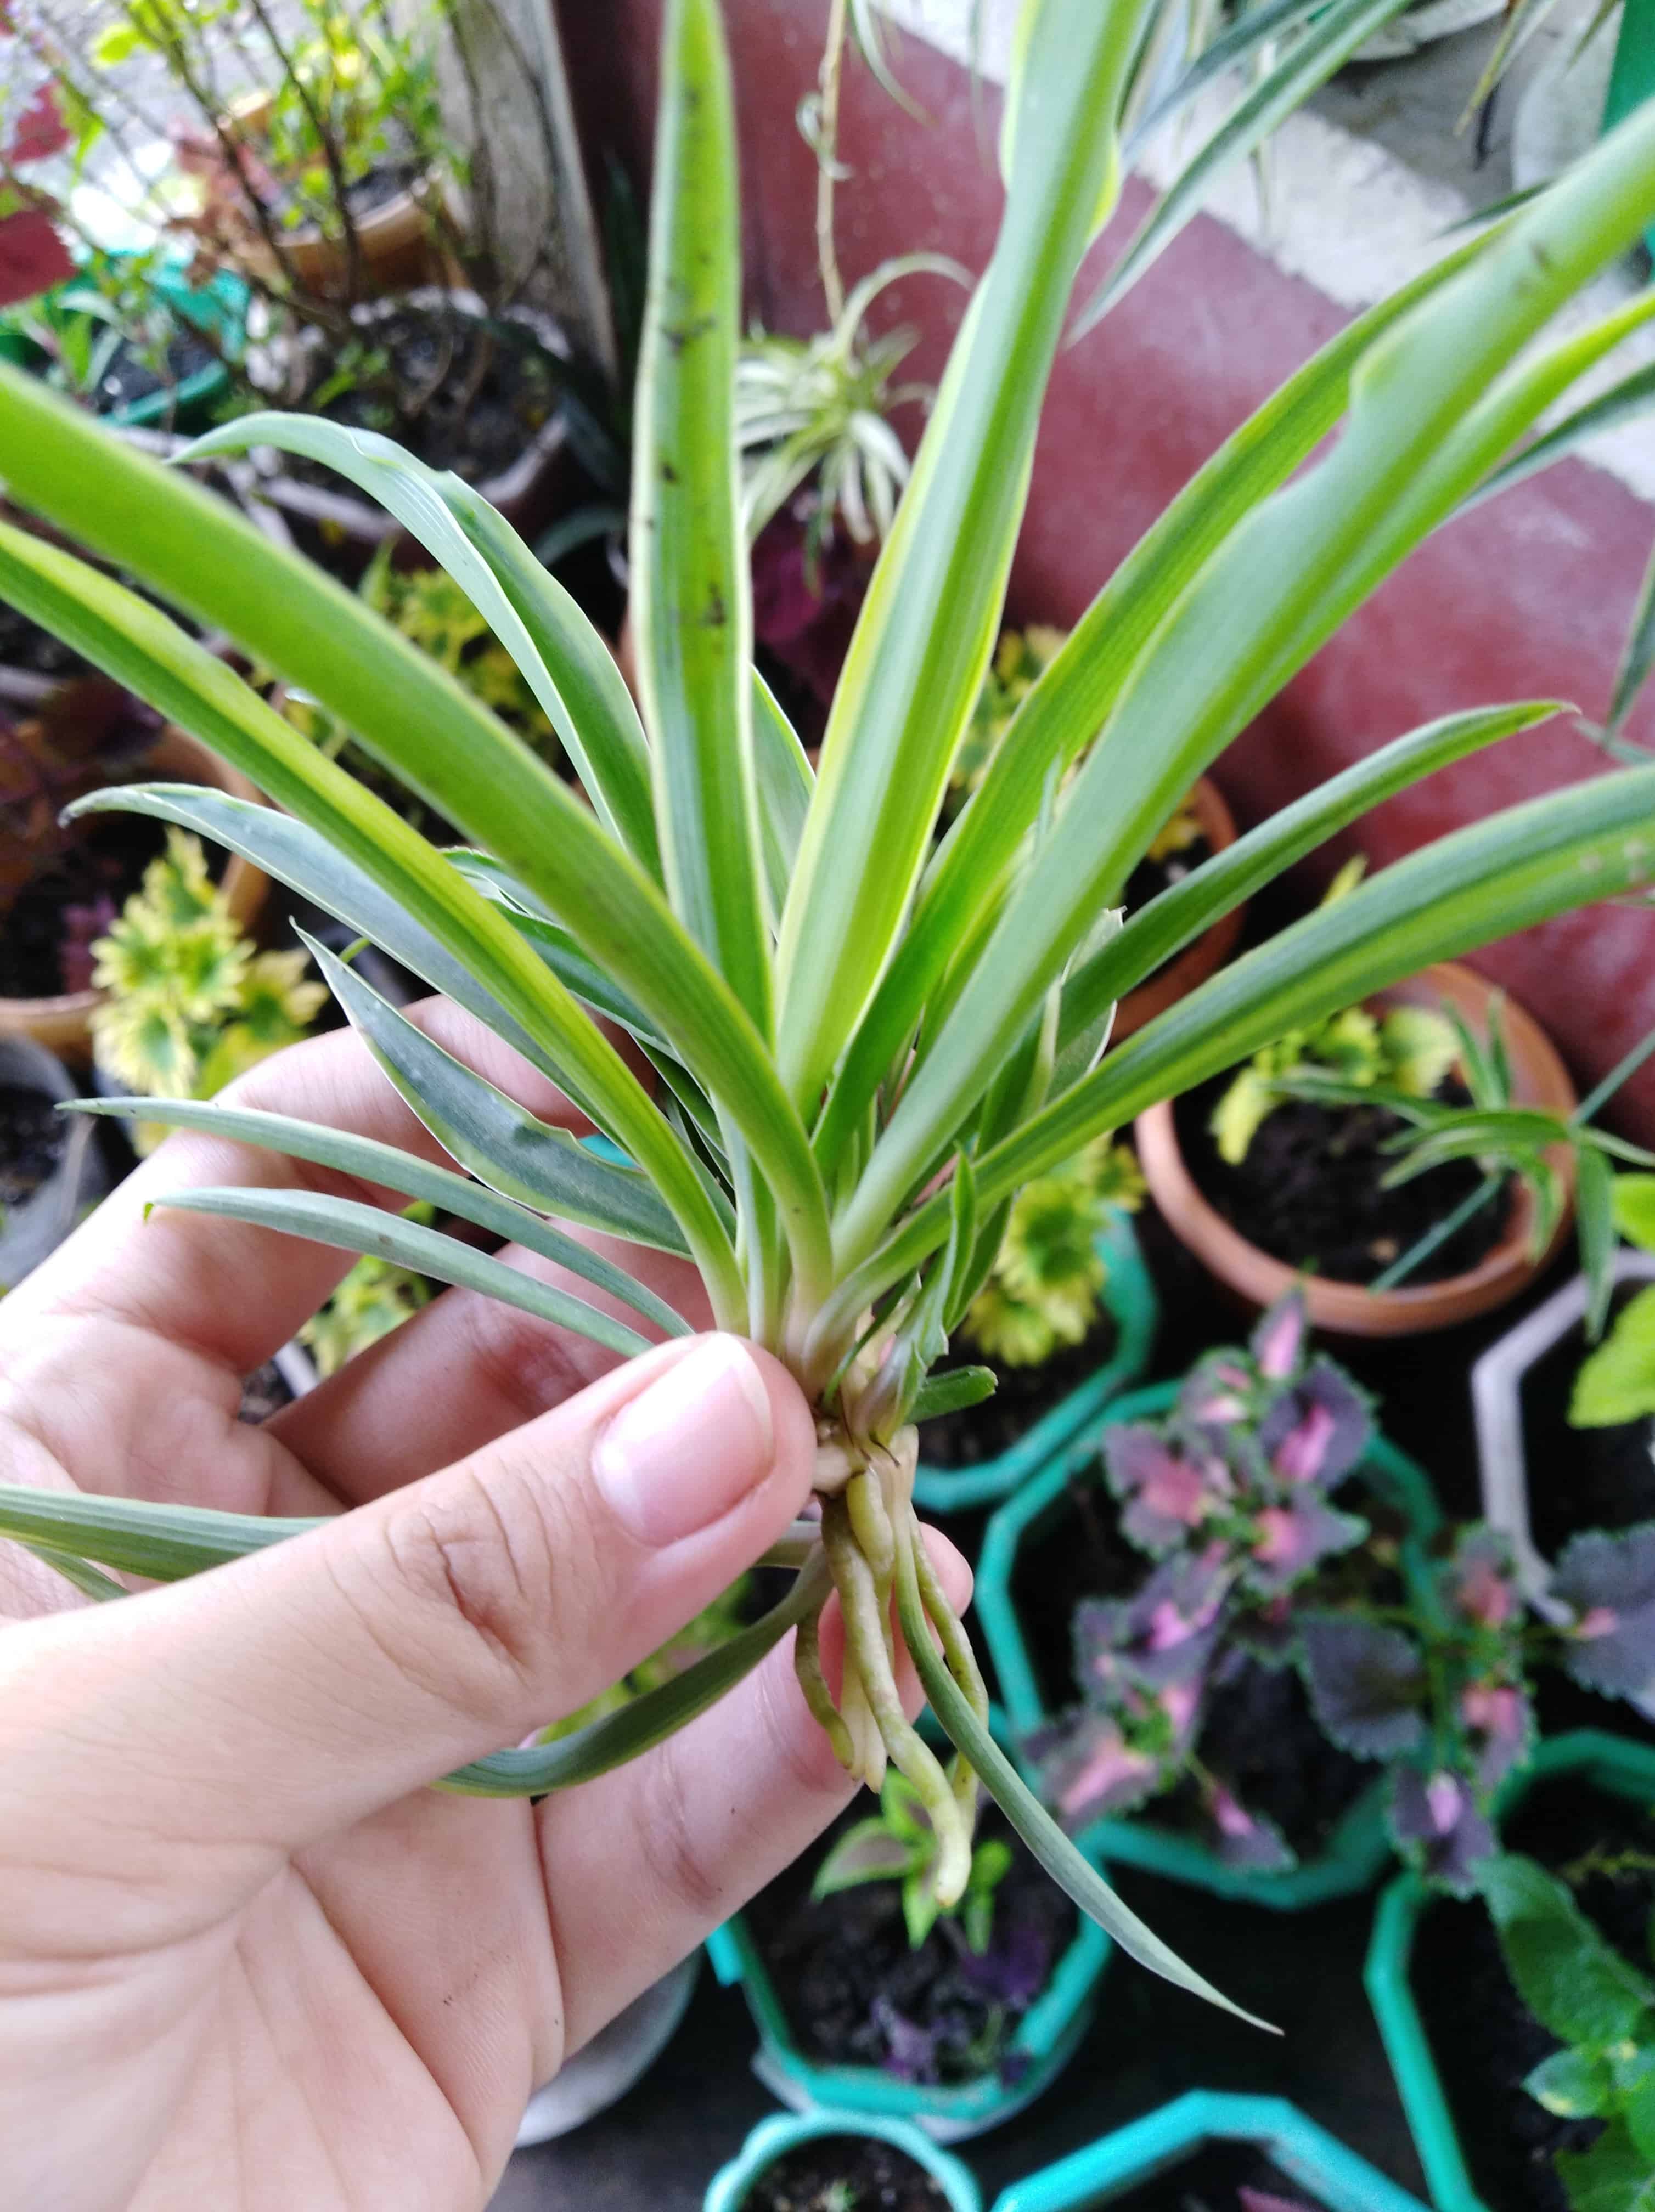
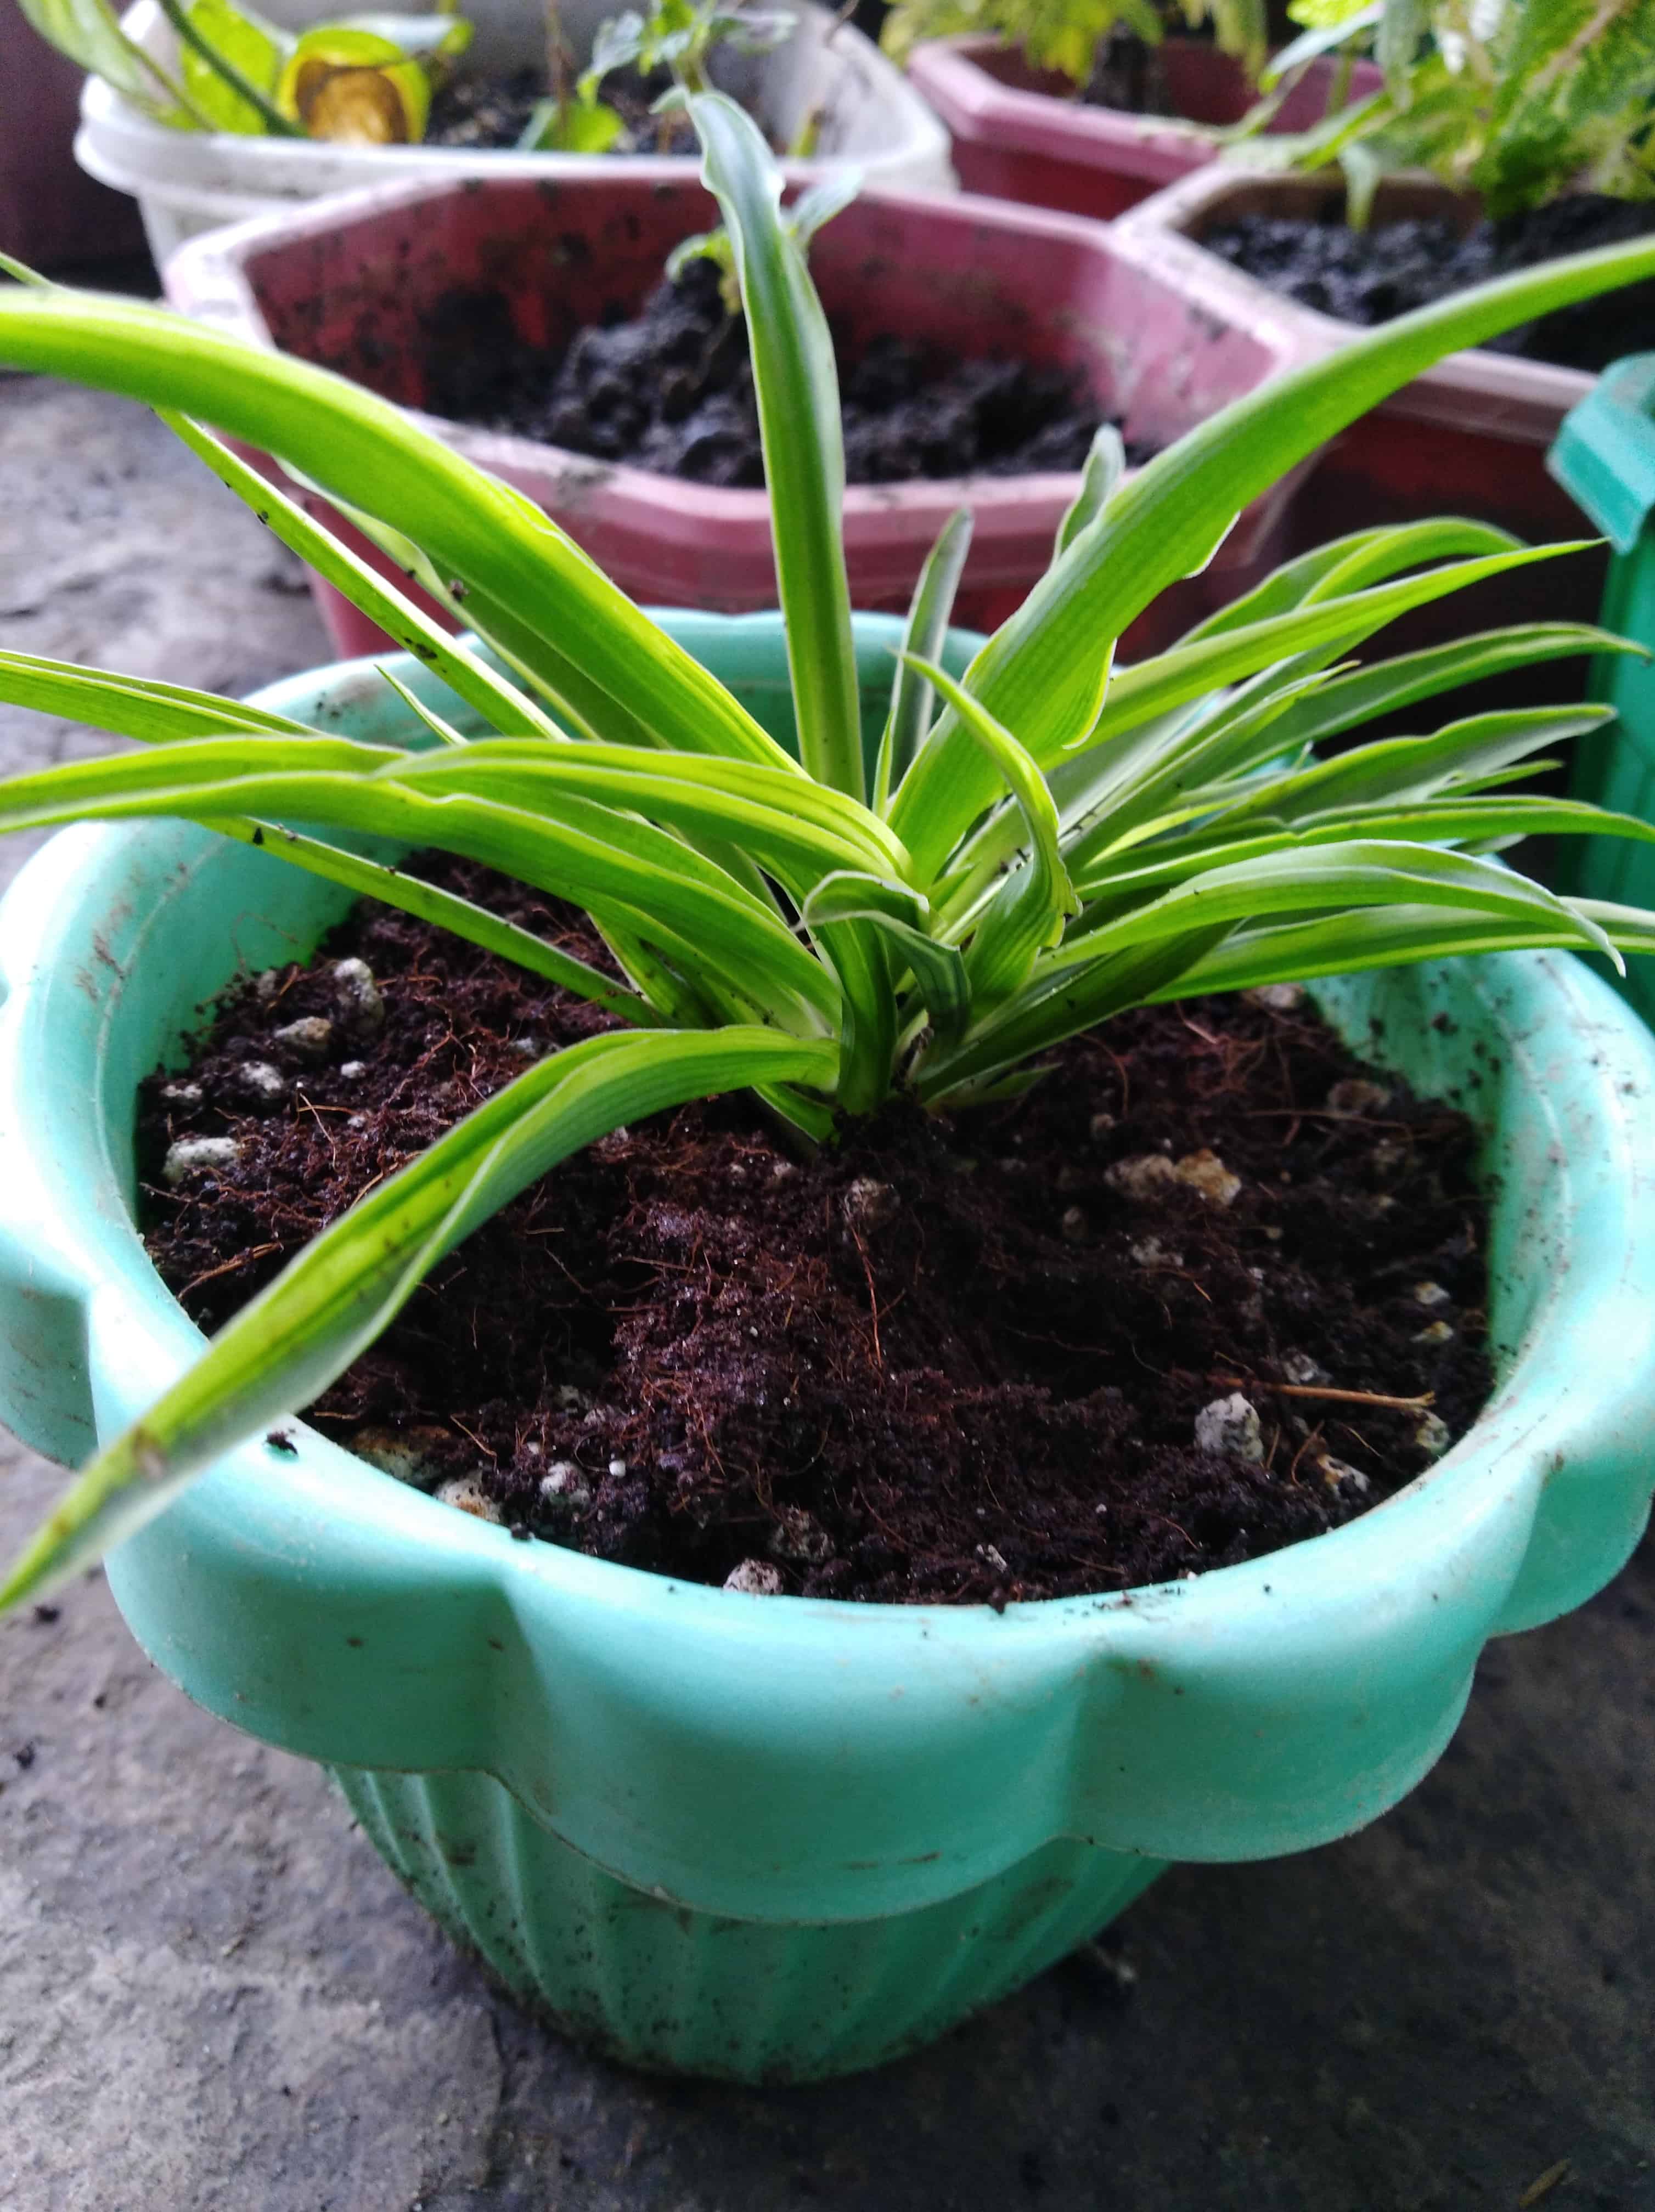
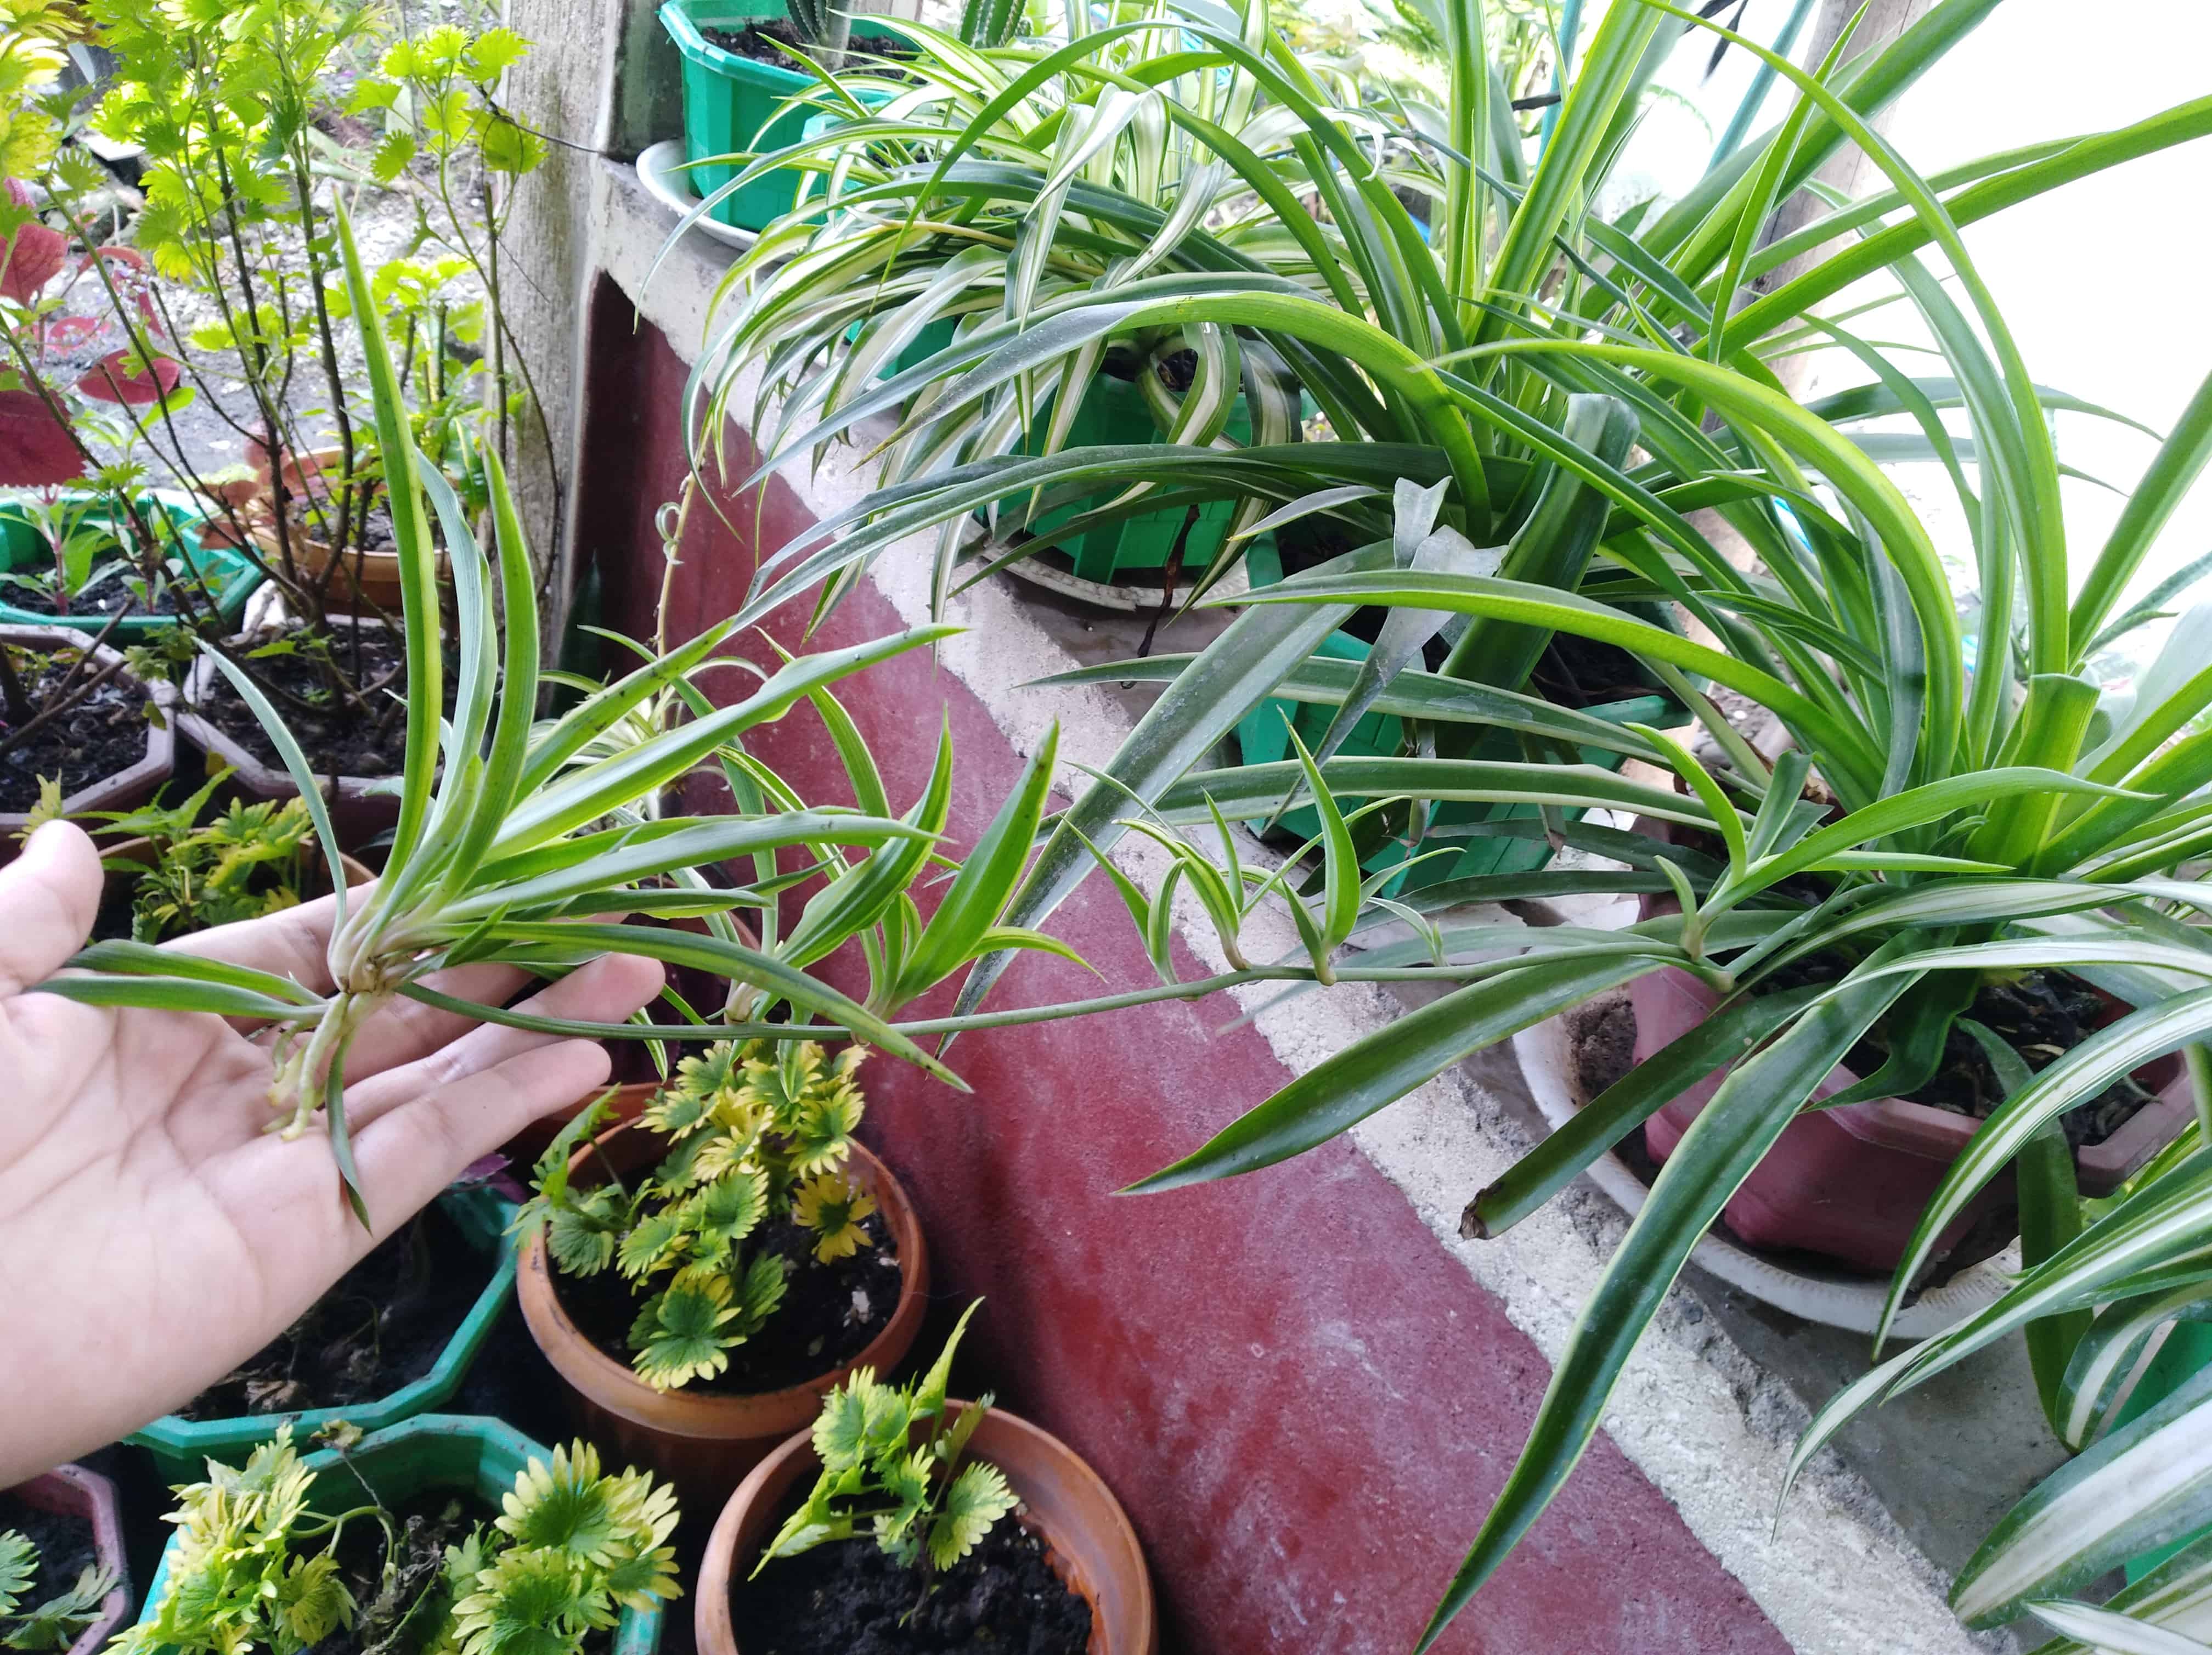
For the separation technique, this is more suited for plants that have offsets or side shoots, i.e. baby versions of the plant growing beside the parent plant or on the parent plant itself. Here’s what you need to know before separating them into their own pot:
- Let the offsets or side shoots grow big enough until it has enough roots to survive on its own. If it only has baby roots, it is not going to survive.
- Place these mini plants directly onto new soil and make sure their roots are buried. It will reinforce the roots to grow in its new home.
Here are some plants that are easily propagated with this method:
- Spider Plant
- Air Plants
- Echeveria
- Aloe Vera
- Haworthia
- Pink Quill Plant
From leaf cuttings
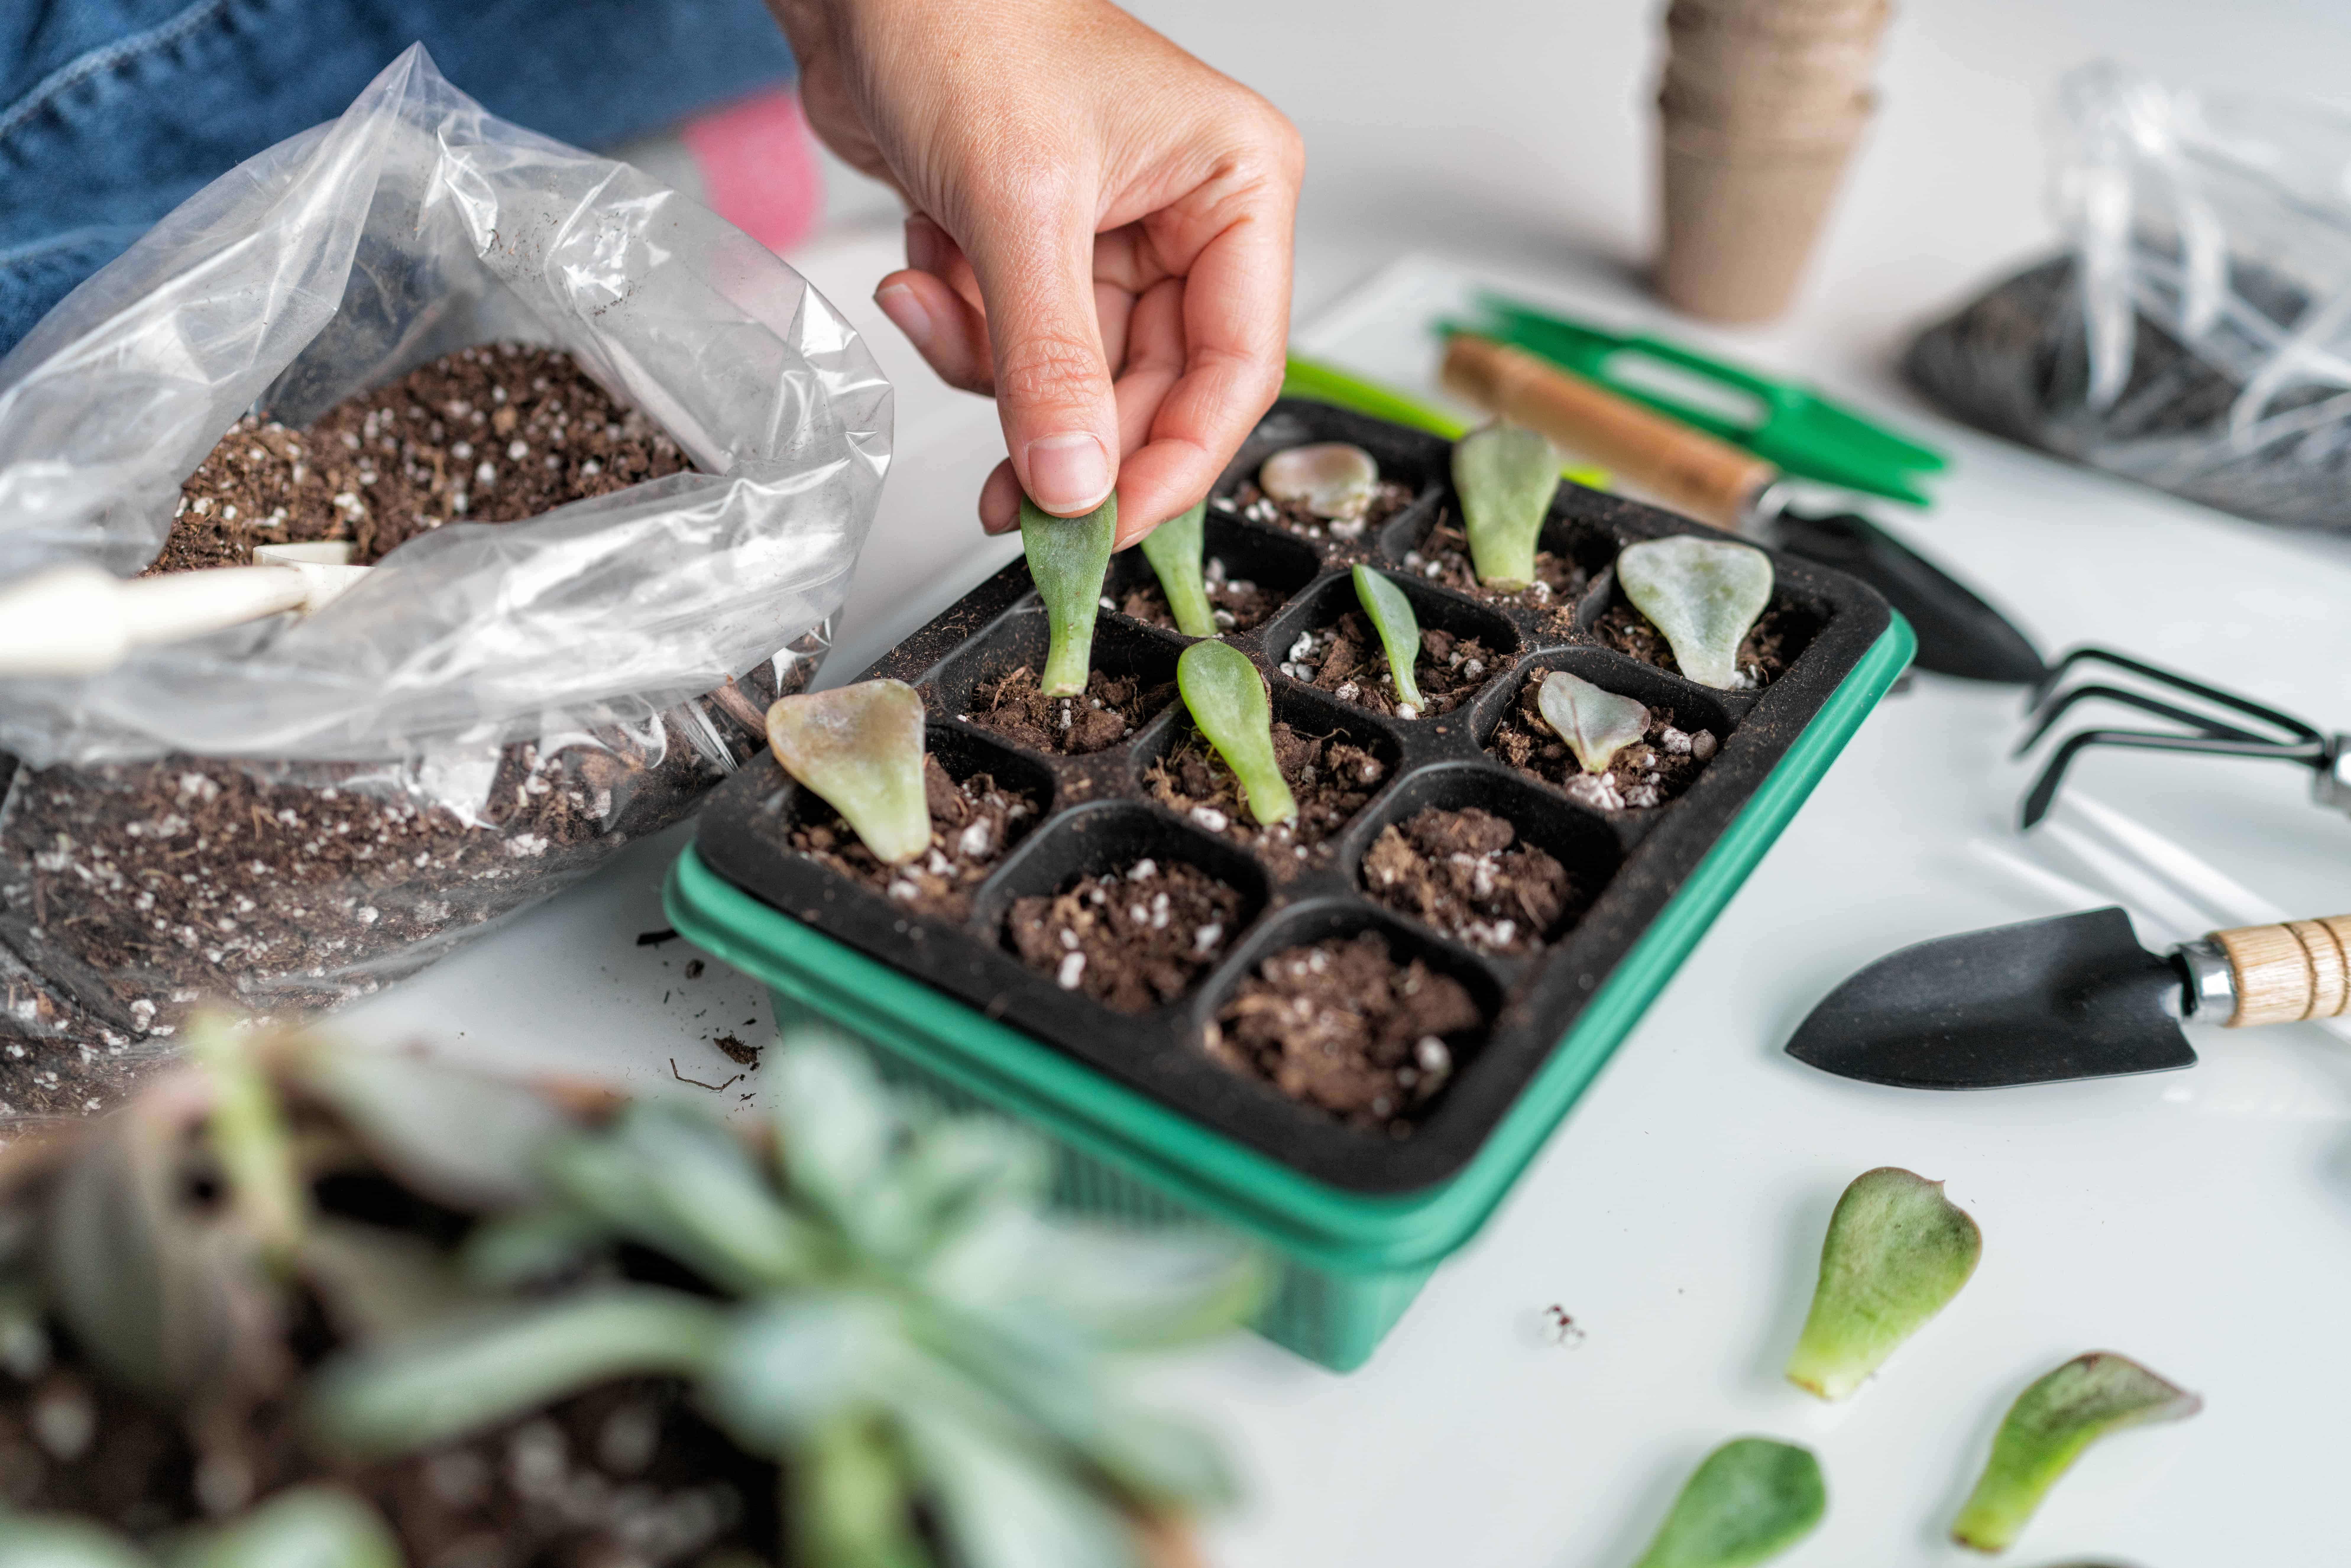
As expected from the title, this method involves only taking leaves off the parent plant to grow new offspring. There are two ways you can do this, either by cutting the leaf along with its stalk (petiole) or taking just the leaf itself. Some plants don’t have petioles/stalks with their leaves, but that doesn’t mean it is impossible to propagate with just the leaf. Here’s how you can do just that:
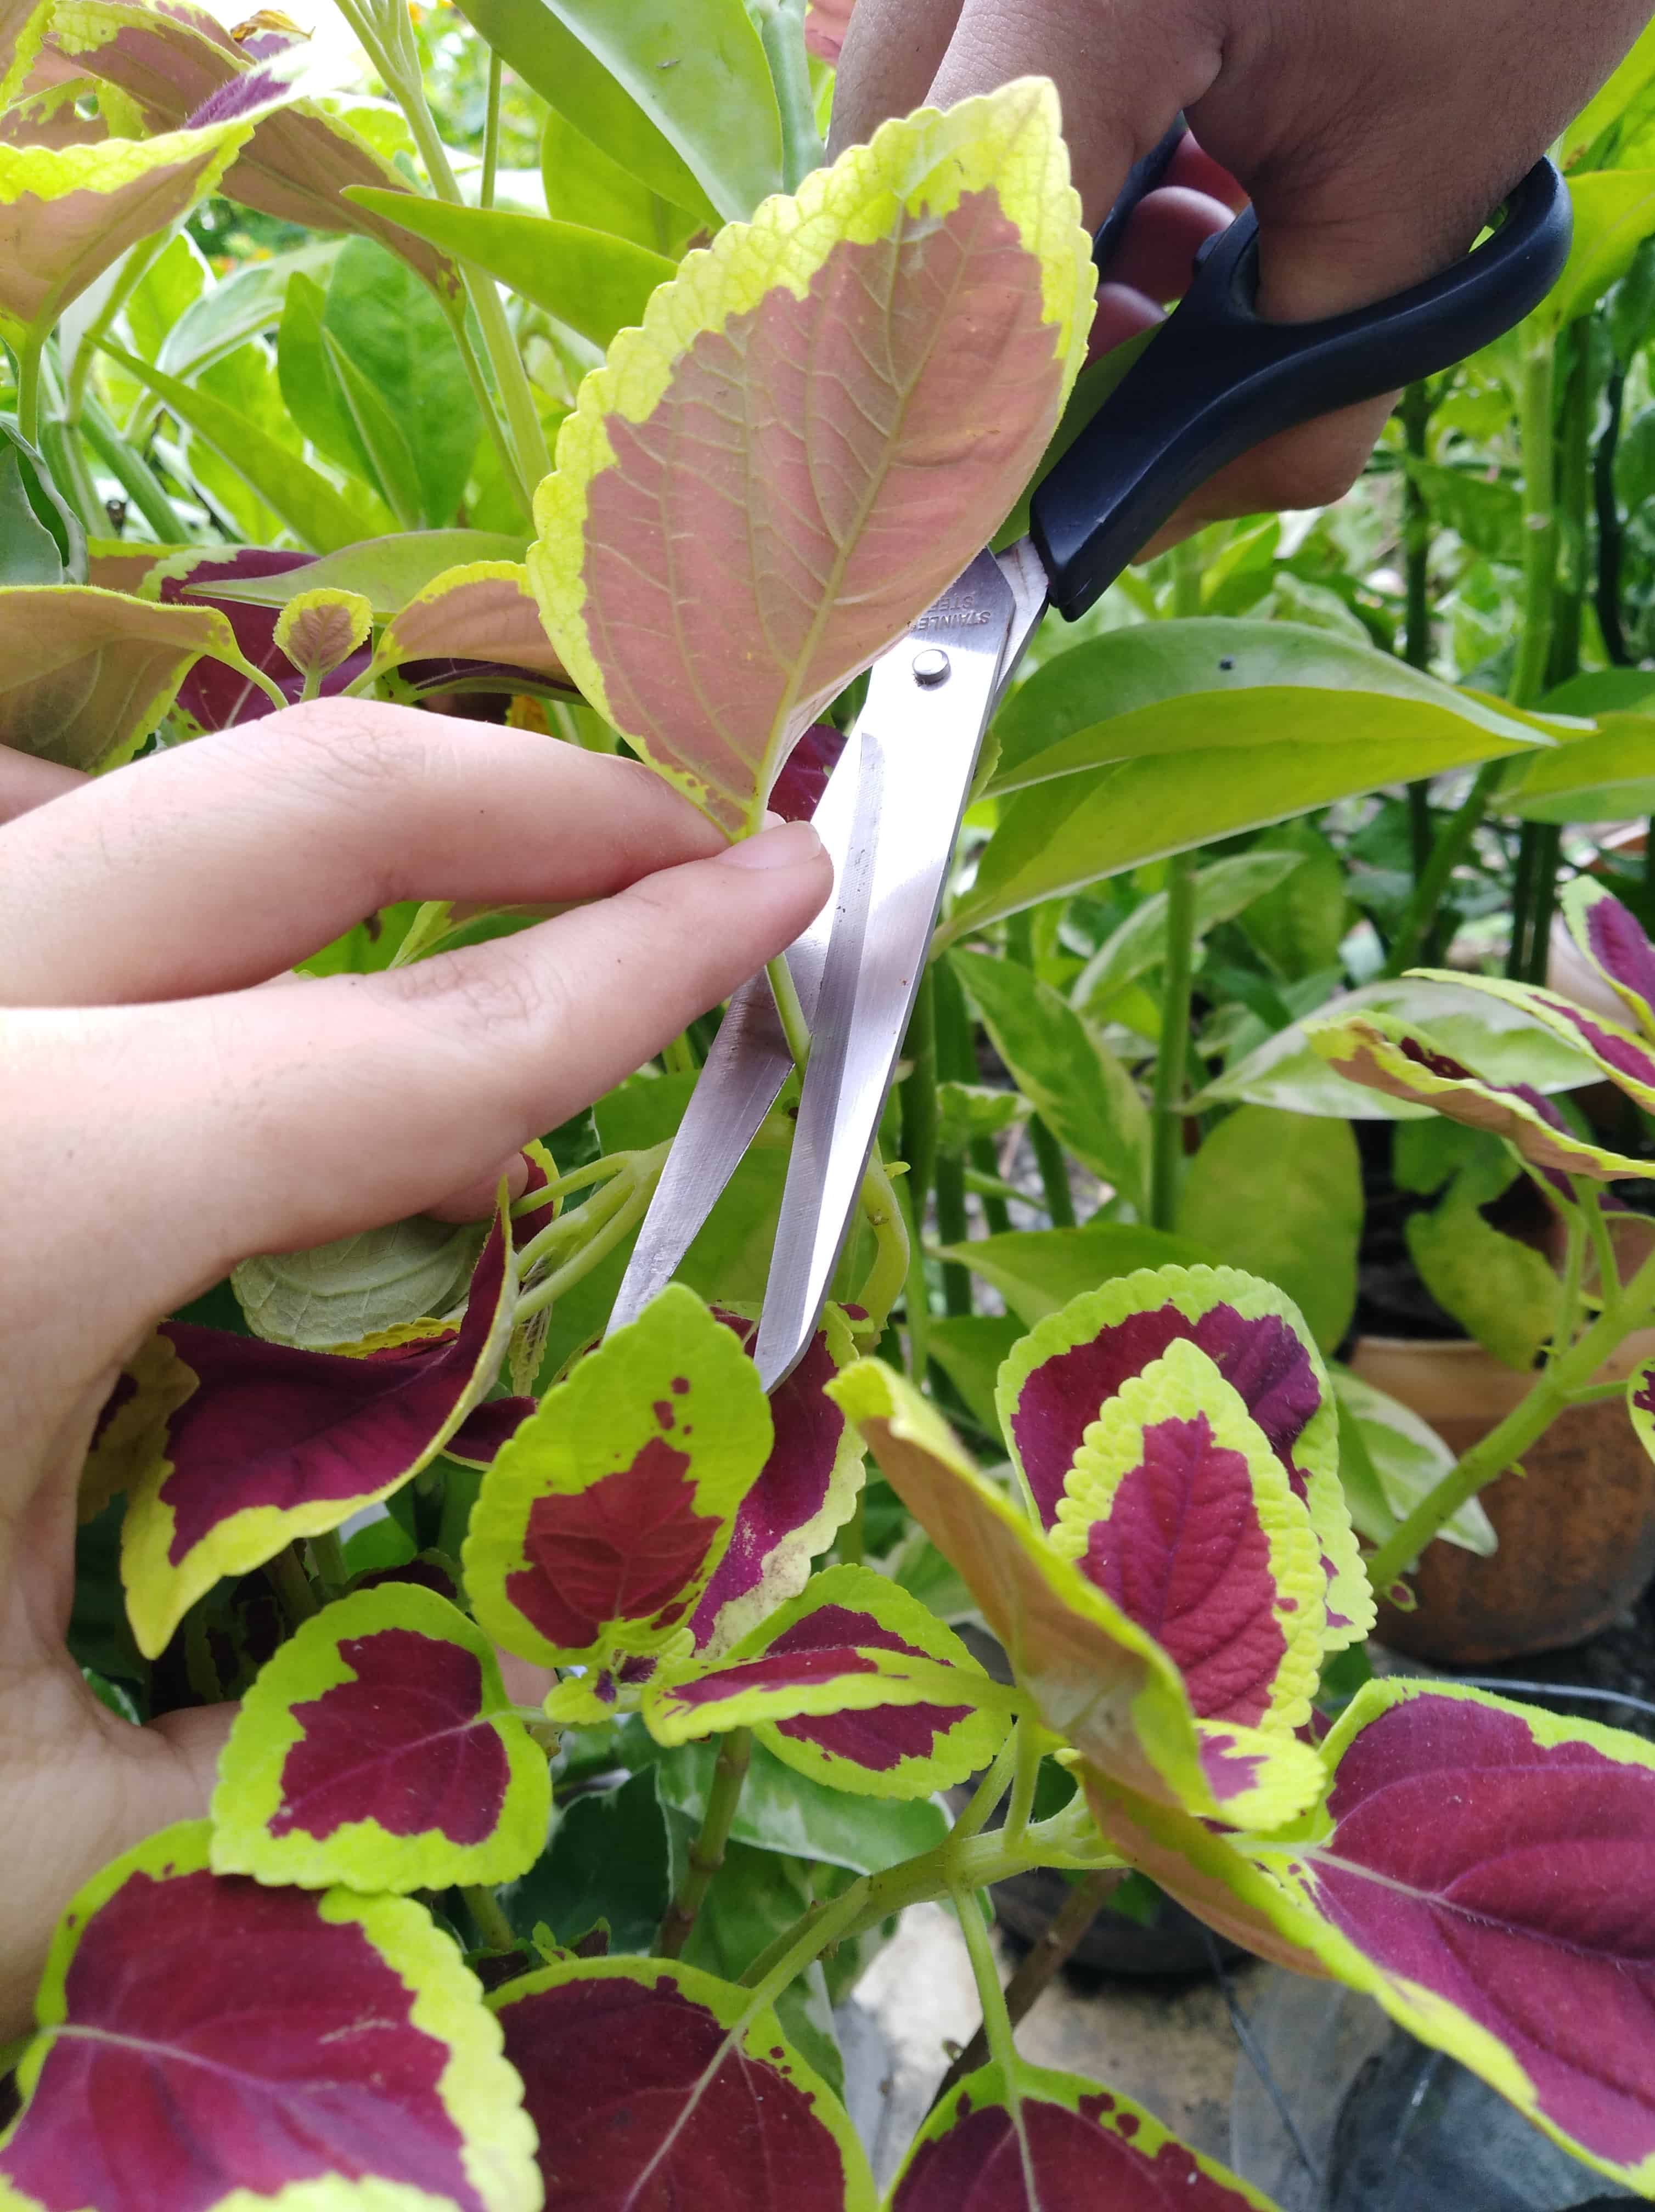
1. If the leaf has a stalk, snip the leaf off by its nodes. If it doesn’t, simply cut off the leaf at its tiny end. Note: Only pick whole and healthy leaves to propagate.
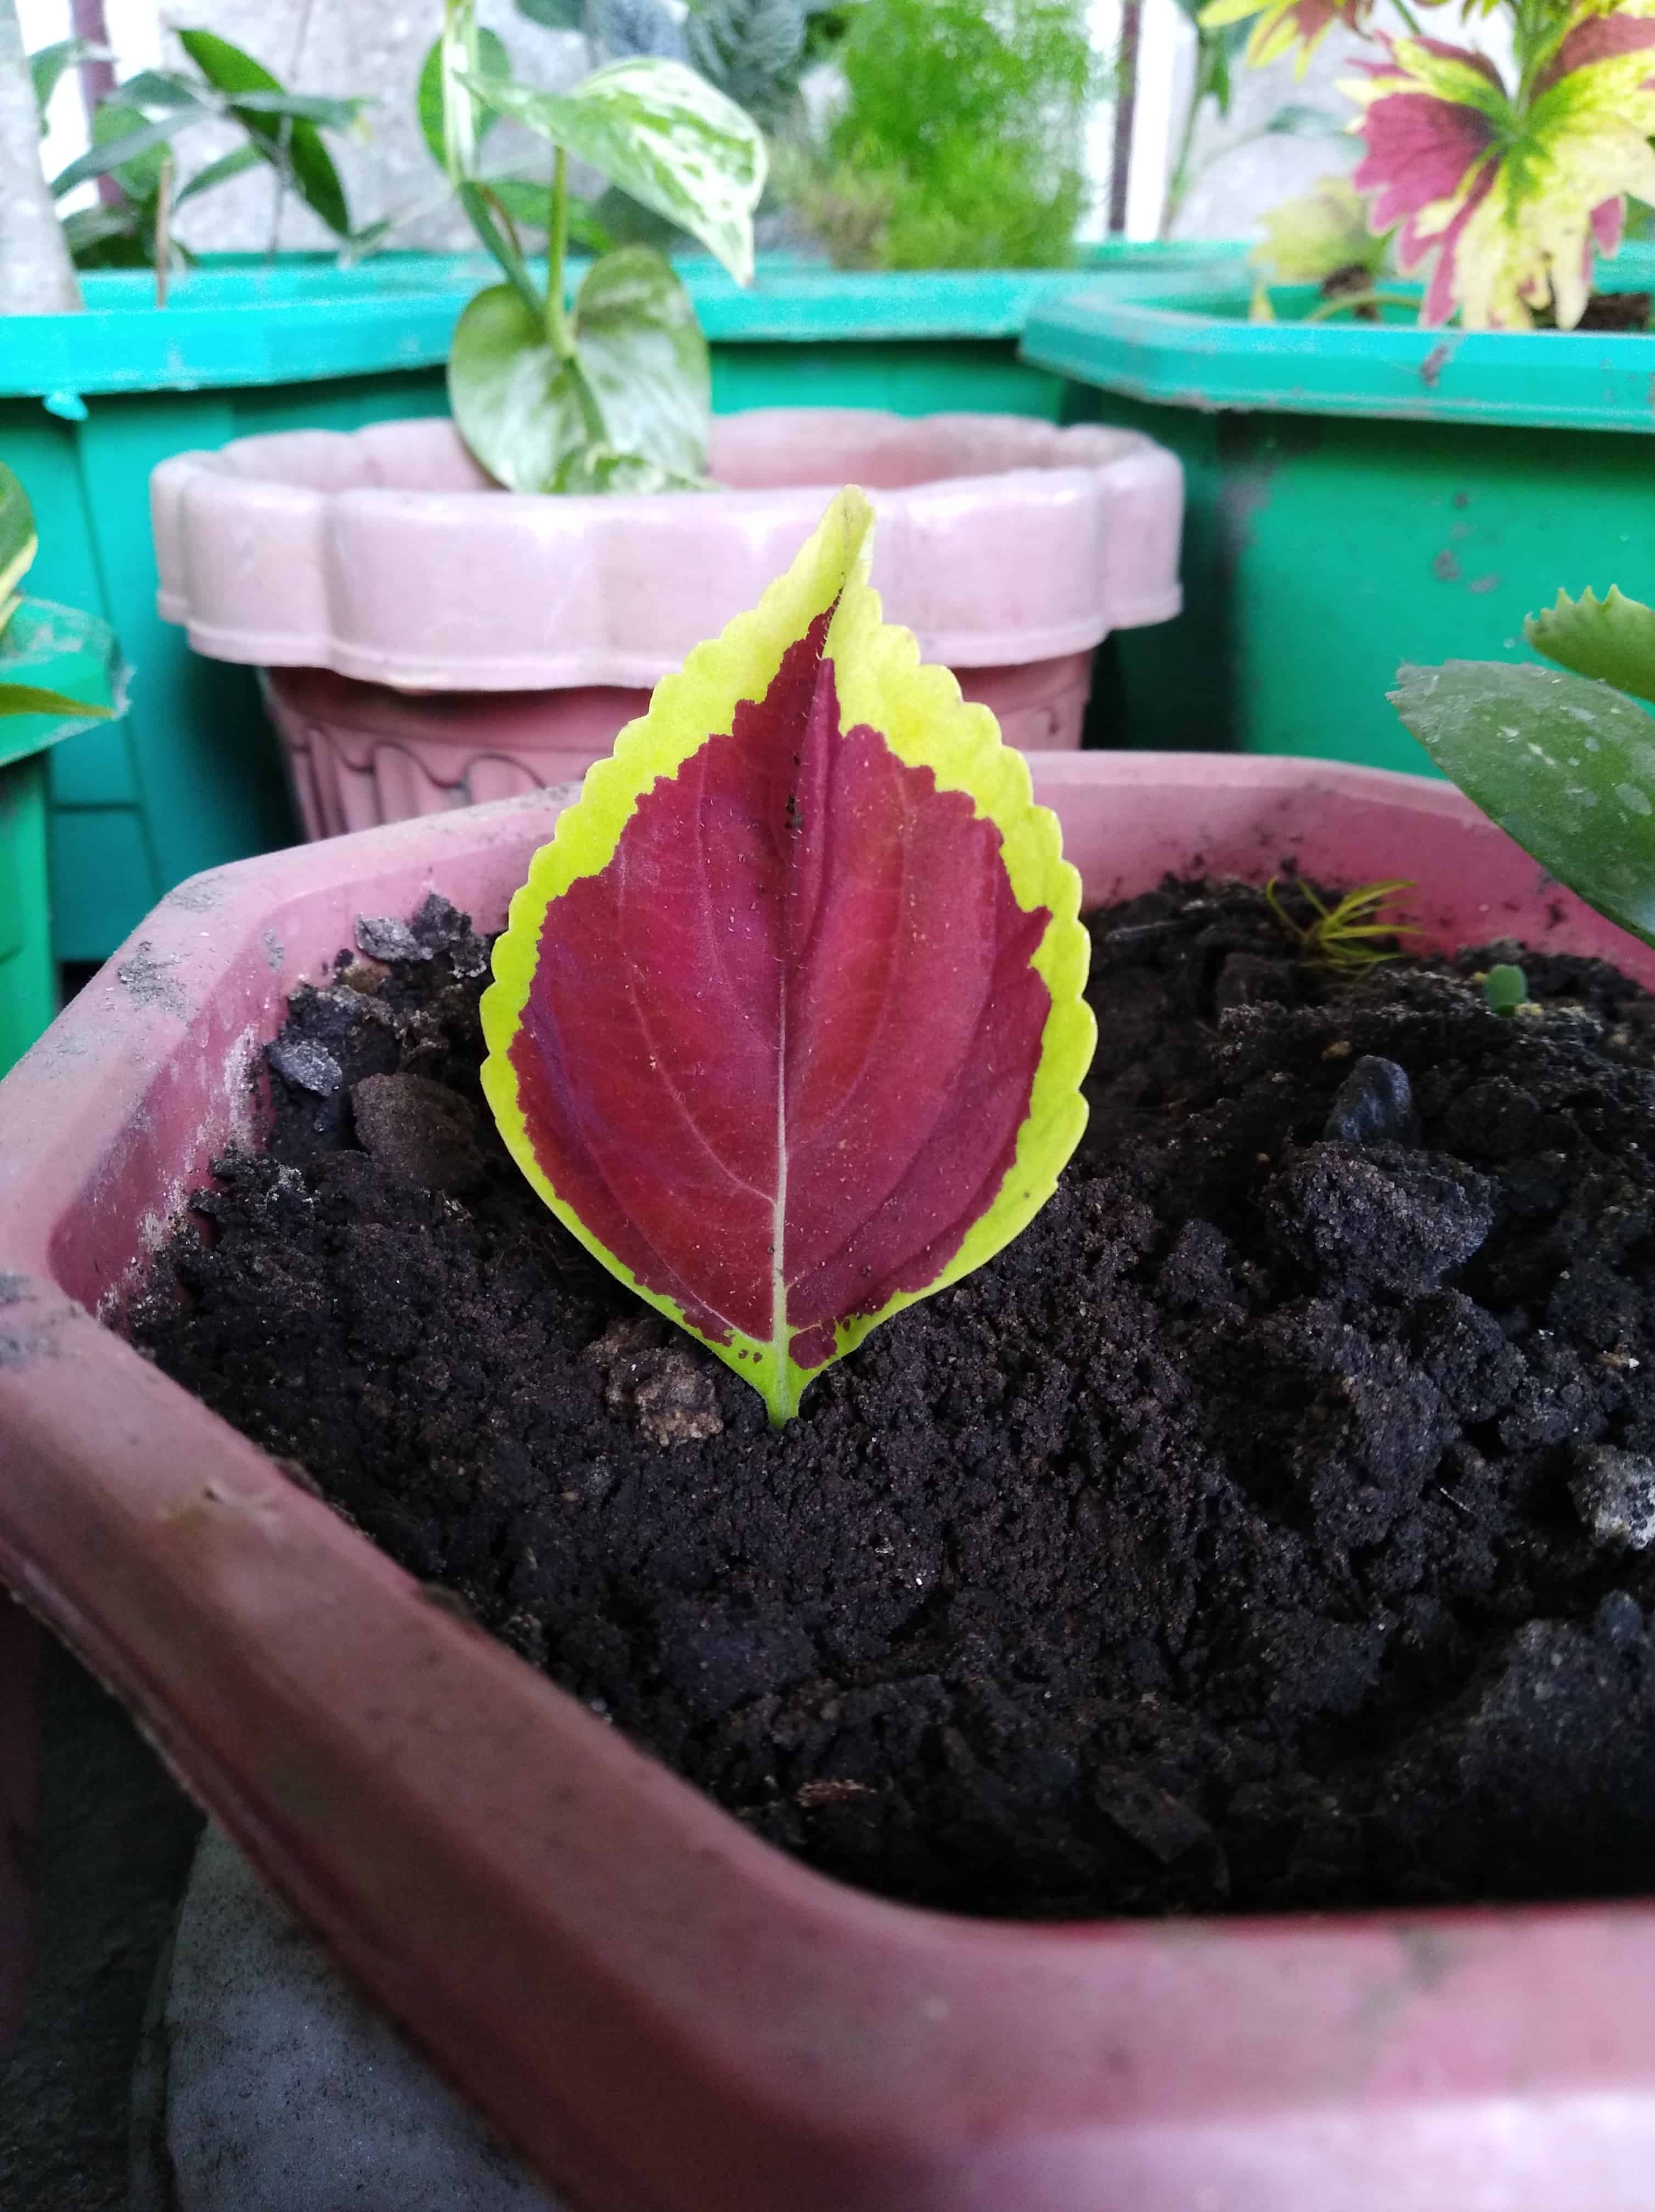
2. Place this leaf vertically into moist potting soil. Alternatively, you can place it in a water medium first to grow its roots before putting it into potting soil. Note: Make sure the leaf is not touching the soil.
Special Note: For Snake plants, you can cut the leaf into two to three sections and stick this vertically into the soil. However, ensure that you place them correctly. Whichever the bottom part of the leaf is, that should be the one buried an inch deep in the soil. The roots will grow from this end so make sure you place them right side up in whatever direction they were growing originally.
Here are a few plants you can propagate using this technique:
- Echeveria
- Begonia
- Pothos
- Wandering Jew
- Jade Plant
- ZZ plant
From root cuttings
This is not a popular option to propagate your houseplants because it requires removing your plant from its pot and snipping off its roots. Brutal, I know, but someone has to do it. A good time for when you should do this is during fall to winter when the plant is in a dormant stage. If you do this any other time, I guarantee your plant will hold a grudge against you. Here are the steps on how to do a root cutting propagation:
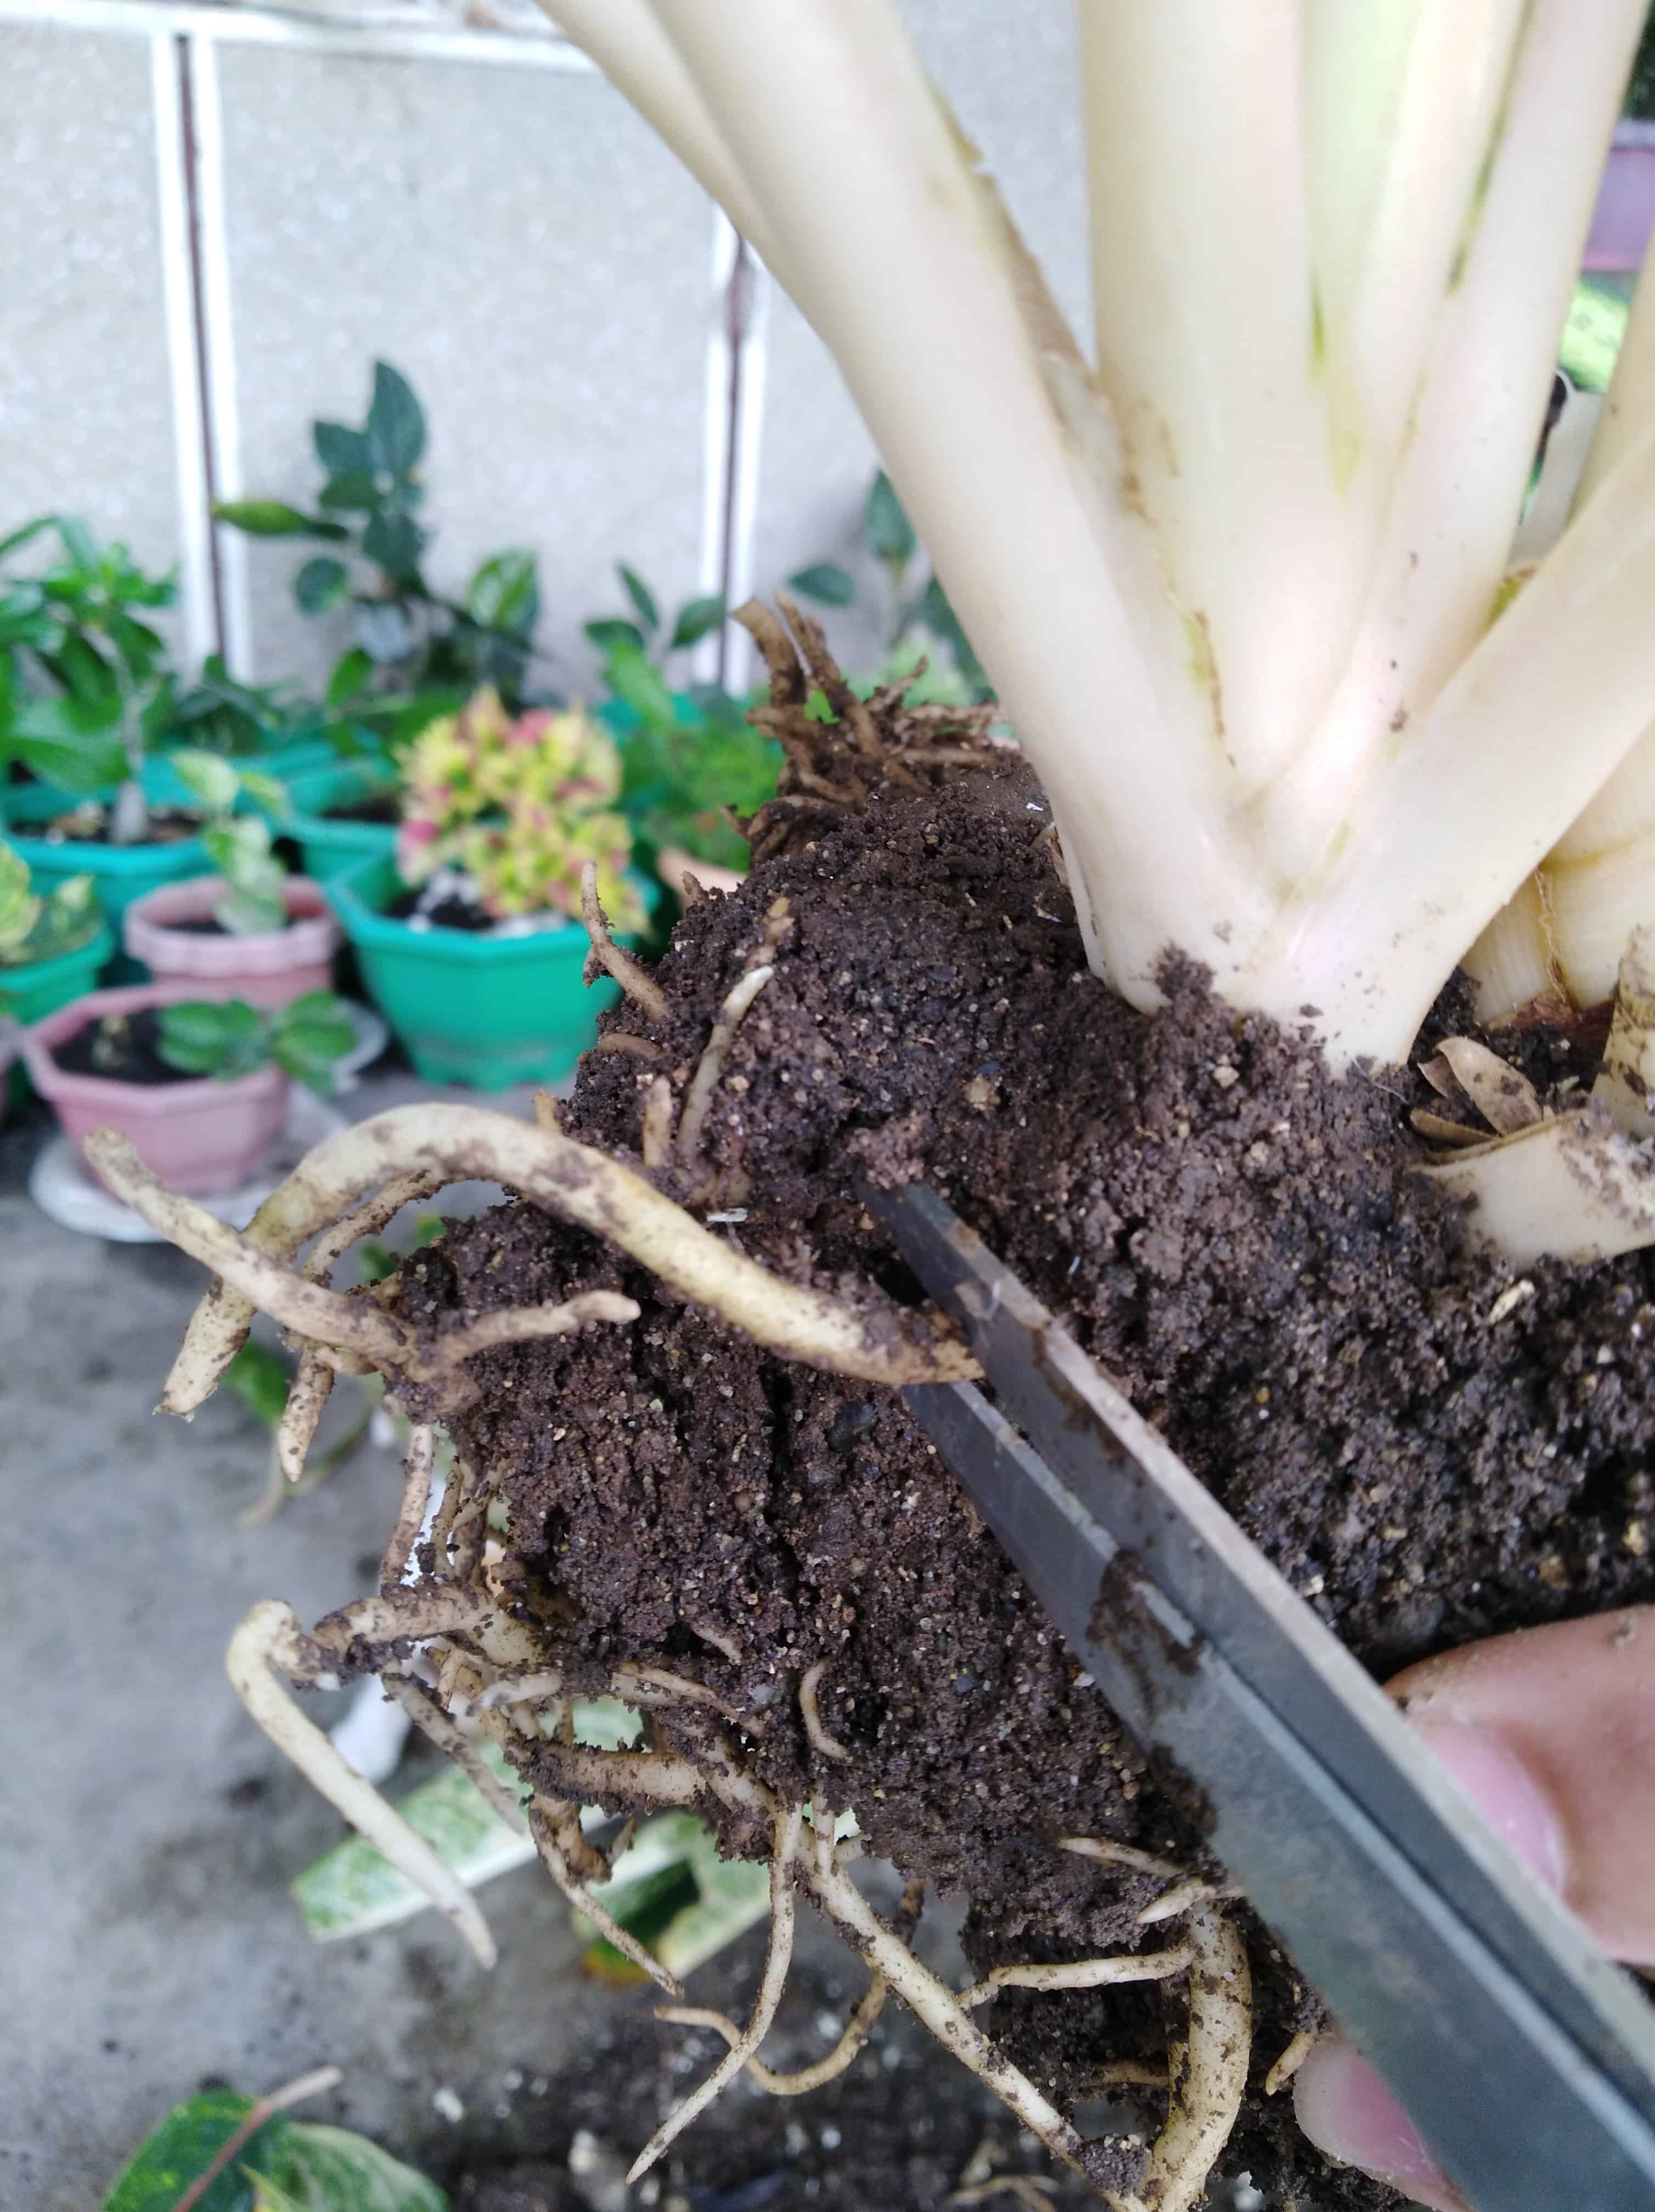
1. Remove the plant from its pot and look at its roots:
a. If it has large roots, take about 2-6 inches in size.
b. If it has small roots, take about 1-2 inches in size.
Remember where the top and bottom portions of the roots are.
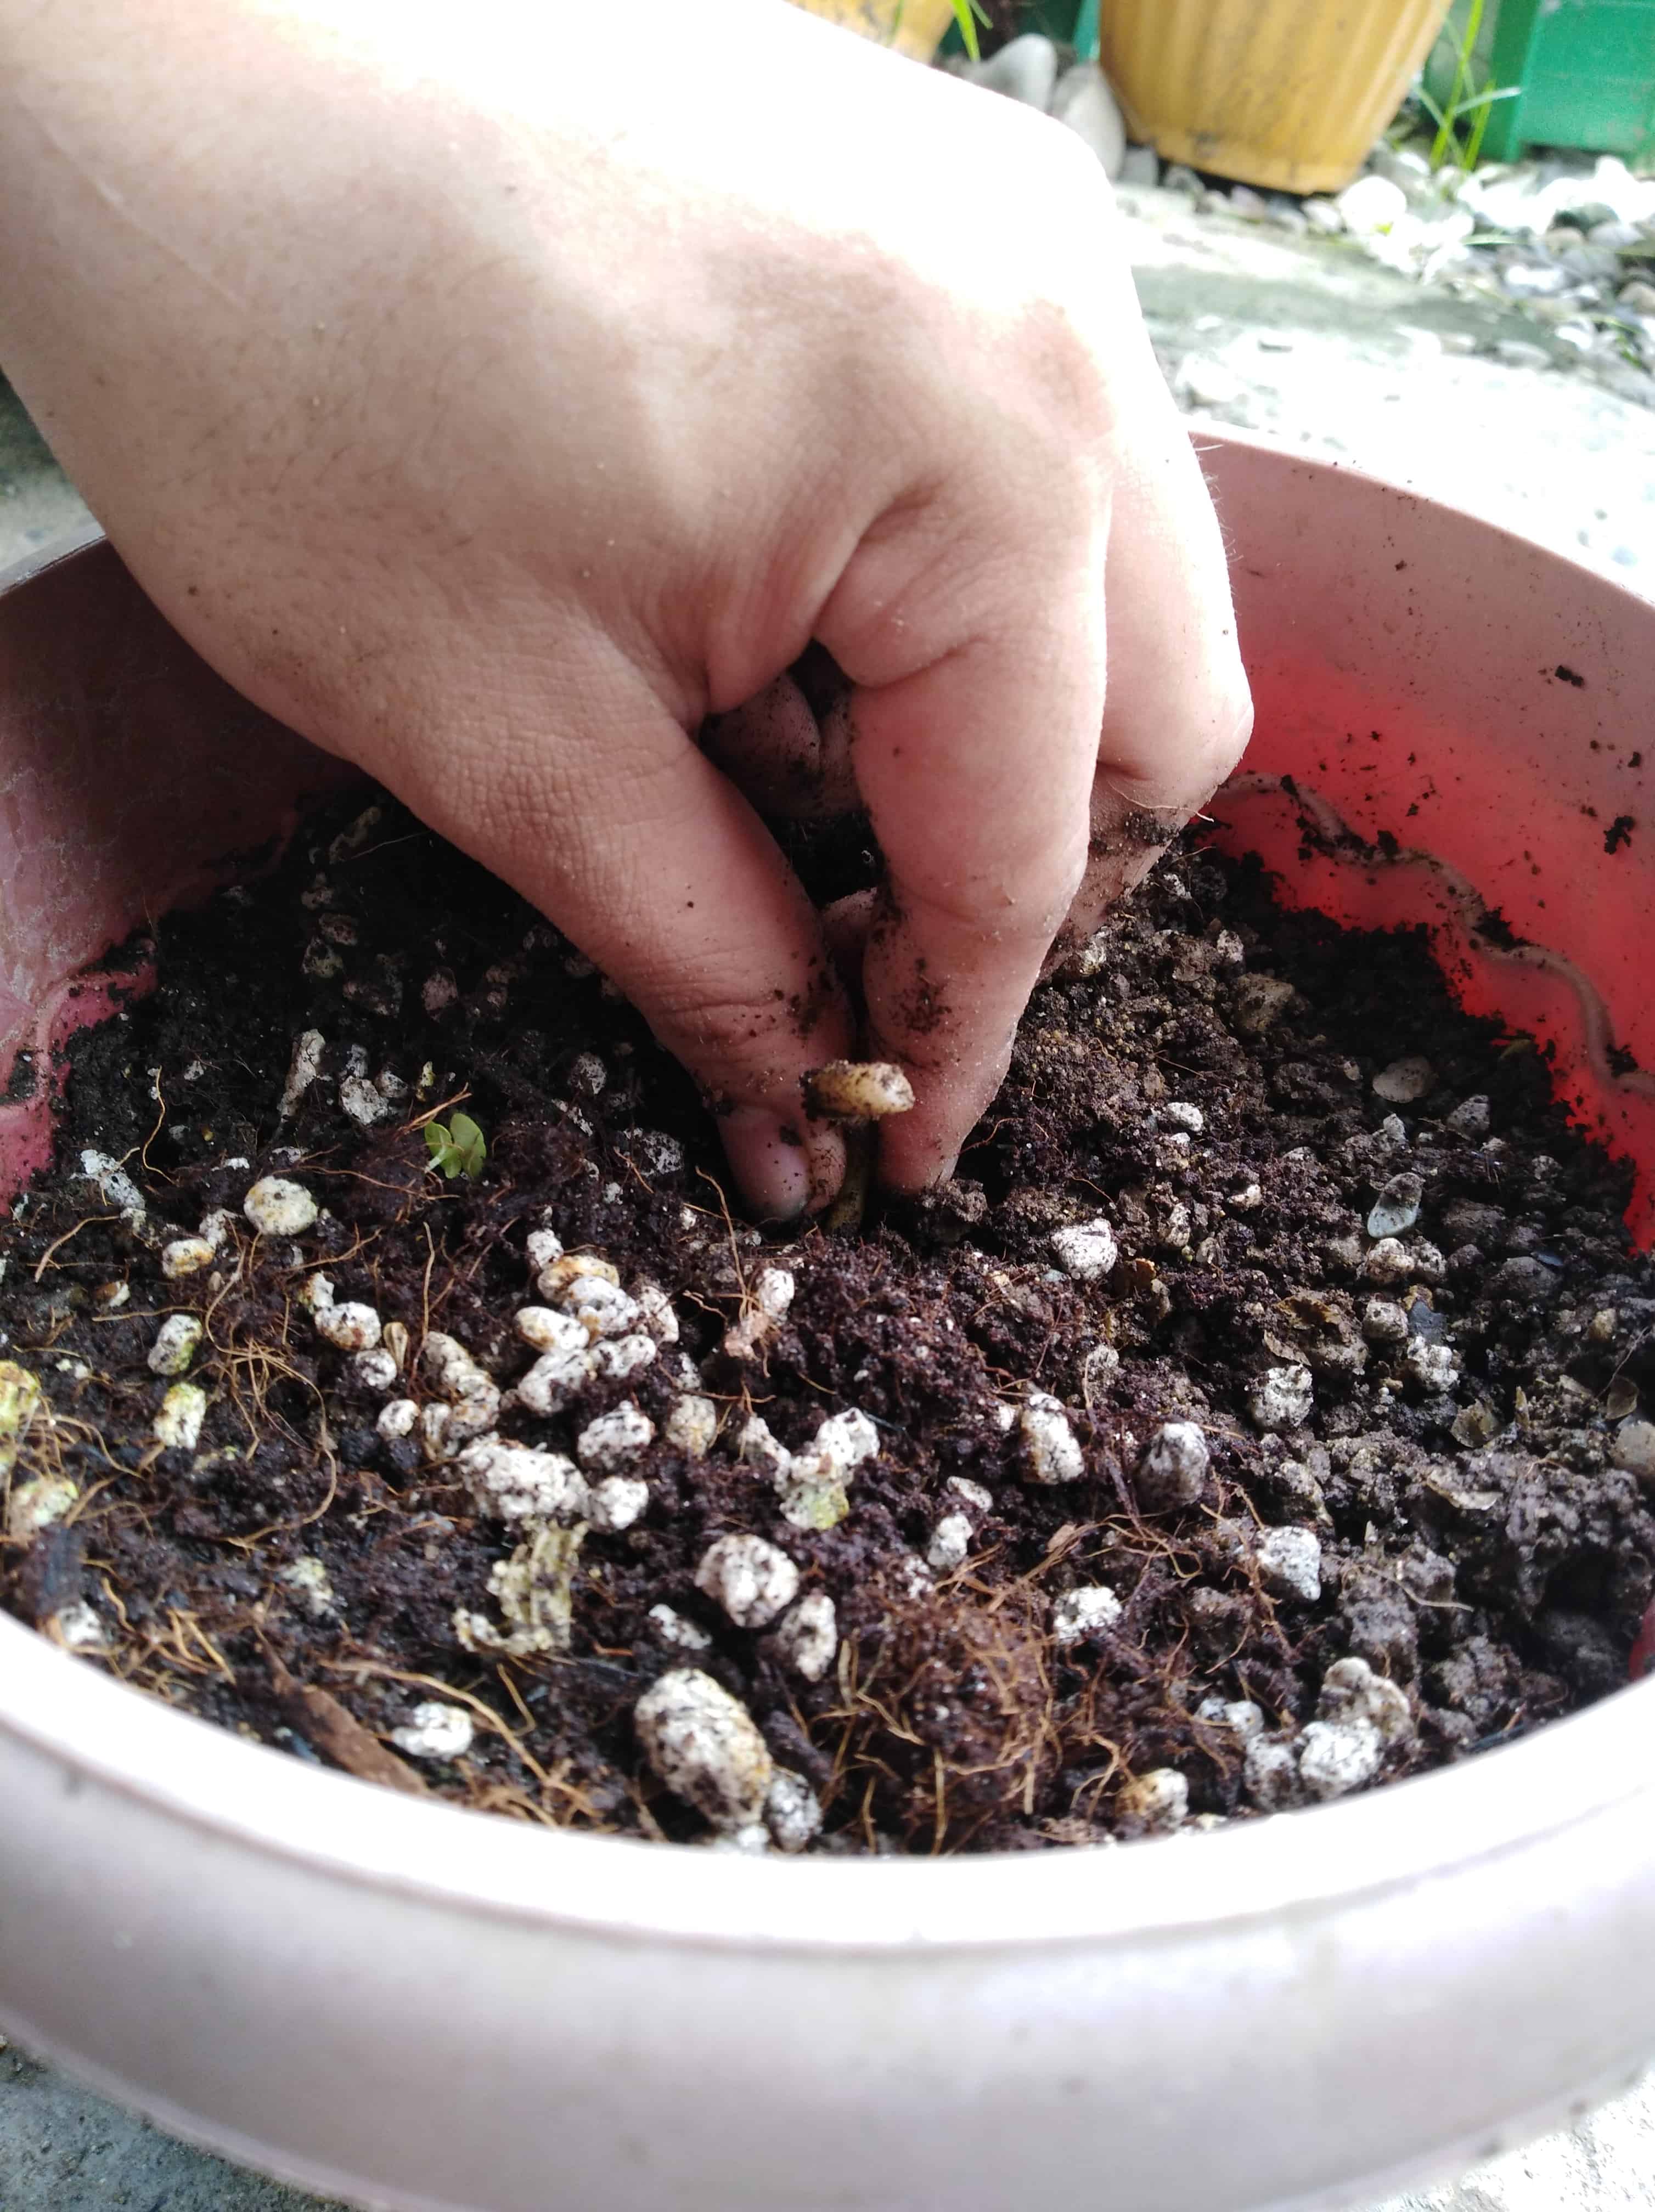
2. Plant the large roots spaced apart from each other in a new pot together. Ensure that it is planted in the right way up.
For the small roots, it’s better to plant them in a tray. Lay it on top of the soil and lightly cover it with a bit more soil. I recommend covering the tray with a plastic bag to increase humidity.
Once you can see shoots sprouting up, introduce the seedlings to more light. Grow lights would be better for them at this stage until they are big enough to be transplanted into their own pots.
Air layering
If you’re too scared to maim your gorgeous parent plant because you’re not confident with your propagating skills, air layering is a great way to go about it before committing to cutting off a part of your plant. The idea is that you’re going to try to grow roots on the nodes of the parent plant first before attempting to permanently cut any section of the parent plant yet. It’s a good failsafe in case no roots do grow at all, which means you are not destroying your plant’s beauty because of it. Here’s how you can go about doing that:
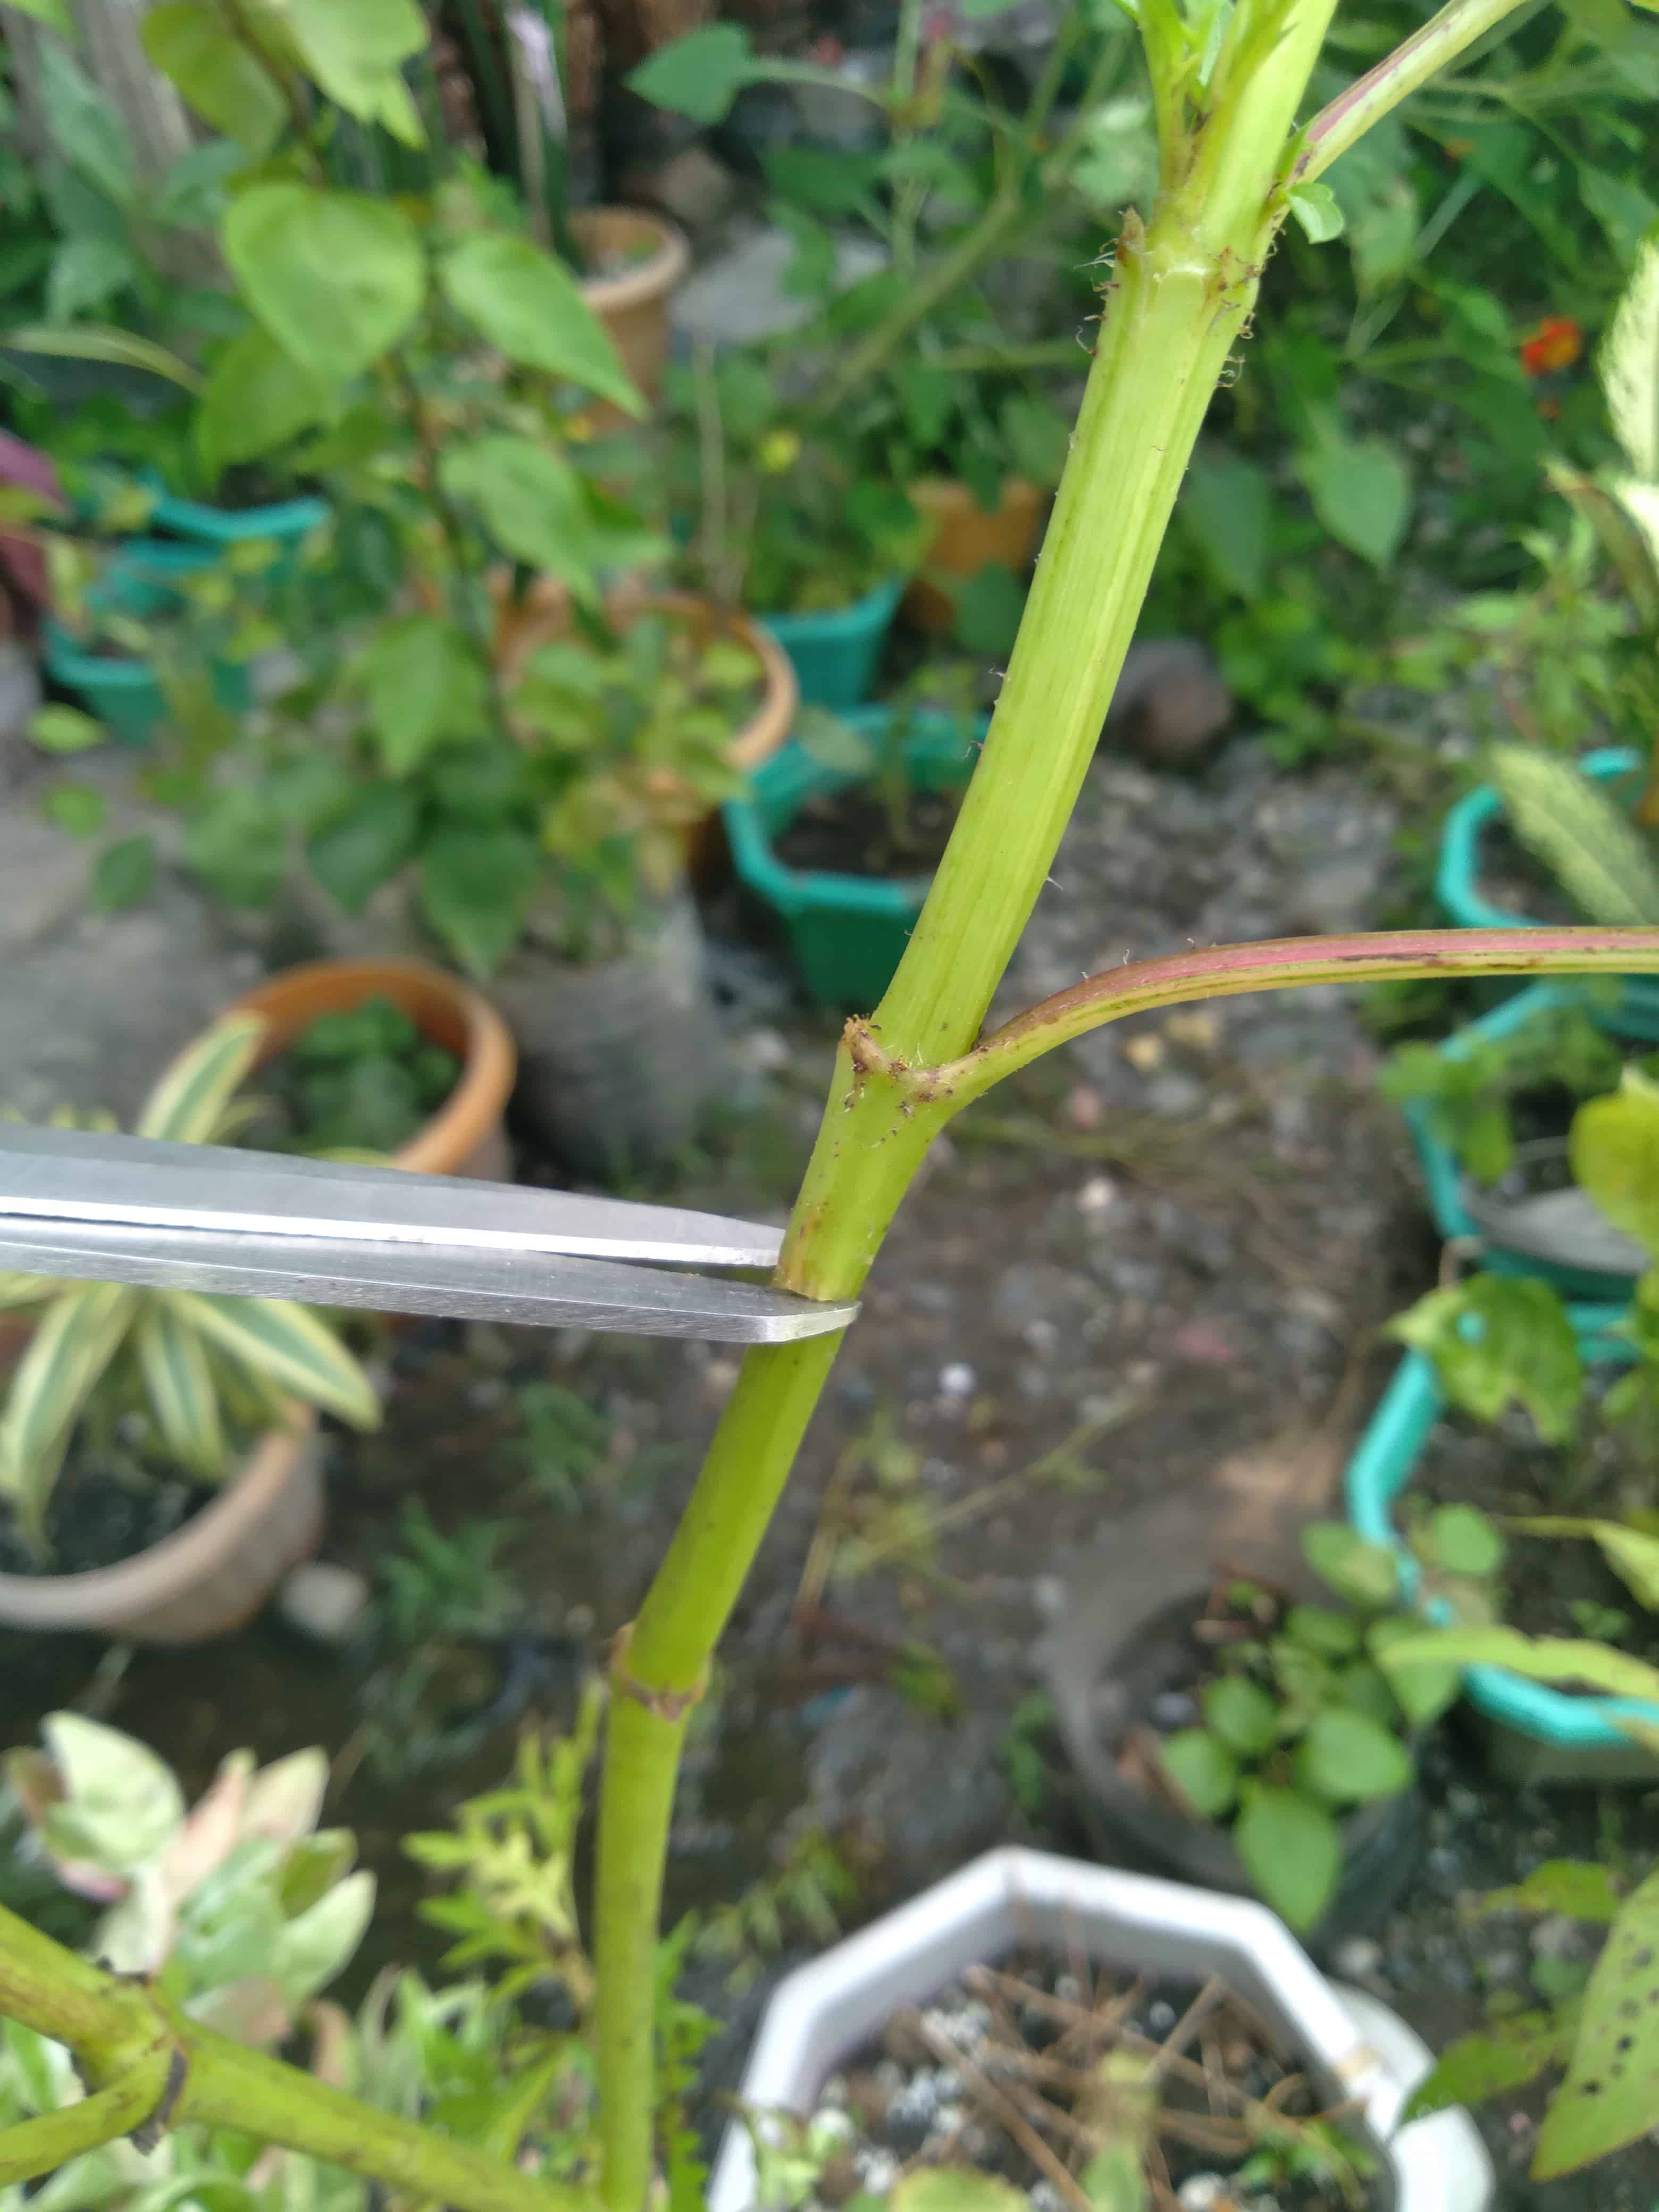
1. Locate the nodes on your plant’s stem. Make a slight cut just below this node, enough to expose an open section.
Note: If it’s a particularly woody stem or a cane, use a toothpick to keep the cut section exposed.
Optional: place rooting hormone gel on this open section. I recommend using this Quick Clone Gel on Amazon to get you started. If you’re using powder, wet the exposed area first before applying.
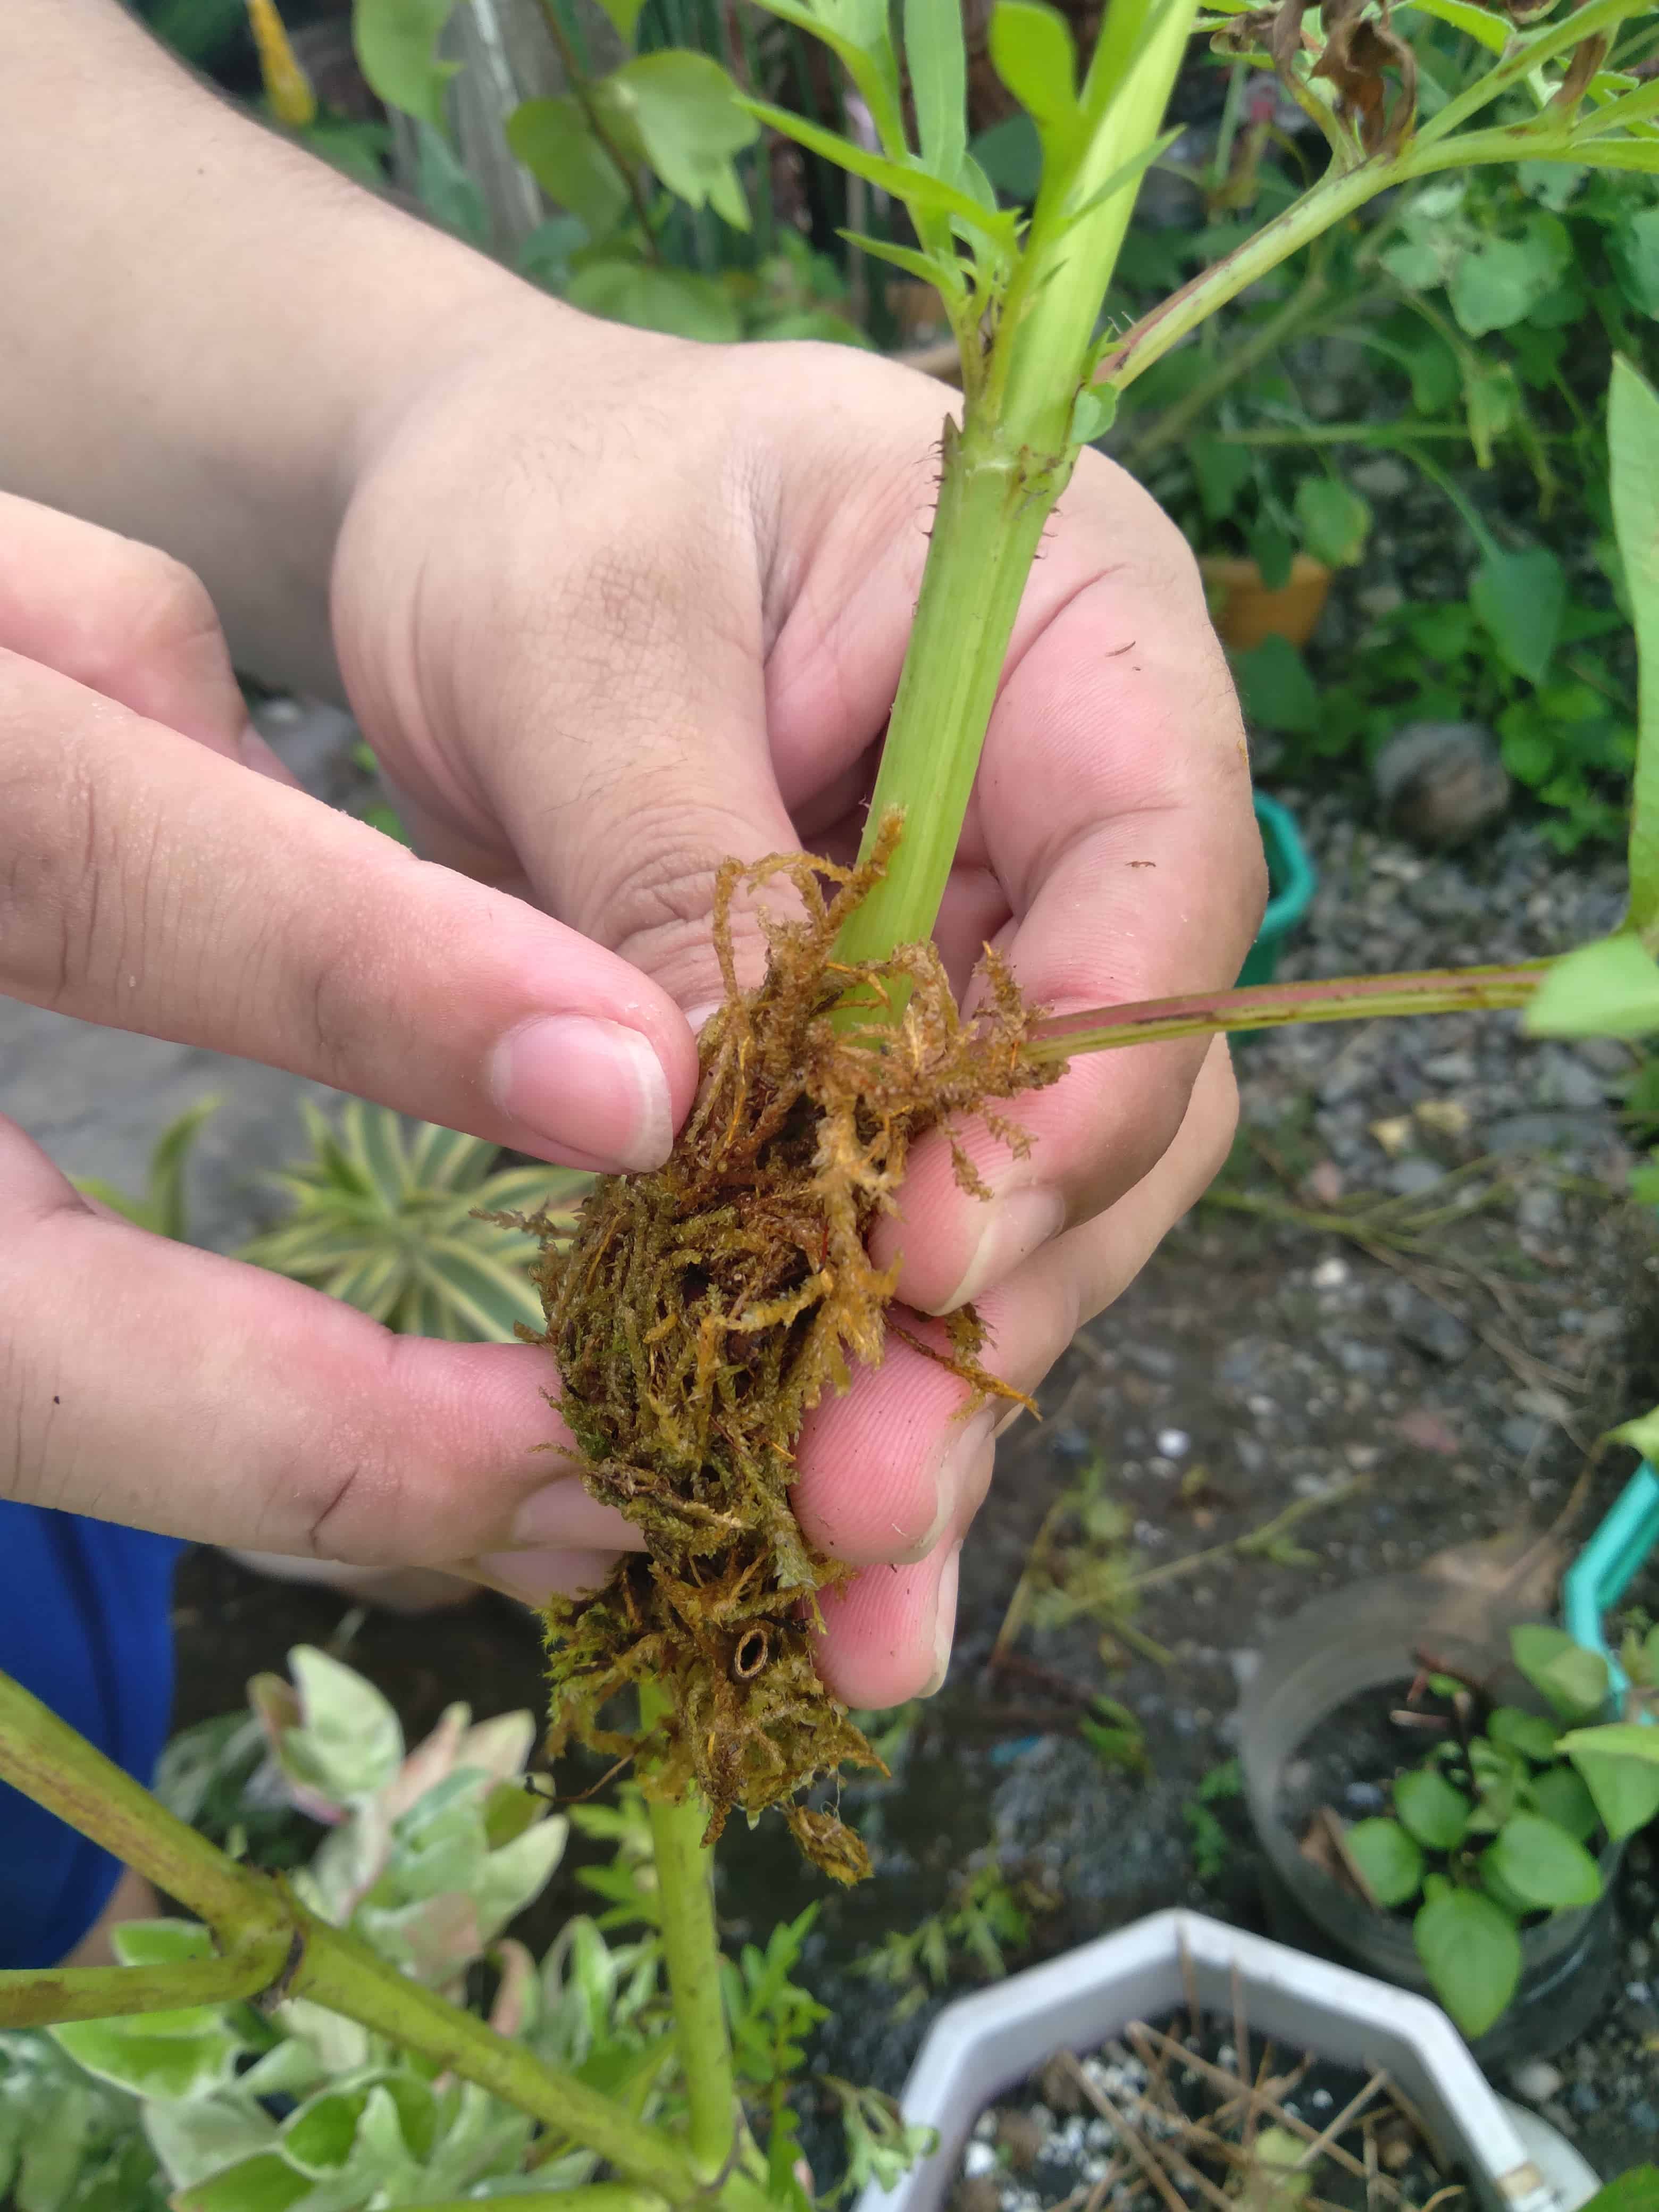
2. Wrap moist sphagnum moss around this cut section.
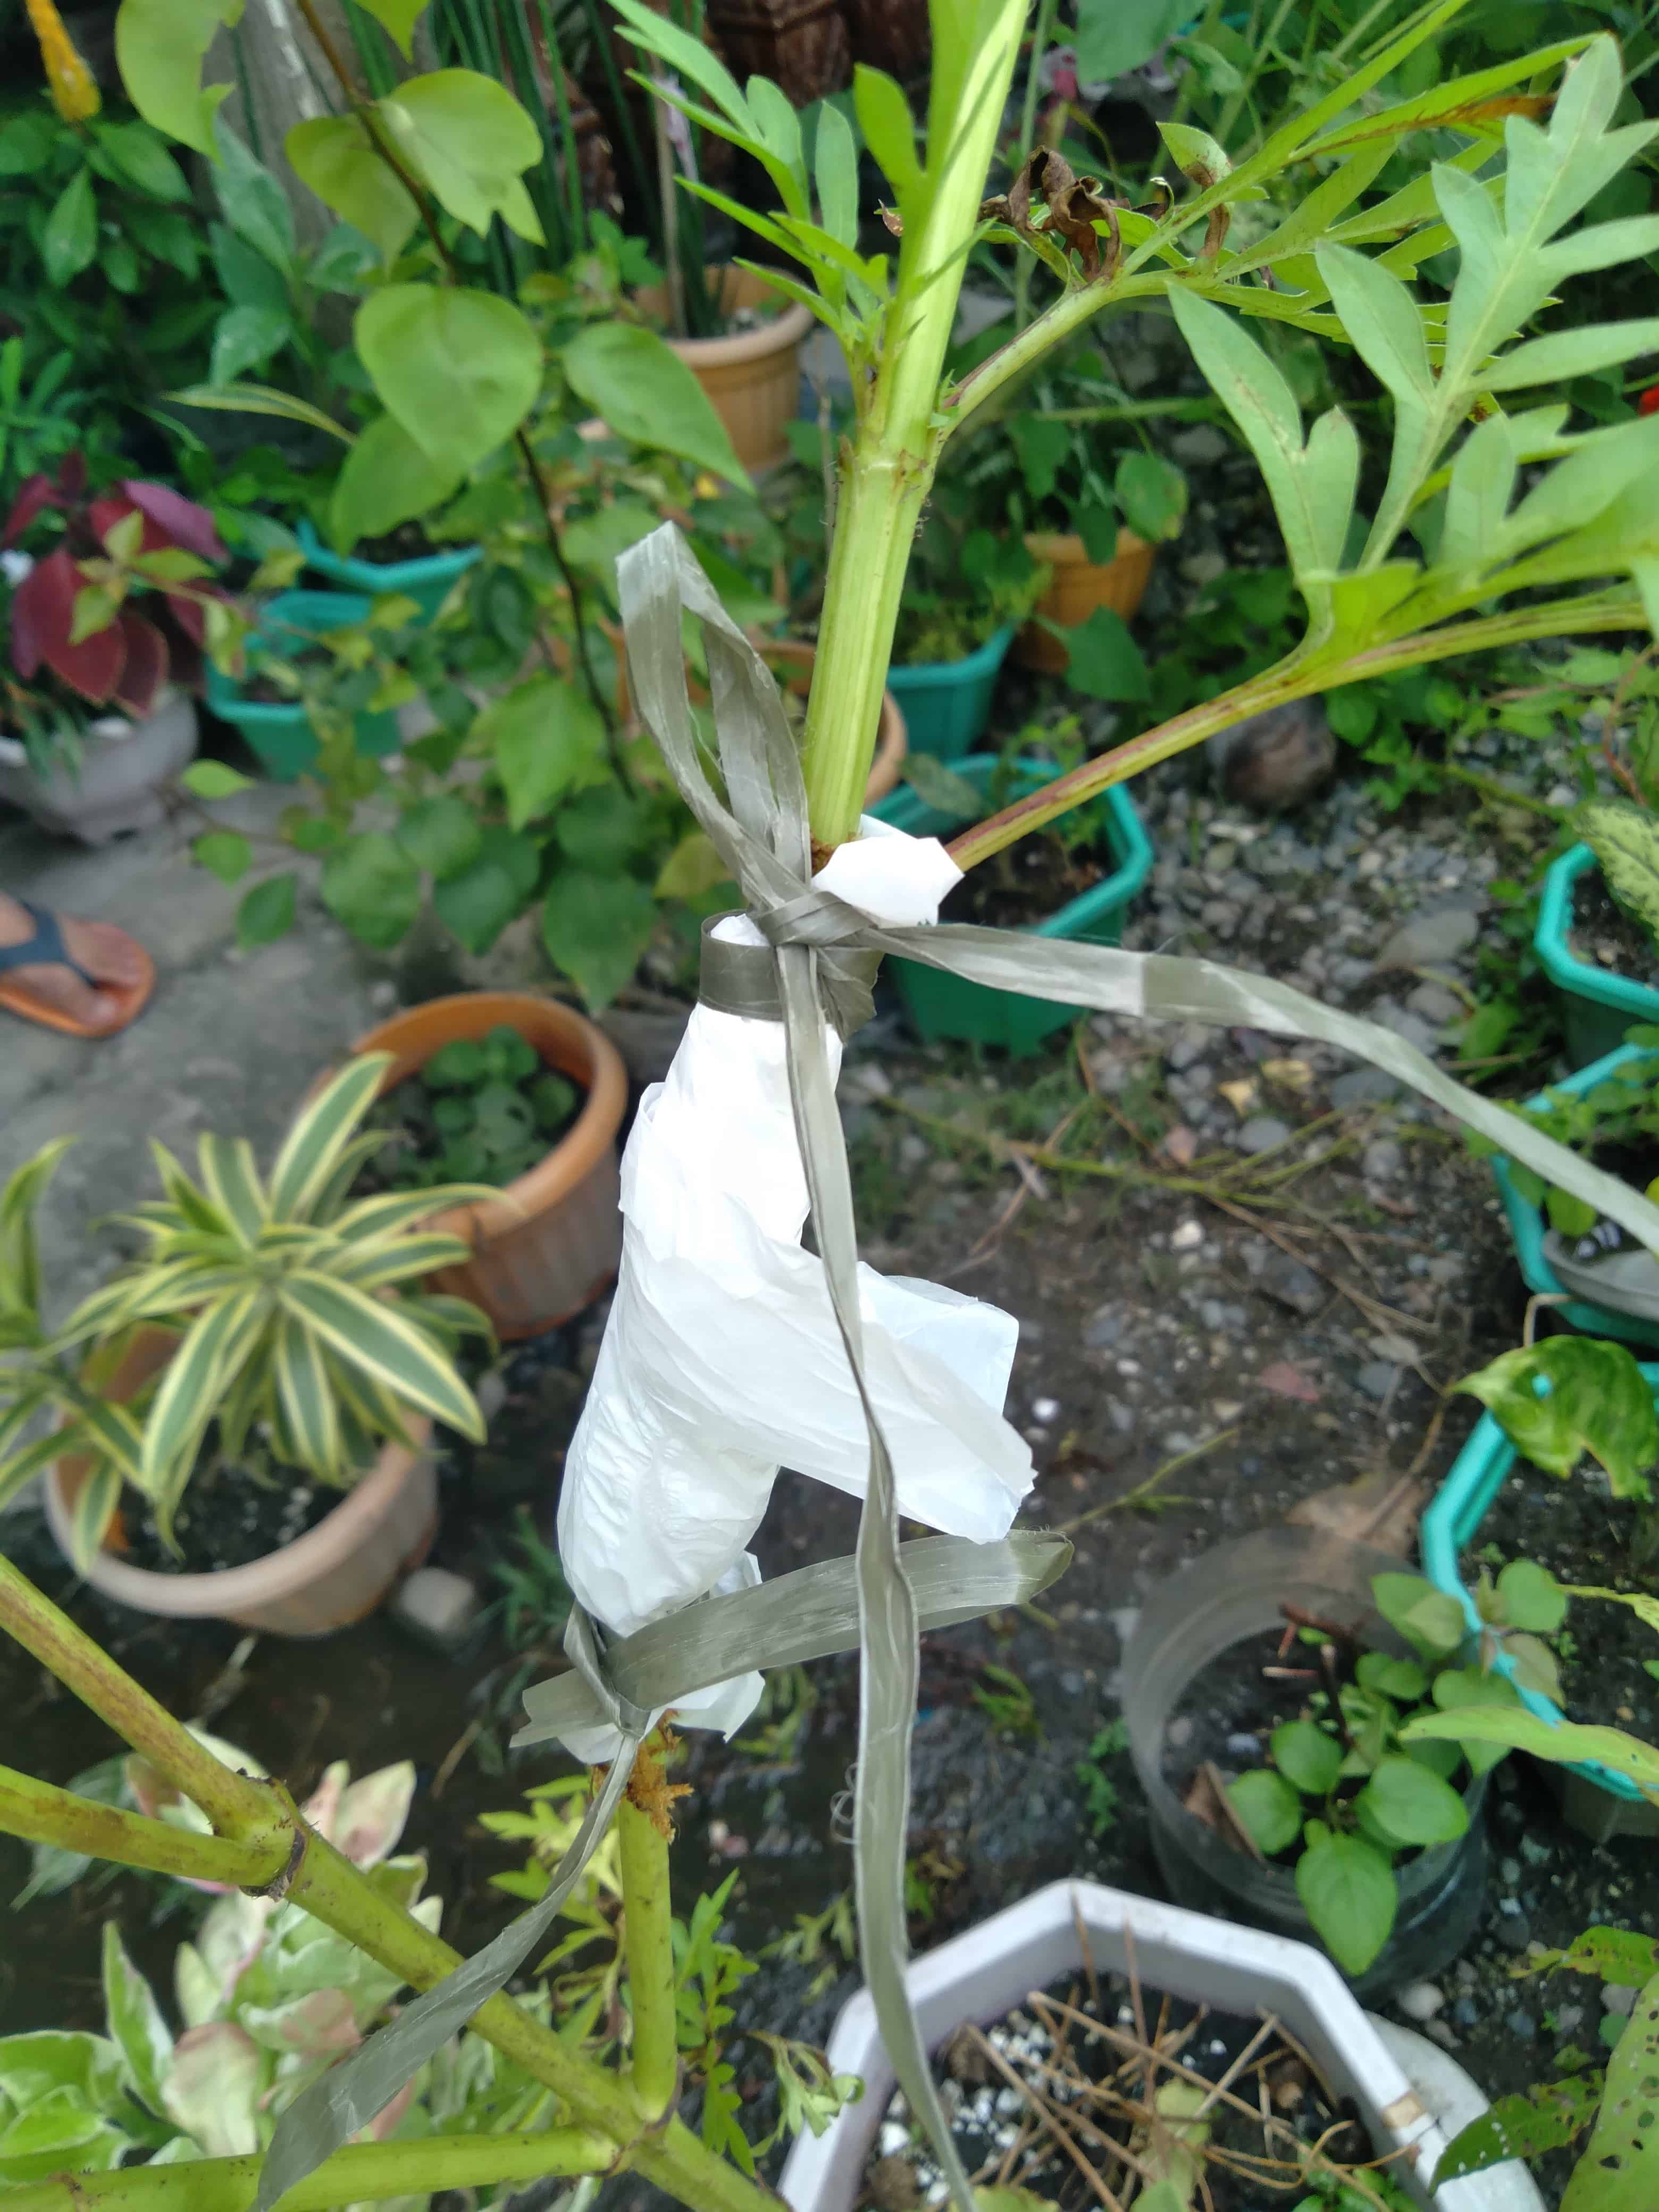
3. Cover this moss with plastic and secure it with zip ties, wire twists, or plastic twine.
Check the cut section every other day to see if any roots have grown and keep the sphagnum moss moist by misting it daily. Once there are strong roots, cut the stem a few inches below the rooted section and place it in a pot, covering the roots entirely with soil. Don’t worry about the mother plant, it will grow new leaves on its cut ends.
It’s worth noting that this method does not work for every plant so if no roots have grown, then snip the cut ends off completely and try another method.
For vining succulent houseplant, you can try rooting the plant while it is still attached to the parent plant without slicing the stem open (Note: This does not work with all vining houseplants, but it’s worth giving it a try if you’d like since you’re not cutting anything in the first place):
- Locate where the nodes are on the stem.
- Remove some leaves from the stem.
- Place the node down into moist potting soil, making sure to cover it with a bit more soil.
- Mist the soil constantly to ensure it stays damp.
- Check every other day to see if the nodes have taken root in the soil. If it does, cut the stem off from the parent plant.
From seeds
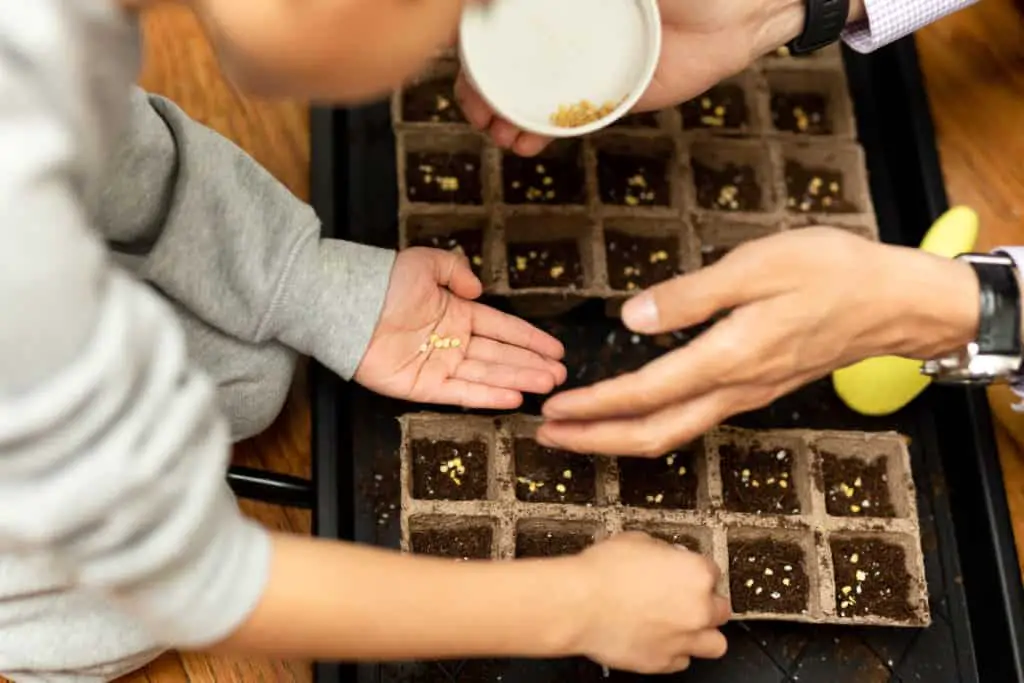
This is usually typical of annual flowers that produce seeds rather than foliage houseplants. The process is similar to that of growing any other seeds from scratch:
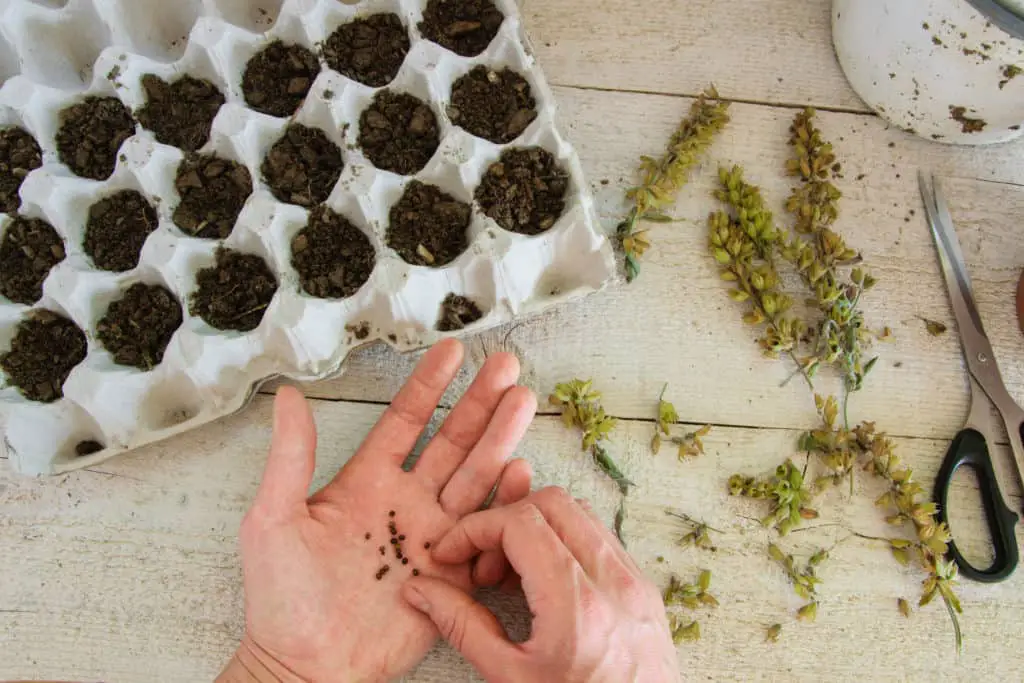
1. Sprinkle the seeds on moist potting mix or soil in a tray. Don’t overcrowd the seeds in one area, and make sure they are evenly distributed.
For large seeds, you can bury this in deeper. For small seeds, place them on top of the soil but press them down slightly, so they are in constant contact with the soil.
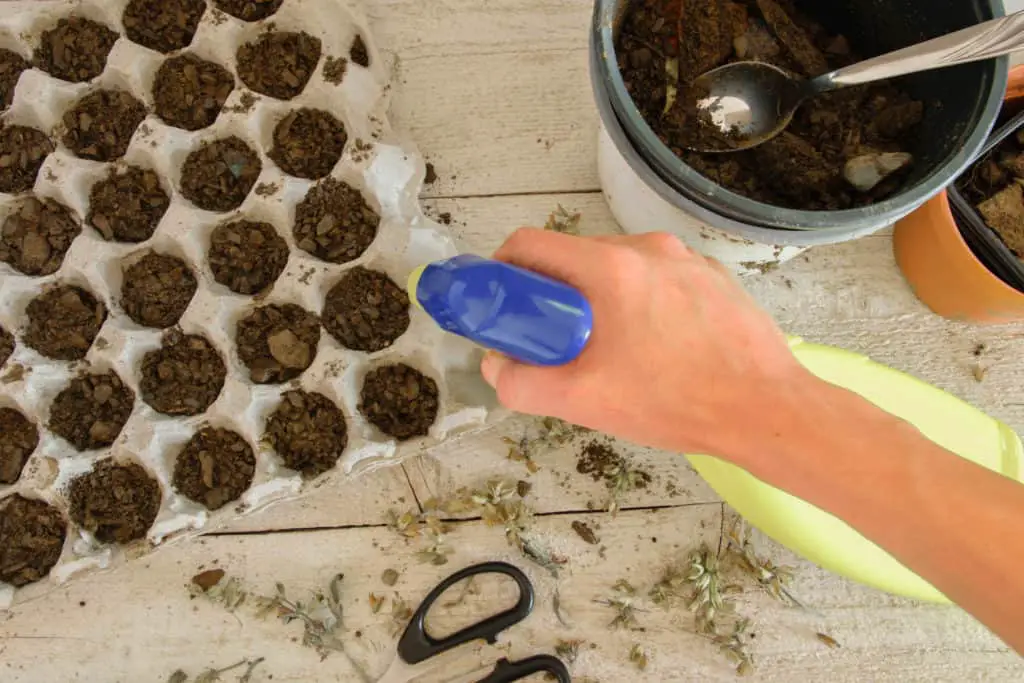
2. Mist these seeds daily to ensure a damp condition and cover them with a plastic bag. The increased humidity levels and warm environment from a heating pad will encourage them to grow faster.
When seeds have started sprouting, introduce the seedling to more light. Grow lights are safer for this since they are still quite vulnerable to harsher lights. Once they have grown more new leaves, then you can transplant each seedling into its own containers.
From spores
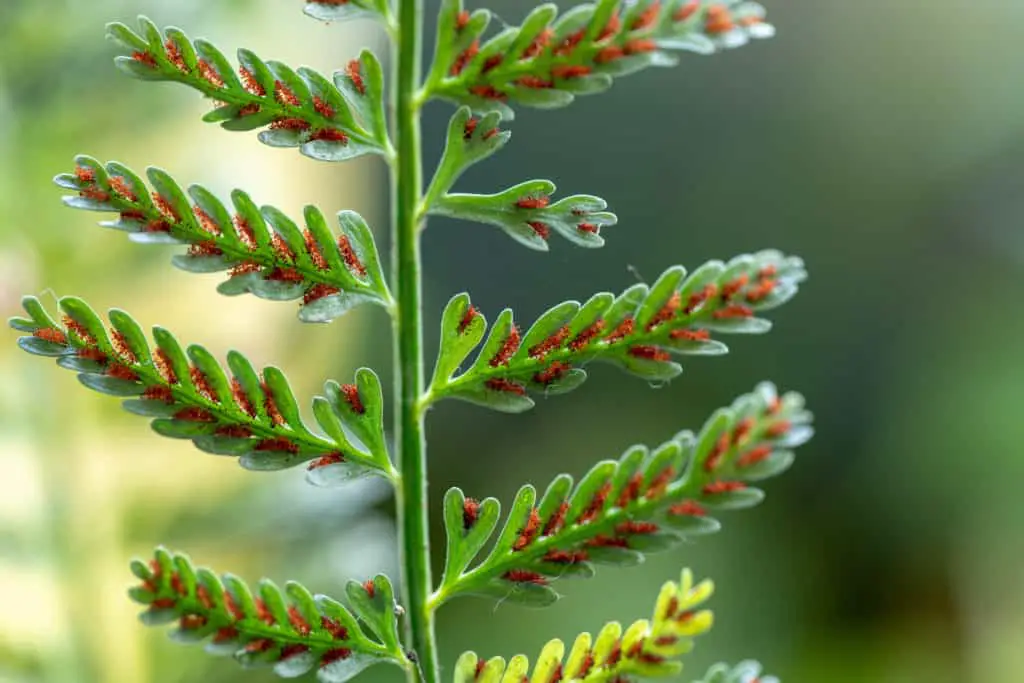
This particular method usually applies to fern houseplants only. On the underside of the fronds, there are small hairy, plump structures called sporangia that have the spores to grow into new ferns. Here’s how you can grow them: (Note: Use a mask when doing this)
- Locate the sporangia on the fronds and place them in a plastic bag.
- Shake the plastic bag vigorously until you see spores settling at the bottom of the bag. (Note: If you don’t see any, there’s a chance you picked the fronds too early or late. Fertilized fronds are usually dark brown or black in color, though some species can be golden or green.
- Sprinkle the spores onto moist potting soil in a seed tray. Ensure to cover it with a plastic bag to increase humidity levels and keep away from direct sun.
- If you see green slime growing on the soil, then that means it is working. Later on, you will notice baby ferns growing on this green film.
Post-propagation checklist:
Arguably, the hardest part is not the propagation process but rather the end result of it. Not all propagates have a 100% guarantee to survive outside of their parent plant’s embrace, but there are a few ways you can ensure it pulls through:
- Increase its surrounding humidity levels. The roots are still developing in the beginning so watering the soil is very risky. High humidity can compensate for this instead. You can choose to wrap the pot in a plastic bag with small wooden support in the soil. This little trick helps to prevent the bag from collapsing on the plant. Alternatively, you can off a bottle or jug and use this to cover the plant, but make sure to keep the lid on. If you don’t notice any fogging inside, mist the plant daily to help it out.
- Do not water the offspring until it has taken root. Again, you don’t want the tiny plant to drown when it’s barely getting started in its new home. Only water the plant once when first transferred to its new pot to settle and saturate the soil. Any more times than that, and it is good as gone.
- Keep the offspring in a warm place. It’s helpful to use heating pads for this, but I only recommend getting it if you’re big on propagating or germinating seeds. The extra warmth through the soil helps the fun-sized plant develop its roots faster. Too cold, and it will grow ever so slow and too warm, you are roasting your plant.
- Avoid direct sunlight. Obviously, you don’t want to roast your plant this way. The offspring is focusing all its energy on growing roots now, so blasting it with heat rays is just all-around bad. Let it grow, my dude.
- Don’t transplant the offspring until it has a stable root system. Now, you can usually check by slightly tugging the baby plant by the stem’s base. If there is even the slightest of resistance, congratulations! Your baby plant has taken root. The duration of roots developing varies between plants – some can take days, some months. So keep a special eye on your propagates and check if it has stable roots every week.
- Gradually introduce the rooted offspring to normal conditions. Normal conditions mean a brighter spot with more indirect sunlight, open air, and a bit more water. You want to toughen up this plant slowly; otherwise, it will depend on its baby plastic bag room forever. So do it slowly, one day at a time.
- Start fertilizing the yay-high plant when it has grown new leaves. Don’t count the leaves it had when it was propagated, but take note of the new leaves that come in after it has settled in its new home. You can choose to give it fertilizer at this stage to boost its growth. Although I personally don’t recommend this, given how easily young plants can ‘burn’ from fertilizer application.
And that’s all there is to it! All the best with your propagates, you can do it





Leave a Reply