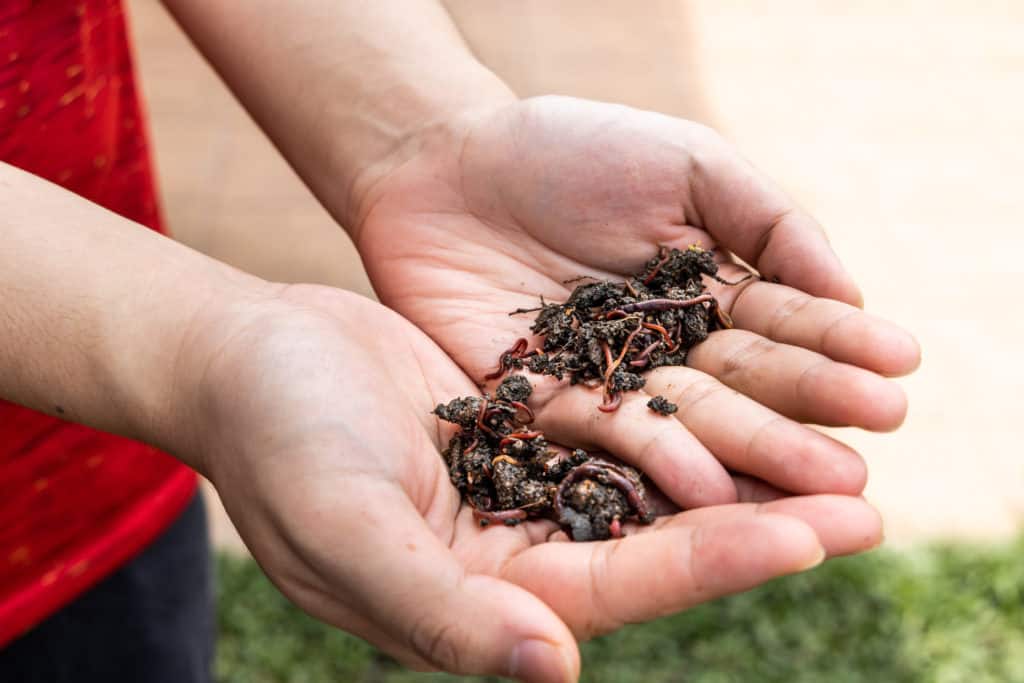
How tough is vermicomposting? Well, it’s so easy a kid could do it, two very smart kids, to be exact! Jacks of many trades, you will find Will and his sister Alyssa are karate practitioners, singers, and worm/bug enthusiasts. These two are the perfect worm farmers for us to get some advice from, given the broad range of worm species in their care – Alabama Jumpers, Indian Blues, the most well-known (amongst the worming community) Red Wigglers, as well as the lesser-known but equally great composting worm – the European Nightcrawler. Incredibly, Will (6 y.o.) and Alyssa (8 y.o.) may also be the youngest commercial worm farmers here in the United States!
Don’t feel like reading the whole article? Alright, a quick bit of advice from Will and Alyssa….
As a general rule, vermicomposting requires a shallow container, cardboard bedding, 50-70% moisture, 55-77°F temperature, airflow, and mushy/low acid fruits & veggies for food. Never overwater or overfeed your worms; for every 1000 worms you have, give them 1-2lb of food to eat.
Will’s Worms video on starting your own worm farm will go over most everything in this article. If you would like written instructions for quick reference of materials, processes, and troubleshooting, keep scrolling down.
Below is a detailed guide to get you started on your vermicomposting journey with some valuable tips to help you stay on course along the way.
(As an Amazon Associate, I earn from qualifying purchases.)
Here is What You Need to Get for Vermicomposting:
1. A Shallow Container with Air Holes:
Red Wigglers are not burrowers. Because of this, they are perfectly suited for 4-5″ deep containers. There are a ton of containers you can keep worms in; Will and Alyssa generously put together a nice little setup for me like this:
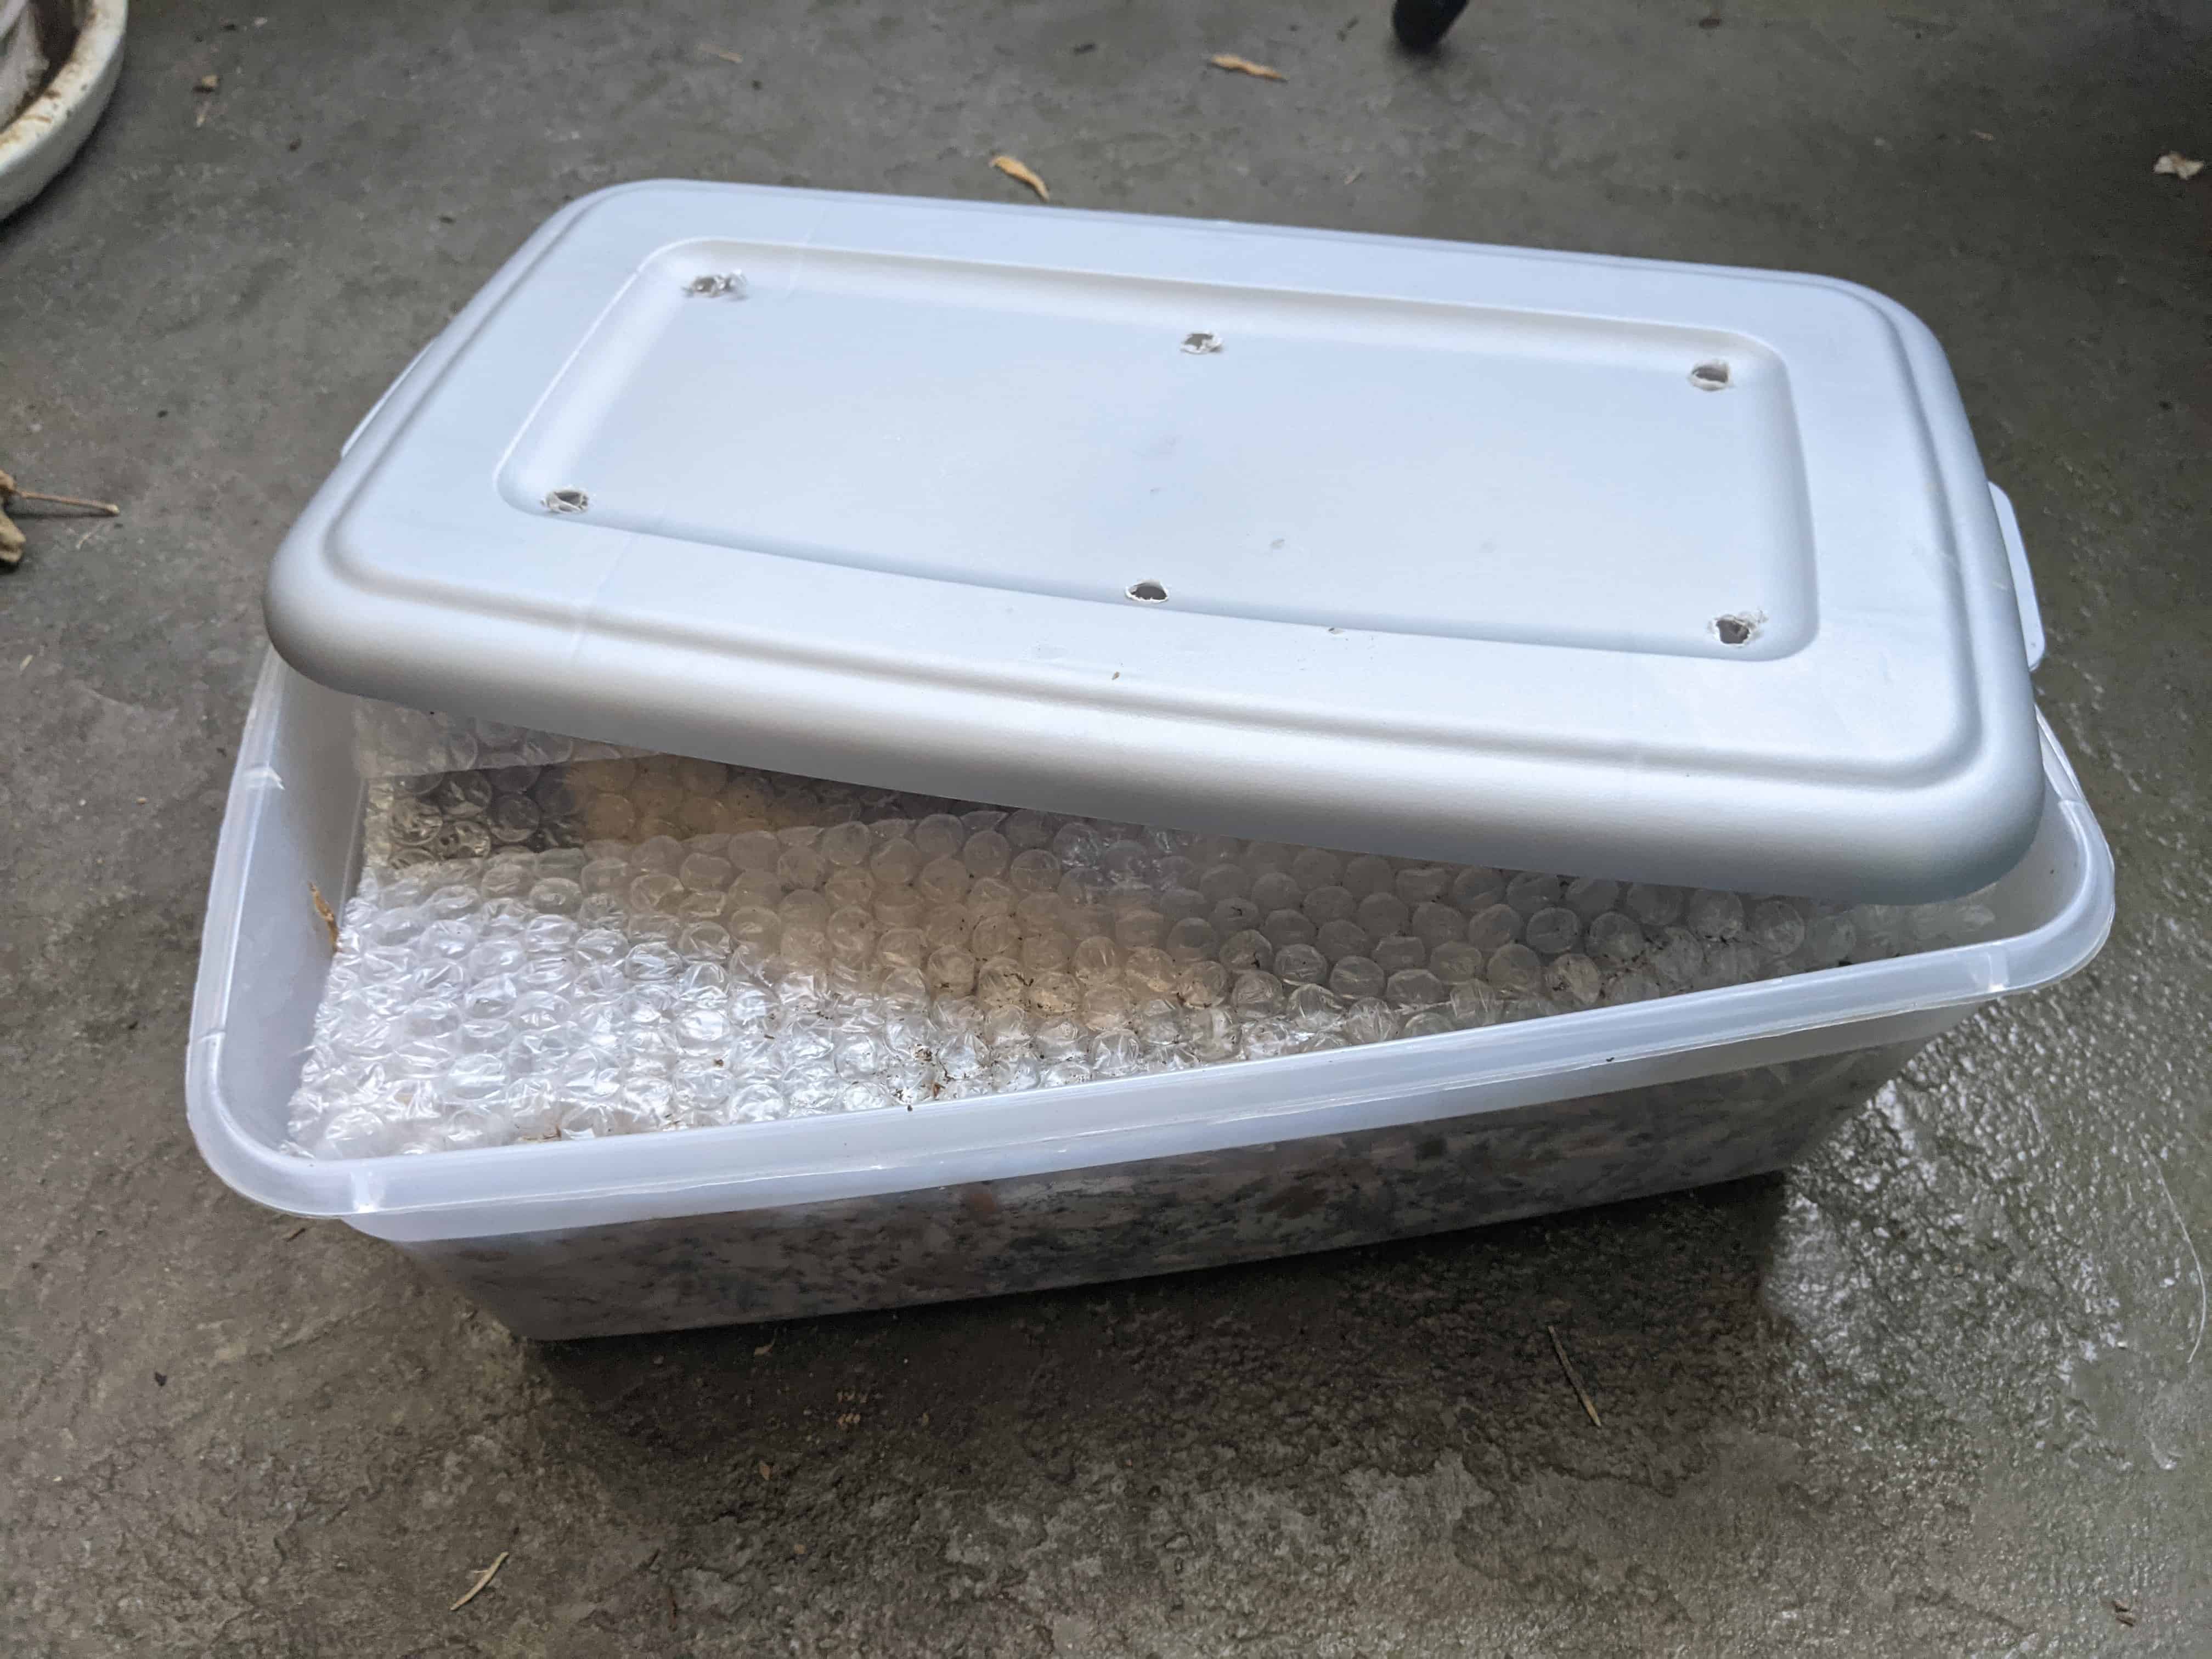
As you can see, this is nothing complicated. It’s an easy way to work on a worm farm without taking up a lot of space, which is perfect for me since I live in an apartment. This setup is simple to make by drilling holes in the lid of a shallow plastic container. You can also make the holes by using a sharp tool or Exacto knife to cut/punch out any shape or hole you desire. You then fill the container with bedding (mentioned a little lower in this article) and then use a sheet of plastic or bubble wrap like in the picture to keep the moisture in. Here is a good container on Amazon you can start with!
2. Worms:
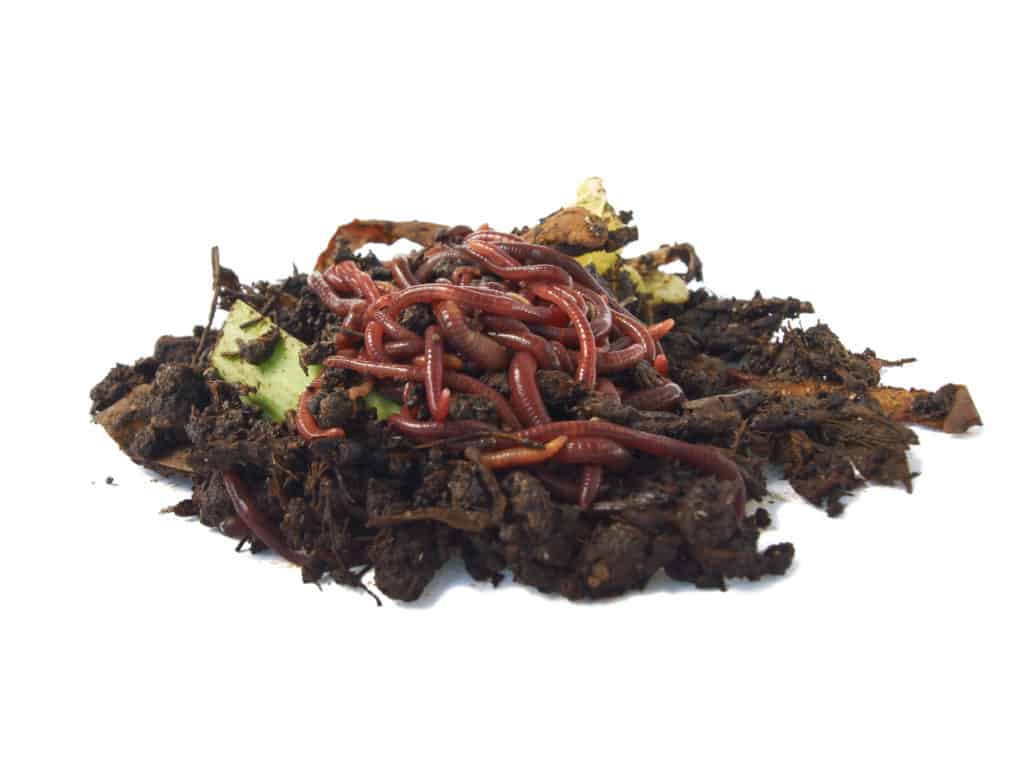
I purchased around 200 worms from Will and Alyssa for a mere $25. If you live in the Los Angeles area, I highly recommend doing the same! You’ll find local sellers like Will’s Worms through Offer-Up, Craigslist.com, or a single seller website like www.willsworms.com. A local seller is a great place to get a reasonable price and some stellar advice for your worm farm venture.
If push comes to shove, there are online shops that can ship them out. But visiting Will’s Worms gave me a lot of information about raising worms in my Southern California region that were not mentioned online. So, if you can, shop local. It won’t just be helping a small business, but you will be protecting your investment in your vermicomposting endeavor by getting applicable local advice on worm rearing.
3. Bedding:
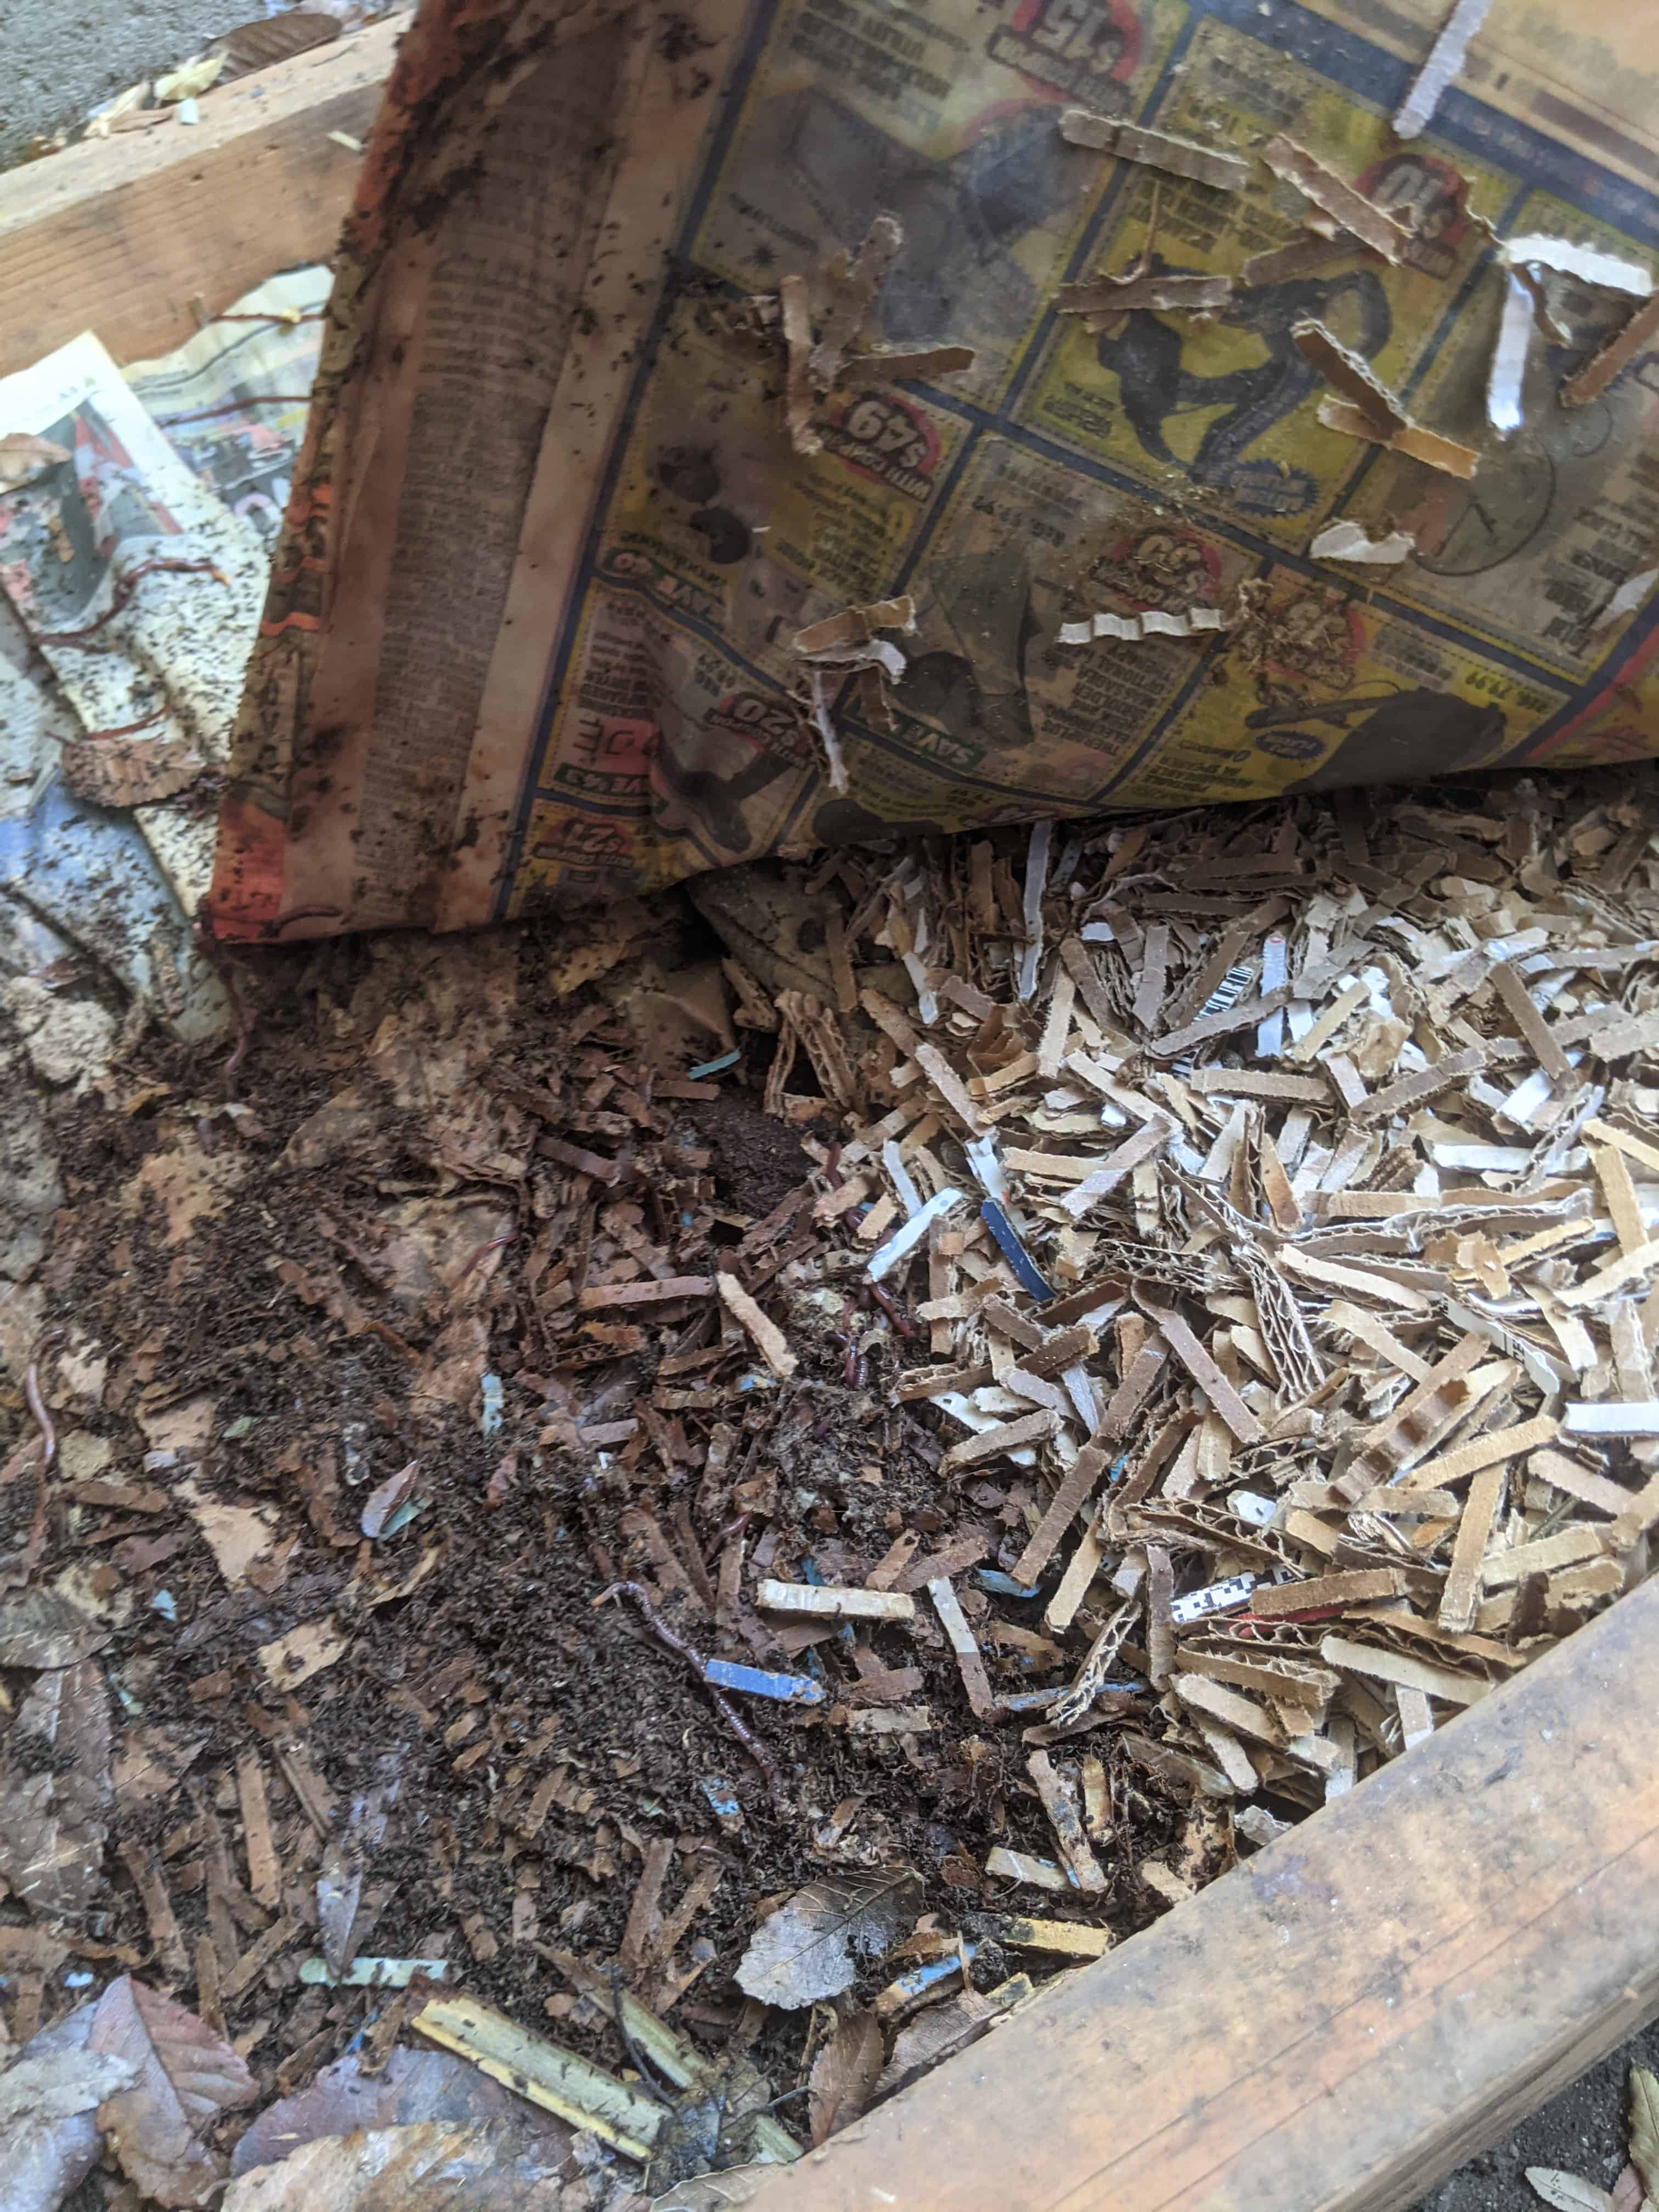
- Cardboard
- Brown/dead leaves
- Shredded Newspaper (soy-based ink is biodegradable)
- Coco coir (good water retention and mold-resistant)
- Manure from plant-eating animals
All these in the list provide cover for your worms, allowing them to retain moisture and move easily within the bin for feeding. Carbon-rich materials such as these (except manure) also help balance out Nitrogen-rich materials, which can produce Ammonia, a substance toxic to worms.
4. Spray Bottle for Moisture:
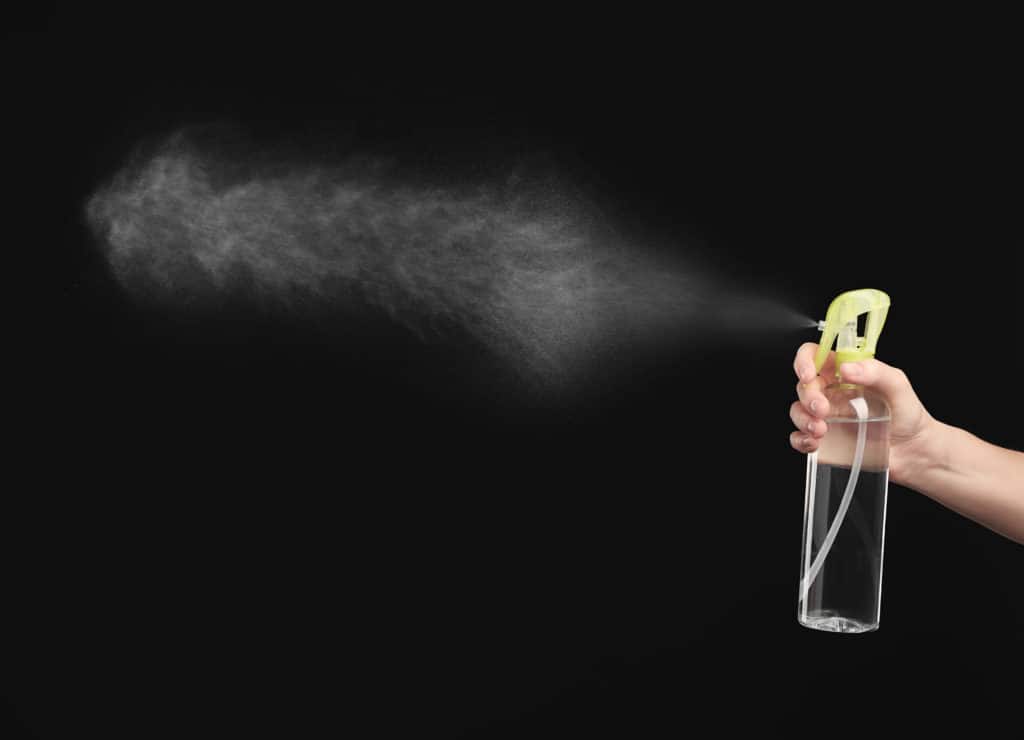
With many worms comes great responsibility… or just a spray bottle. As mentioned in the quick summary in the introduction, your worms need 50-70% moisture in their environment to thrive. The way Will’s Worms explains it…
“If you squeeze the worm bedding in your hand and water streams out, it is too wet. It should feel like a damp, wrung-out sponge and shed no more than a few drops when squeezed.”
Basically, don’t go overboard; worms need oxygen, and if you waterlog the bedding, you will prevent them from breathing. Spray your worms’ beds once a week to keep a good moisture level. If you are feeding them food with high water content, Will’s Worms recommends spraying their beds less. Note that this is just a suggestion, but: For the first couple of weeks, you should keep an eye on your worm bed just to make sure it doesn’t dry out. Here’s a good spray bottle if you are looking for one on Amazon: Glass Spray Bottle
5. Shade for Temperature Control:
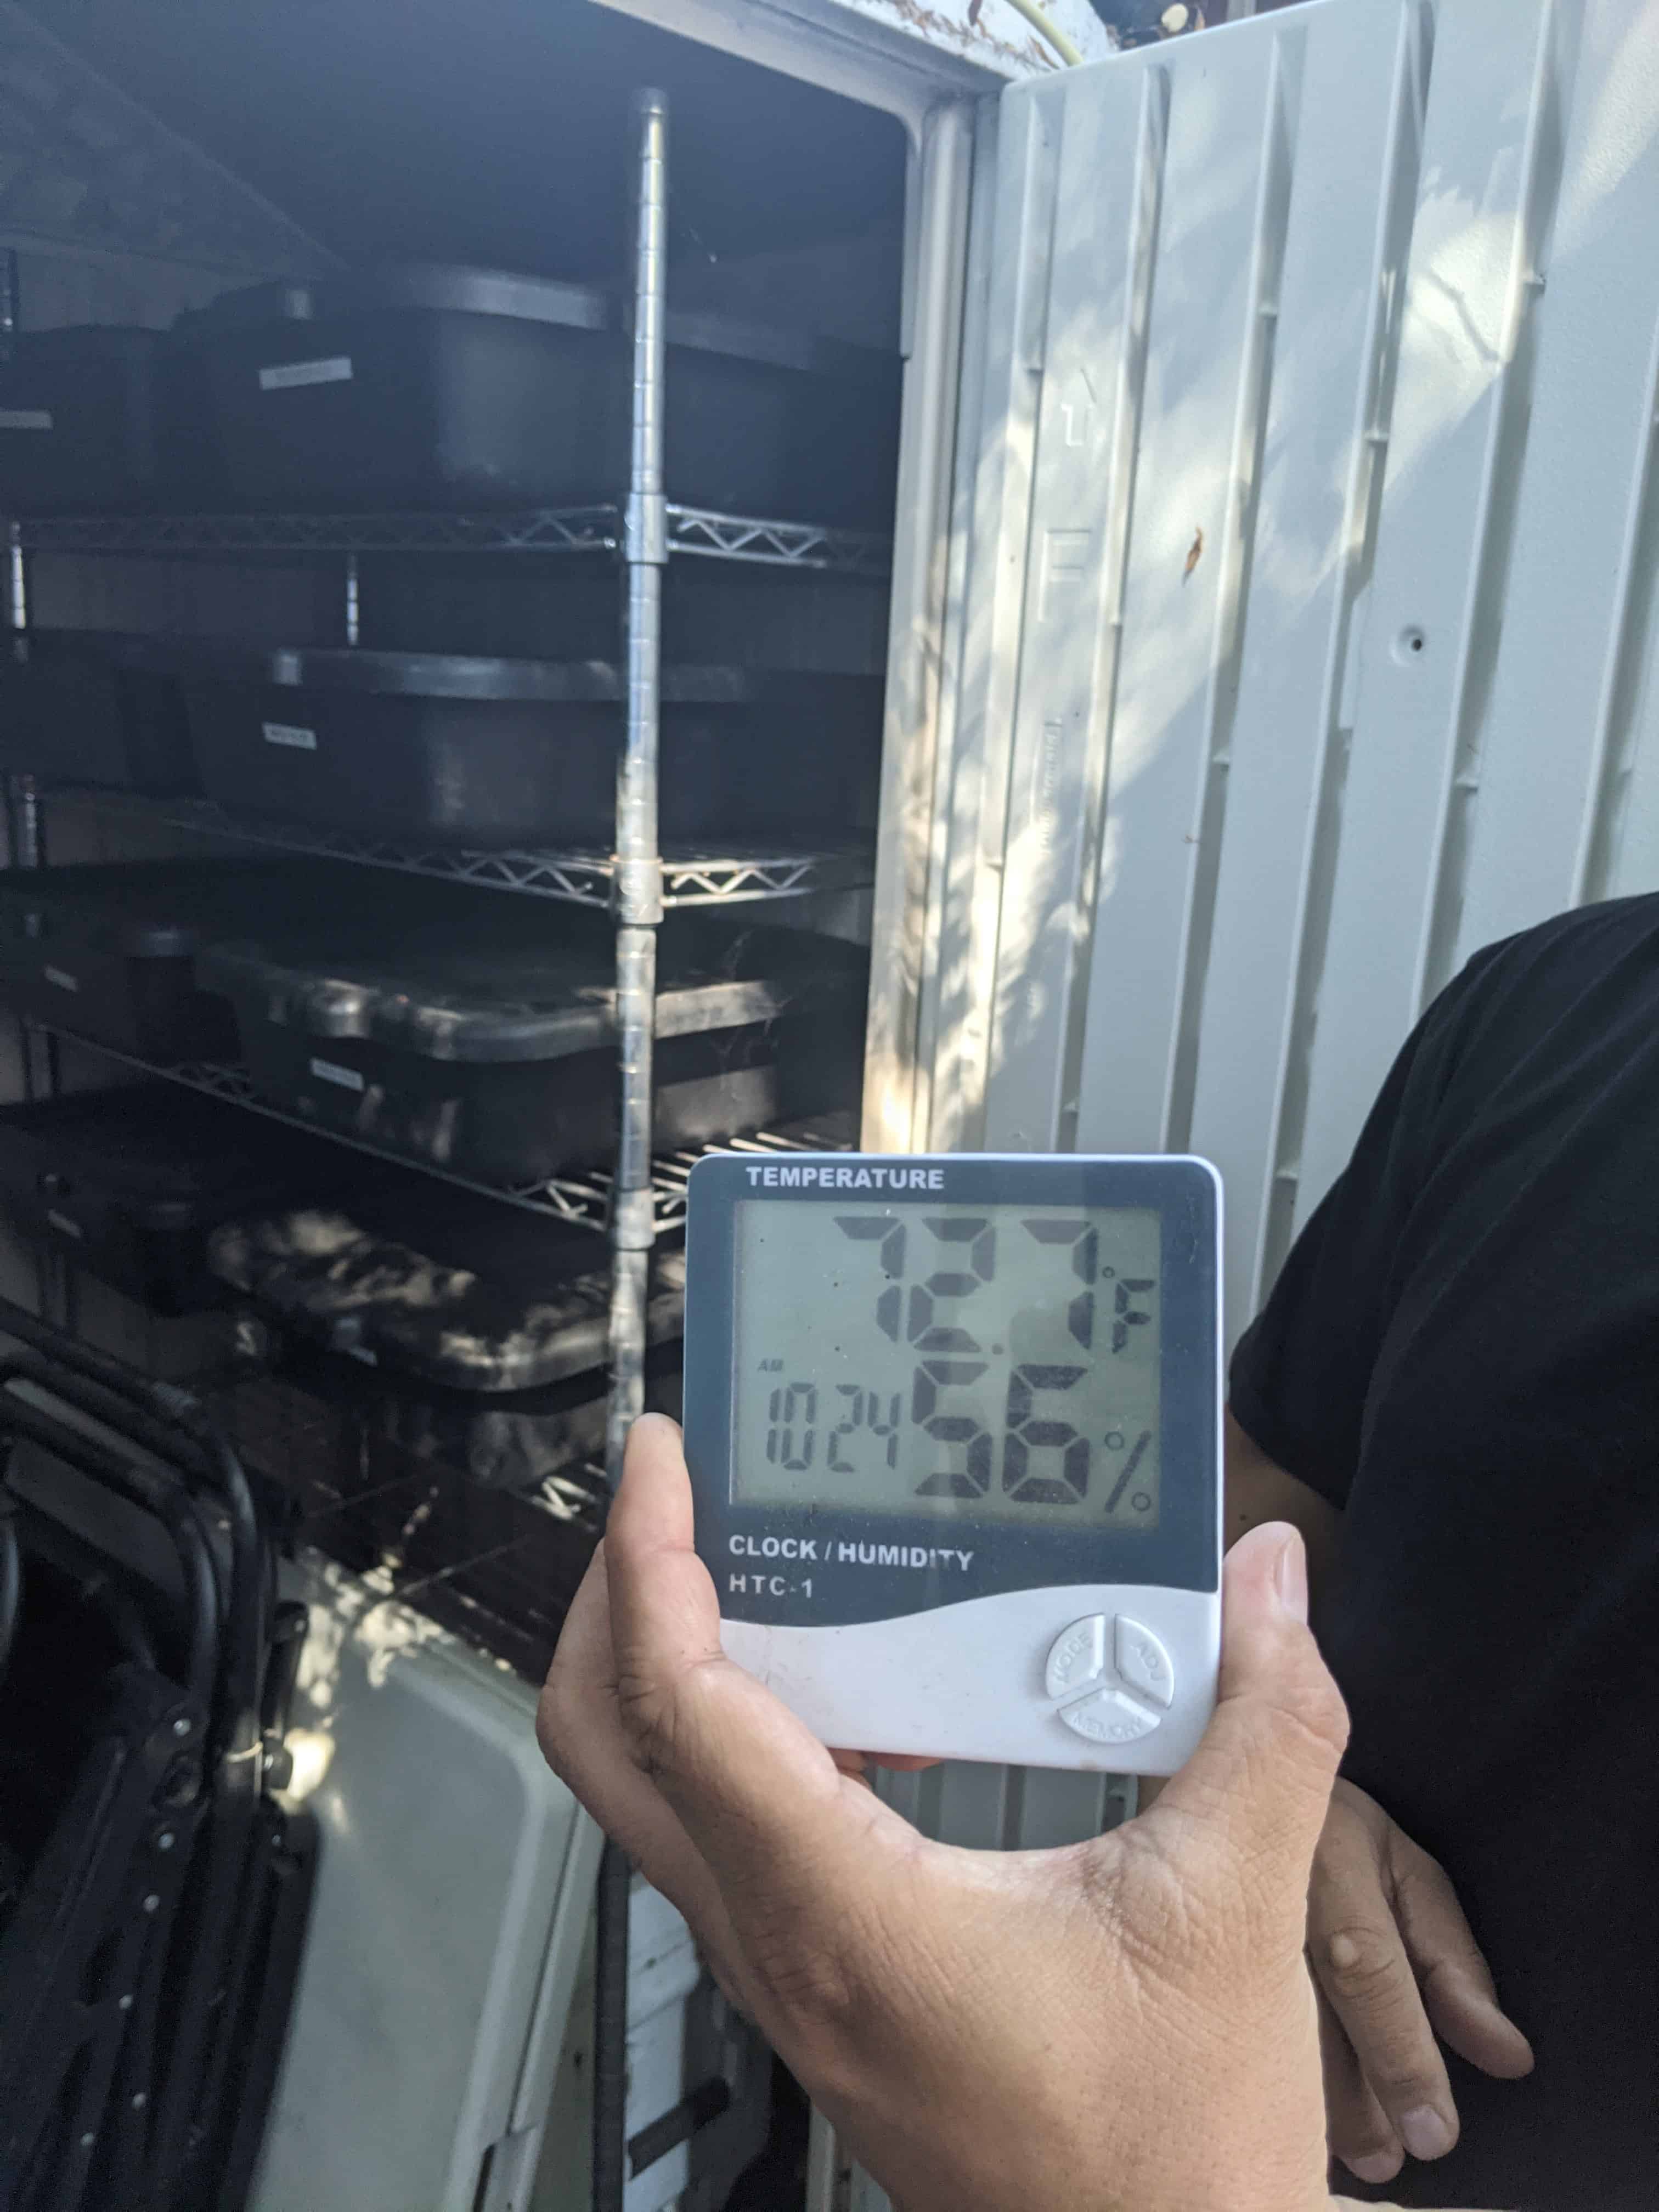
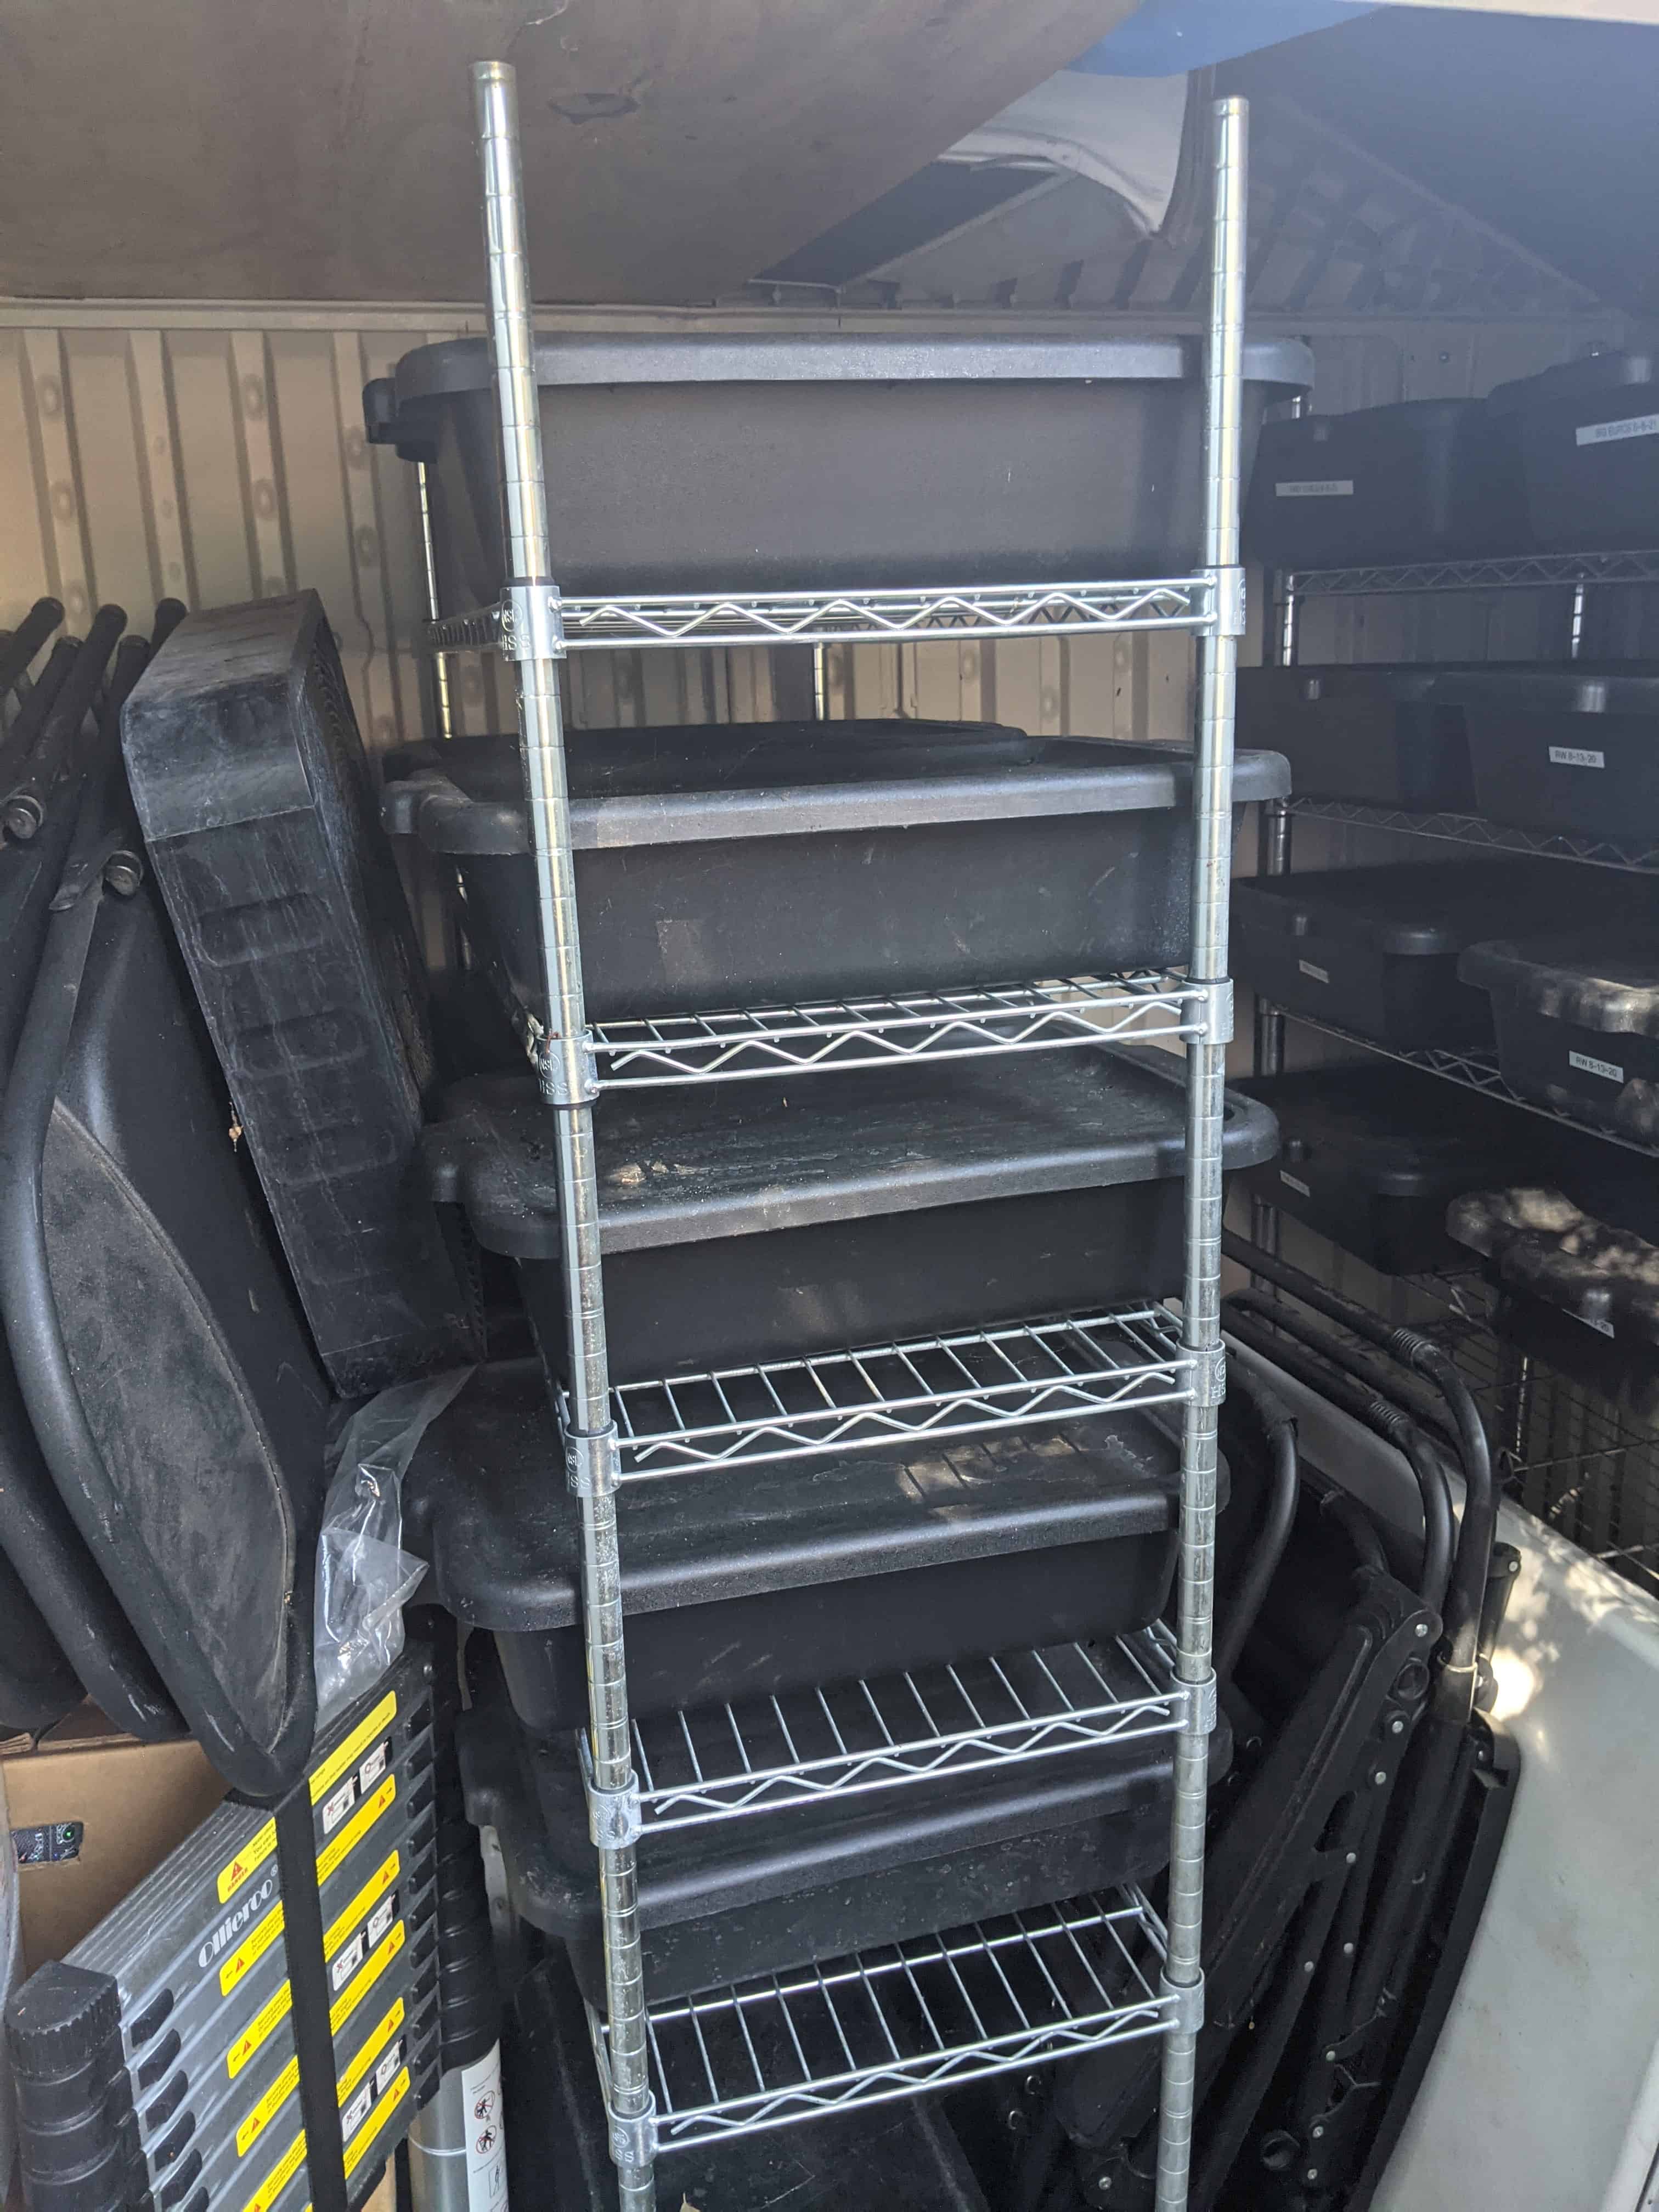
One rookie mistake to avoid is putting your worms in an unshaded area. Worms thrive in a semi-warm environment but do not do so well in hot temperatures so exposure to direct sunlight can be detrimental; as a general rule, worms prefer temperatures between 55-77°F. Anything hotter than that, and you will likely have a stinky tray of dead worms on your hands. Give your worms some shade (not the kind you put over your eyes), and don’t be afraid to take them inside if need be.
Suppose you are putting slightly stinky things in with your worms to feed them (read: Guinea pig manure); you probably won’t smell them all too much. But, to be on the safe side, you can put them next to your trash can, which incidentally will make it easier to feed your worms too.
As for getting too cold, hot composting methods can be combined with vermicomposting to create a warmer environment if you live in a colder climate with a winter season. Generally, it is pretty unlikely that the bedding will stay under 55°F for extended periods. Worms will adjust by going a bit deeper or huddling next to heat-producing compost in their bin. Here is a good thermometer/humidity meter on Amazon if you need one.
6. Worm Food:
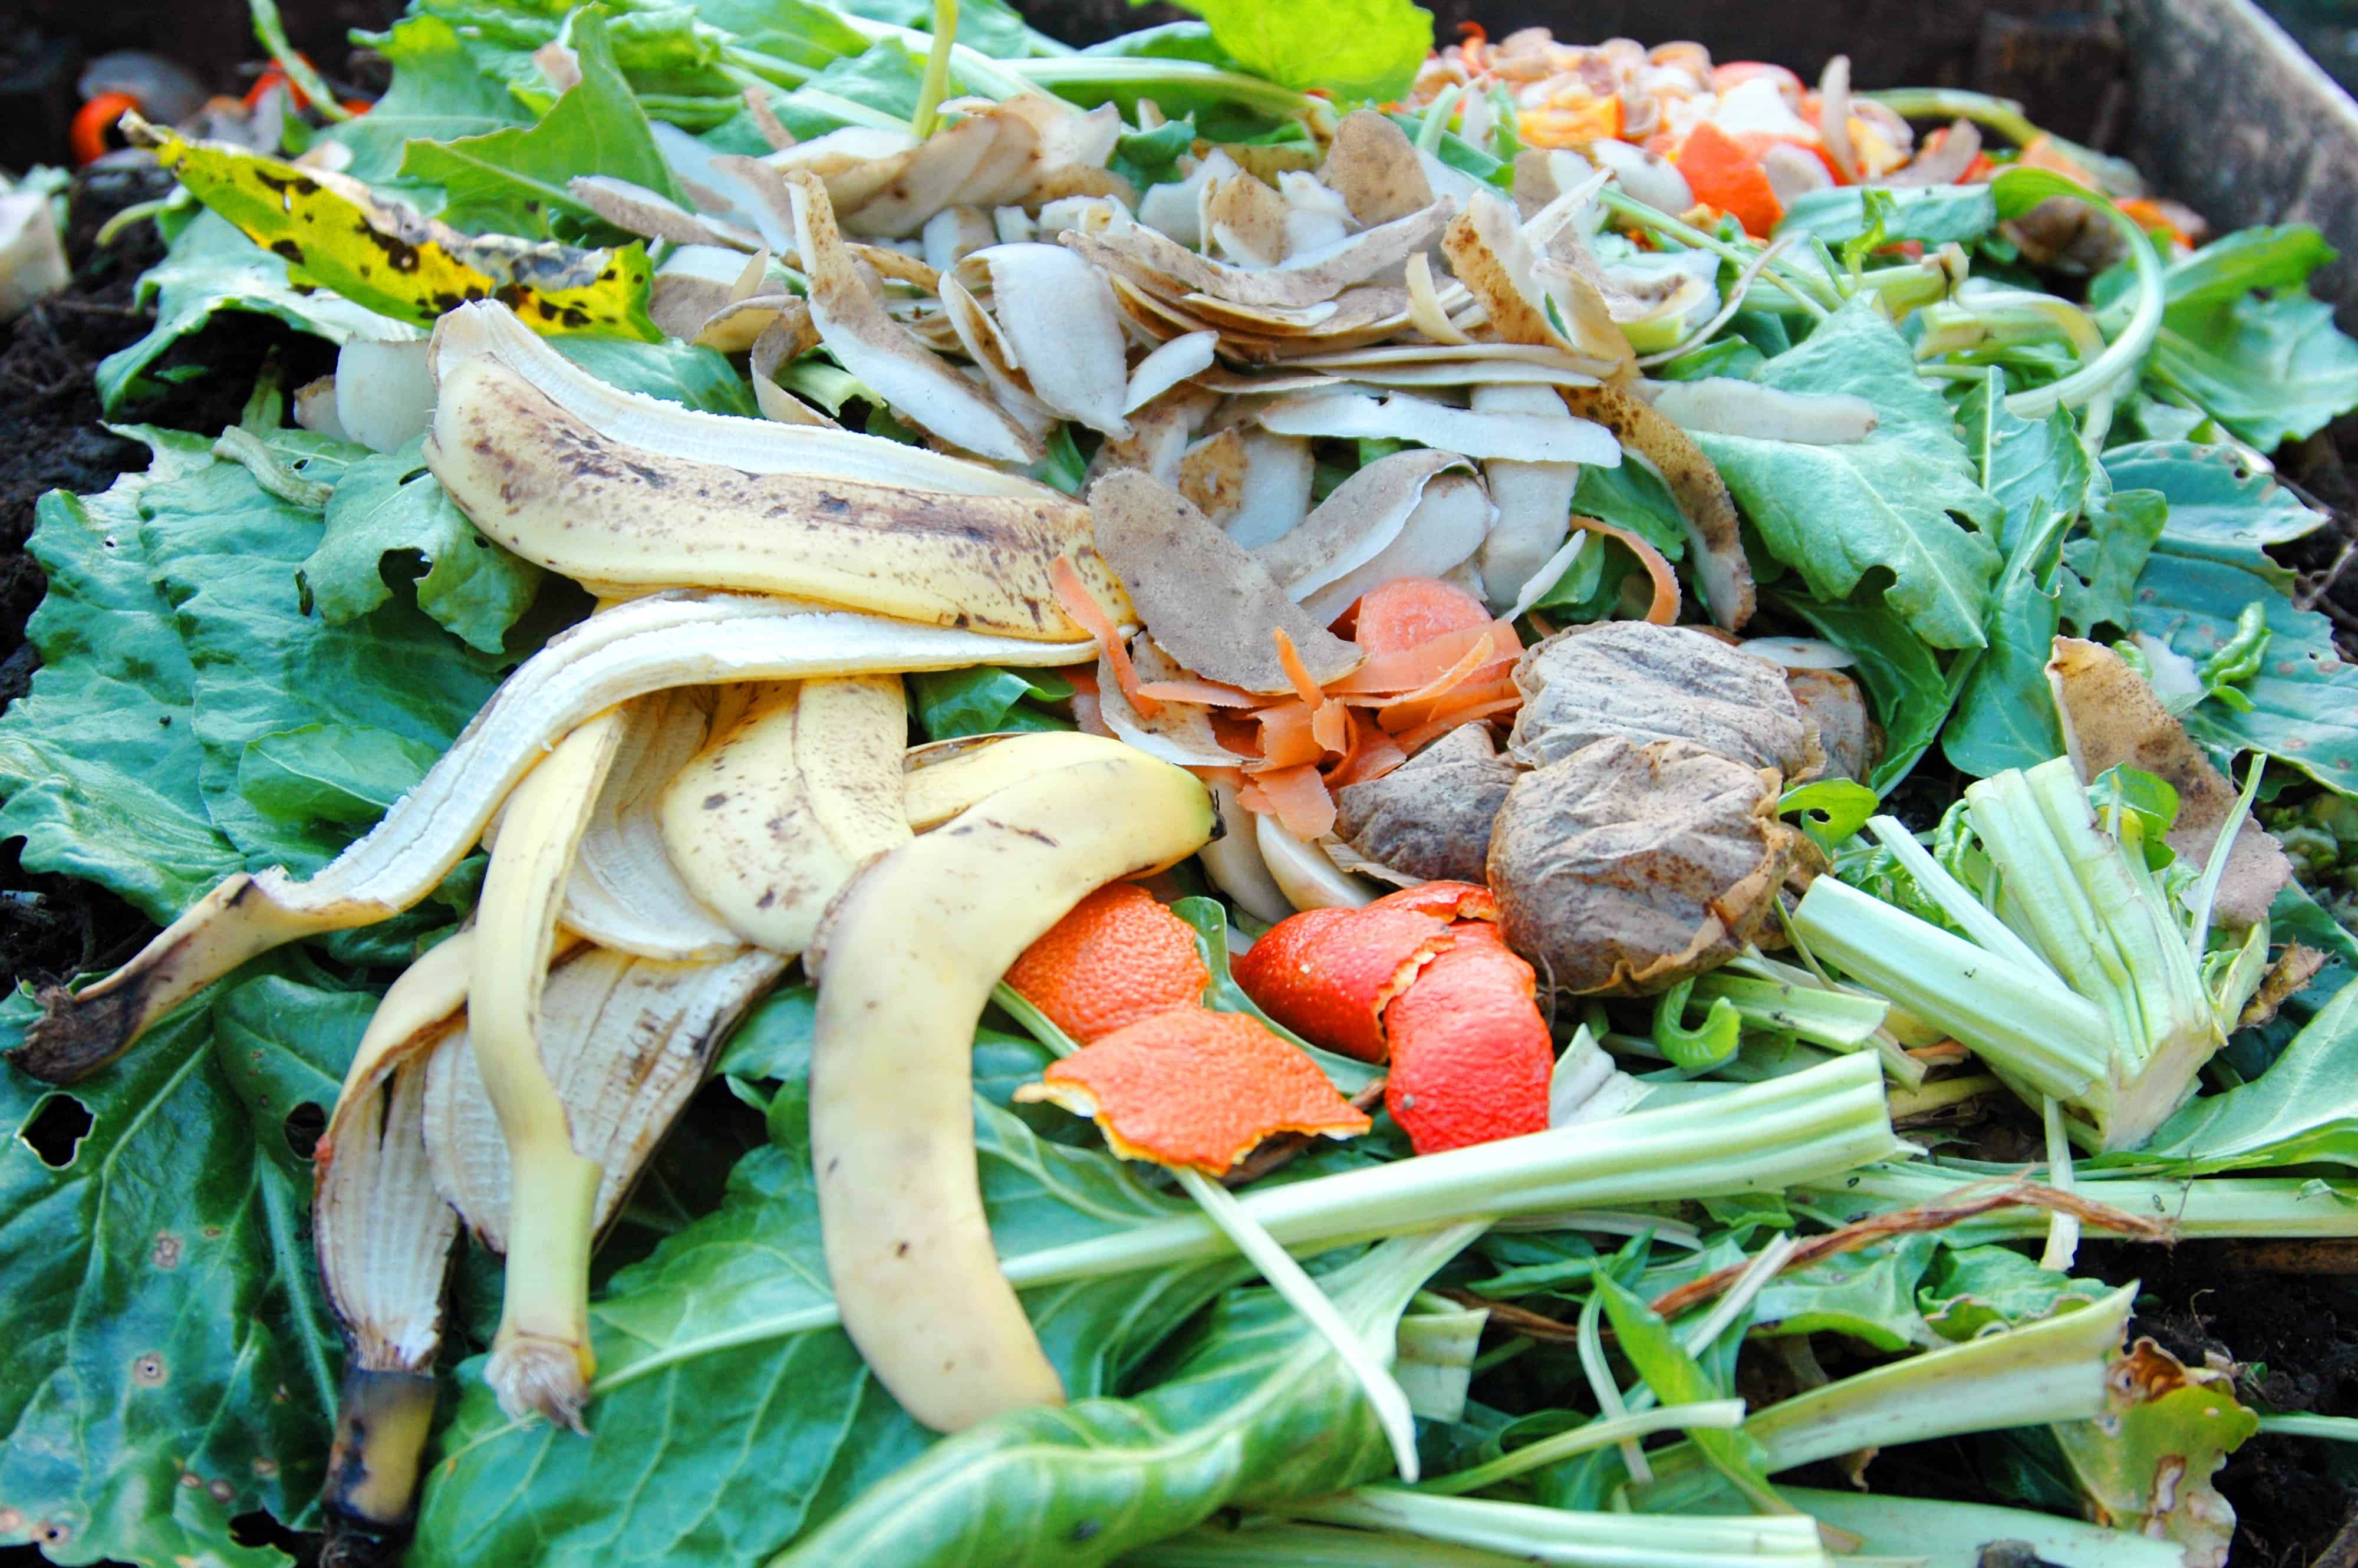
Basically – No acidic foods! Just like the water you drink, we want to keep things alkaline. Some foods cannot be fed to your worms because they will burn or even EAT THE WORMS ALIVE in some cases, like pineapple.
Foods you don’t feed your worms:
- Papaya – high in Malic and Citric acid
- Pineapple – contains Bromelain, which can literally eat your worms alive. Like when your tongue gets raw, and your throat tickles after eating pineapple, then you find out with a google search that while you’re eating it, you’re actually simultaneously being eaten by the pineapple (yeah, really, look it up).
- Onions – contains Sulfuric acid (some onion is ok but too much is bad)
- Citrus Fruit – contains Citric acid (again, some is ok)
- Meat – Worms won’t/don’t eat it/it smells bad
- Dairy – Worms won’t/don’t eat it/it smells bad
Other than that, worms can enjoy a pretty diverse diet.
Here is what your worms can eat:
- Corn cobs
- Melon rinds
- Avocado
- Banana peels
- Pumpkin
- Squash
- Celery
- Old bread
- Pasta
- Grains
- Coffee grounds
- Teabags
- Citrus peels
- Egg Shells – Calcium is essential for your worms too, you can supplement them also with pulverized Dolomite if you’re a veg-head and don’t have eggs in the house.
Helpful Tips for Troubleshooting:
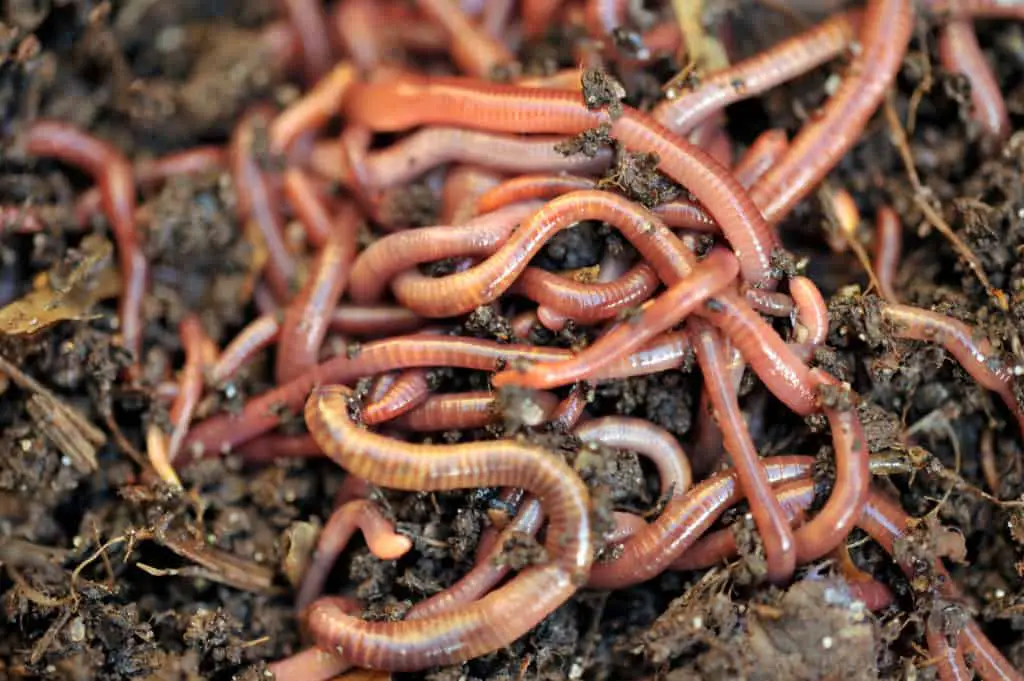
Too many worms and not enough space?
Your worm colony may exceed its container within 6-12 months. You can either give some worms away to friends and family or enjoy the increased composting power. Just upgrade to a bigger container or a couple of containers to house the growing population. Keep in mind that although these worms are pretty productive, it takes a lot of them to break down all the food waste from you and your family.
Little extra info: If you have animals that require bedding like gerbils, guinea pigs, rabbits, or other rodent/lagomorph family members that eat their veggies and alfalfa pellets, compost their waste too. The worms will be more than happy to oblige, and the bedding will be one less thing that ends up in a landfill with plastic wrapped around it.
Will’s Worms happily maintains a small guinea pig population that provides their worms an adequate supply of manure and bedding to feed on. They also told me about the use of worms under chicken coops to compost the manure left by chickens on homestead farms. So, use your imagination and build the ecosystem that works for you! The possibilities are endless!
Why are my worms dying?
According to the expert worm farmers at Will’s Worms, overfeeding is the #1 leading cause of death for worms. Worms can survive for a month or more without any extra food given the proper temperature and moisture. So just like plants, less is more, so err on the side of too little if unsure.
The 2nd leading cause is overwatering (just like with plants). Worms breathe oxygen, and too much water means they drown. I assume everyone reading has been dunked in a swimming pool at one time or another, fearing they might not come back up. Needless to say, spare your worms this feeling and go easy on the H2O.
The 3rd leading cause is over-checking the worms. Worms can be left alone for 5-14 days, according to Will’s Worms. Interrupting their life cycle by constantly shuffling their bedding makes it harder for them to mate and could also damage their cocoons (egg sacks). The cocoons for worms look like tiny lemons the size of a pinhead and can be yellow to red/brown in color.
So, be careful to let your little guys do their worm dance so the colony can keep growing, and if you see them all in a knot, well, that’s just how worms get down. Throw on some Al Green and shut the lid.
Some other worm killing causes:
- Major fluctuations in pH
- Lack of moisture
- Acid or Ammonia (the ammonia or ammonia by-products could originate from urine)
Are worms safe to keep?
Worms are not subject to many diseases. In fact, they are harborers of many good bacteria. With their insatiable appetite and abundant production, worms result in so much good bacteria that any disease-producing bacteria would simply be boxed out of the overall food supply. This makes them a perfect option for disposing of otherwise wasted food scraps because they create a stable, slow-releasing, and pet/human-safe fertilizer.
Important worm myths to dispel:
“Worm tea just drips out from the bottom of the 4 tier bin you bought online.”
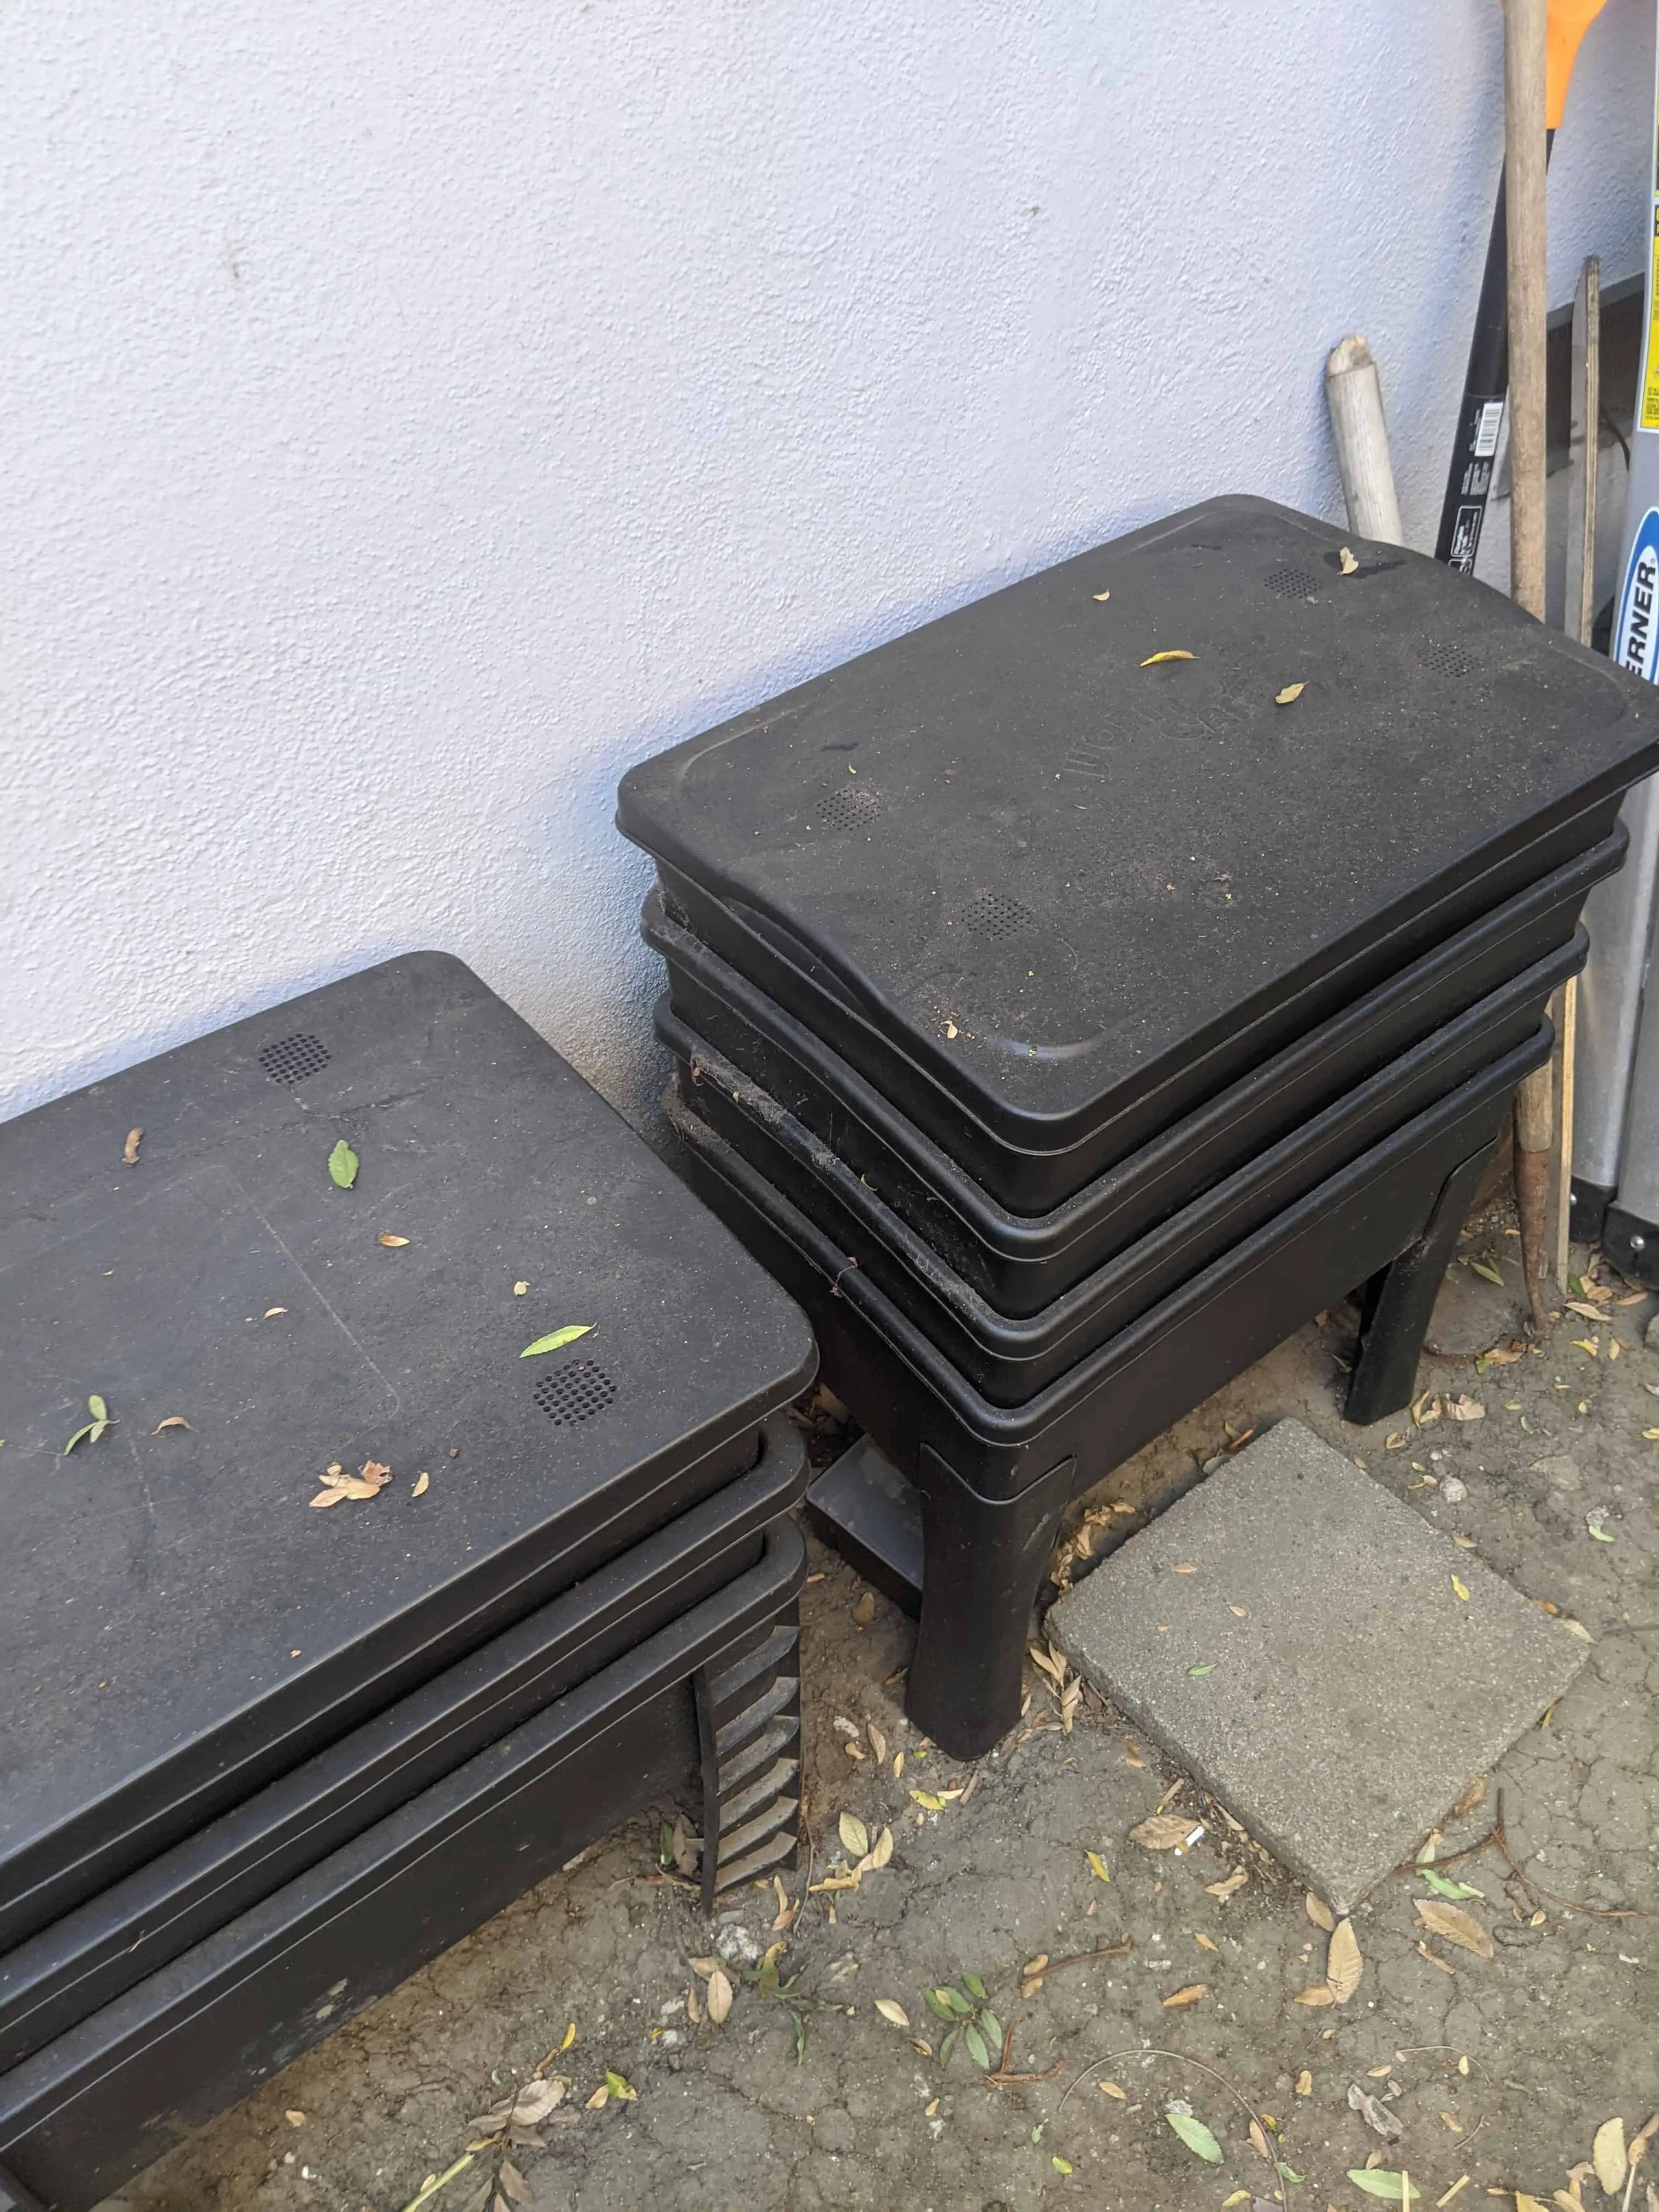
Think about it. If you need to keep the bedding for the worms damp and not soaking wet then, where does all the extra water come from to create this tea?
In fact, to make worm tea, Will, Alyssa, and their father have a whole process they use involving a specially made aquarium bubbler, a 5-gallon bucket, and an aquarium air pump.
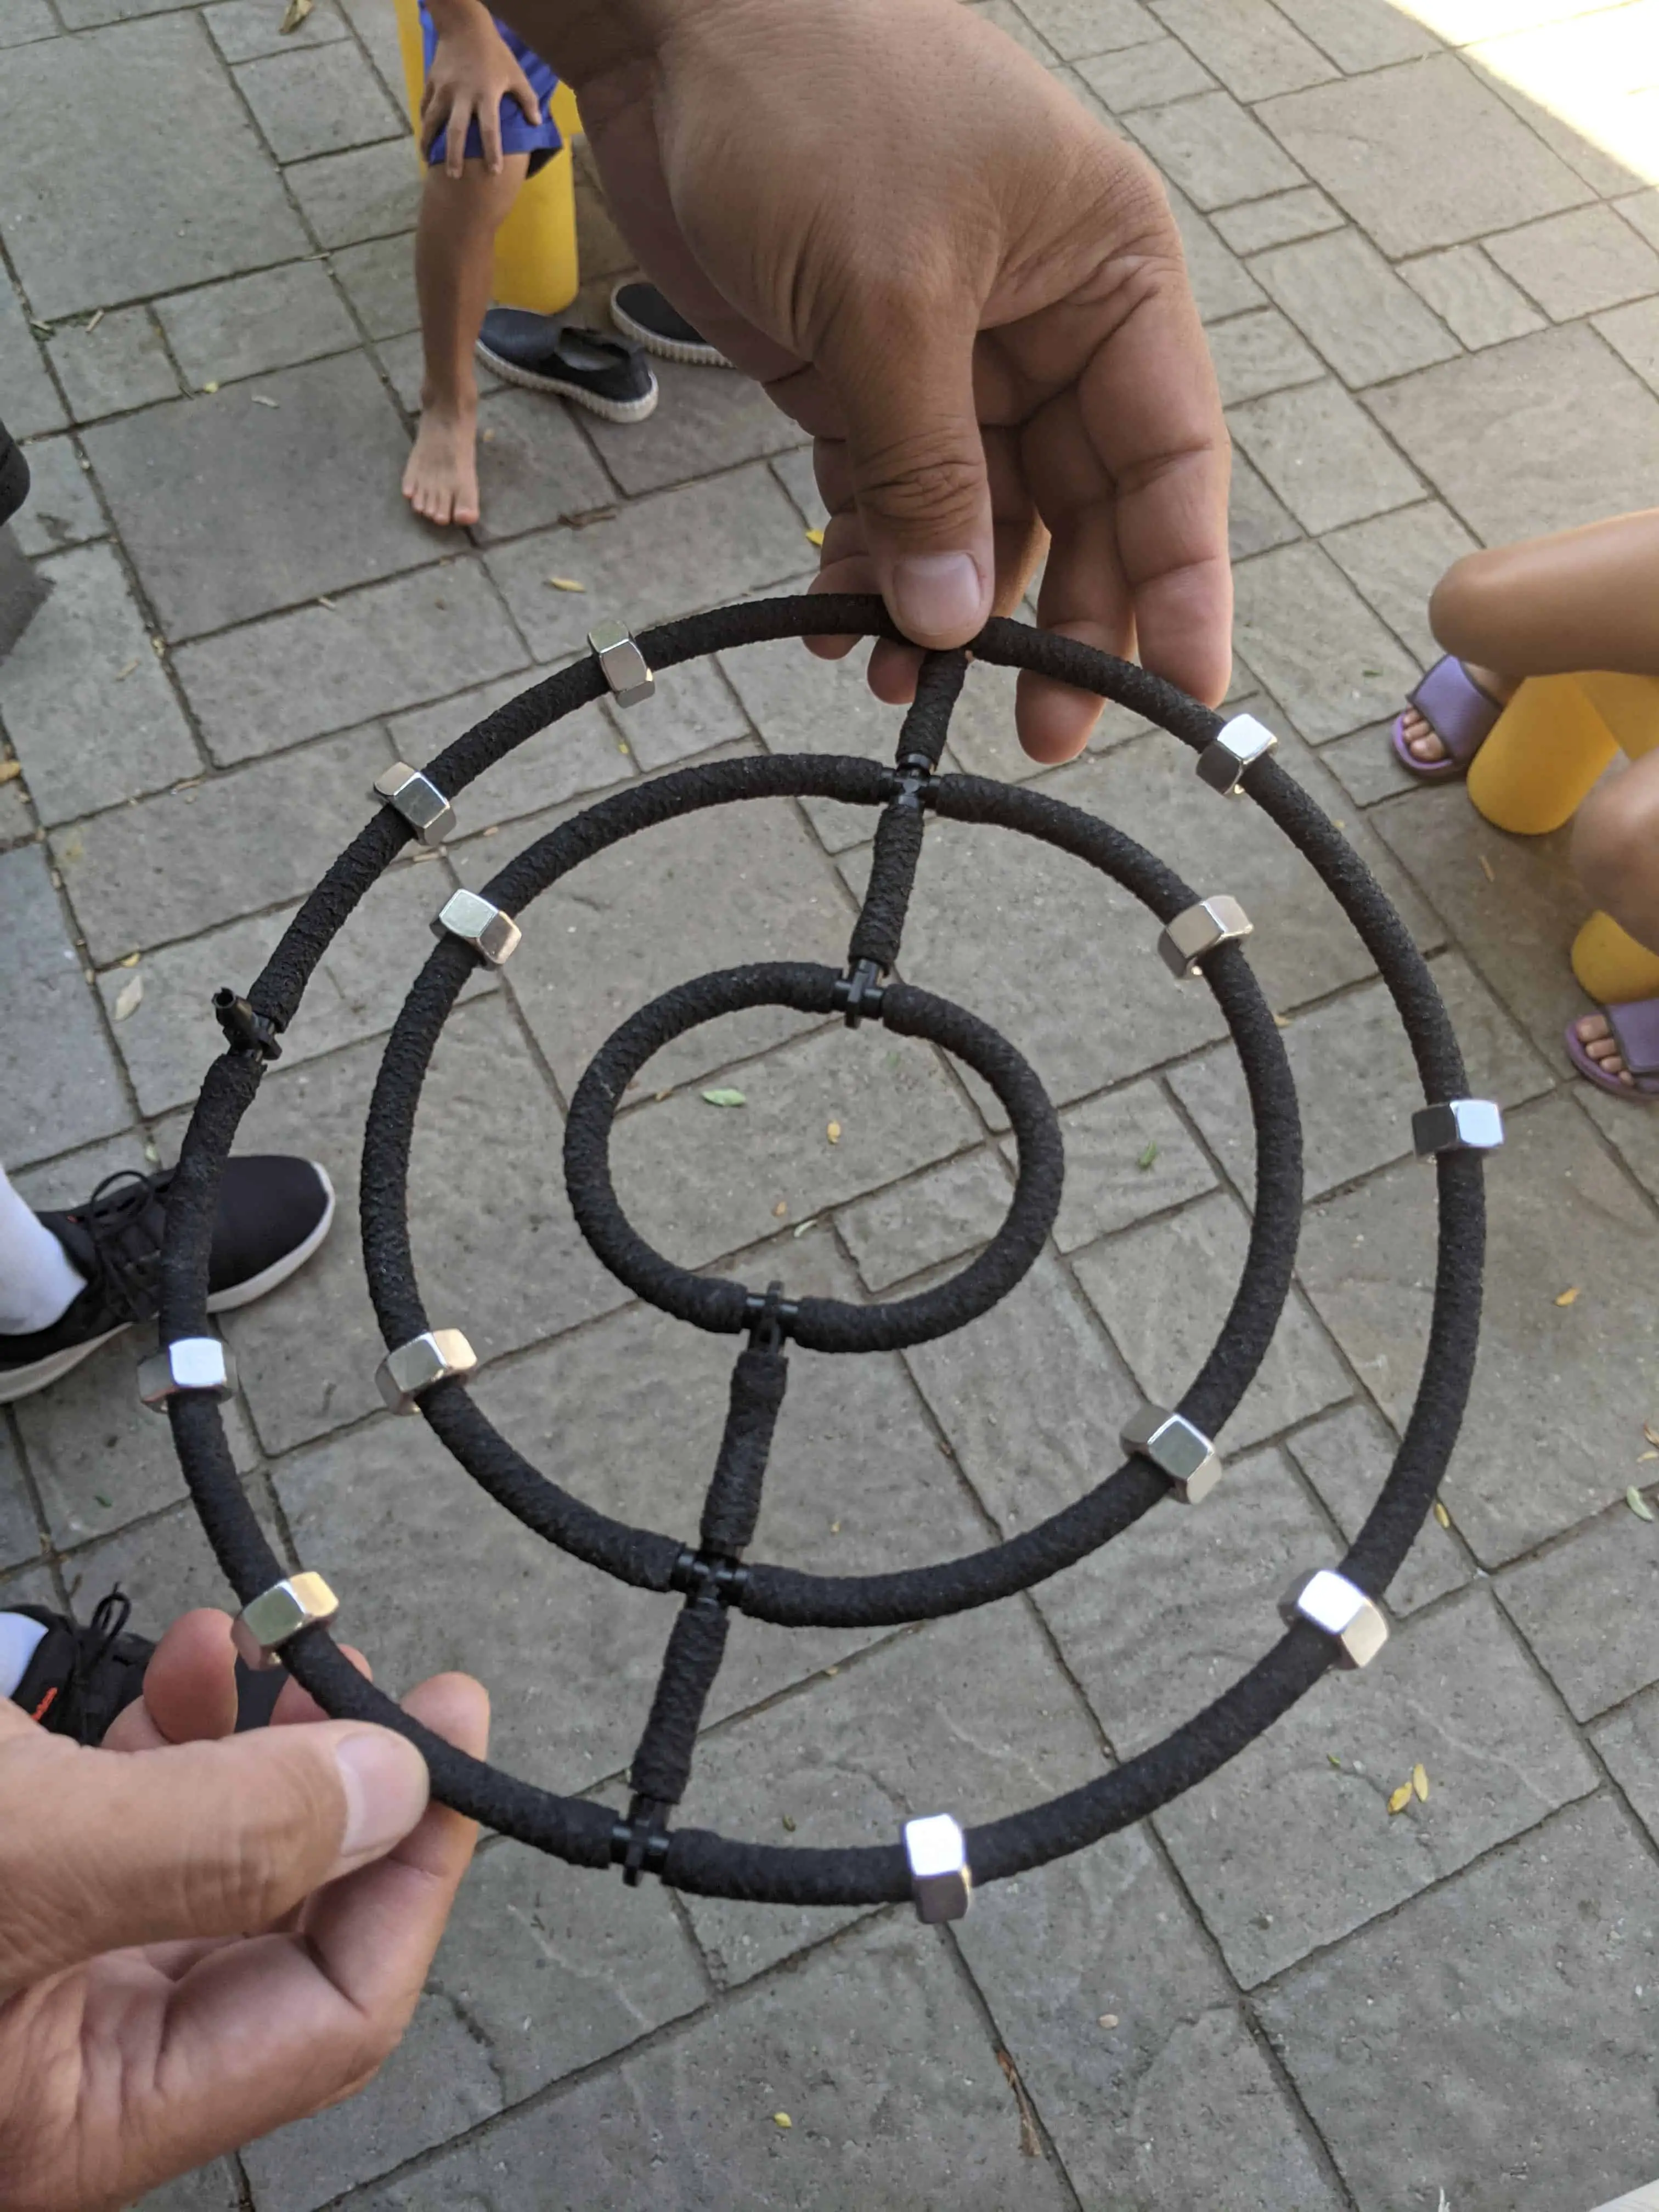
This bubbler produces air from the bottom of a 5-gallon bucket to help dissolve the worm casting while maintaining the proper oxygen levels for the beneficial microorganisms to survive. Will’s Worms also cautions that because some chlorine may be left in the water, you must either use spring water or treat the water to neutralize the chlorine. This way, you can get the full benefit of the natural biome present in the worm castings. If you must make worm tea, they suggest a “nut-milk” bag that can hold the castings while you “brew” your tea, just like a real teabag. Just … don’t drink it … not even on a dare … just don’t.
Alternatively, you can sift the castings into small grains, sprinkle them around the garden, and water them afterward. The second option is less likely to leave a giant, wet worm poop mess on your hands.
Also, do not “percolate” your worm bin. A common practice of newbies is to run water through the top of their worm bin and let it run through the layer(s) to the bottom, then collecting the “worm tea” at the bottom. While this works temporarily, you do run the risk of overwatering and drowning your worms. Not to mention flushing away the next generation of worms as their cocoons (egg sacks) are very small and easily displaced. Don’t reenact the Lost City of Atlantis here; you need those worms!
“The 4-tier system always works.”
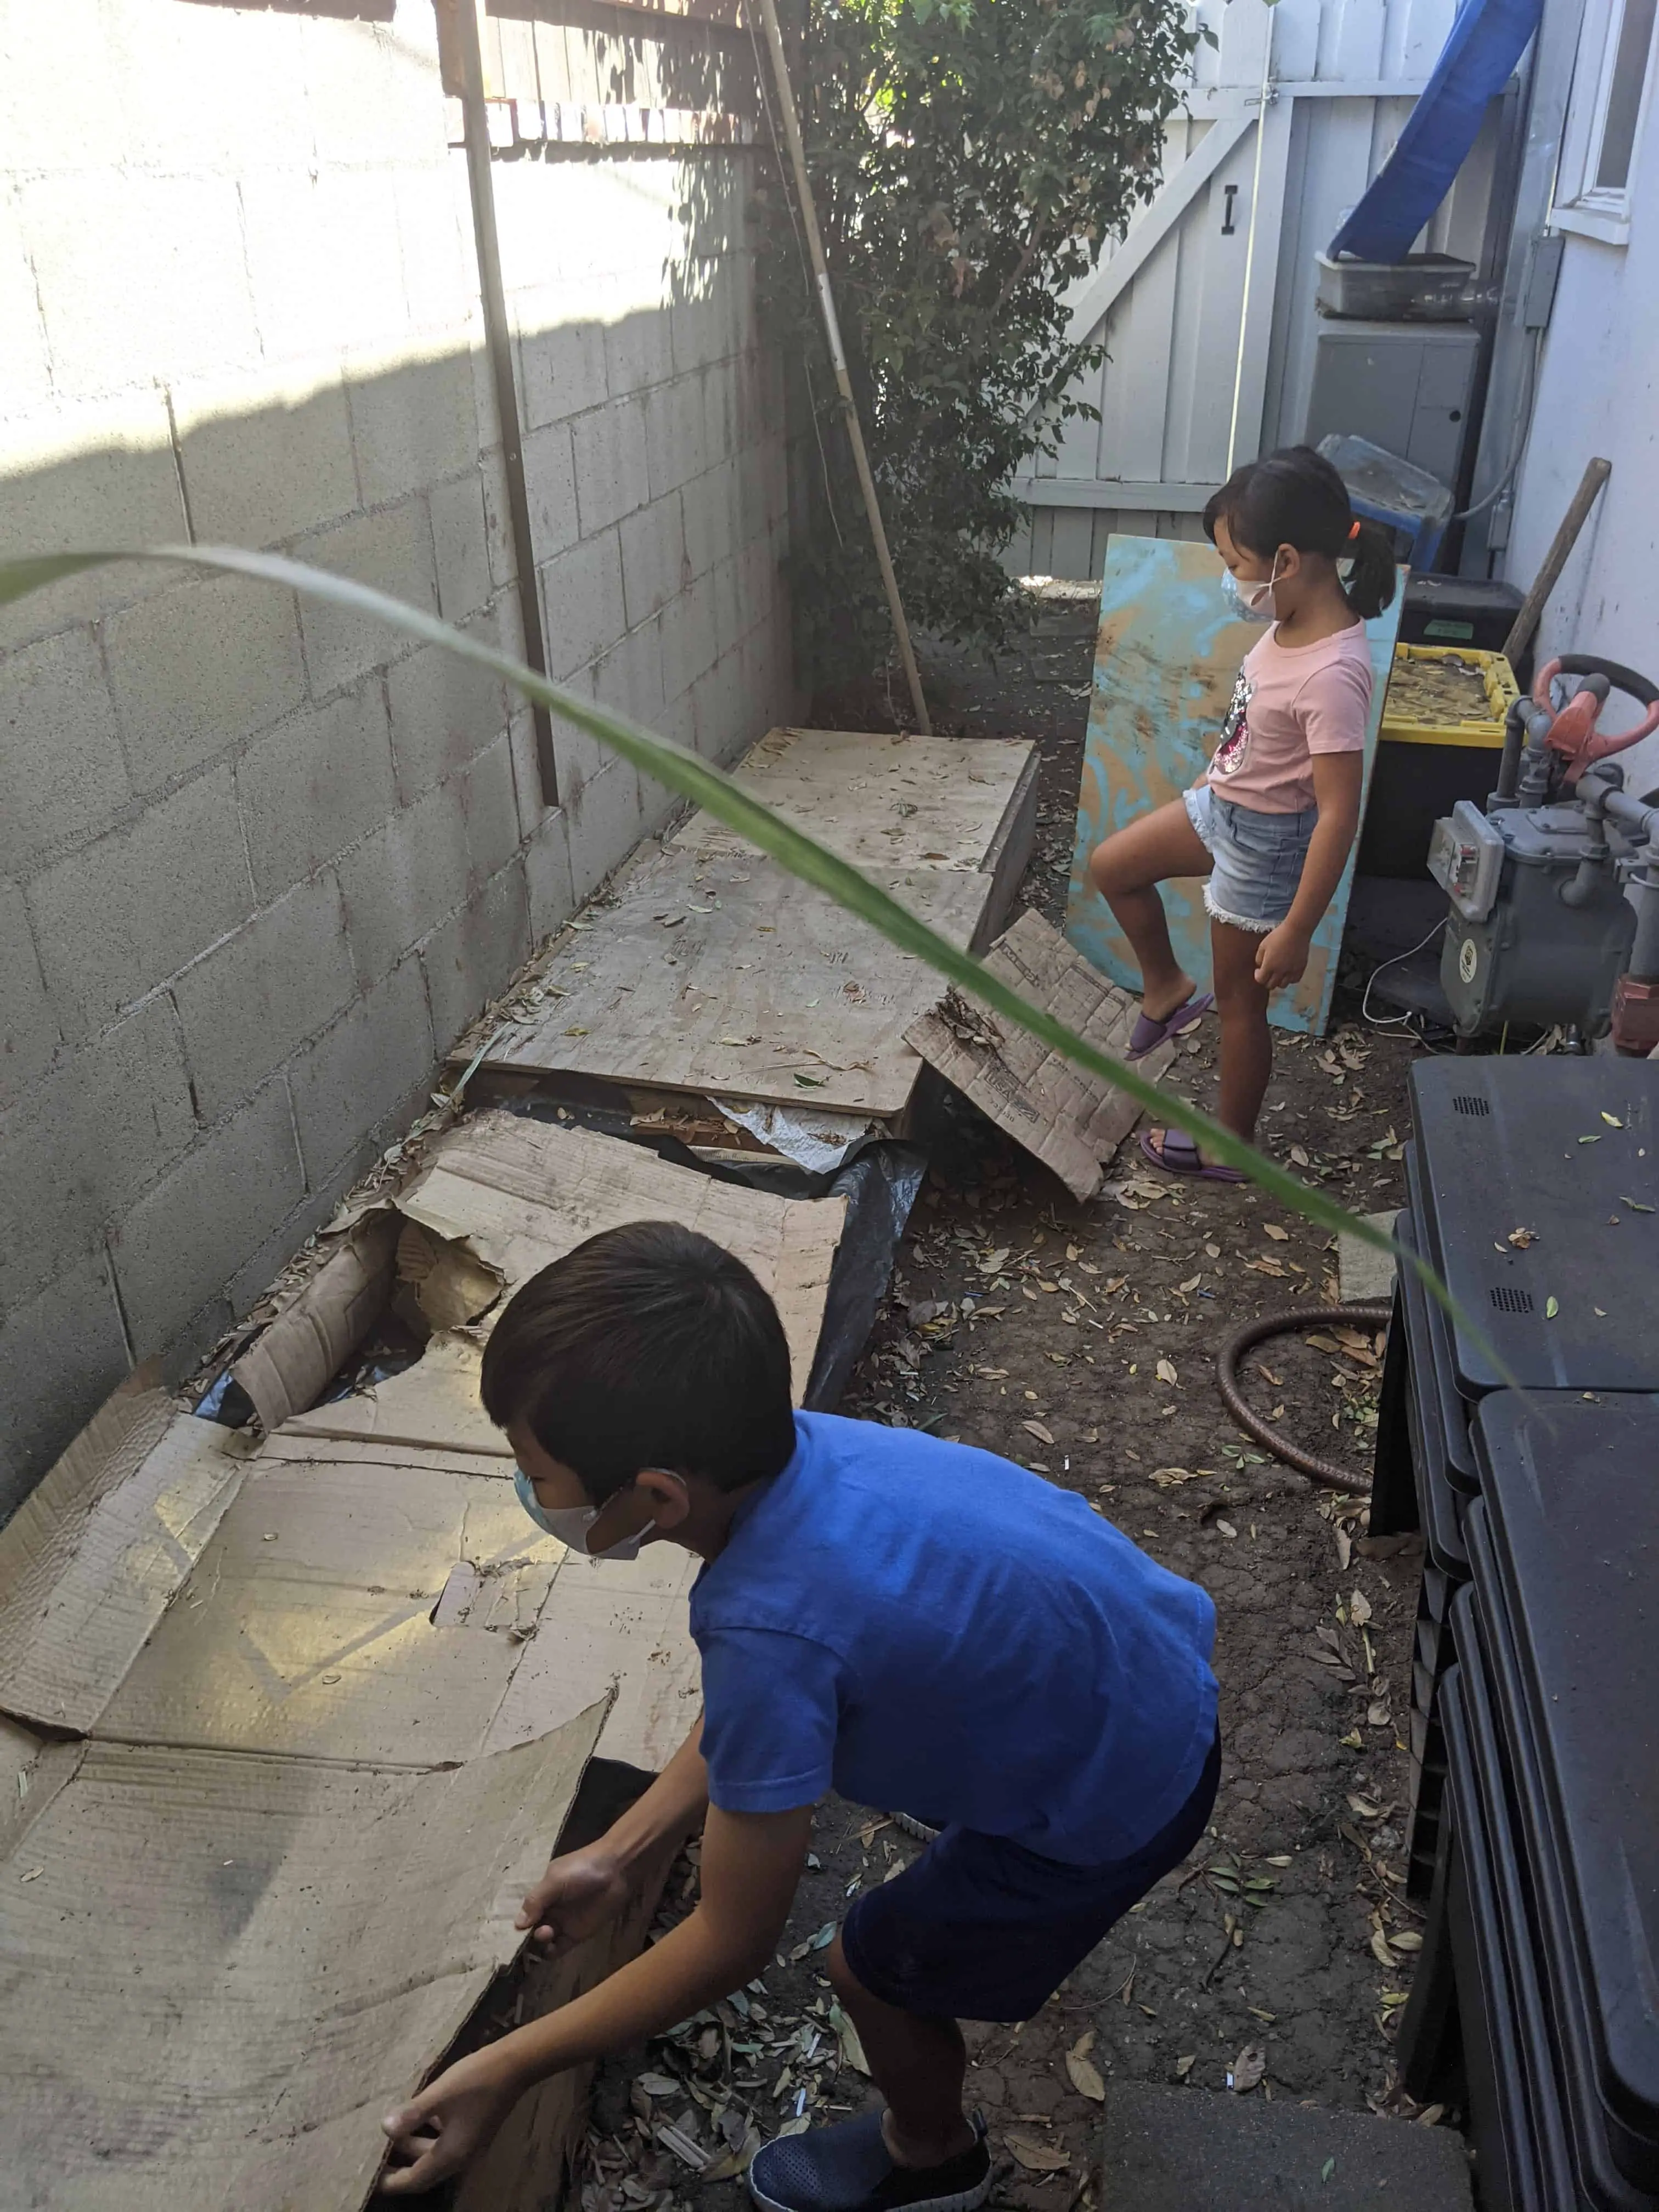
While having a worm bin with four layers seems like nothing can go wrong, the temperature in the upper tier(s) is often too hot for the worms. Simply due to the sun blasting away at the top portion, which can cook the worms alive. This may be a bird’s daydream, but it is certainly not our ideal scenario.
You probably won’t find out the worms are dead for a couple of days, but you’ll know they’re dead the same way you find out you left the worms in the car on your fishing trip – the smell. To avoid this, Will and Alyssa use a raised garden bed in a shaded area for their worms covered with plywood to keep out the heat and unwanted worm predators. Although they use the lower 3 tiers of their 4 tier worm bins as backup worm banks, leaving the first tier empty with the exception of some worm-free bedding used to insulate the worms below.
“Worms live in dirt and need deep containers.”
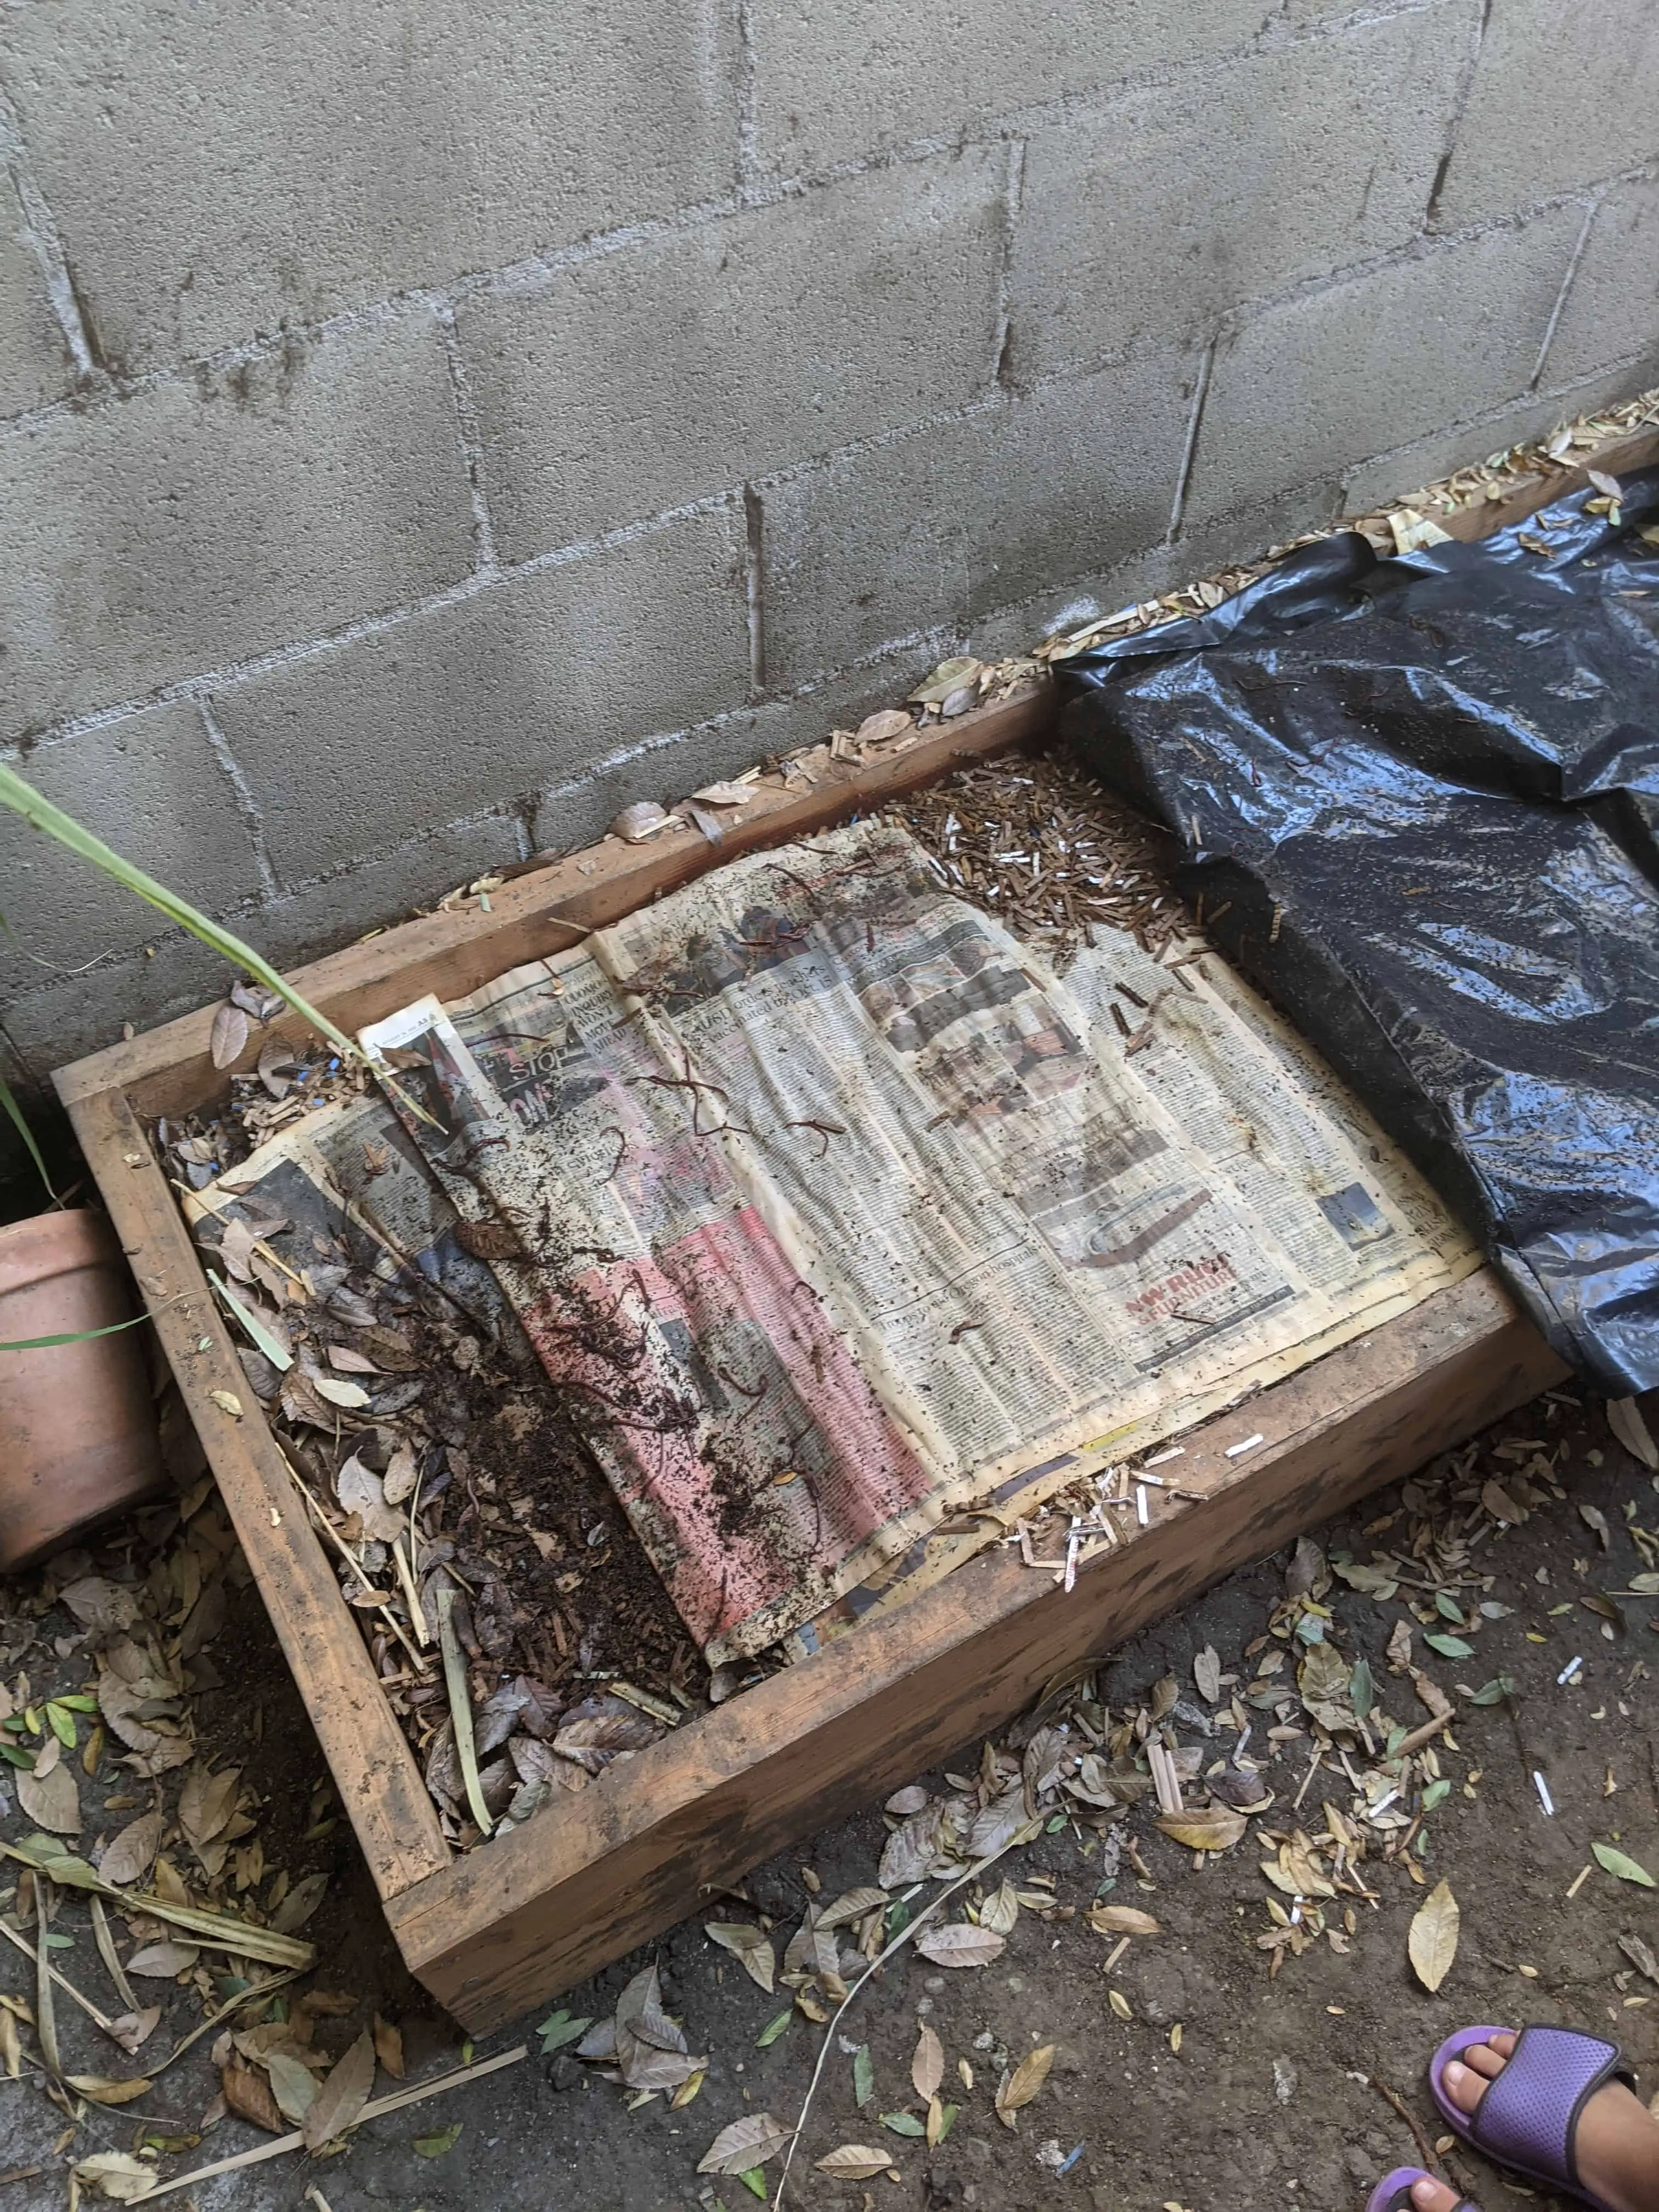
While earthworms are large, “muscular”, and able to move through dense soil, smaller worms like Red Wigglers are not capable of this feat. Instead, they are known for their never-ending appetite for compost. Red Wigglers tend not to burrow and will stay in the “bedding” above the soil. Their natural habitat most likely being a forest floor where the shedding of leaves and fruits from surrounding plants would leave a thin layer of decomposing organic material for them to occupy. This natural inclination not to burrow makes them a perfect match for shallow, 4-5″ deep containers or a shallow raised bed vermicomposting setup. So, don’t think you need a 3ft deep container to make them happy; you’d just be wasting yard space and breaking your back if you try to move them.
If you would like a quick cheatsheet Will’s Worms graciously offered their “Red Wigglers ‐ Basic Worm Care” here for download below!

A quick word on Will’s Worms:
I must express my gratitude to Will, Alyssa, and their father, Mr. Hatanaka; thank you for giving me so much great information! If anyone reading this is in the Los Angeles area and would like some worms, please visit them and pick up some well-priced, quality worms. They will help you understand everything you need to know!
Will and Alyssa started keeping worm farms after discovering one of their dad’s old worm bins still had live worms in it. At first, it was a hobby, and they only started selling the worms to fund the collection of worms they had amassed. Soon enough, they had convinced their neighbors to drop off their food waste too, and with time, they had a small enterprise on their hands.
Originally their father was the funding angel investor. But, soon after learning that a portion of the profits had to be returned to pay back the loan, Will and Alyssa decided to pay down the principal until the bank of dad was all paid up. Soon after, they realized they did not have the marketing or web skills to take on the business entirely on their own. So they made their father a vested owner to avoid paying him, he jokes.
One thing, in particular, I took away from this worm farm is that these kids learned so many elements of business that most people don’t learn in a lifetime, and they did it all before becoming teenagers. Not only that, but each kid has a savings account that goes towards their college tuition funded by their own hands. The work is also play for the kids; they are able to make money doing something they enjoy, and their father uses the “dividends” he takes from his owner’s share to invest in their practice of martial arts and other extracurricular activities.
This is truly an all-around great business that I would be incredibly pleased to see anyone reading this support. Even if you don’t live in their area, give their socials a follow!
Check out:


Leave a Reply