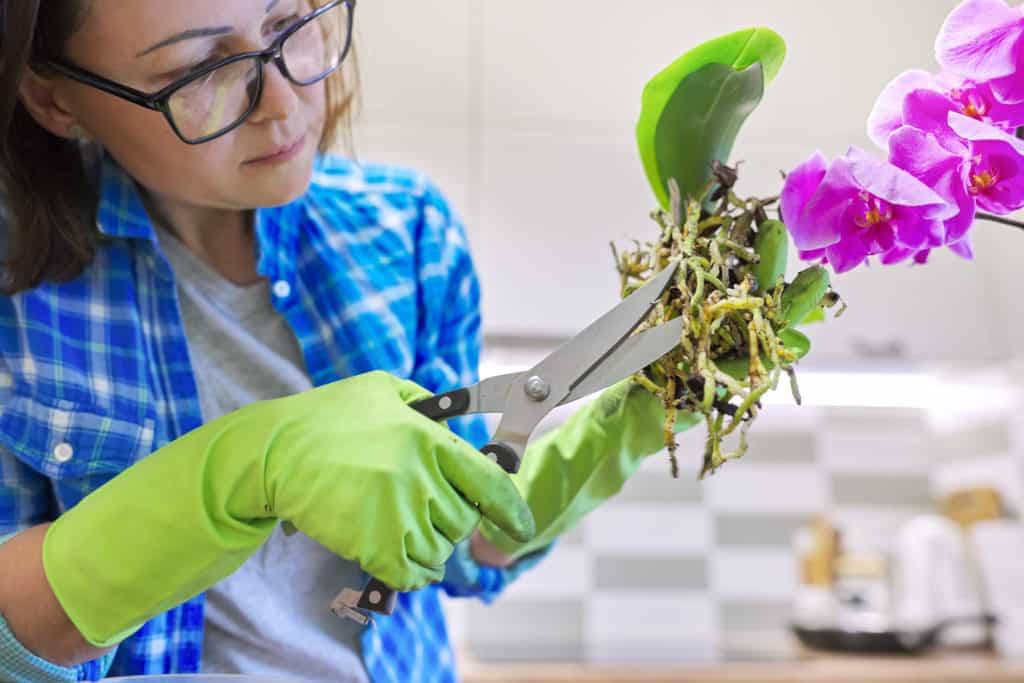
Root rot is the bane of every houseplant owner’s existence and any potted plant in their care. It’s often caused by overwatering and fungal infection in the soil, but that is not to say it is impossible to treat and, ultimately, save your green babies!
Most of the time, you cannot detect root rot until your plants start showing yellow, distorted leaves, discolored stems, and a wafting, awful stench. The root of the problem is happening underground, and the only way to be sure is to remove your plant from the pot and check the roots. If root rot is the problem, you will have to act quickly to remove the rotting roots and repot your plant.
Here are guided steps you should take to fix root rot in your houseplants:
(As an Amazon Associate, I earn from qualifying purchases.)
1. Check the plant for symptoms of root rot like a foul smell
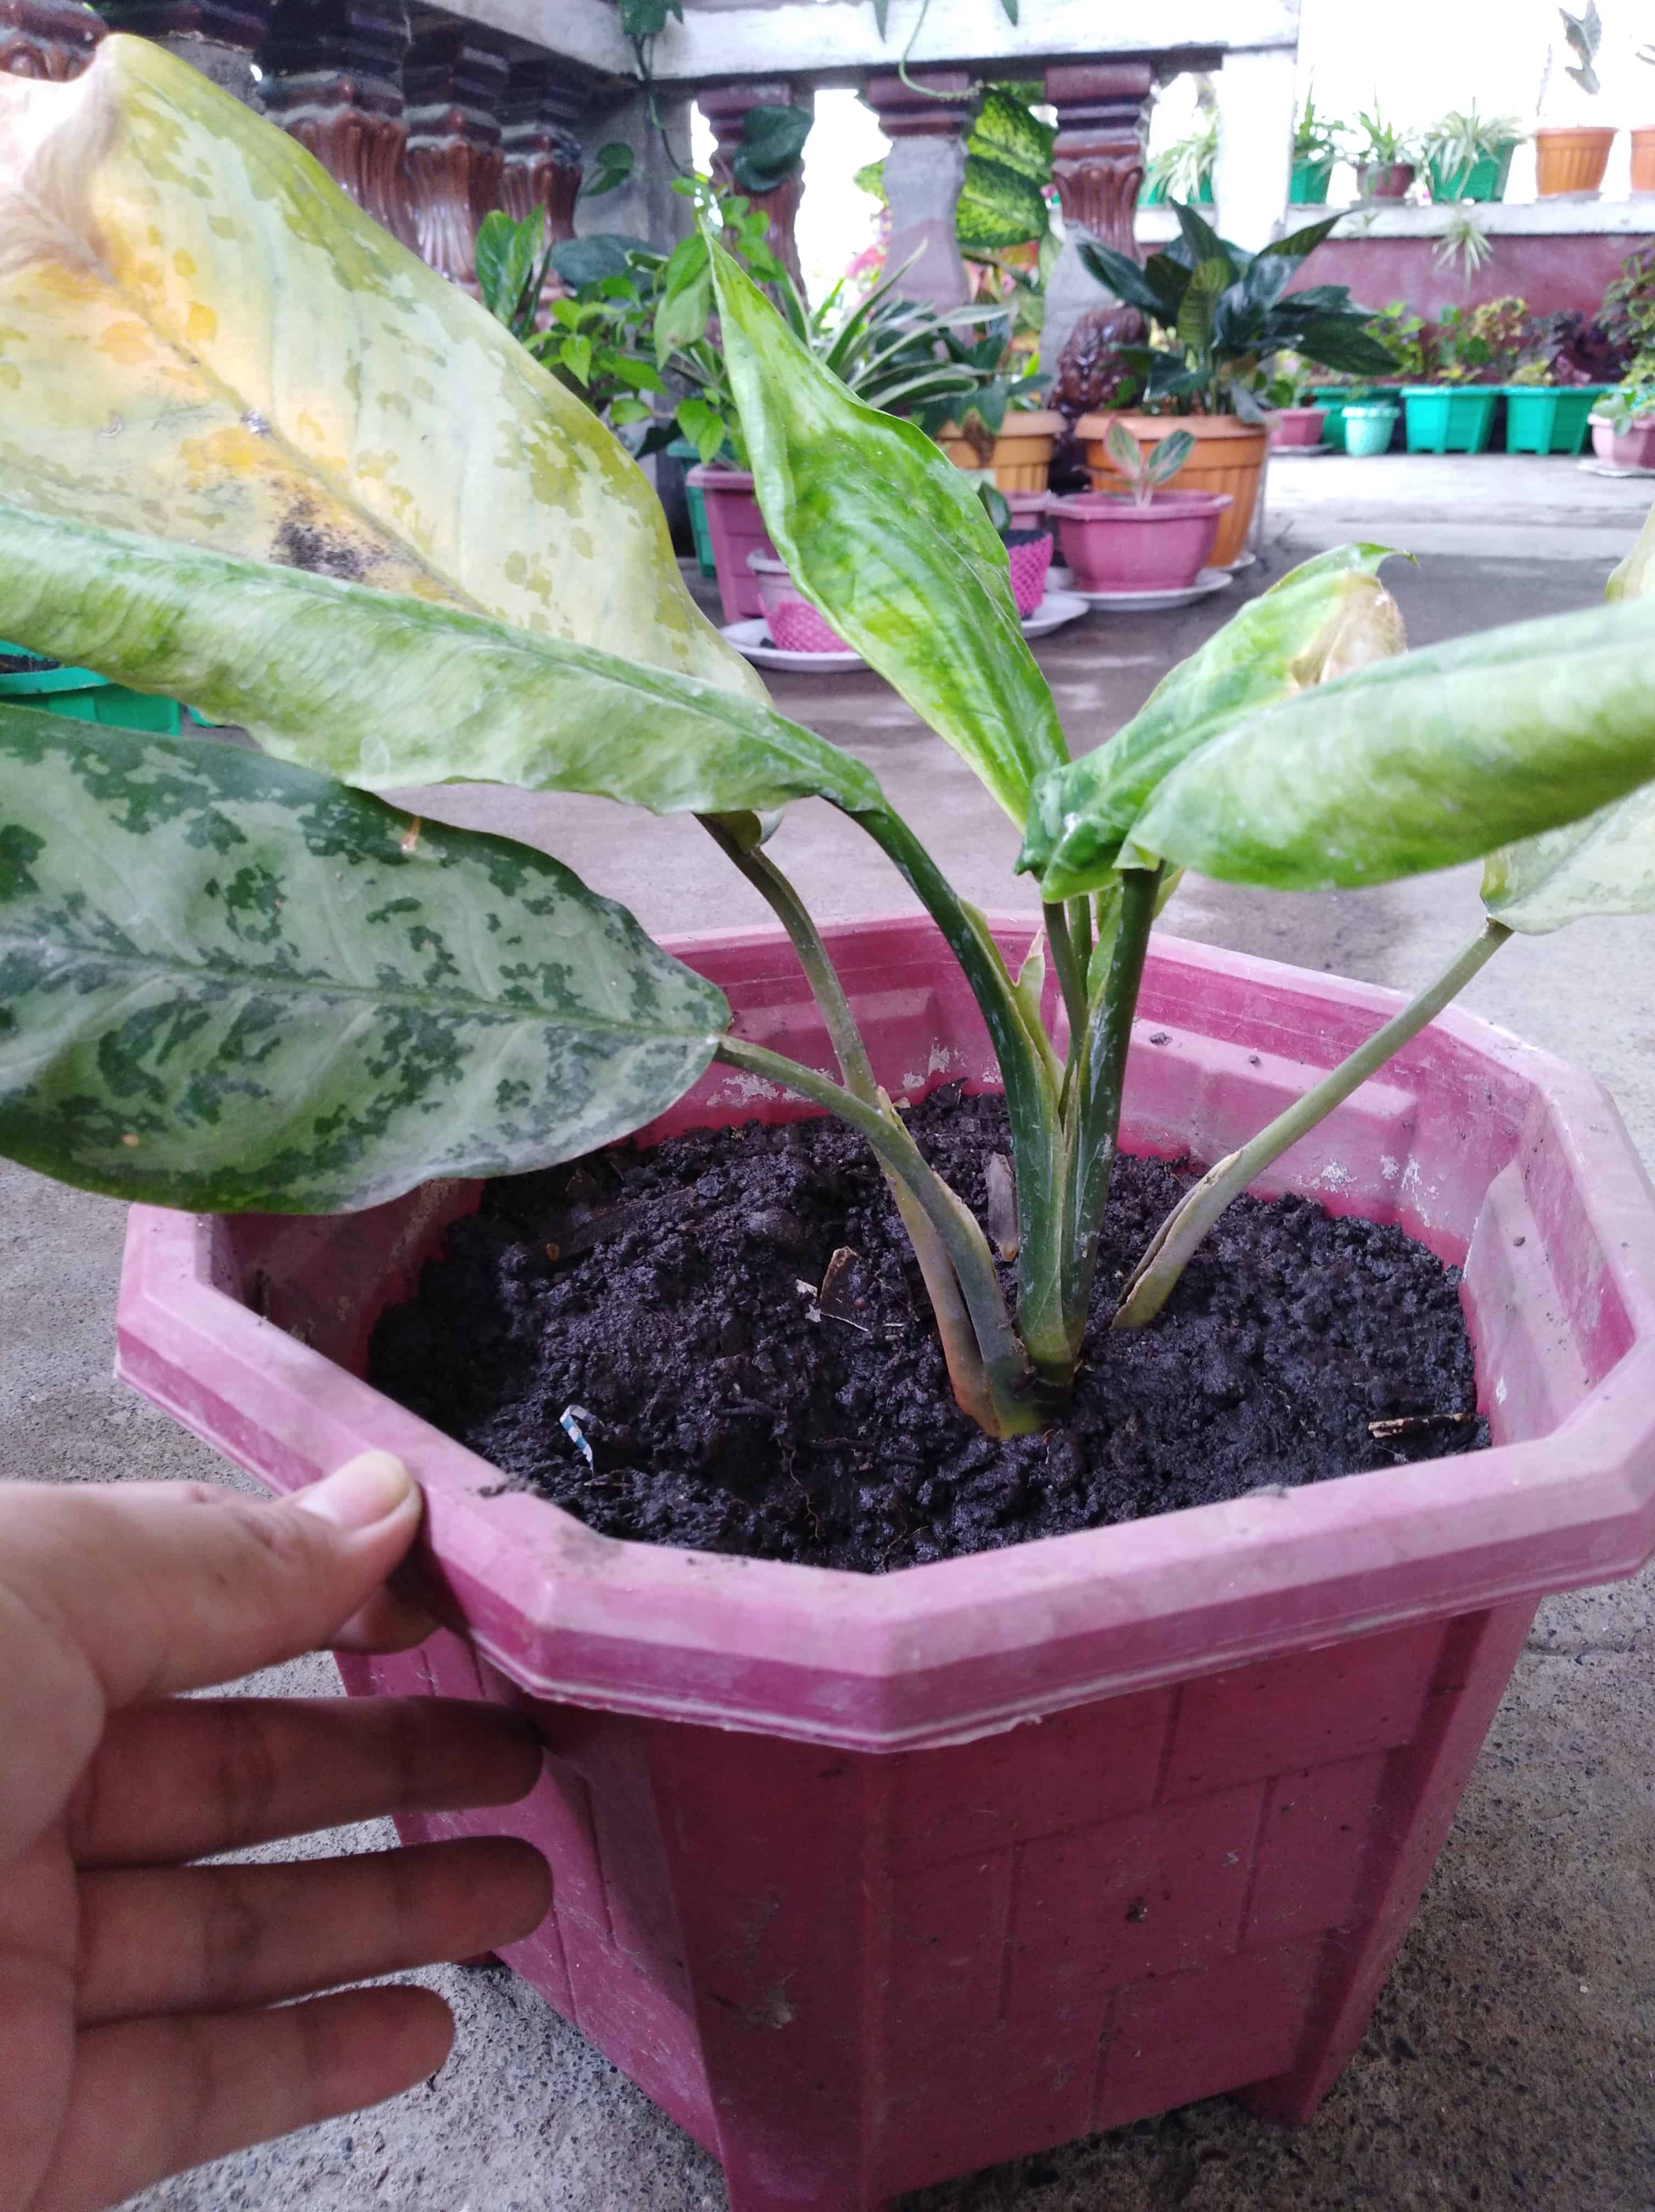
The leading cause of root rot is usually pathogens that thrive in a wet environment, so overwatering is usually the primary reason the rotting occurs. Some pathogens can already be present in the soil lying in dormancy but become active once the soil becomes too wet. The irony of root rot is the plant is filled with too much water but actually dying from dehydration. The roots need oxygen to breathe and take up nutrients, but they start to die from suffocation if the soil is swimming in water.
You can be on the lookout for several symptoms to identify if your plant has root rot: (Note: These signs are not only for detecting root rot, but it could indicate other problems too)
- There is a horrible smell emanating from your plant. Probably one of the loudest cries for help you’ll get from a plant, a bad smell is the number one sign of some serious rotting happening with the plant’s roots. Unless your pet buried something in there, that is. The only way to check is to remove the plant and check to confirm your suspicions.
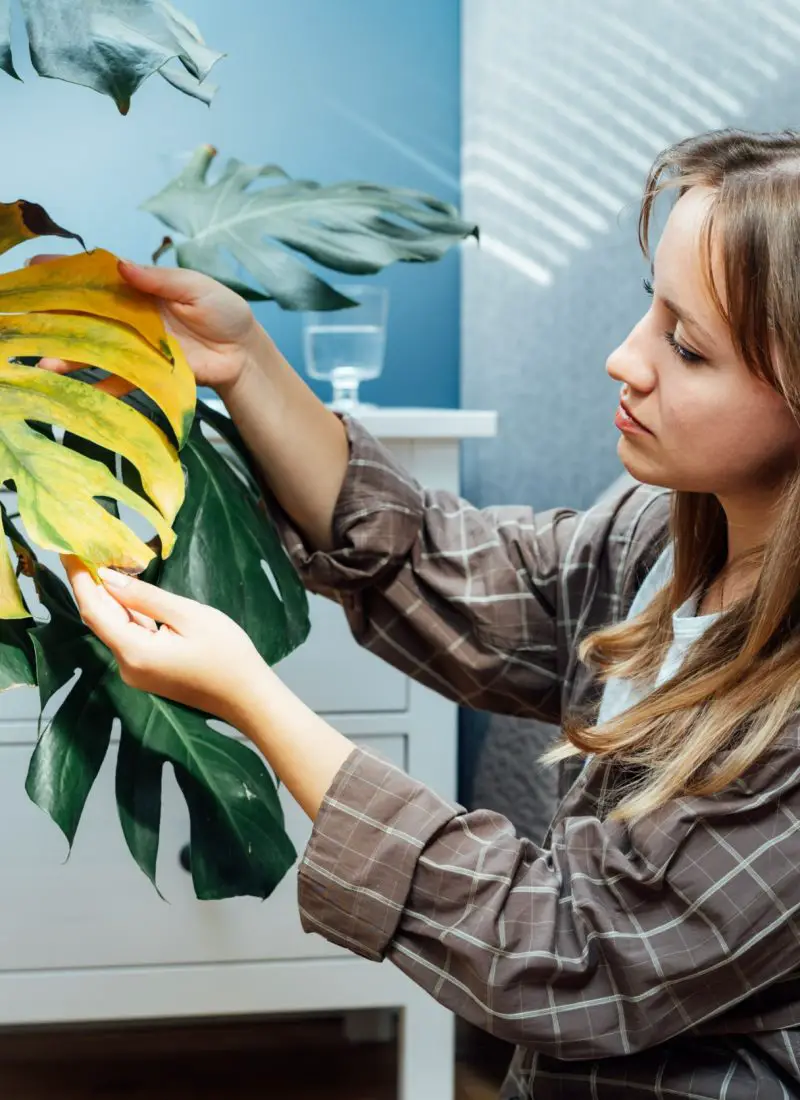
- Wilting or distorted leaves and mushy, soft stems on the plant. I advise you to gently squeeze one of the stems at its base to be sure. If it falls apart too easily in your hands, it’s likely to be root rot. The disease is happening underground, working its way up and affecting the bottom portion first. If it has gone all the way to the top, you may be too late.
- The soil is extremely wet, but the leaves are brown and dried up. Maybe you forgot that you already had water that plant the other day, or perhaps you left it outside one day on a rainy day. Either way, the plant is drowning in water. But for some reason, despite giving it a good glug of water, your plant’s leaves are falling. As I mentioned earlier, the roots are suffocating from the waterlogged soil, causing it to rot. You can prevent this by always doing the knuckle test before watering your plants. Read more on the knuckle test and proper watering here.
- The leaves are yellowing, the stem has discolored, and there is no new growth on the plant. This symptom is not immediately a sign of root rot, but it could be one of them. Something is definitely killing your plant, so it’s worth checking whether other problems could be causing this before checking your plant’s roots. You can read about common houseplant diseases and pests here that also cause stem discoloration and yellow leaves.
A dead giveaway is if you notice all these symptoms present on the plant. But, the only failsafe way to be sure of root rot is to check the plant’s roots. I know; I’ve been saying this over and over forever. But for all you know, your plant’s roots are actually extremely healthy; it’s just rootbound or suffering from pests. Now that’s another problem to handle.
2. Remove the plant gently out of its pot
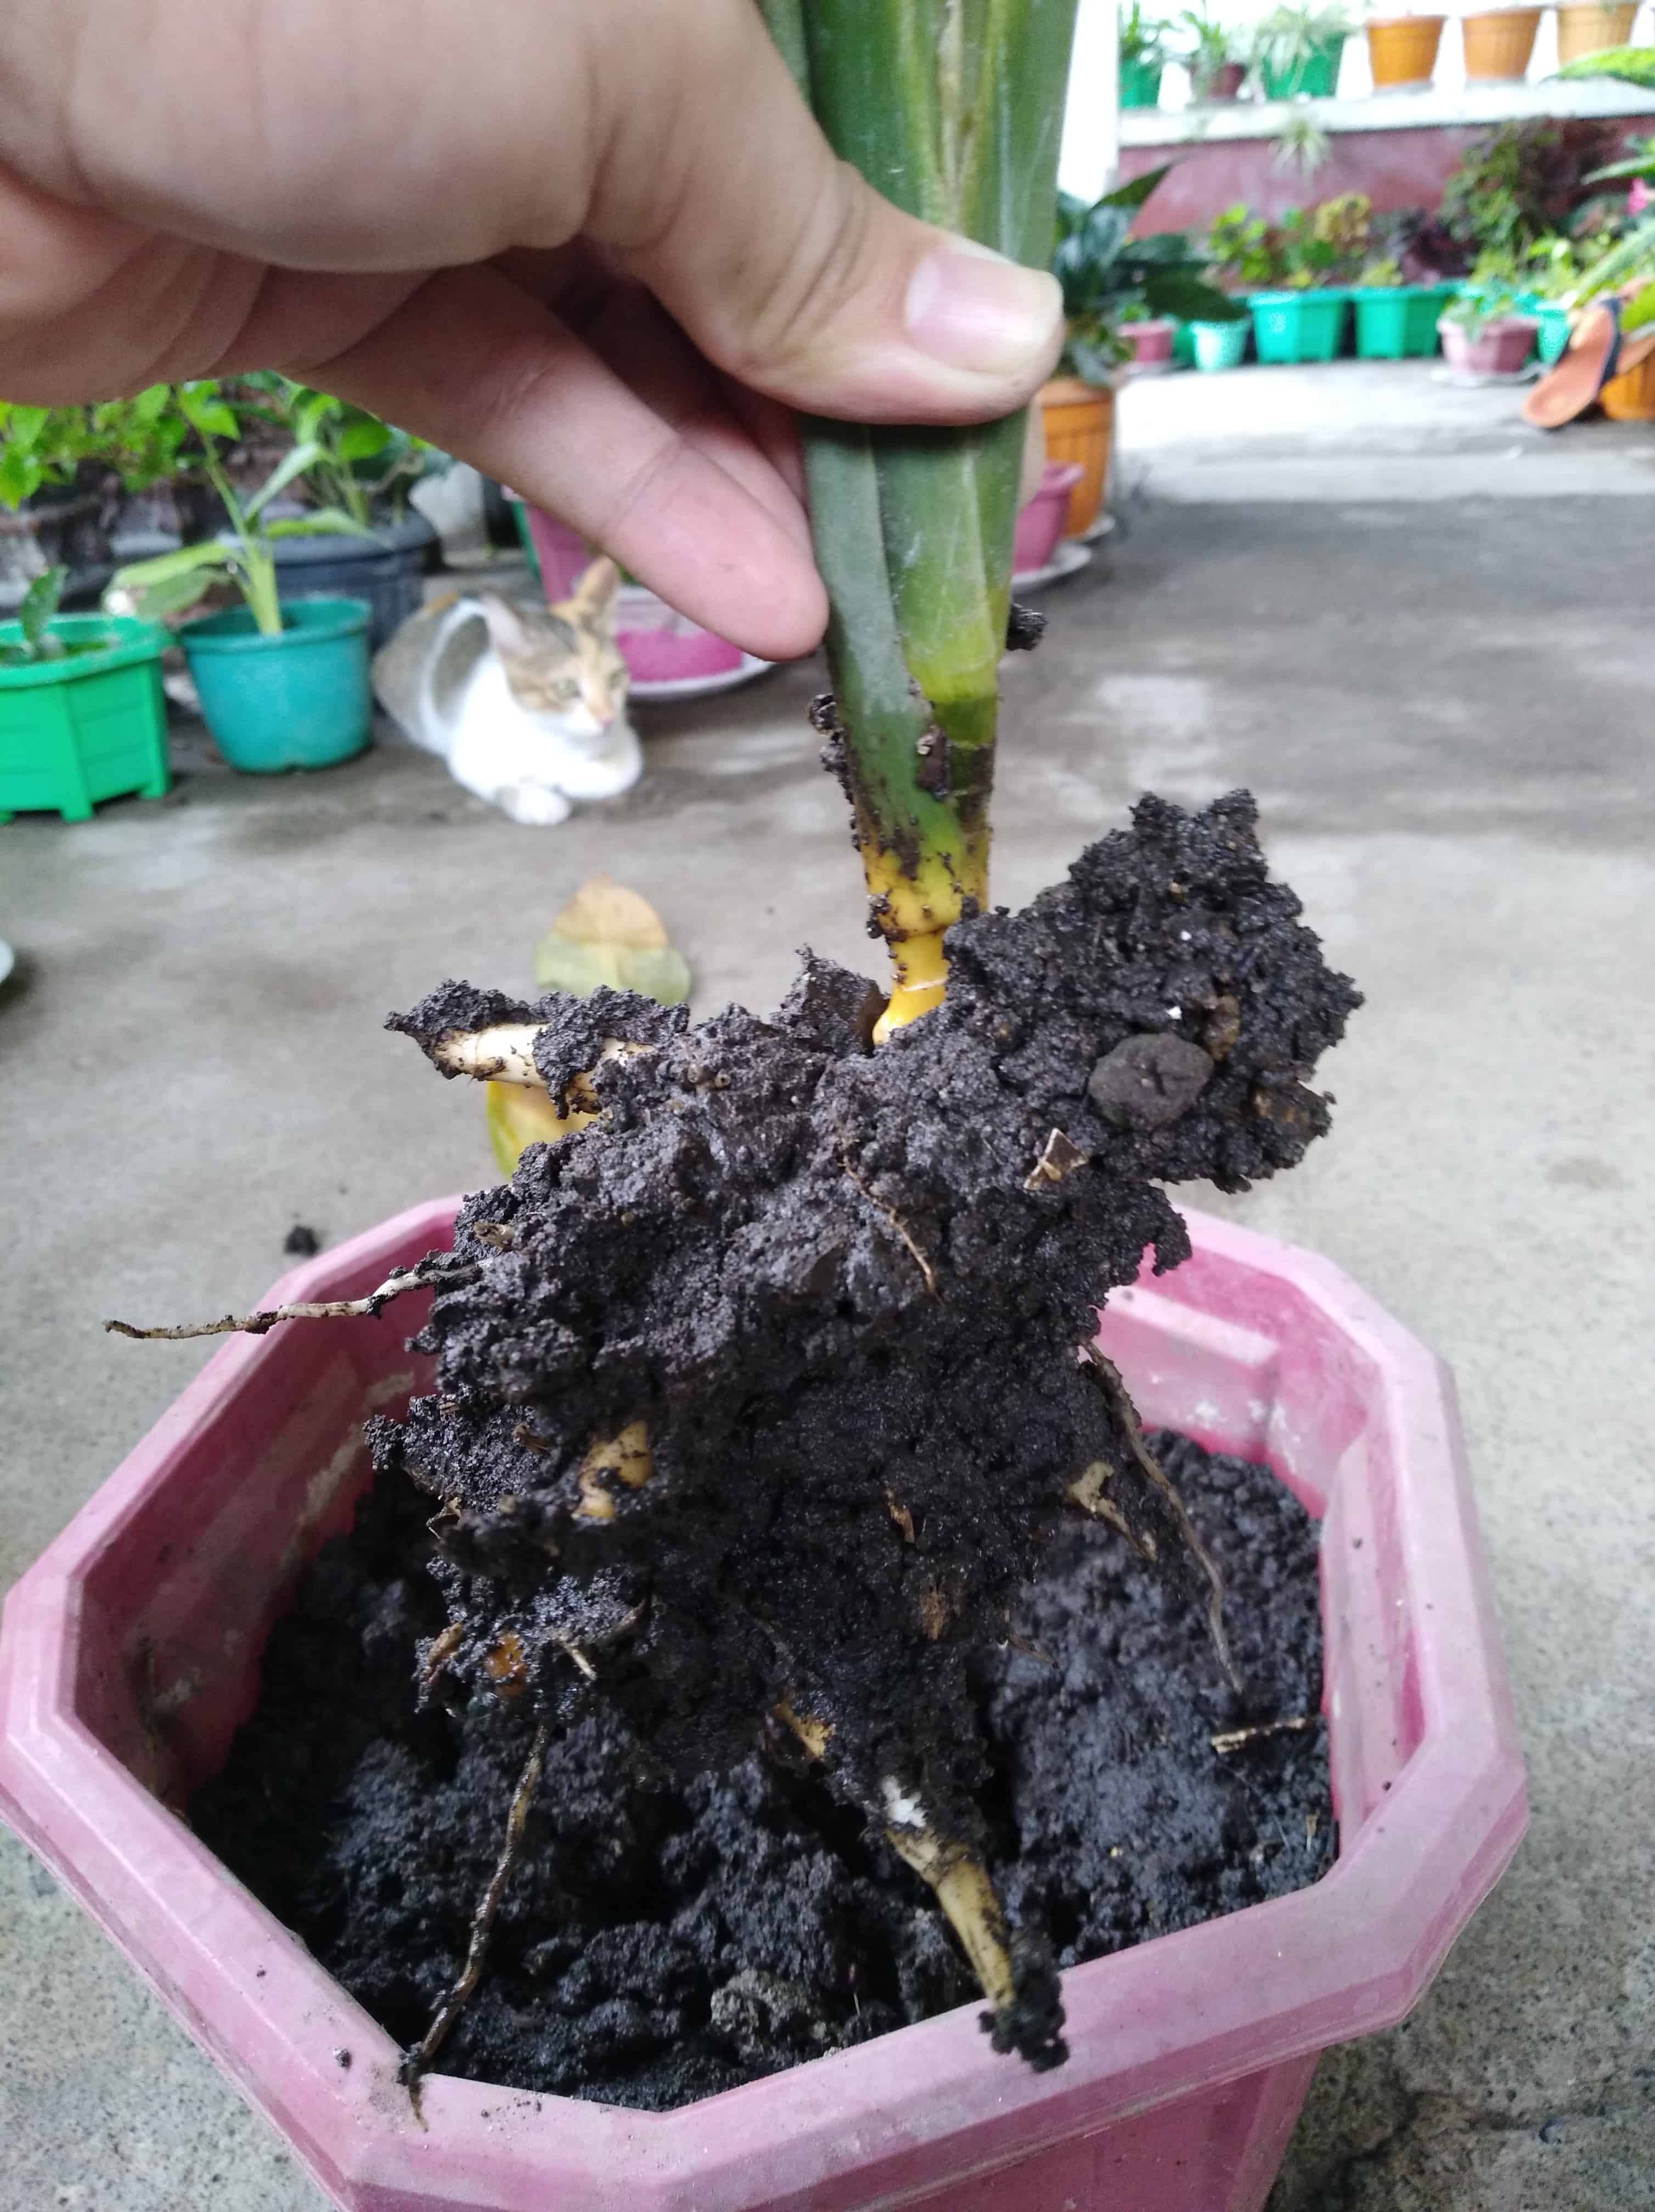
If the plant has severe root rot, the stem will often be too soft and break off if you handle it too roughly. When it does, it means the plant is probably too far gone to be saved because the rot has already progressed past the plant’s root system and has cut off the nutrients to the top of the plant. However, if the stem is simply discolored but firm to the touch, you still have time to rescue the plant. Even if you are handling a firm stem with no discoloration, ensure to release the plant from the pot carefully with both hands:
- With a hand supporting the plant at the base of its stem, gently pull the plant upwards. You can also tip the pot to the side and wiggle the plant out gently this way.
- If the plant doesn’t budge, slide a butter knife (don’t use this butter knife for your bread anymore) inside the pot at the sides. It will help loosen the soil from the pot without causing stress to the plant.
- If the plant is too big to move around like this or is woody and the roots are “locked” in the pot, you may have to resort to breaking the pot instead. If it’s a ceramic pot, use a hammer to gently break it. If it’s a plastic pot, use a strong pair of scissors or a utility knife to cut through the material.
3. Wash the plant’s roots under running water
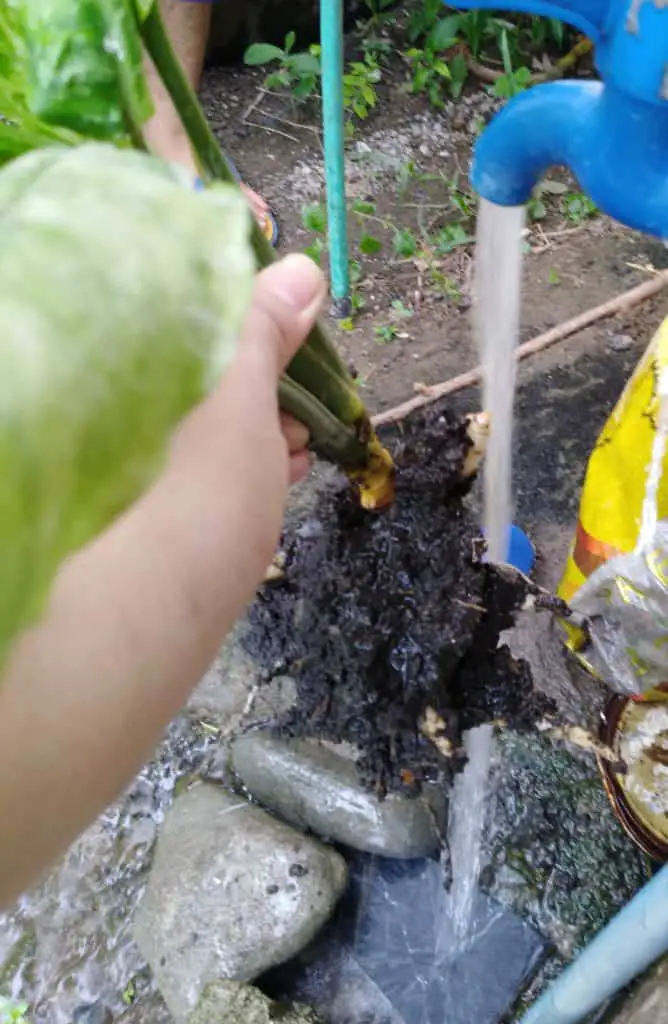
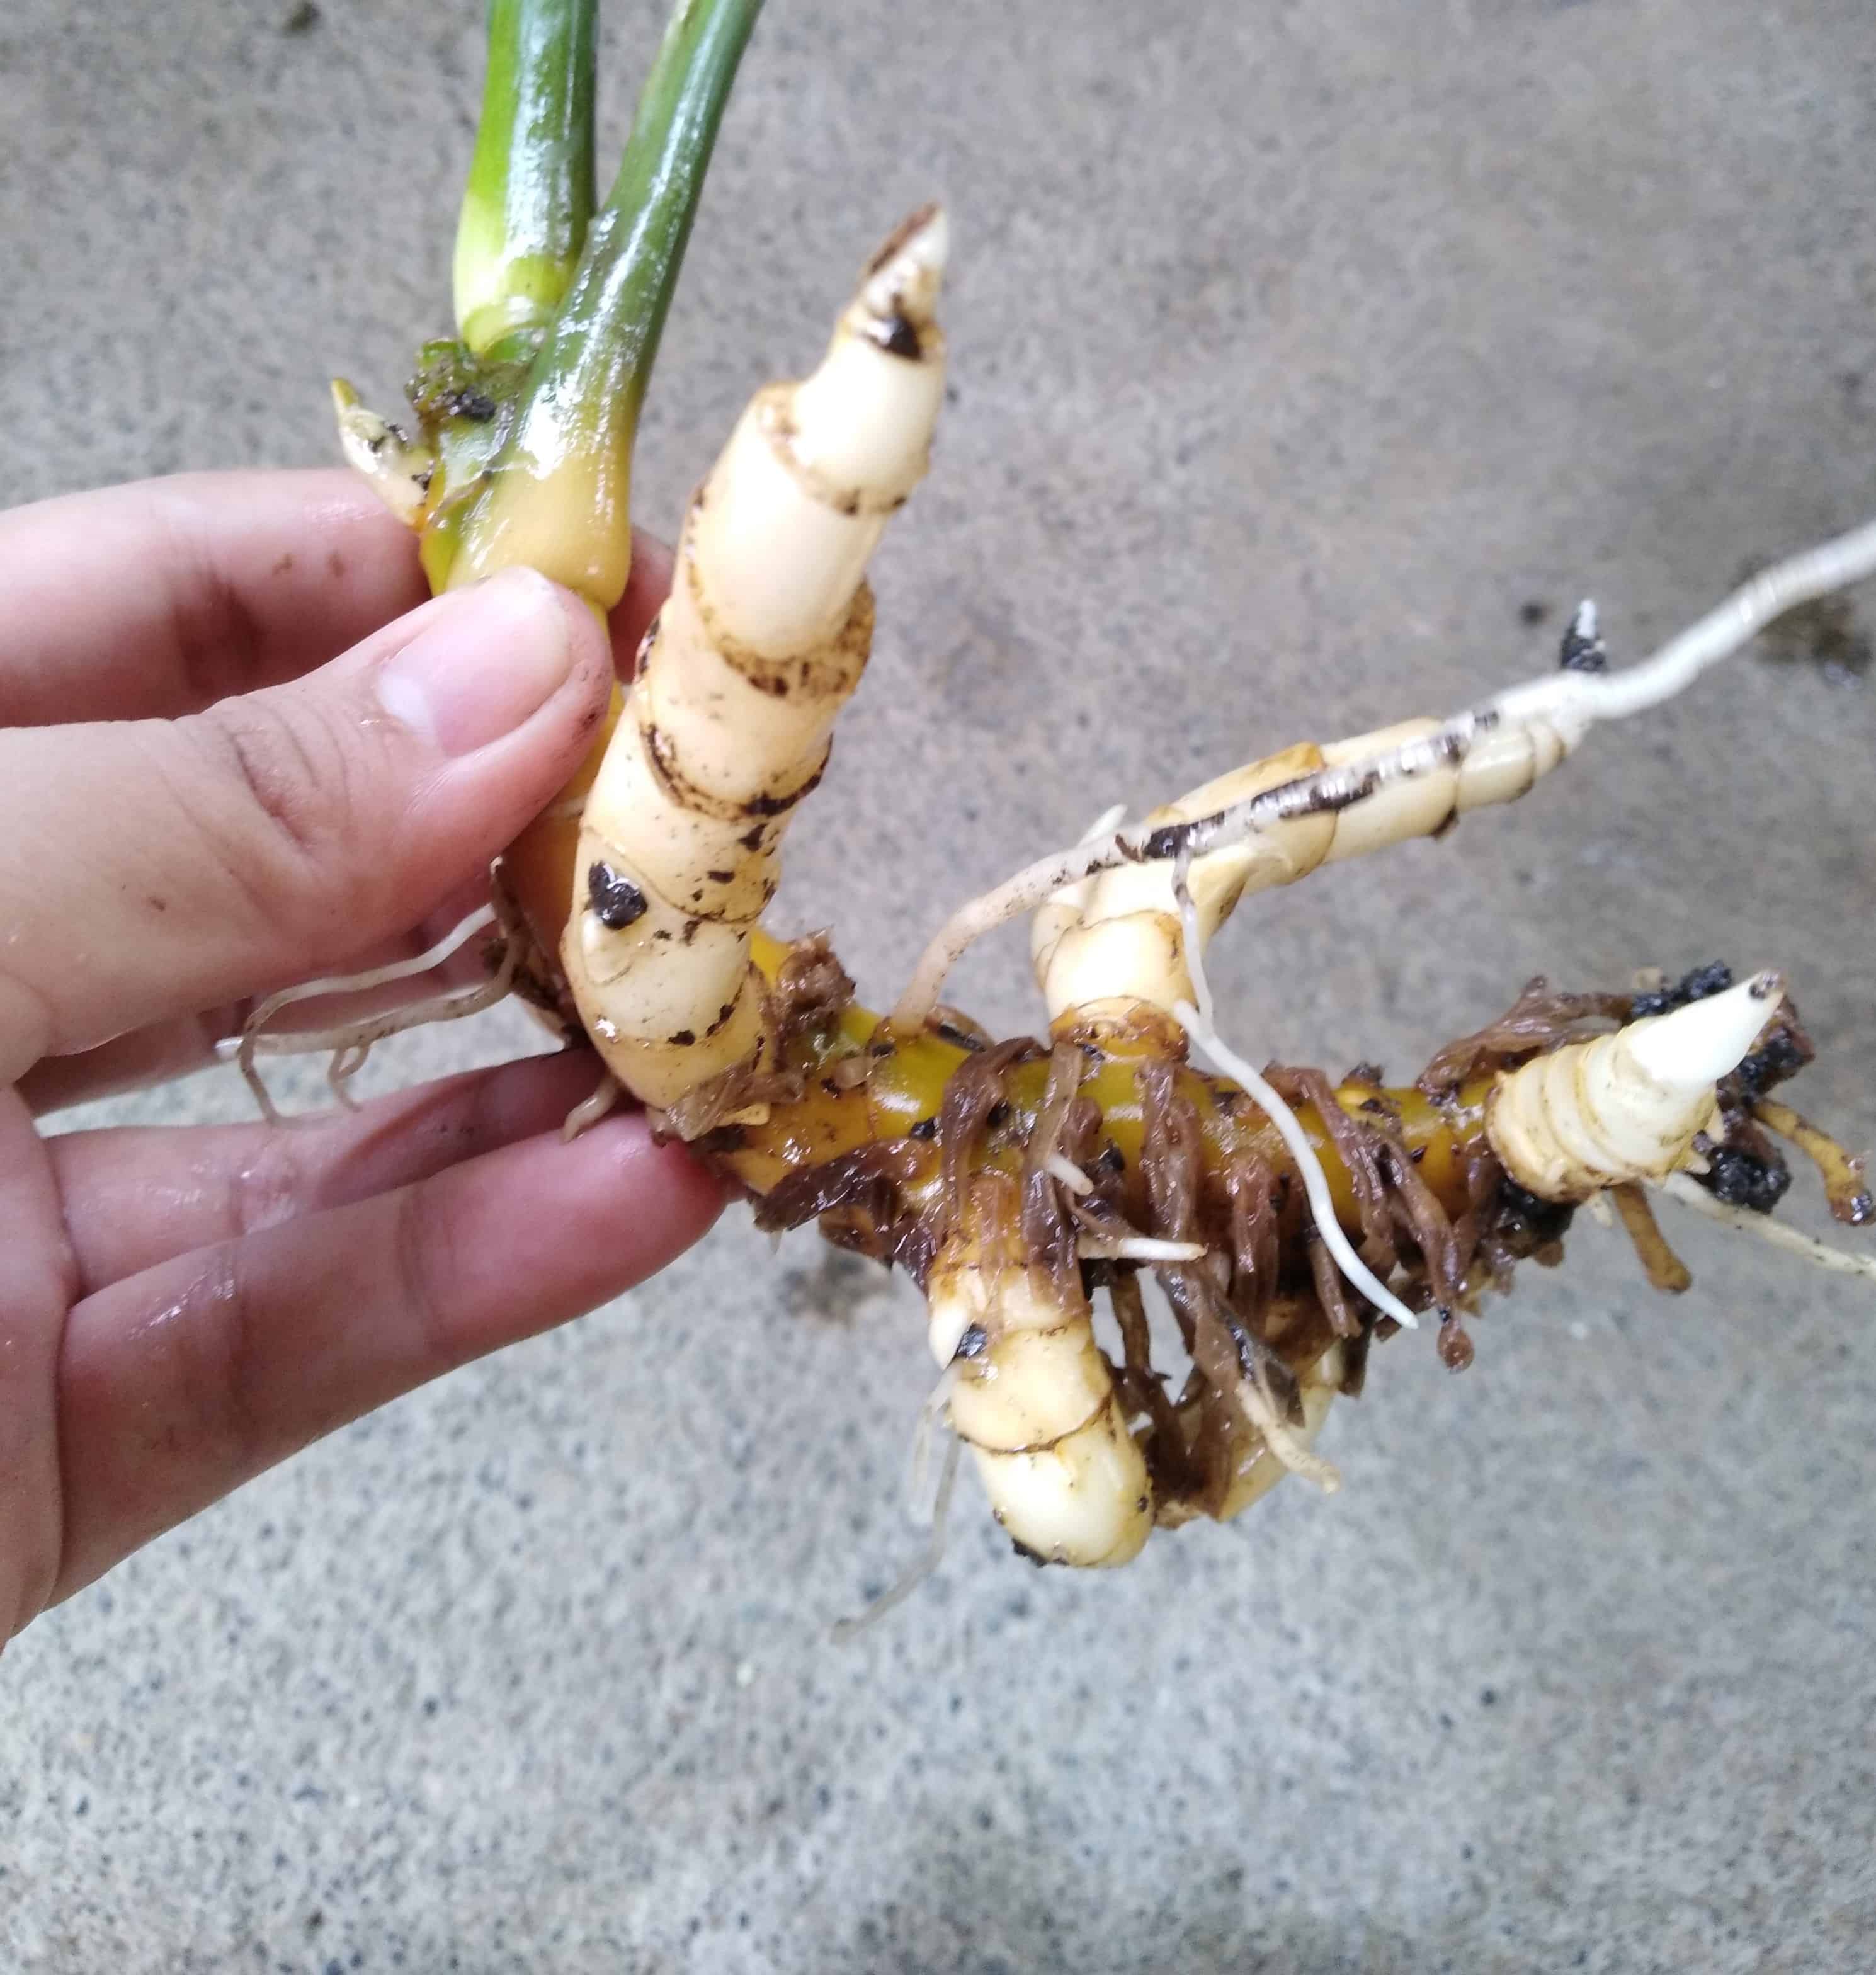
For small to medium houseplants, you can do this in the sink easily. Simply rinse off the infected soil from the plant’s roots until you can clearly see the entire root system. It will help you spot the rotting roots easily this way.
For large houseplants, I recommend doing this in the bathroom for easy cleanup in the tub or shower. But if you have a yard, use a garden hose. It will get a bit messy, so you might want to keep your dainty bunny slippers or new kicks away from this whole ordeal.
Once the soil has been rinsed off, check the roots carefully:
- A healthy root system will have white and firm roots all around.
- Mild root rot will have a mixture of limp reddish-brown and white roots.
- Severe root rot will have mushy brown and black roots with a foul smell.
4. Before trimming rotting roots, disinfect your cutting tool
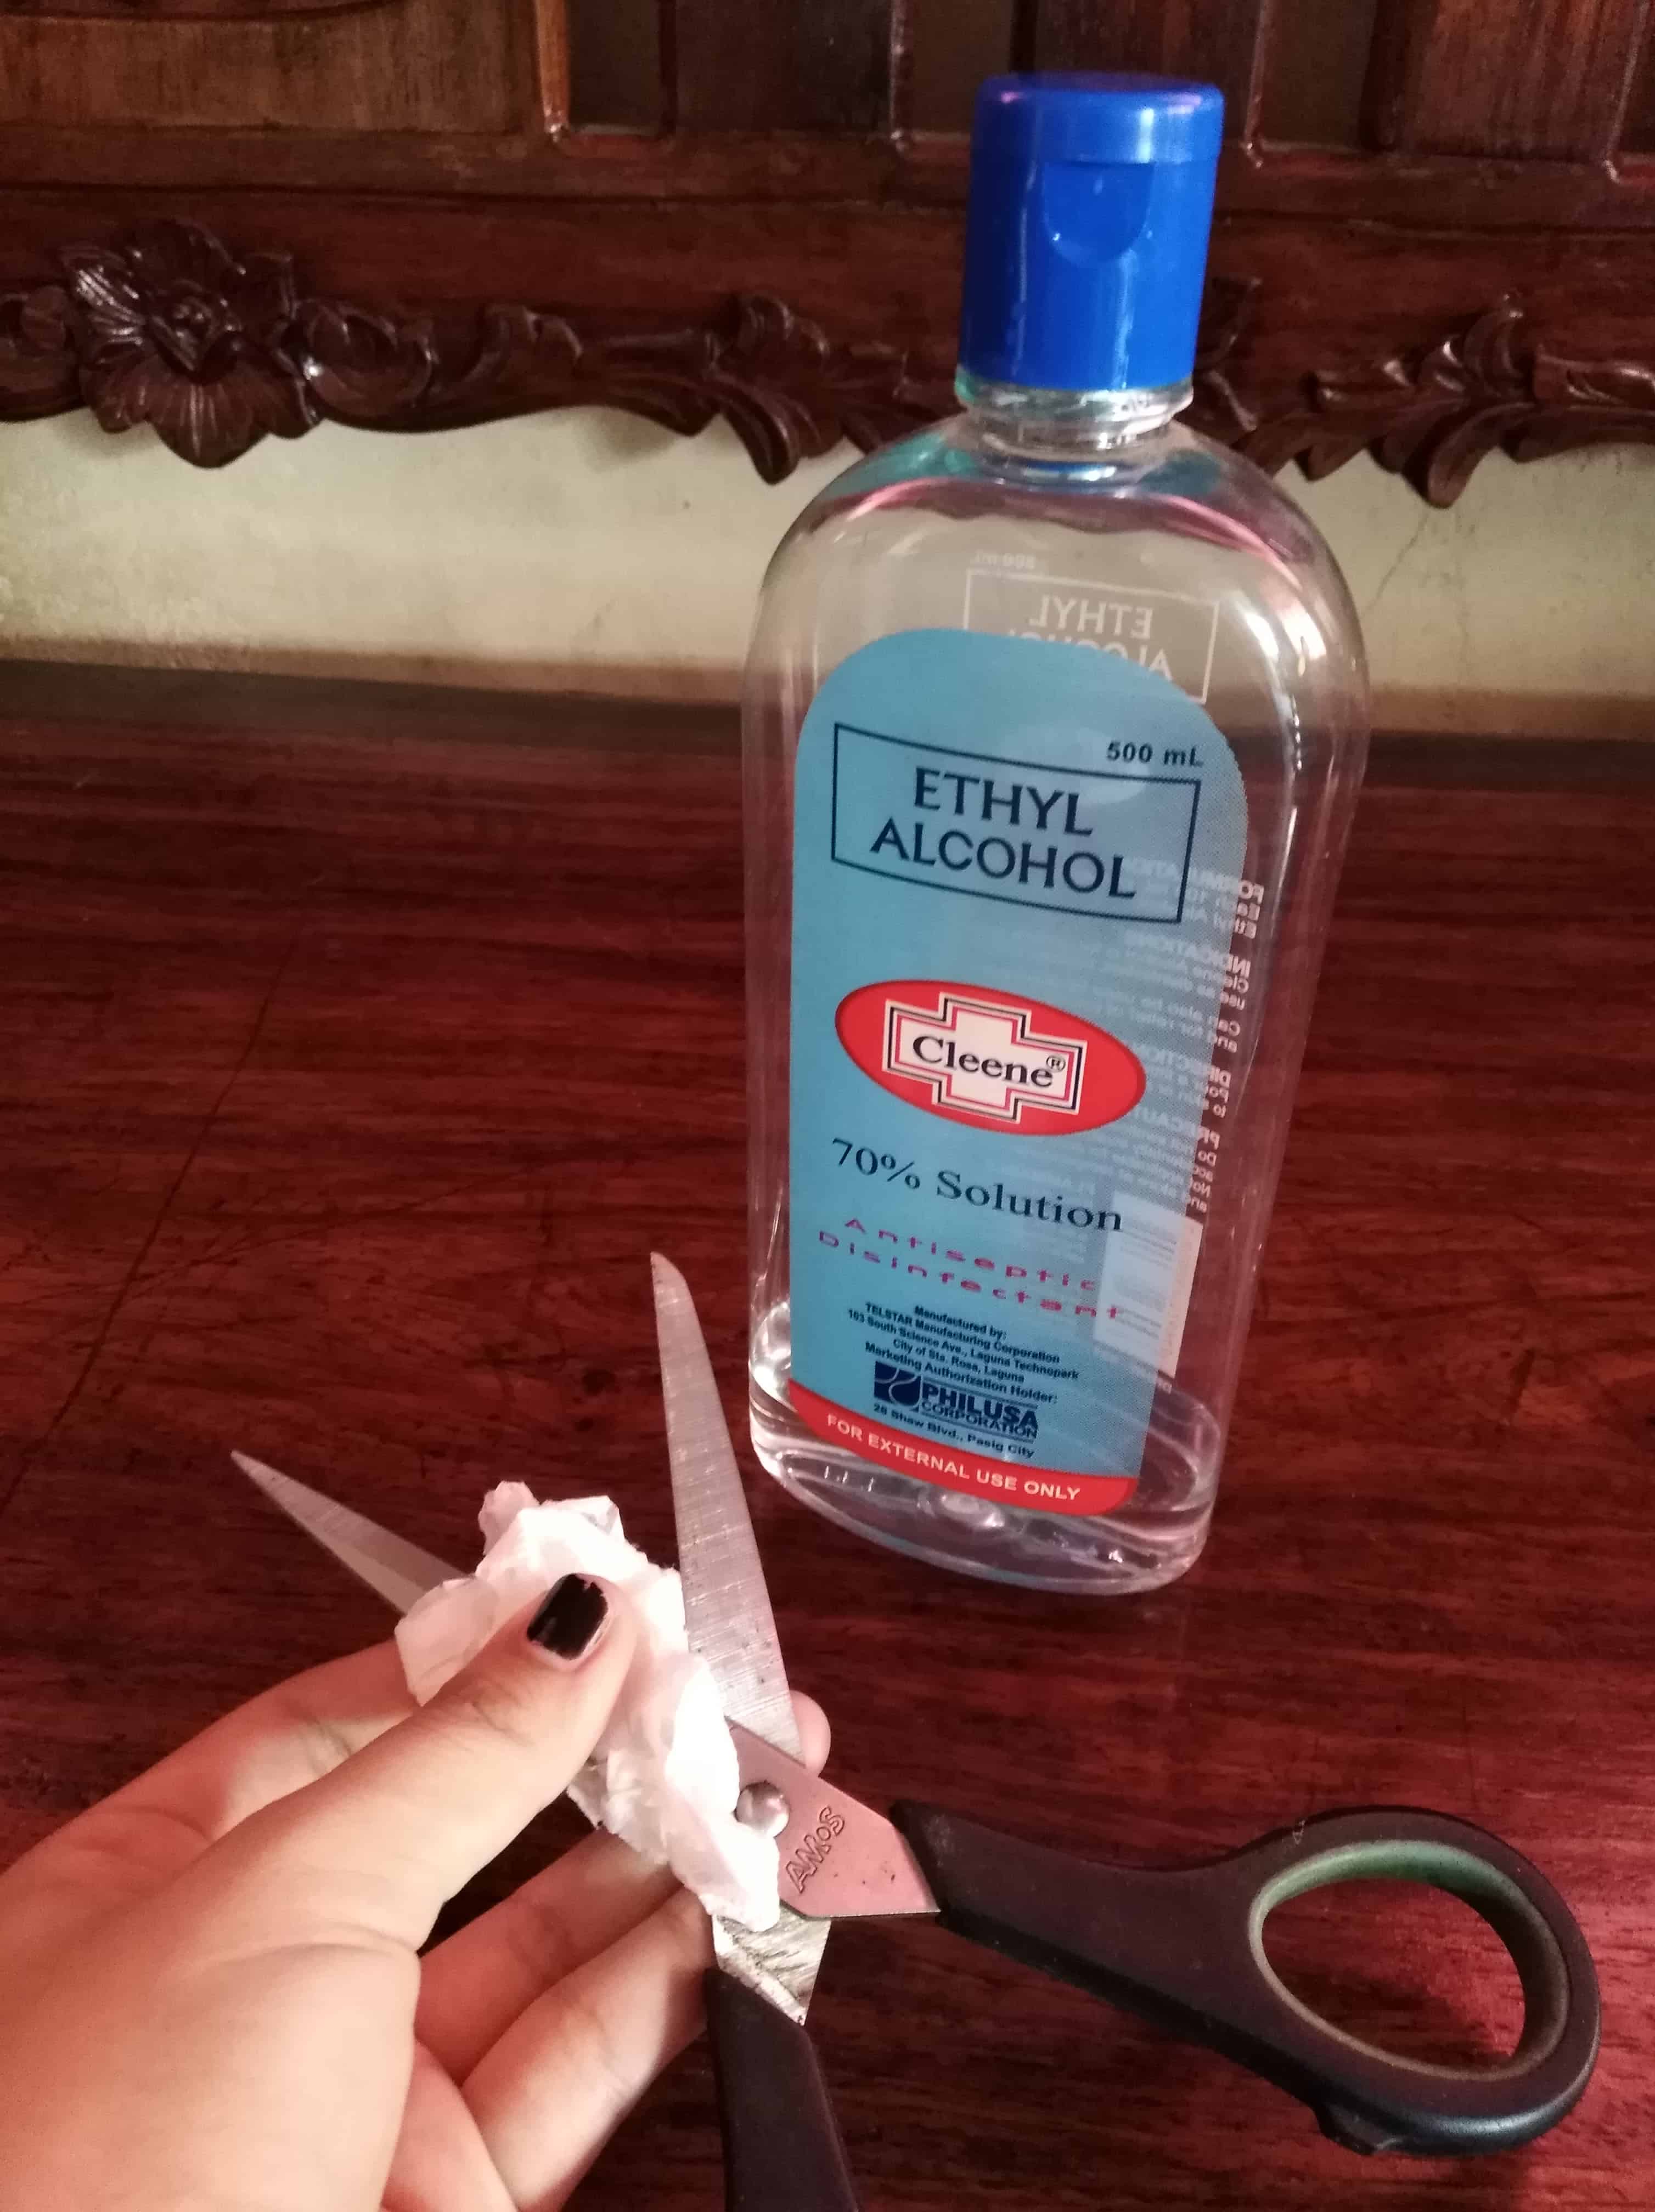
Since you will be cutting roots off a sick plant, it’s good practice to always disinfect your cutting tool. Or any gardening tools before and after using it on an infected plant. It helps to get rid of any pathogens lingering, preventing unwanted transmission to other plants and soil. There are two ways you can do this:
a. Using Ethyl or Isopropyl alcohol. (The easy way)
- Apply a few dabs of alcohol on a clean cloth or tissue.
- With the damp cloth or tissue, wipe the cutting tool thoroughly.
b. Using household bleach. (Note: Use gloves when handling this mixture)
- In a bowl, mix 1 part of bleach with 9 parts of water. The measurement for this could be something like 1 cup of bleach and 9 cups of water. Adjust as needed for your uses.
- Soak the cutting tool in this mixture for 30 minutes.
- Wash the cutting tool with hot, soapy water and rinse thoroughly.
- Wipe the cutting tool dry before use.
5. Cut off the mushy, black roots on the plant
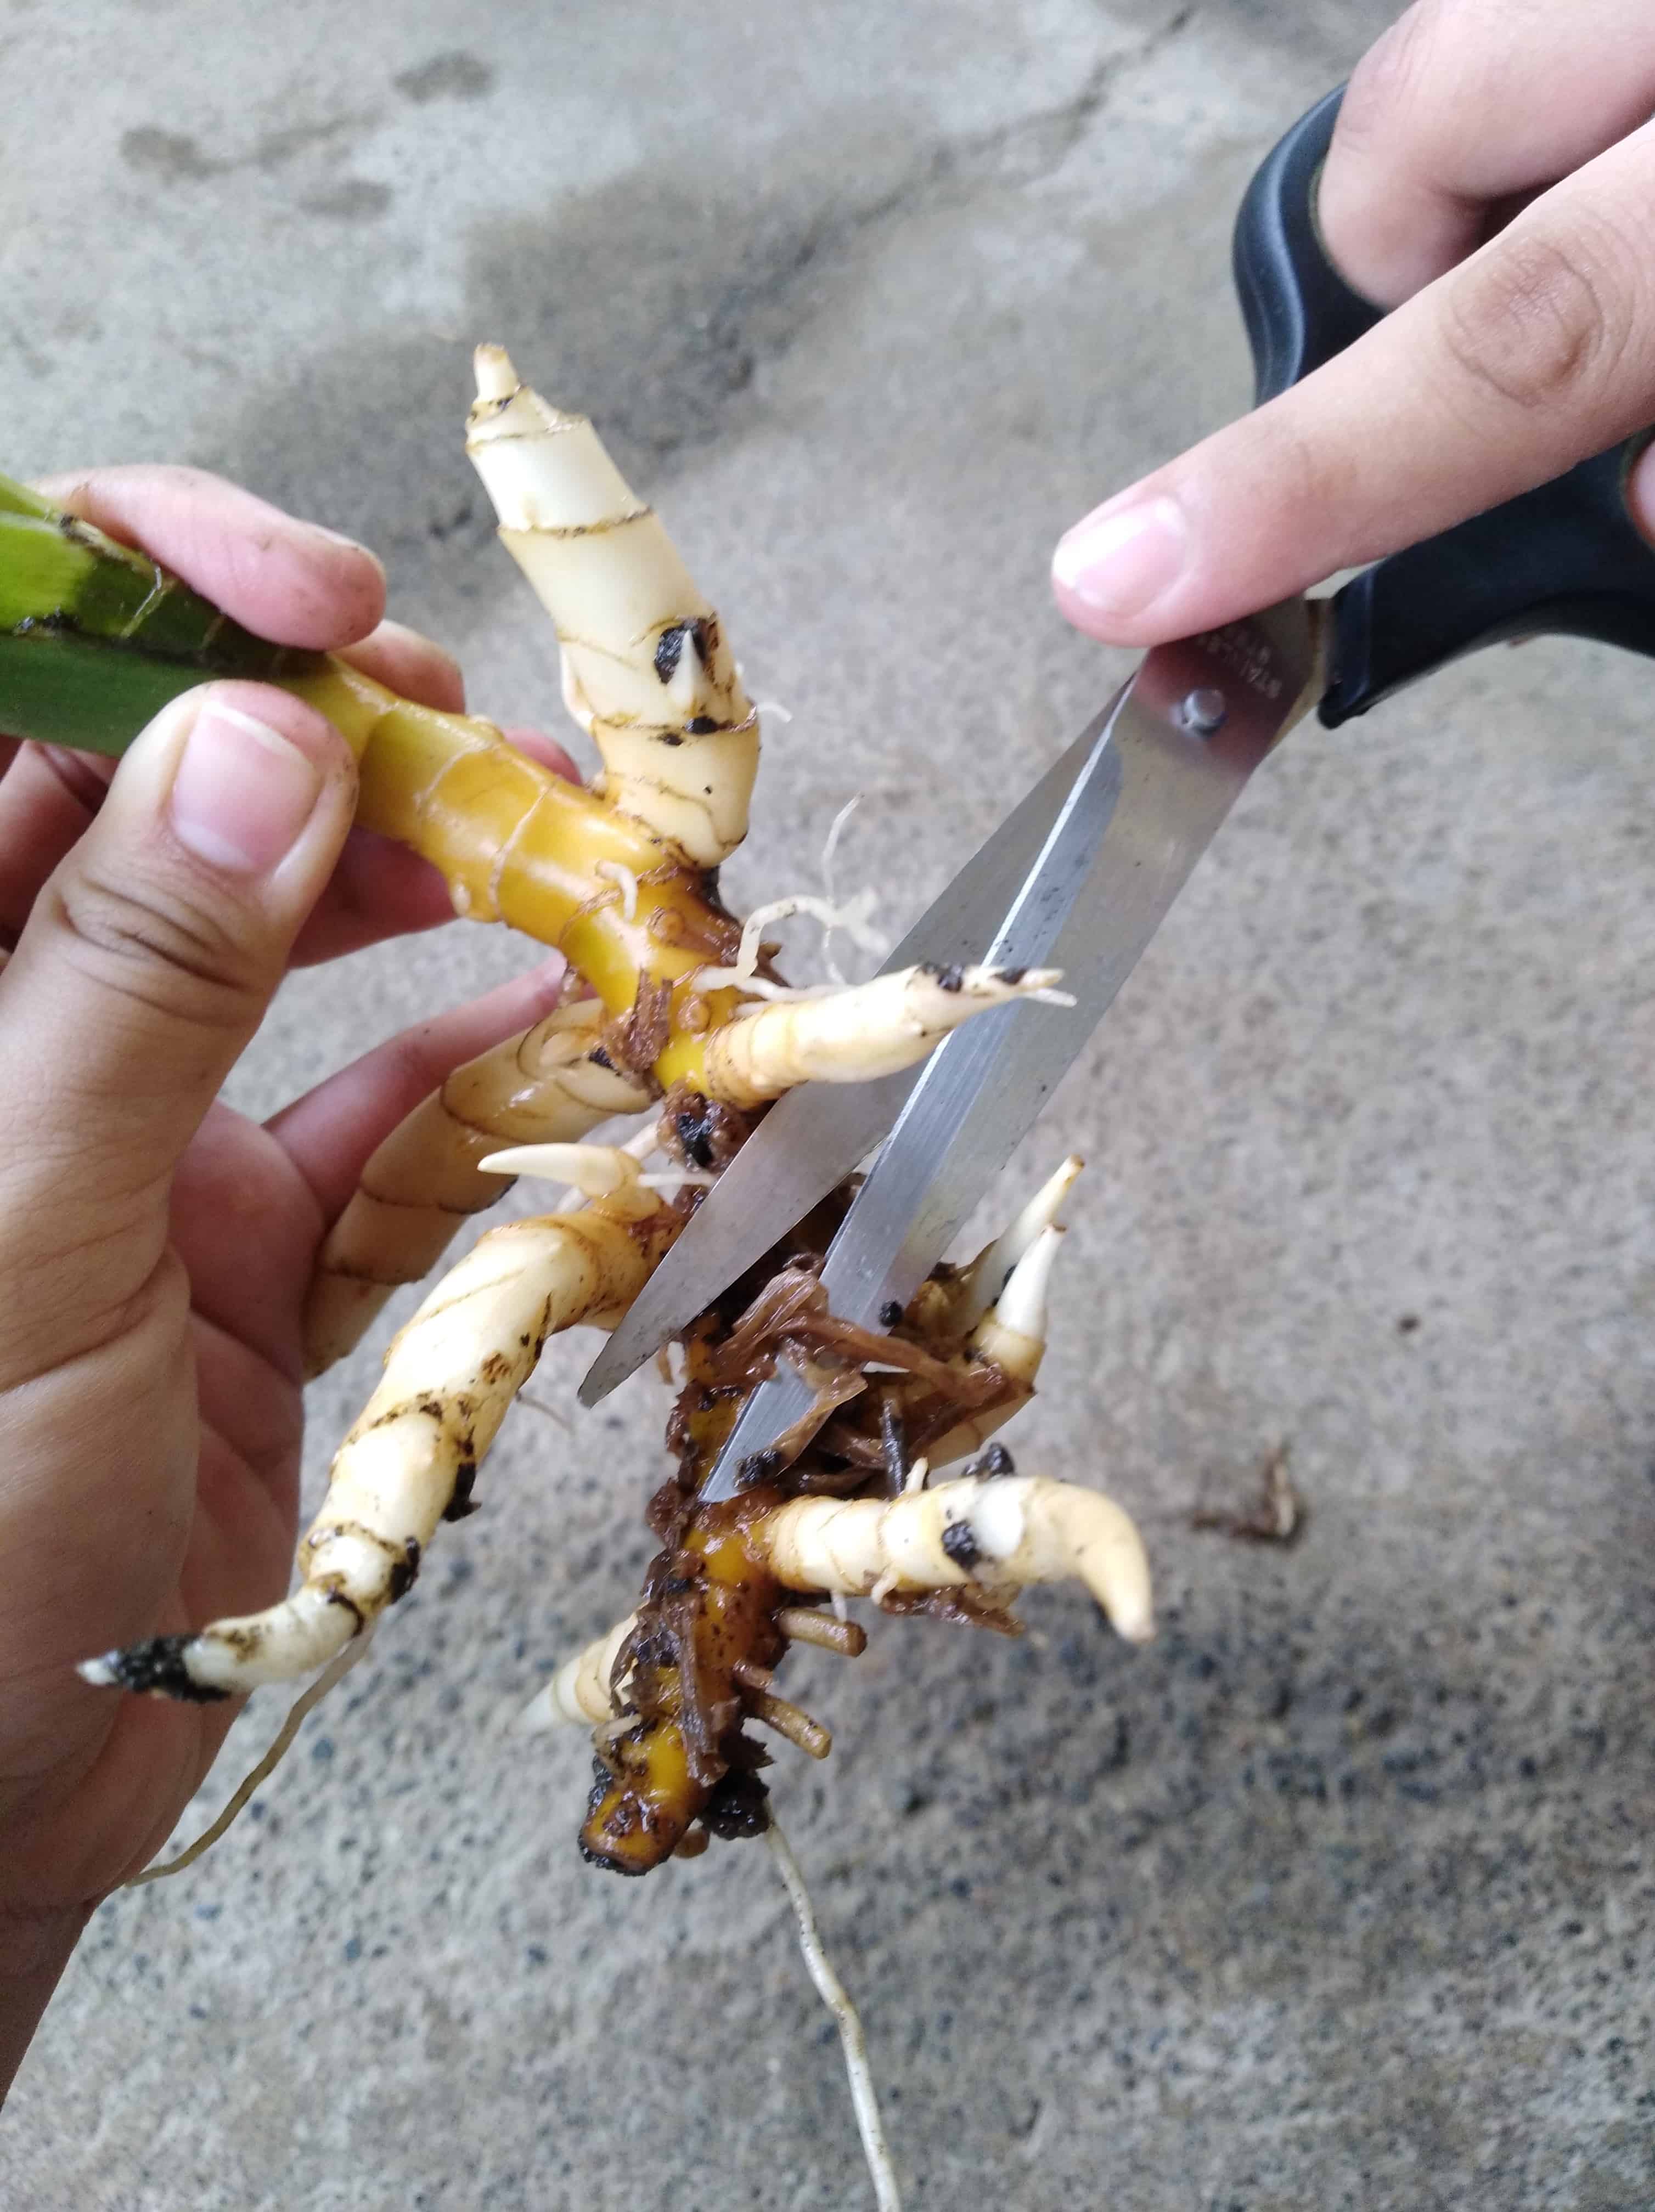
With your disinfected cutting tool, get rid of any reddish-brown, brown, and black roots you see. If there are still remaining healthy white roots left, the plant still has a chance of surviving. However, if the entire root system is nothing but blackened mush, then there’s simply no coming back for the plant. It’s sad, but it’s true, a tragic end for the little green dude.
Make sure to collect the dead roots and place them alongside the infected soil. You don’t want to put this in your compost bin because you will end up contaminating your healthy compost as well.
At the same time, remove dead or dying stems on the plant. It’s unlikely that anything will grow from these stems anymore. As long as you have a few healthy stems still doing fine, then you’re doing the plant a favor by getting rid of the dead weight.
6. Trim damaged and dying leaves off the plant
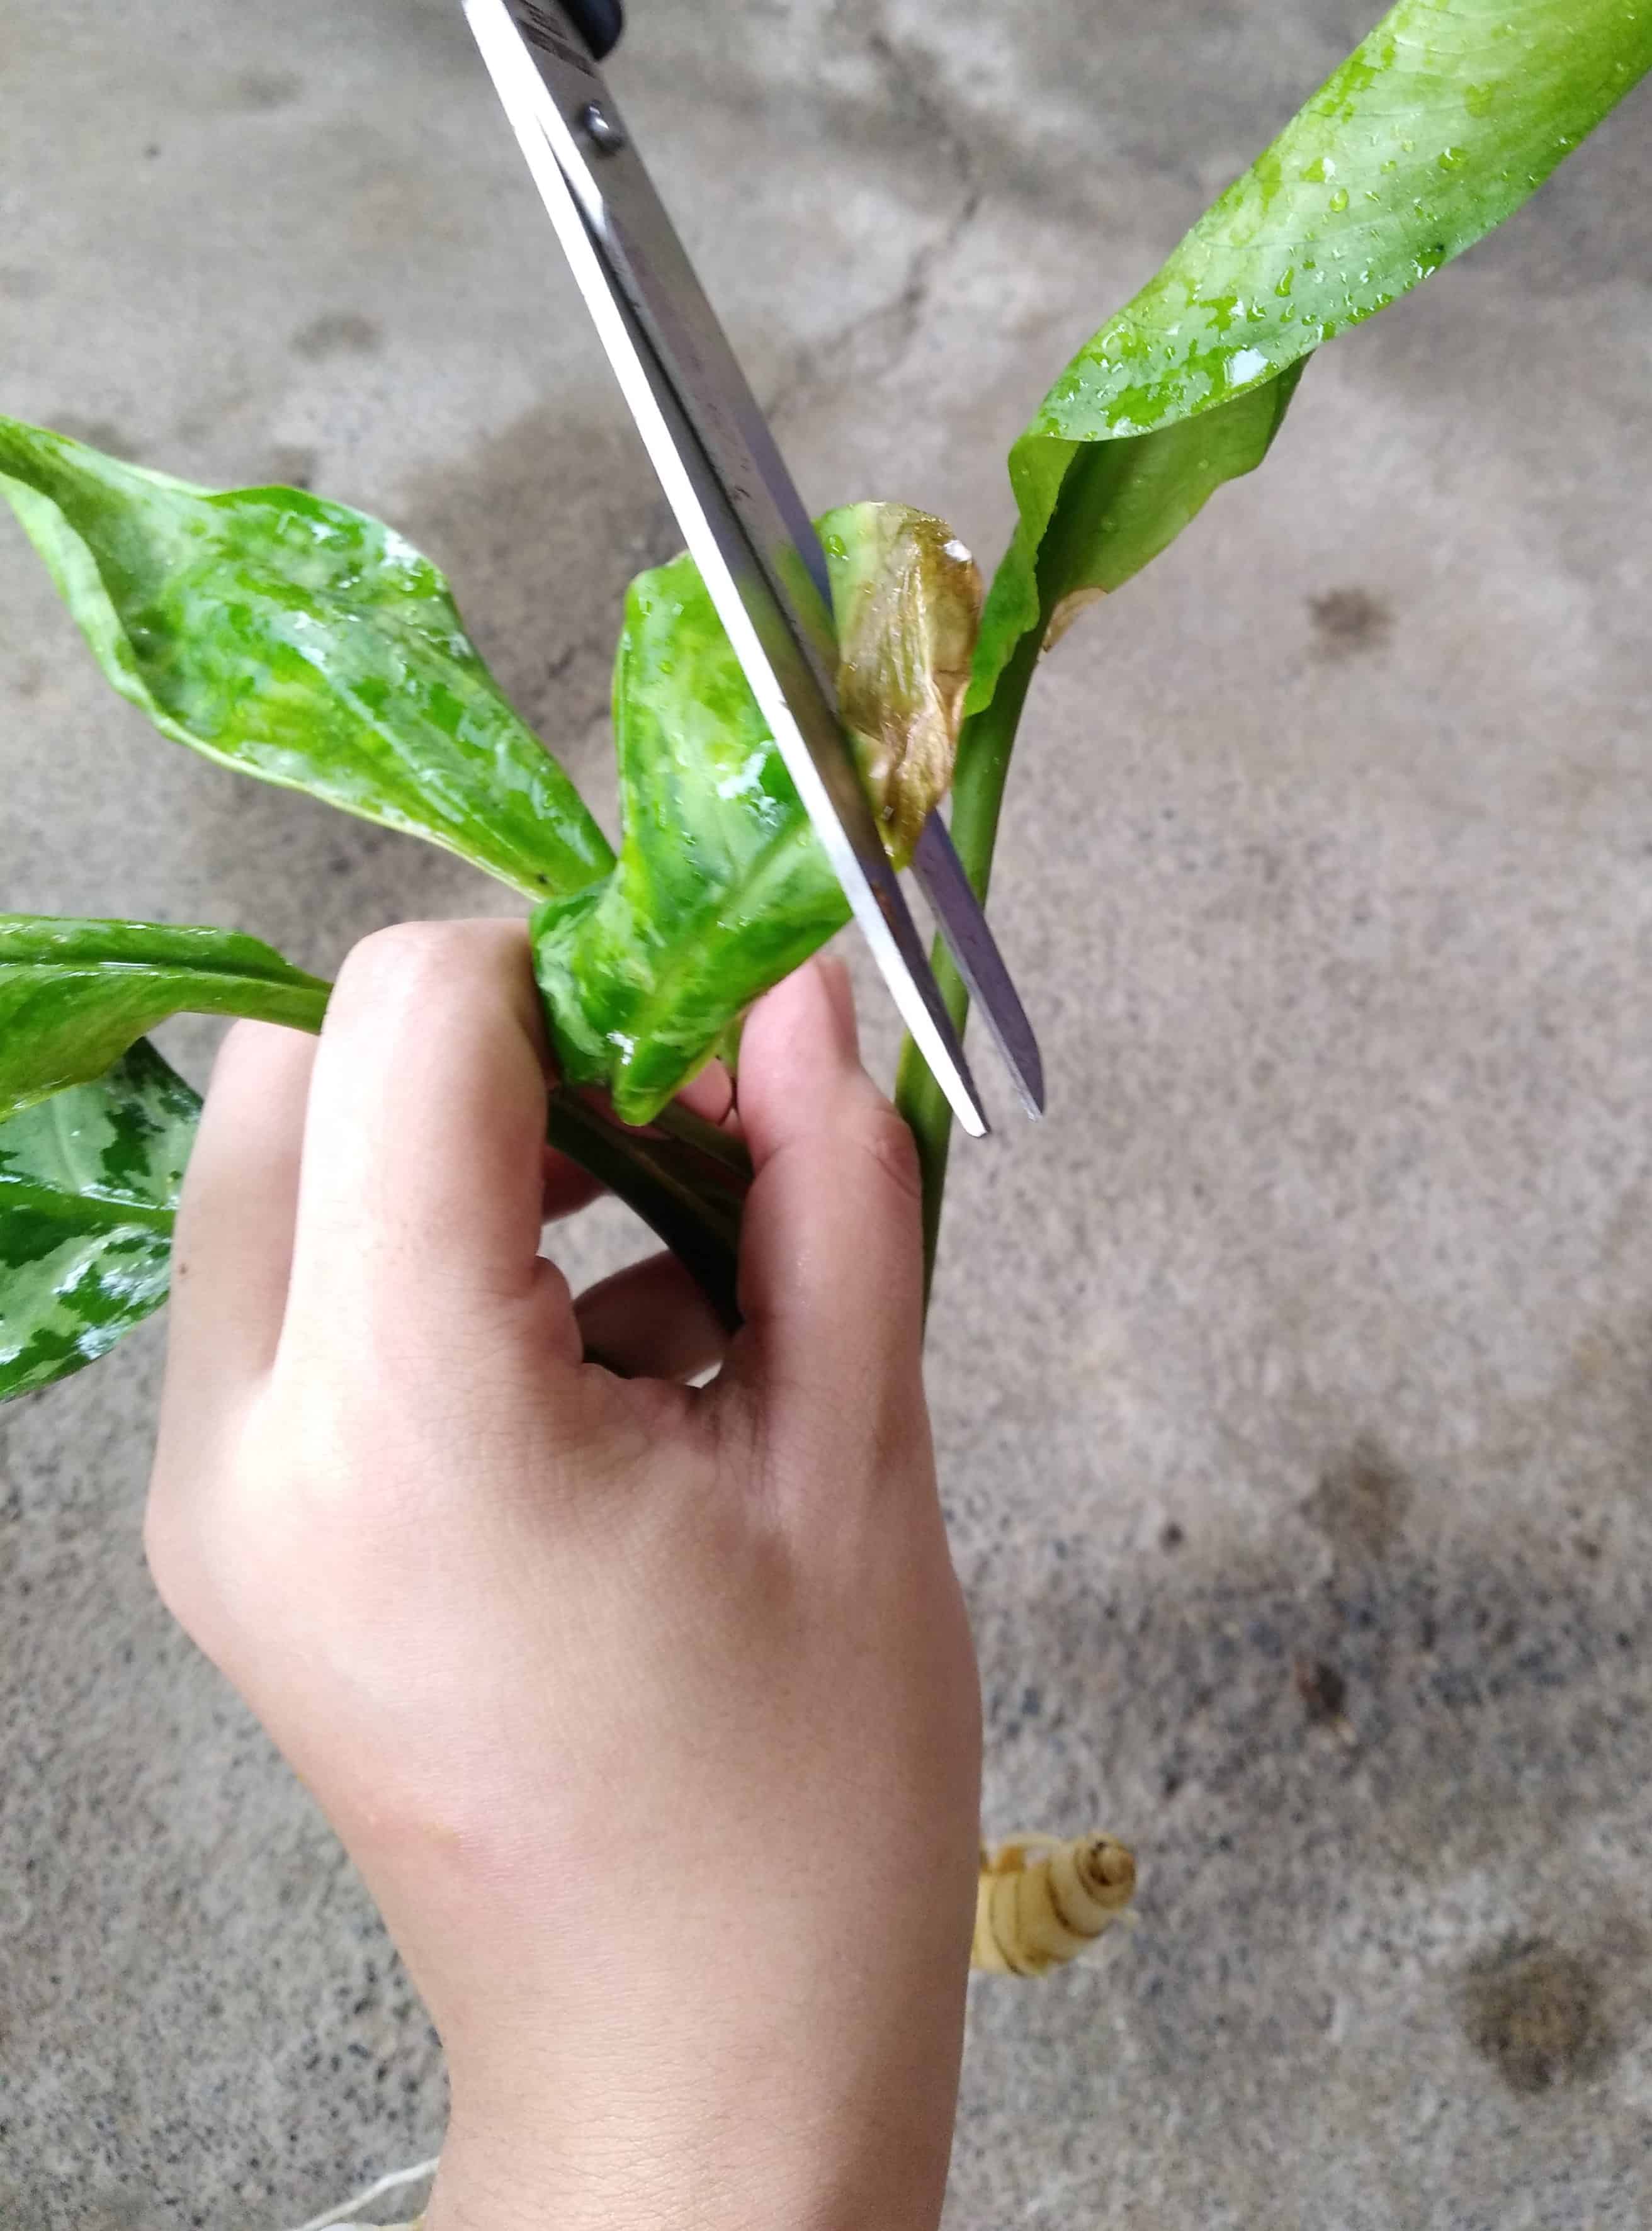
If there are still healthy roots left, you need to balance the foliage with the remaining root system. This idea is to ensure the limited root system can absorb enough water and nutrients to supply to the whole plant. If there are too many leaves to keep up with, the plant will end up dying because its root system couldn’t manage to completely deliver what the plant needs.
Disinfect your cutting tool again before trimming any damaged and dead leaves, i.e., the brown and yellowing ones. If the healthy leftover foliage still seemed too many for the roots to manage, trim it further into a shape you like. There isn’t an exact calculation for this, so you’ll have to eyeball it as best as you can. Unless you’re a math enthusiast, then knock yourself out and email me what you come up with on our contact page. For now, I’ll stay over here where numbers won’t hurt my head. Also, don’t worry if your plant is looking a little sparse. Once your plant recovers, new leaves, and roots will grow.
Helpful tip: You can divide part of the plant’s root ball at this stage. This is a backup plan, so you’ll have another healthy part of the plant if the parent plant doesn’t make it. If you choose to propagate, make sure to prepare a pot 1-2 inches bigger than the root ball of the offspring(s). Read how to propagate your houseplants in this article here.
7. Place the plant in a new pot with fresh potting soil or mix
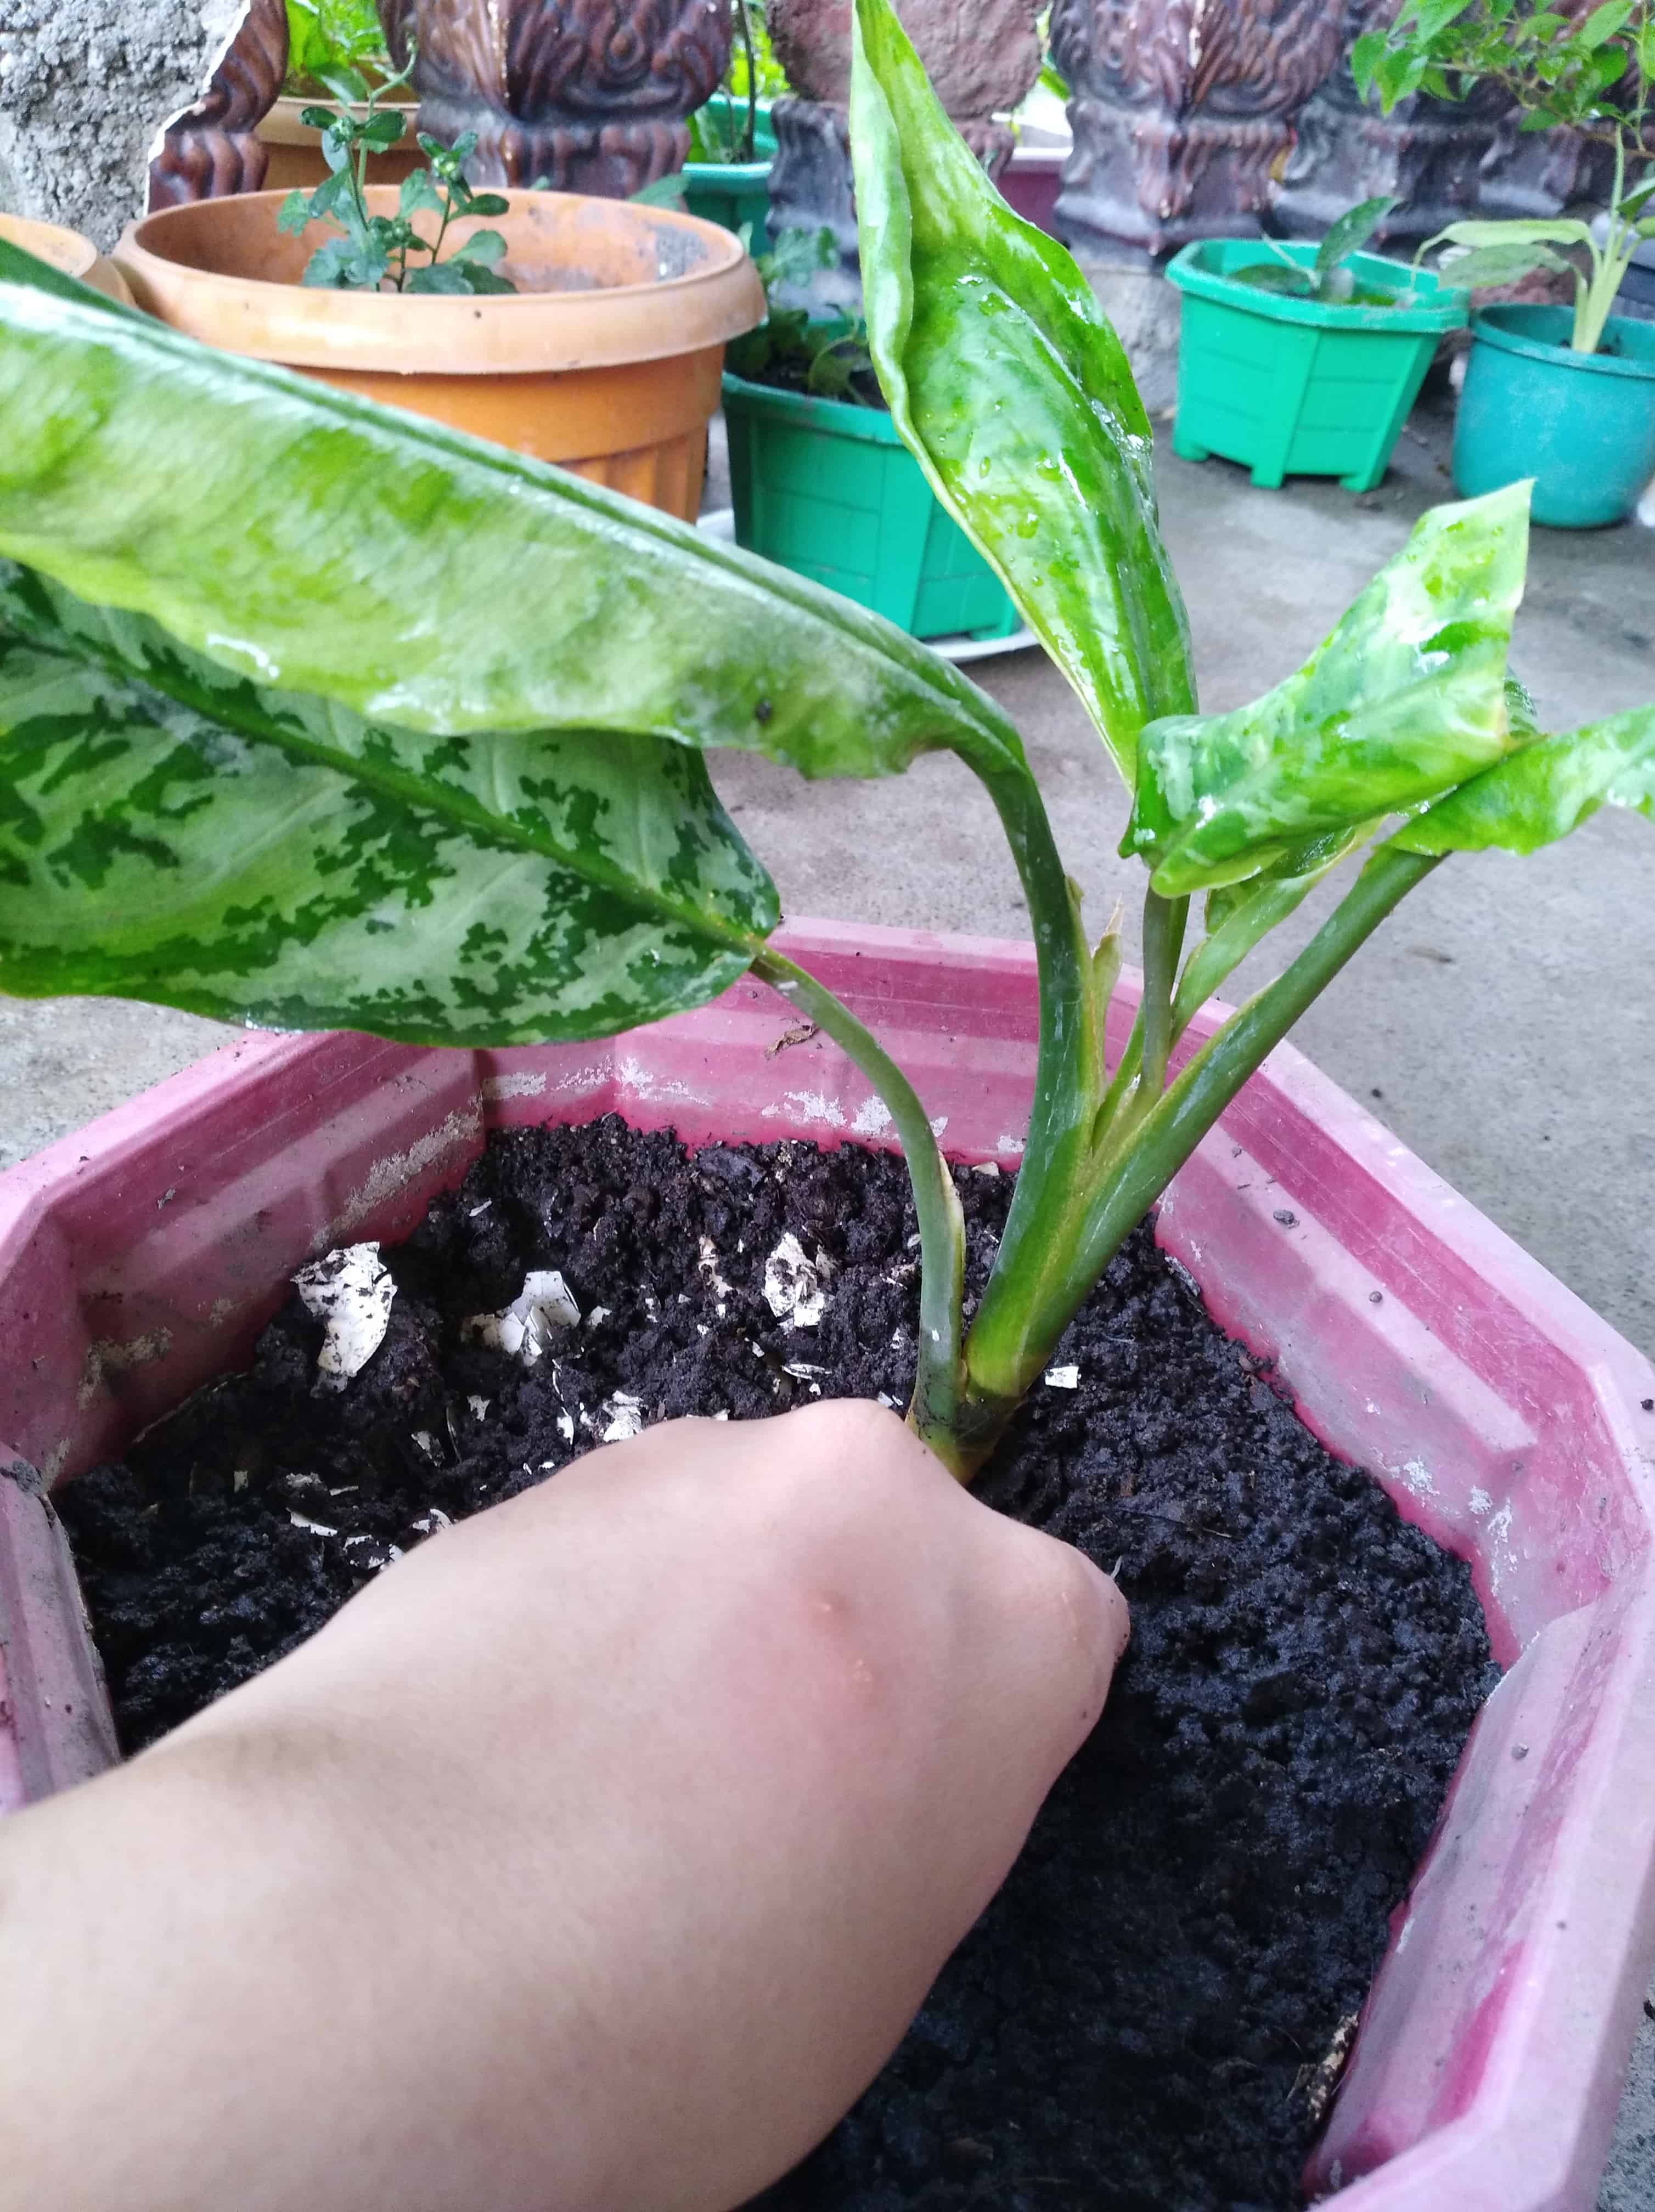
Once you have trimmed the roots and foliage, put the plant in a new but similar-sized pot as before. It may be tempting to place it into a slightly larger pot but trust me when I say that that will backfire on you. A larger pot will have a dead zone of soil at the bottom which will hold water. This environment is the perfect condition for pathogens to lurk in and is a disaster waiting to happen for your plants. Also, ensure that there are drain holes at the bottom of the pot for excess water to escape from.
For the soil, it’s always better to use a fresh batch. You want the soil to be sufficiently aerated with vermiculite, perlite, or coarse sand to prevent the soil from holding on to water too for long and/or becoming compacted. Also, never reuse the old infected soil because you don’t know the extent of the pathogens left in the soil and reusing means you may just reinfect the now wounded roots and unalive the plant faster. This Black Gold All Organic Potting Soil on Amazon is perfect for your repotting needs, guaranteed to help your plant’s roots develop nicely in its loose, loamy mixture. It has a solid 4.6 stars with 1,739 ratings and plenty of happy plant owners in love with it!
There is the option of baking the infected soil in the oven to kill off pathogens if you really want to reuse the soil. But I don’t recommend this method because 1. That’s nasty; 2. The oven in my house is a sacred place only meant for baked goods, pizza, and oozy, cheesy dishes; 3. Honestly, just buy new soil, my dude.
Here are the steps to properly repot your plant:
- Fill the pot halfway with fresh soil.
- Place the plant in the middle. The top soil of the plant should be over 0.5 to an inch above the opening of the pot. If it’s not, remove the plant and adjust the amount of soil at the bottom.
- Fill in the sides of the pot with more soil while holding the plant in place.
8. Water the plant lightly and don’t give it fertilizers

Once the plant is placed into its new pot, give it a slight glug of water evenly around the soil. The moment you see excess water draining out, stop immediately. It’s advisable to increase the humidity levels around the plant instead of watering it more because of its tender root system. Ensure to give the right amount of sunlight it needs, though try to avoid direct sunlight where possible.
The most important thing you should never do at this stage is give your plant any fertilizers. Again, the root system is still recovering, and fertilizing it will only ‘burn’ the plant. It’s like trying to ingest 20 espresso shots in a venti cup to stay awake and power through the day; the crash-and-burn is real and very damaging to your body. It’s similar with plants – you don’t want to jack them up with a forced pick-me-up only to eventually kill them.
9. Monitor the plant’s recovery for a few days
For the next few days, you will need to observe any changes that might occur to your plant after it has been repotted. If you do everything right and on time, chances are your plant will make a good recovery. Again, don’t worry if it looks like it’s kind of limp. Repotting is a delicate process for every houseplant, so it’ll take a few days of recovery before it starts to perk back up. However, suppose the plant exhibits yellowing and browning leaves again, followed by a familiar, discolored, and mushy stem. In that case, that means the plant is beyond saving because the rot has already set throughout the plant.
For large or woody houseplants like a fiddle leaf fig tree, it is advisable to check where the new leaves are growing on the trunk. If there doesn’t seem to be any sprouting leaves at the upper trunk, it’s advisable to saw this off:
- Mark a section of the top trunk, right above where the new leaves are sprouting.
- Cut this trunk section off with a saw. This trunk may be pretty dry, meaning the rot has spread that far resulting in dead growth.
- Light a candle and drip hot wax on the cut section. This nifty trick helps seal the open wood and prevent infection/infestation.
Note: Only do this when the plant has recovered well enough to be growing new leaves again.
As previously mentioned, you need to dispose of the infected soil and rotted roots into the trash rather than attempt to reuse it or compost it. The risk of contaminating another plant or even your compost with pathogens is high regardless of the root rot’s severity. I recommend cleaning up the mess and putting it into a plastic bag rather than just dumping the whole thing into your rubbish bin. Again, this extra precaution is to make sure nothing is contaminated from the infected soil and roots in your home.
And lastly, clean and disinfect the old pot and cutting tool you have used thoroughly with hot, soapy water and finishing off with the same bleach solution as mentioned before.
I also recommend cleaning and disinfecting your sink or tub where you hose the plant down with running water. Personally, it’s just a good idea to make sure everything is washed down and sterilized after the whole process is done. Or maybe that’s just my germaphobia speaking. Either way, at least you won’t have to worry about contracting any pathogens from your plants, even if they are harmless. On that note, wash your hands well after you’re done.
Final Words
Overall, your houseplant should look peppier after it has recovered from the brush of death with root rot. Now that you know how to fix root rot in your indoor plants, you can prevent this from happening simply by not overwatering your plants. You will always remember the trouble you went through to save this plant. So if you don’t want to do it again, always err on the side of underwatering plants because if you are a day late, all you have to do is add water, and the plant will be good as new in just a few hours. Also, be sure to get rid of any excess water in your plants’ saucer when possible.
That’s it, congrats! You won’t have any more trouble from root rot.


Can I ask for help? Please! My Dracaena reflexa ‘Riki’ plants stalks or cane part is light brown but the top still looks nice and green. I don’t know if this is normal or if it’s sign of rot? I can’t seem to find any answers. Please help if you can. Thank you so much!
Yes, absolutely! I’ve sent you an email about it. For a brief answer though, generally it could either be the plant simply aging out from the bottom which is normal. If it’s rot, the light brown area should feel soft and slightly squishy to the touch. I hope that helps 😀